原料
高筋面粉: 600克, 盐: 5克, 水: 250克, 酵母: 5克, 油浸金枪鱼: 800克, 无核橄榄: 80克, 蛋液: 少许, 芝麻: 少许, 沙拉酱: 200克, 面粉(拌馅料用): 10克
步骤
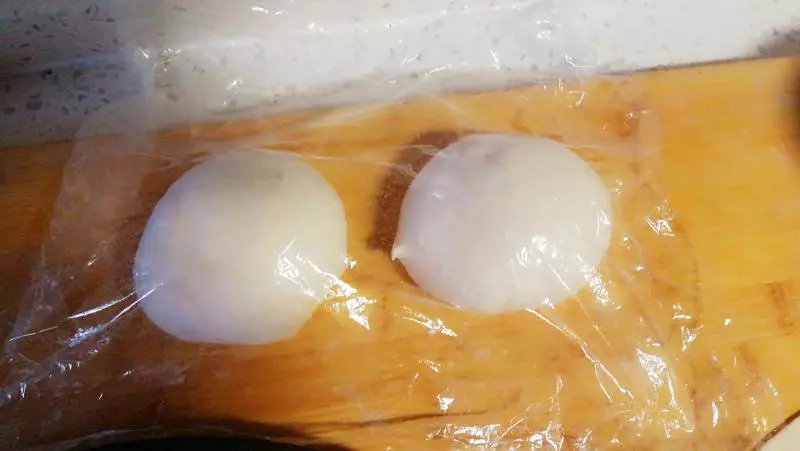
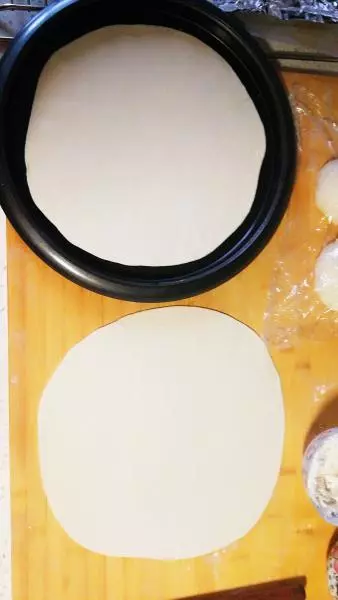
1面粉、水、酵母、盐和成光滑面团,发酵成功后排气,分成4等份,揉成光滑面团盖保鲜膜醒发10分钟(步骤可以参考馒头做法)
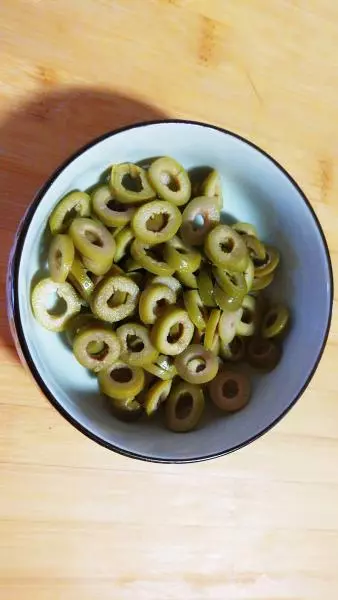
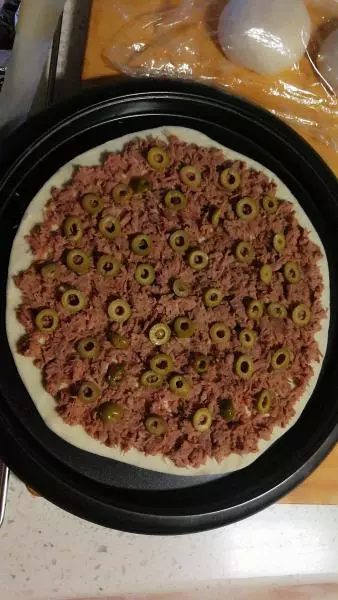
2面团醒发的时候把无核橄榄切成薄片
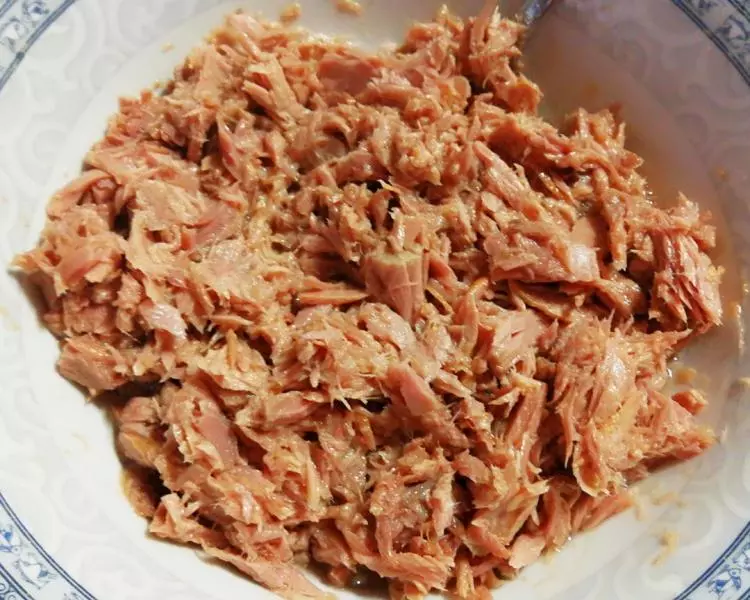
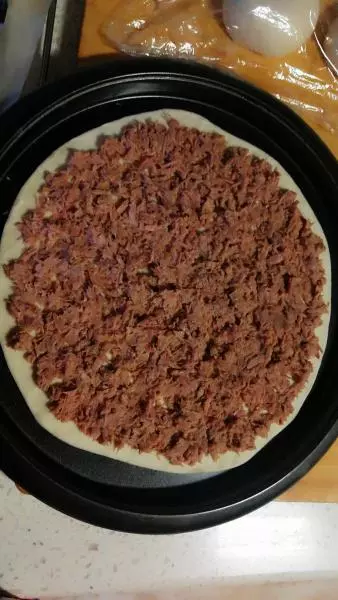
3金枪鱼搅成细丝,掺入10克面粉,拌匀
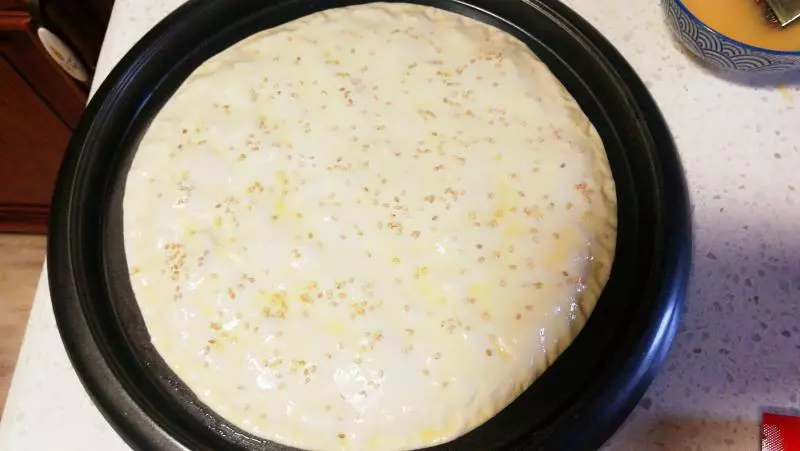
4把面团干成烤盘底部大小的薄片(我用的是10寸烤盘),烤箱预热175℃
5取400可金枪鱼泥铺匀,边缘留1.5厘米左右的空隙
6再取40克橄榄片摆好
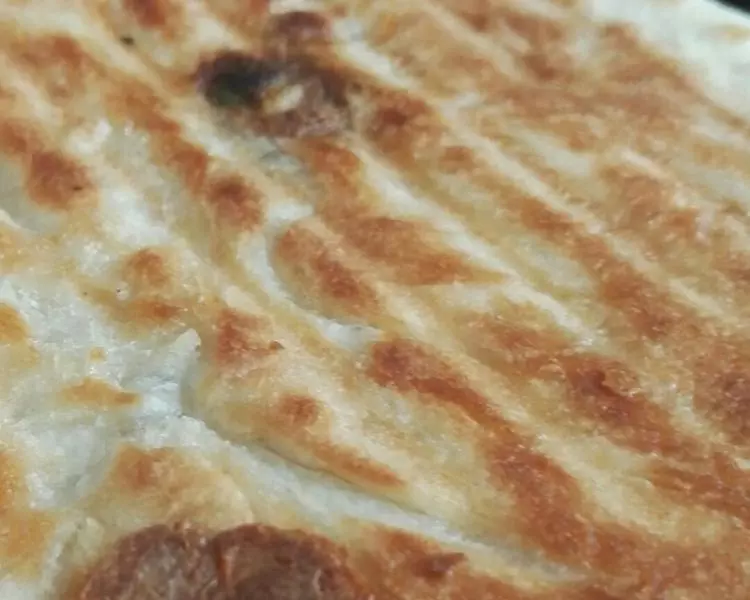
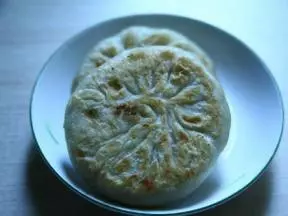
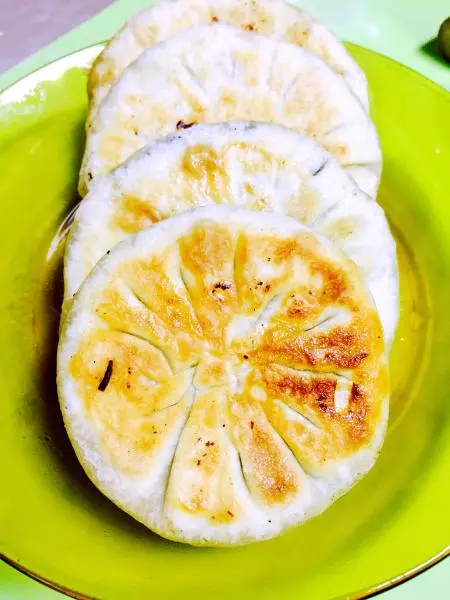
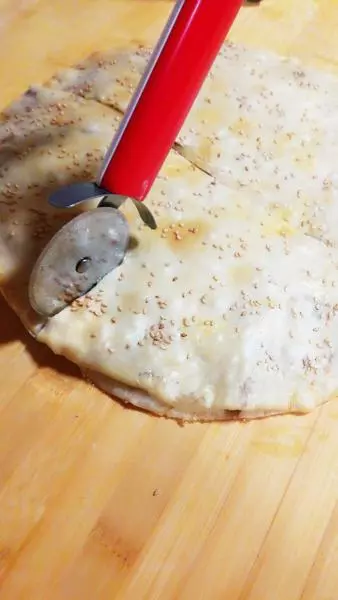
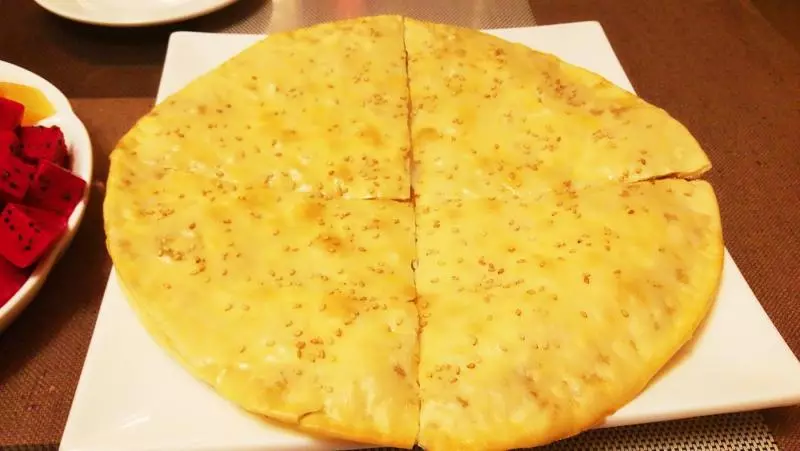
7用另一张面片盖好,边缘捏实,多余部分用披萨刀裁掉,成规则圆形
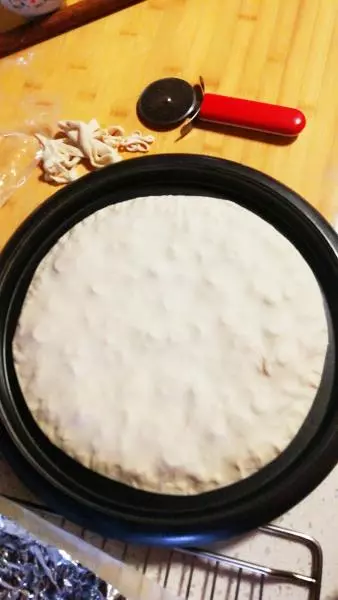
8表面刷蛋液,撒芝麻
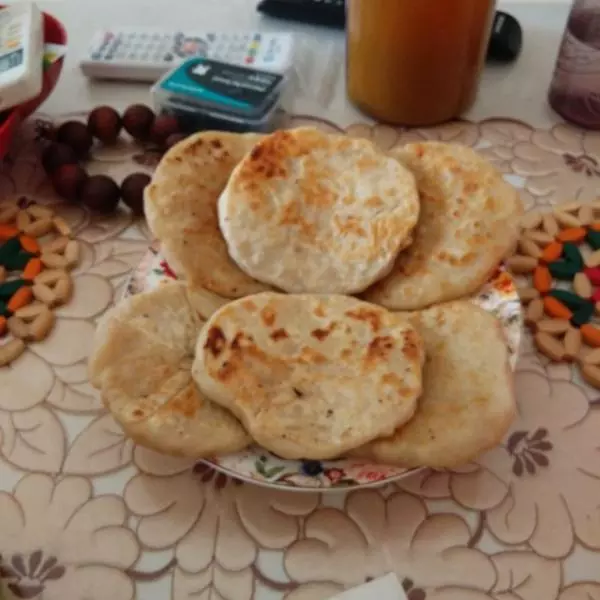
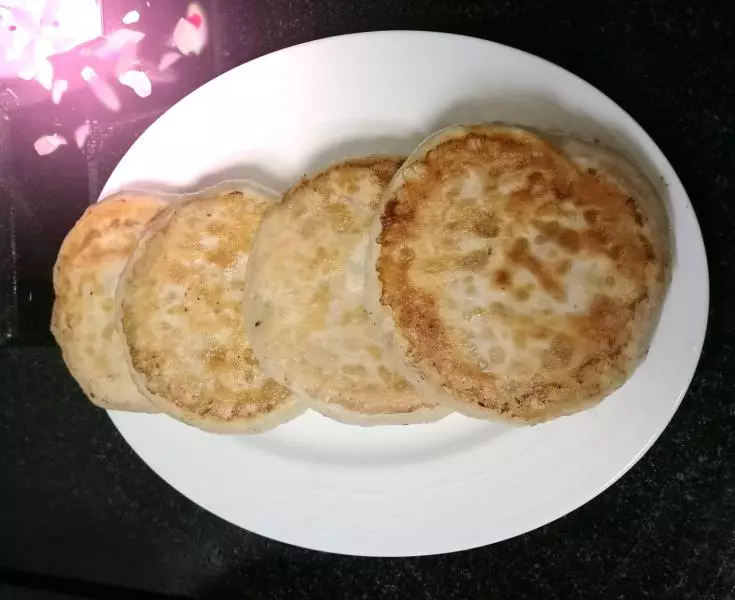
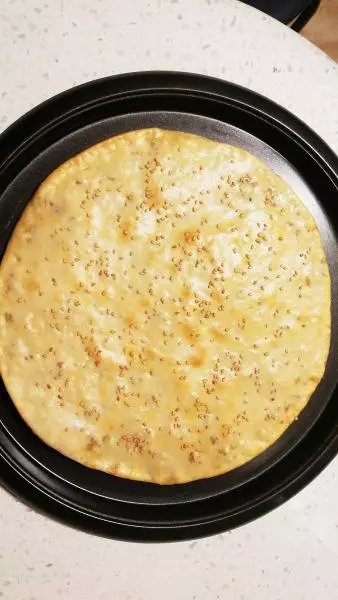
9入烤箱烤制20分钟
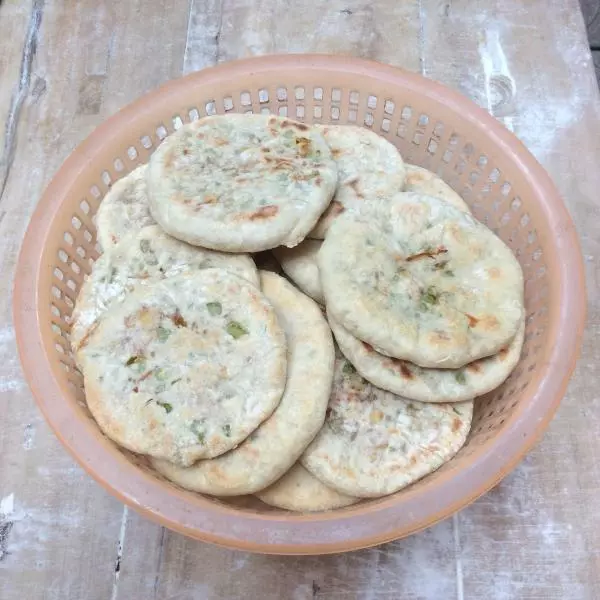
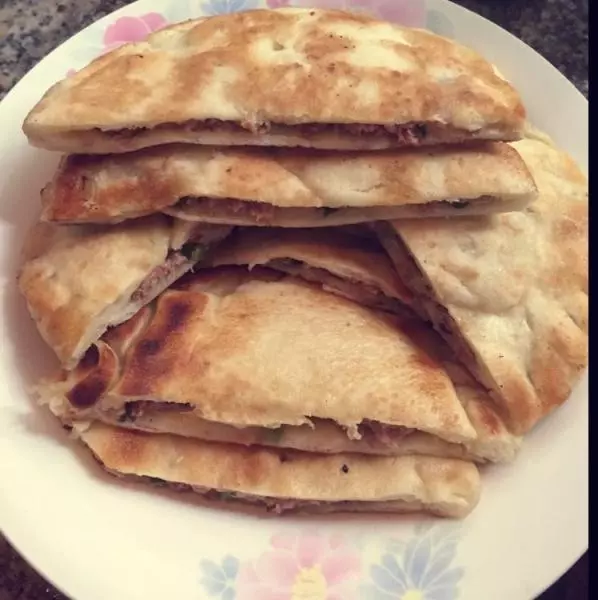
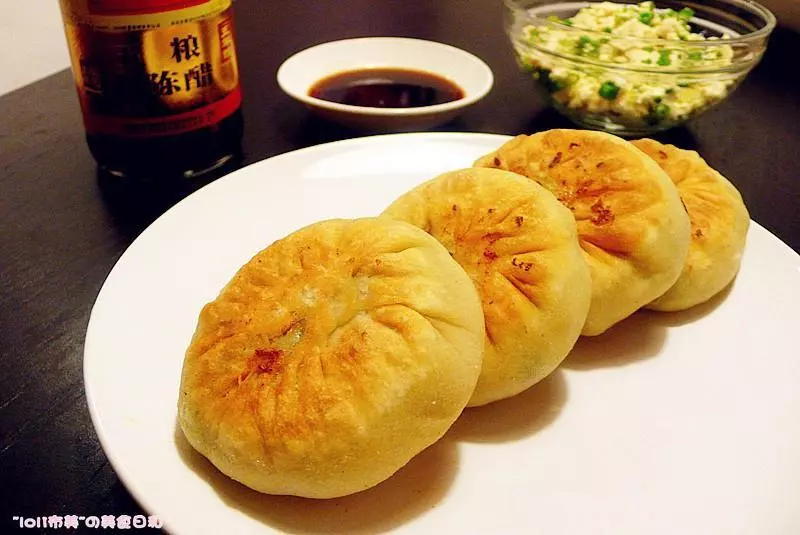
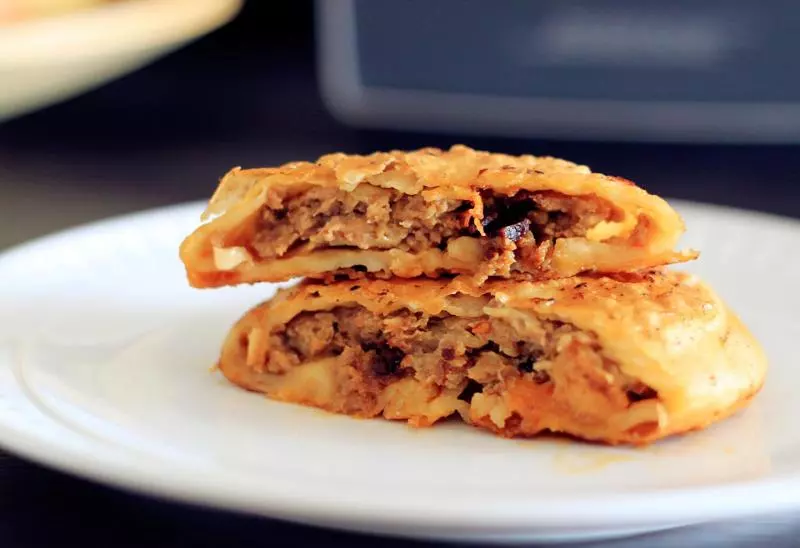
10用披萨刀裁成四块
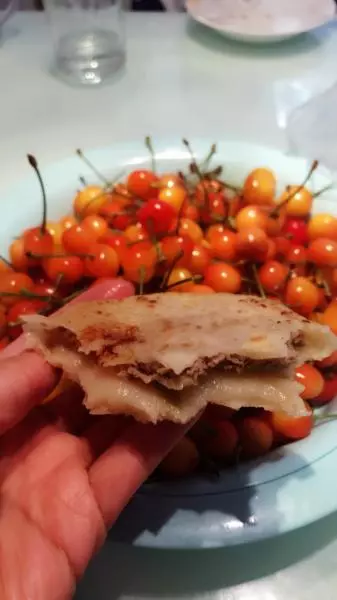
11每块馅饼启开,上饼皮抹沙拉酱25克
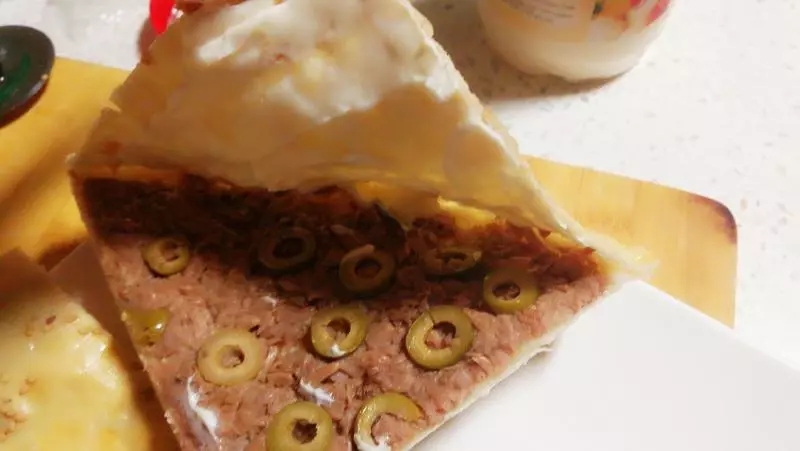
12金枪鱼馅饼OK啦,可以开动啦!
小技巧
如果不喜欢饼皮稍微有些硬硬的感觉,馅饼烤制成功,取出之后建议用锡纸包裹15分钟