原料
普通面粉(中筋): 320g, 开水: 280g, 葱: 大把, 椒盐粉: 适量, 盐: 适量, 食用油: 适量
步骤
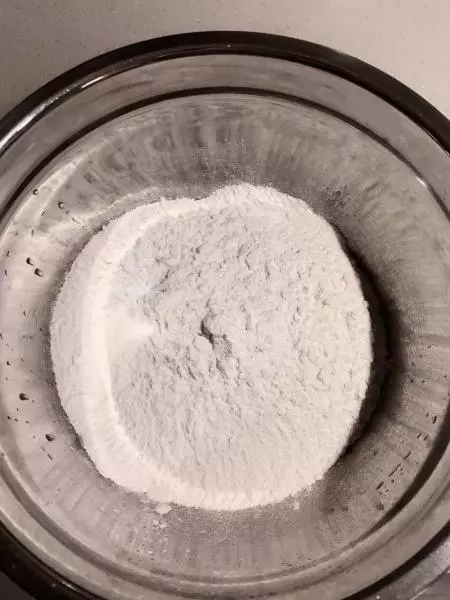
1中筋面粉,也就是市面上的普通面粉(做包子饺子那种),加少许盐提味。粉和水的比例不用非常精确,只要把面团揉成比较湿润粘手的就可以,我平时做葱油饼其实从来不称重,为了写菜谱才特意称了下分量。
2烧一锅开水。
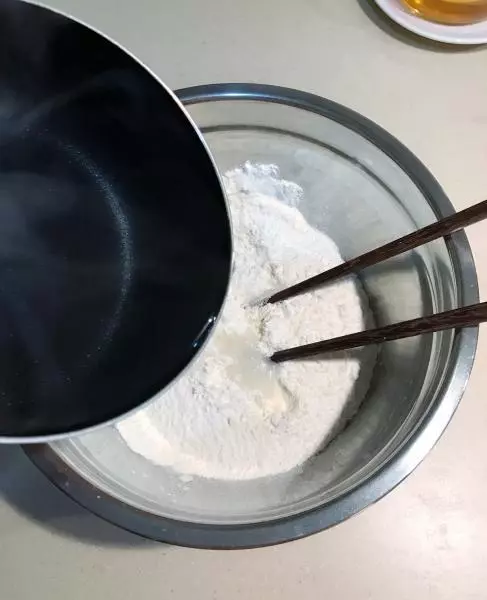
3开水慢慢倒入面粉中,边倒边用筷子划圈搅拌成面絮状。
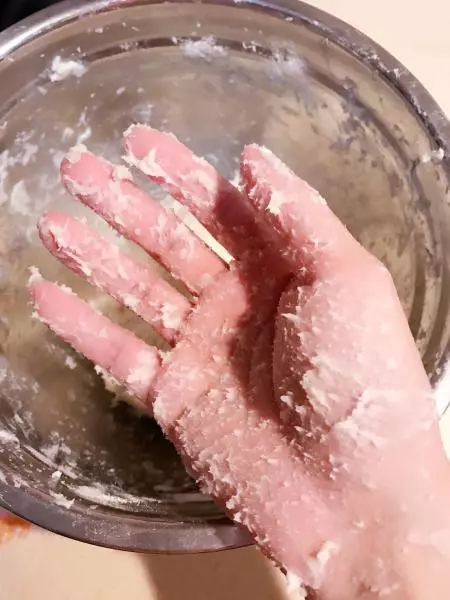
4拌好的面团是这种状态,非常粘手。
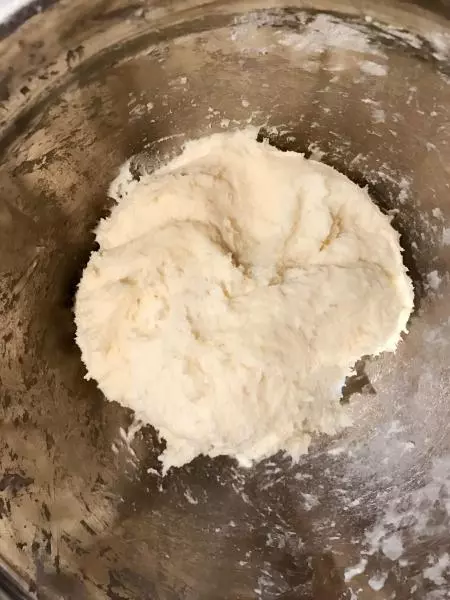
5面团简单的揉五分钟左右就行,超省心。
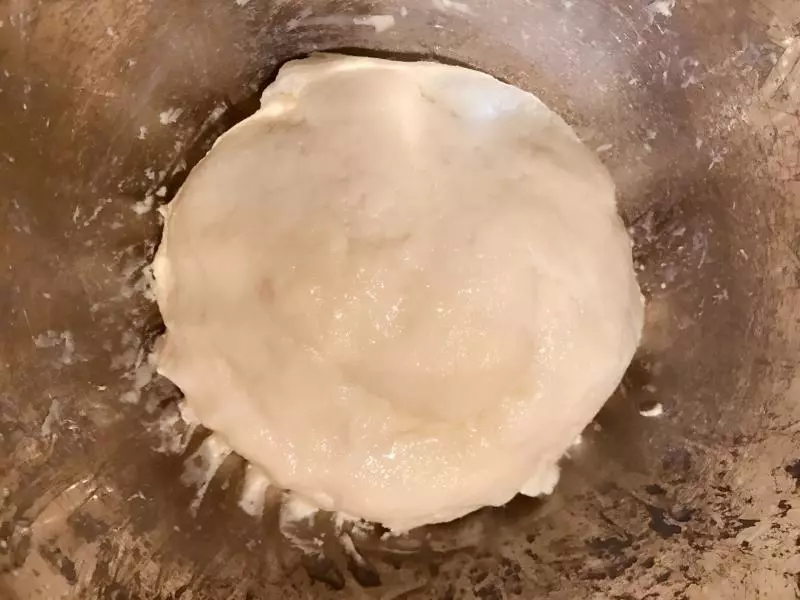
6手沾点水,摸一下面团表面,防止醒发的时候表皮干裂。
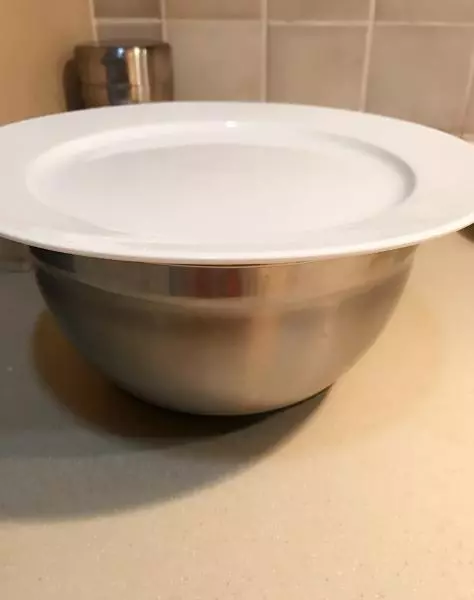
7盖上盘子,醒发一个小时。
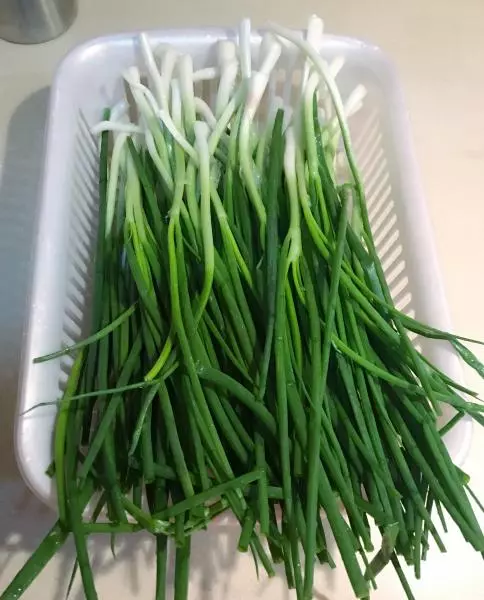
8醒发的时候来处理葱,洗葱真是件非常讨厌的事情。多准备一些,用量会比你想象中大很多哦。
9葱白留用,葱叶切葱花。
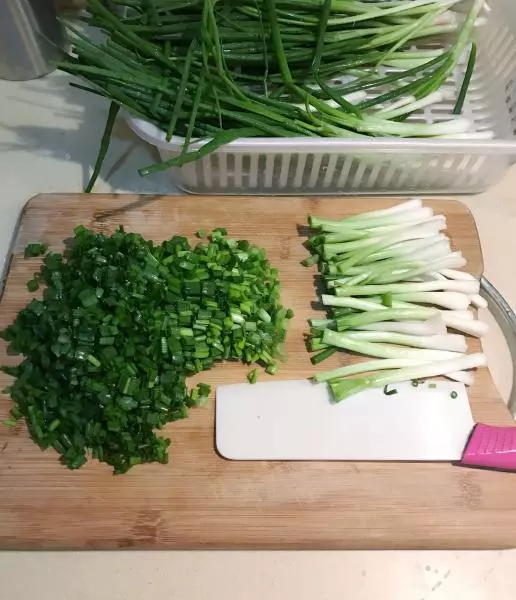
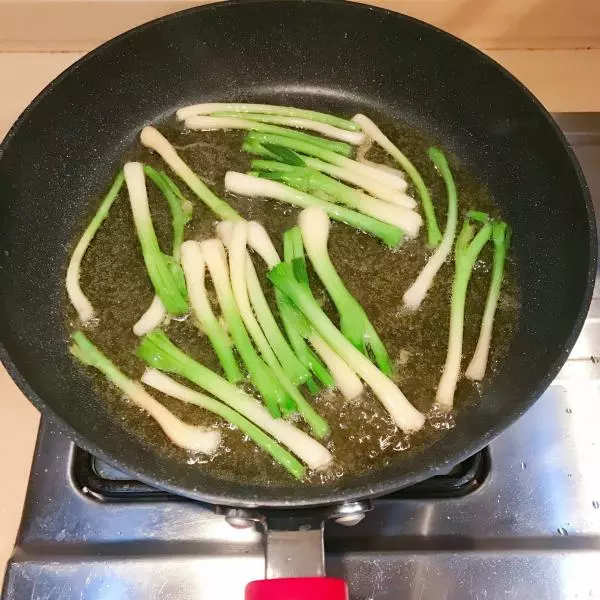
10葱白用来煎葱油,煎完葱白捞出来,捏成一团涂手涂面板防粘。
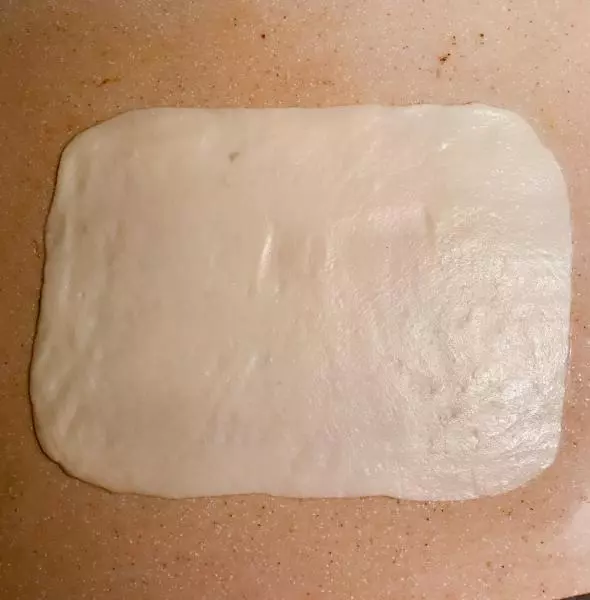
11醒发时间到,简单揉几下,取70g左右的面团,擀成这样的长方形。
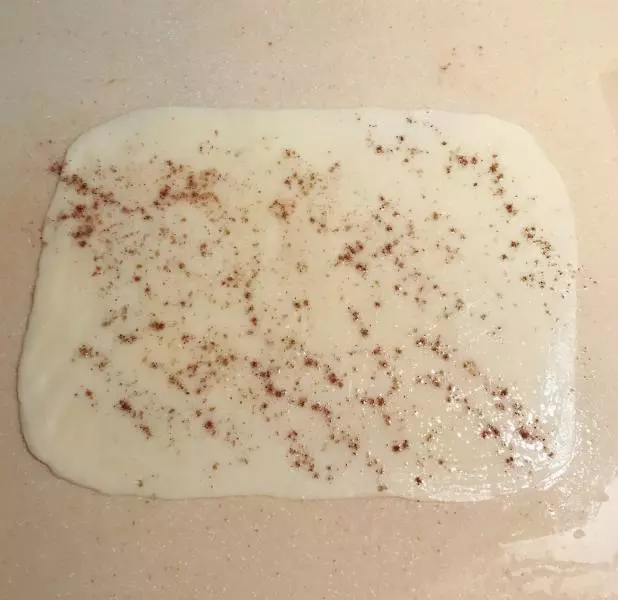
12刷煎好的葱油,撒少许盐和椒盐。
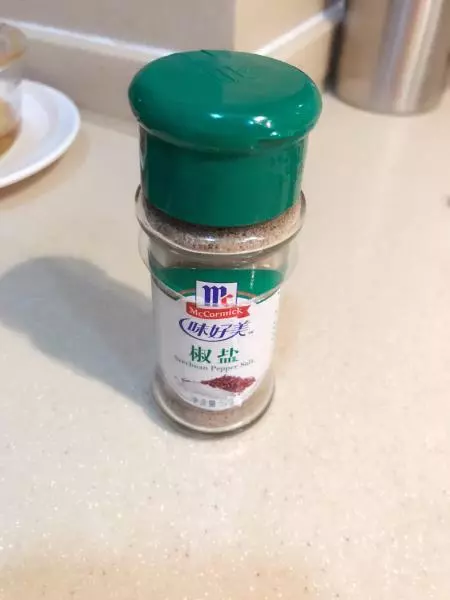
13我用的椒盐粉,价廉物美。
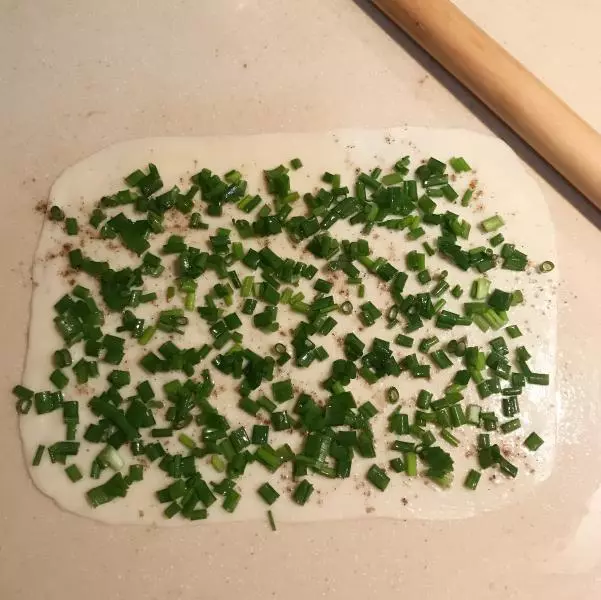
14撒大把葱花。
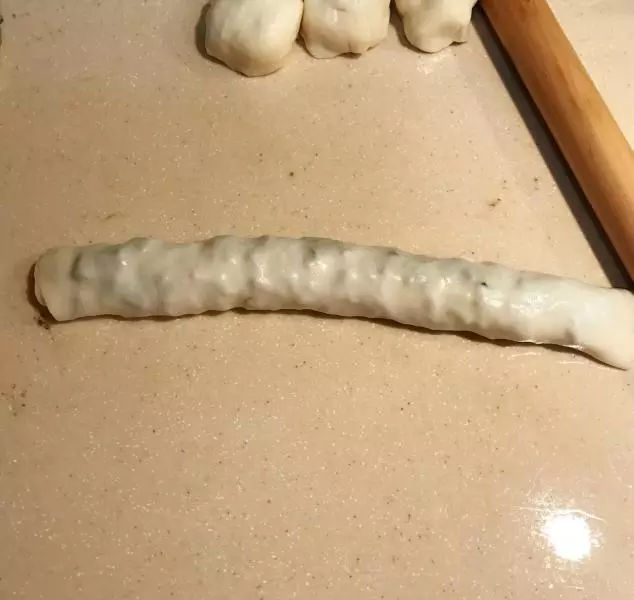
15卷起来。
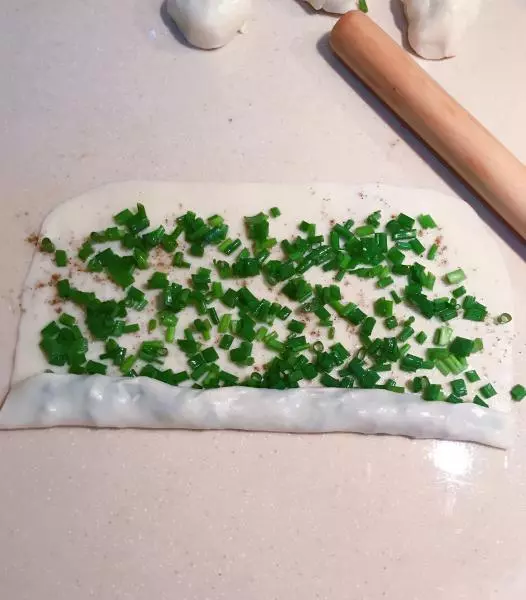
16卷成这样。
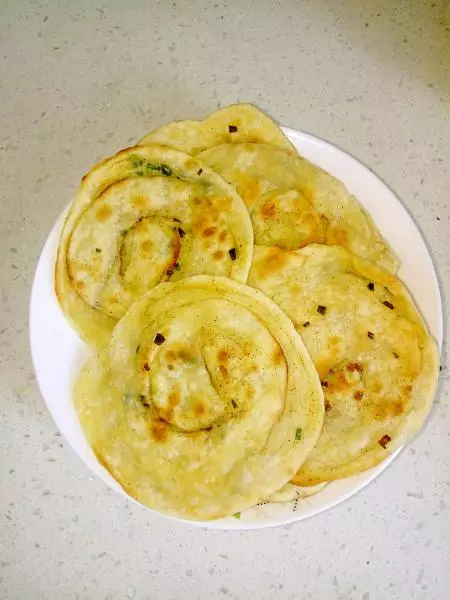
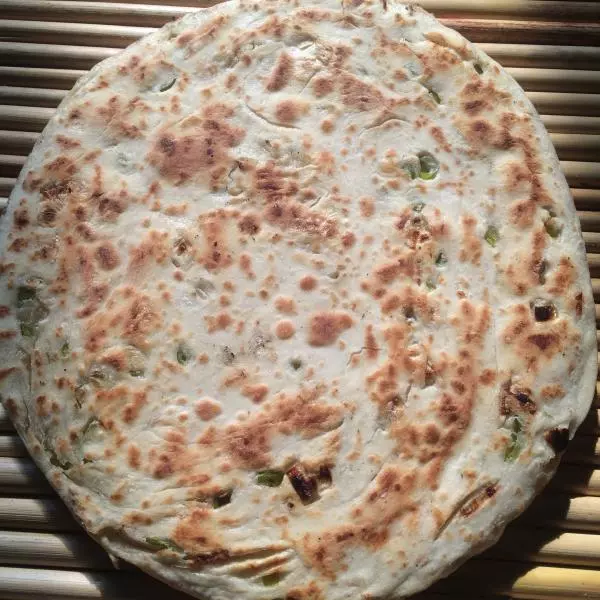
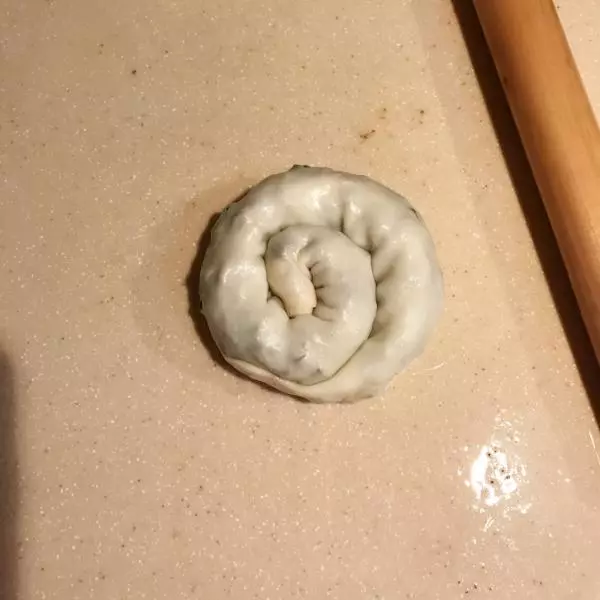
17再绕圈圈,不要去压,直接放到刷好油的煎锅里。
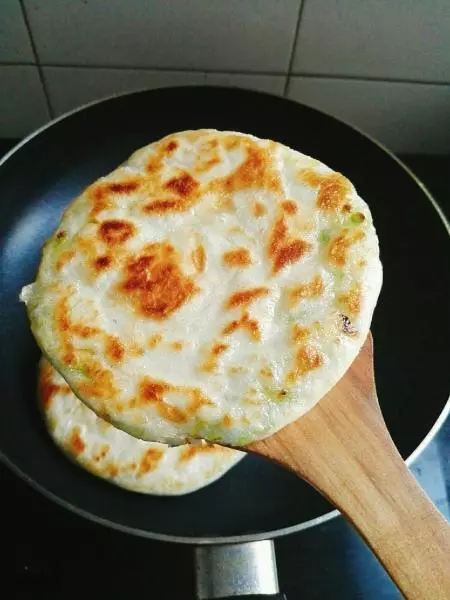
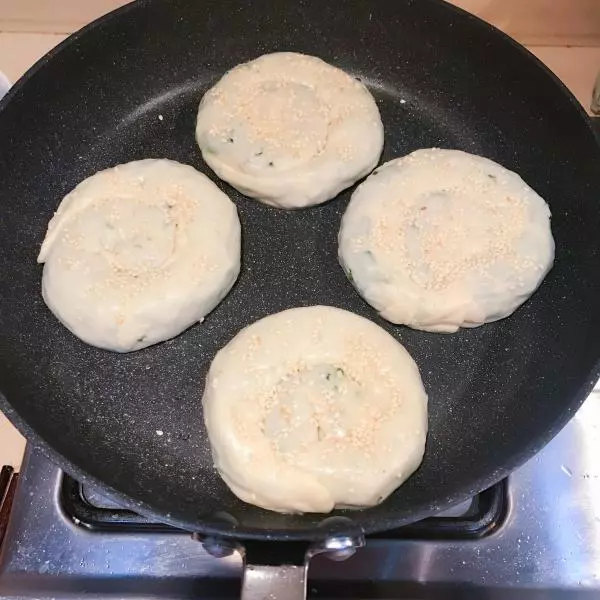
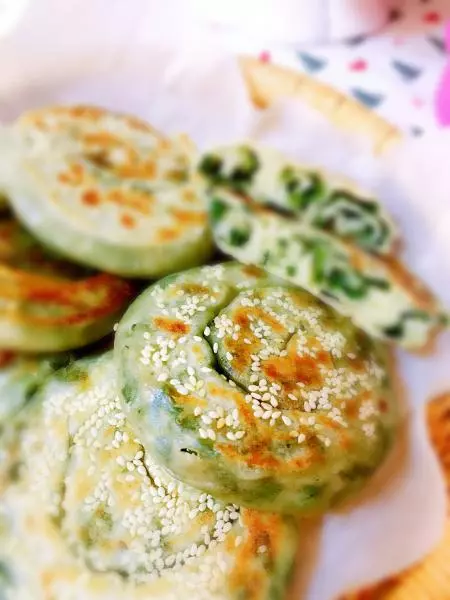
18边做边煎,做好几个一起煎,煎之前朝上这面撒点白芝麻,轻轻按几下压薄。
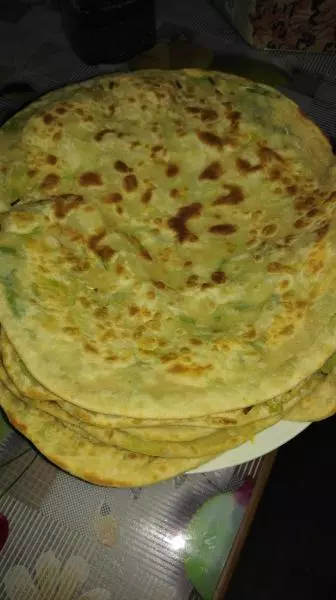
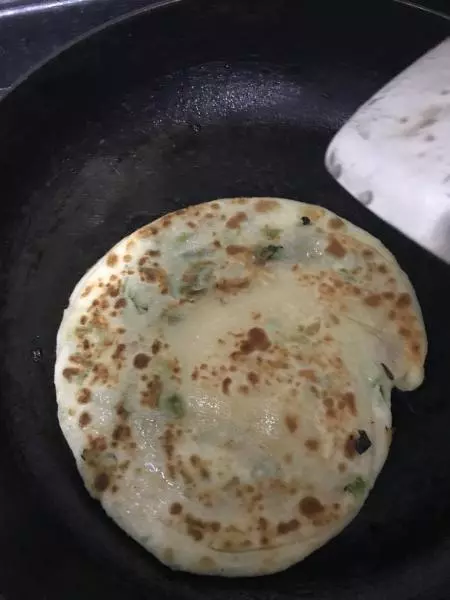
19小火盖上锅盖焖煎。待一面金黄,翻面继续煎另一面。
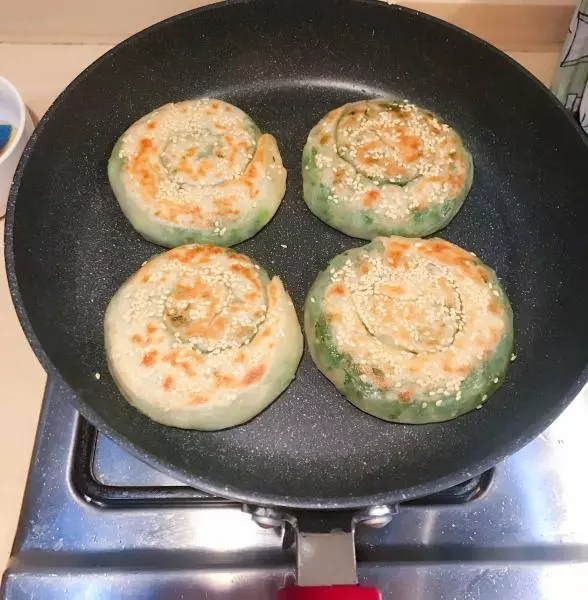
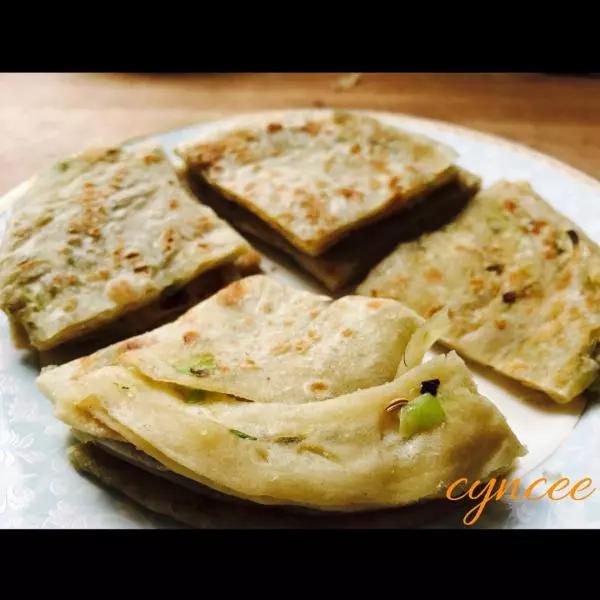
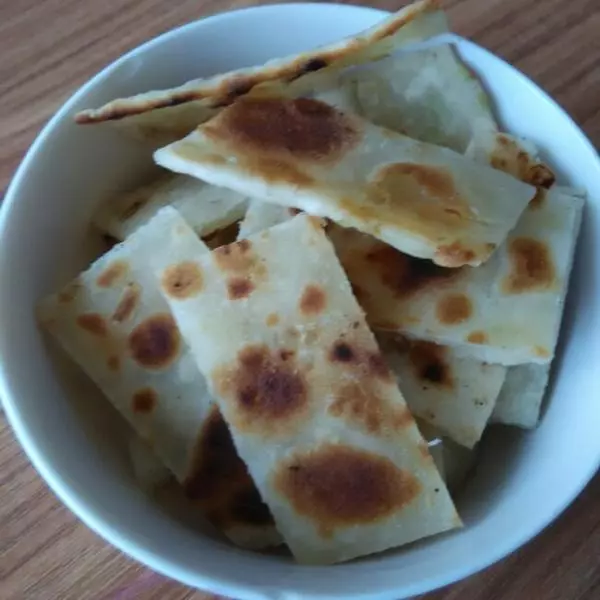
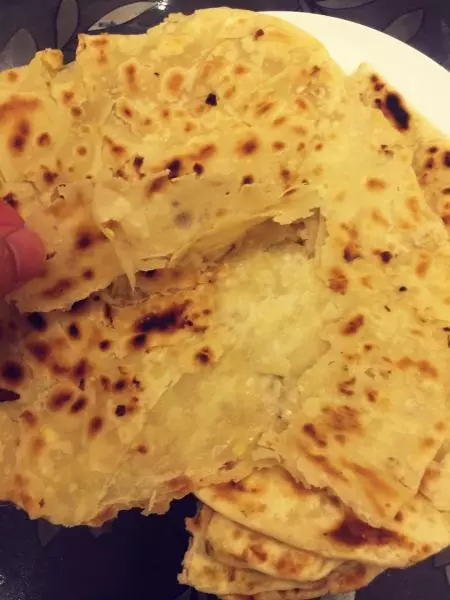
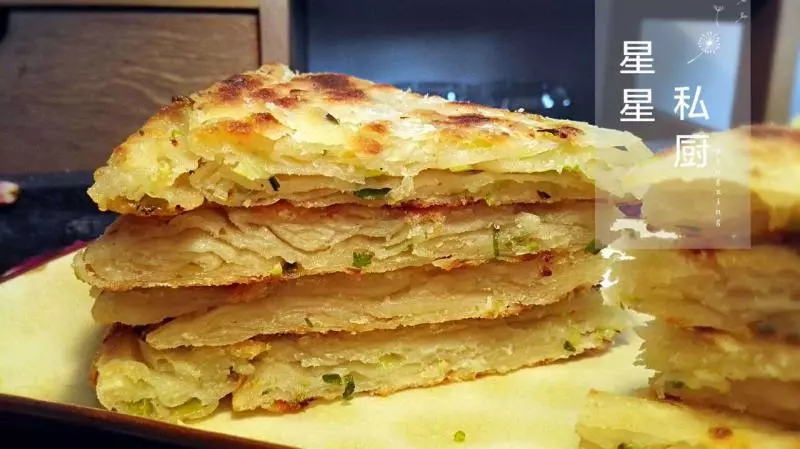
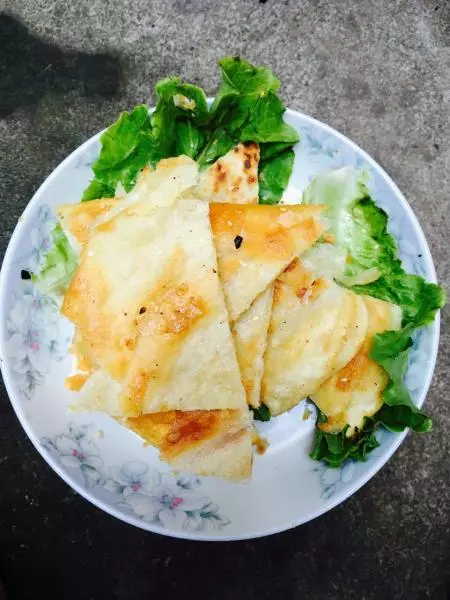
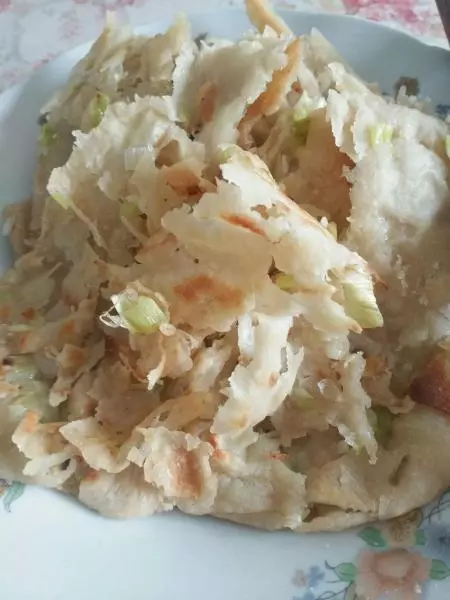
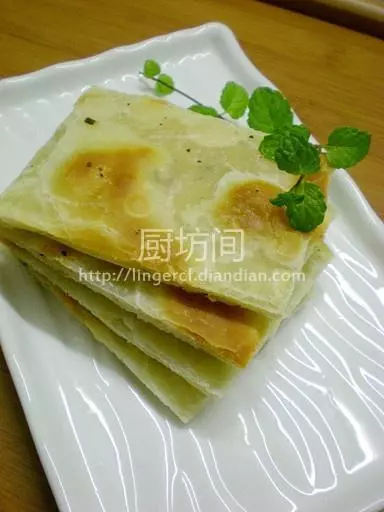
20出锅,外酥里嫩,层次分明,爱死自己了昂。
21葱是自己家种的,算下来才3毛钱一个。