原料
低筋面粉: 50g, 鸡蛋: 4个, 玉米油: 50g, 黄油: 5g, 菠菜汁: 70g, 盐: 1g, 细砂糖: 55g, 淡奶油: 120g, 细砂糖(加入淡奶油): 12g
步骤
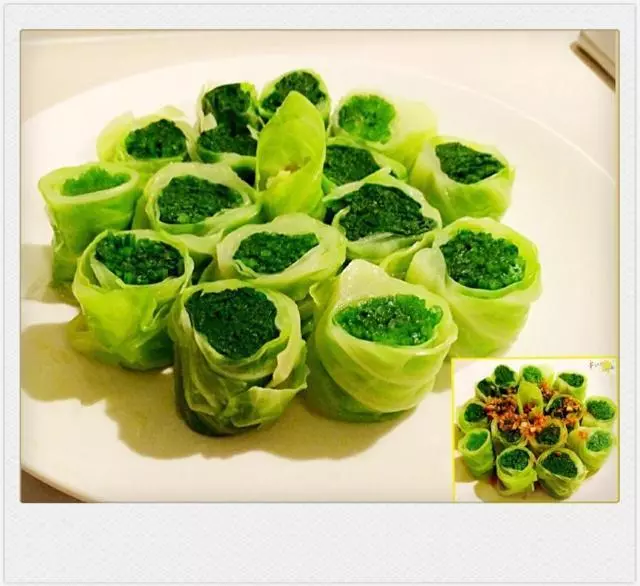
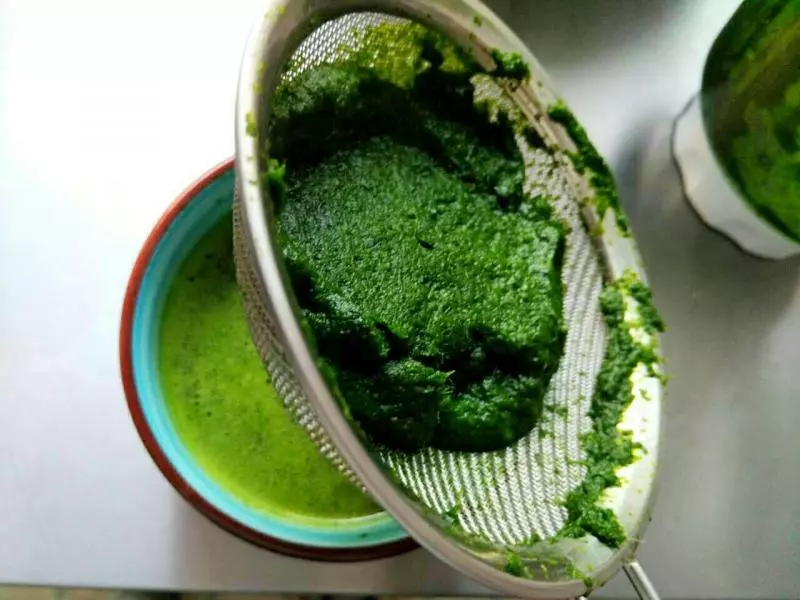
1菠菜洗净,剪断,放入榨汁机或者料理机打成泥
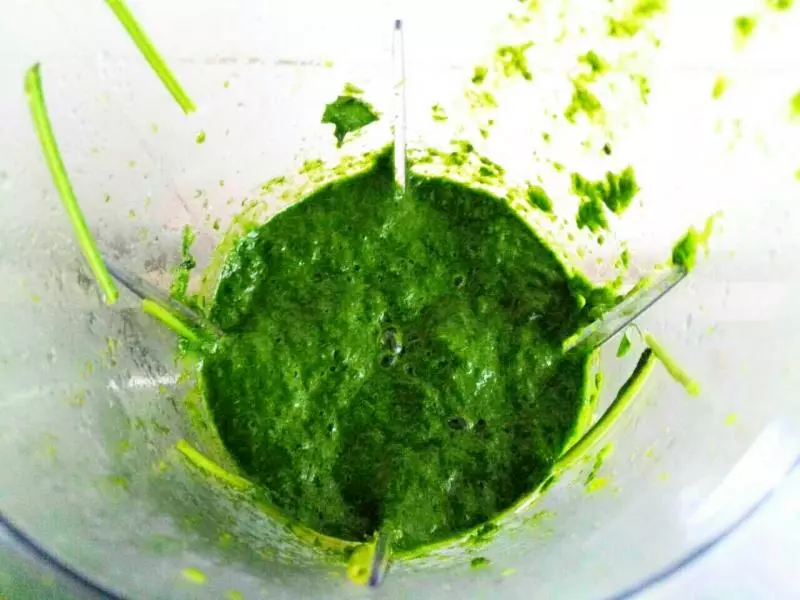
2过滤菠菜汁备用
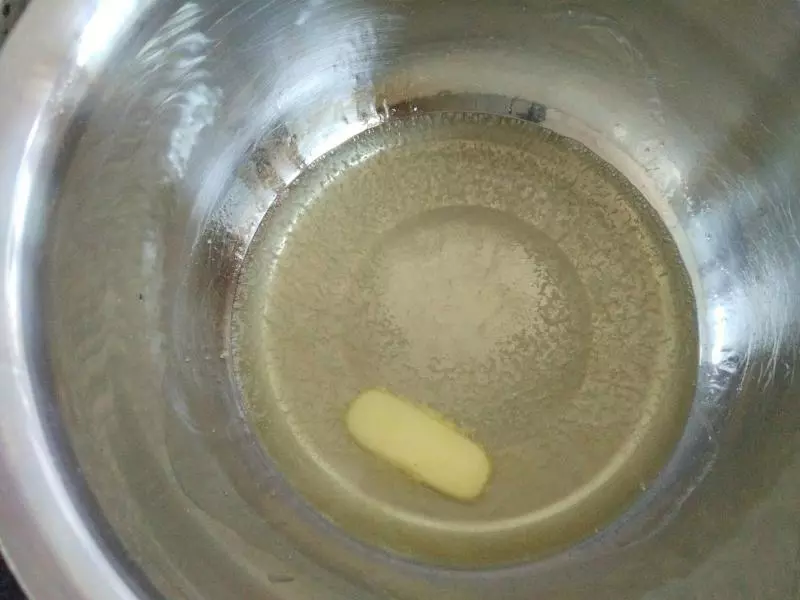
3将黄油与玉米油一起小火加热至有纹路, 立刻离火
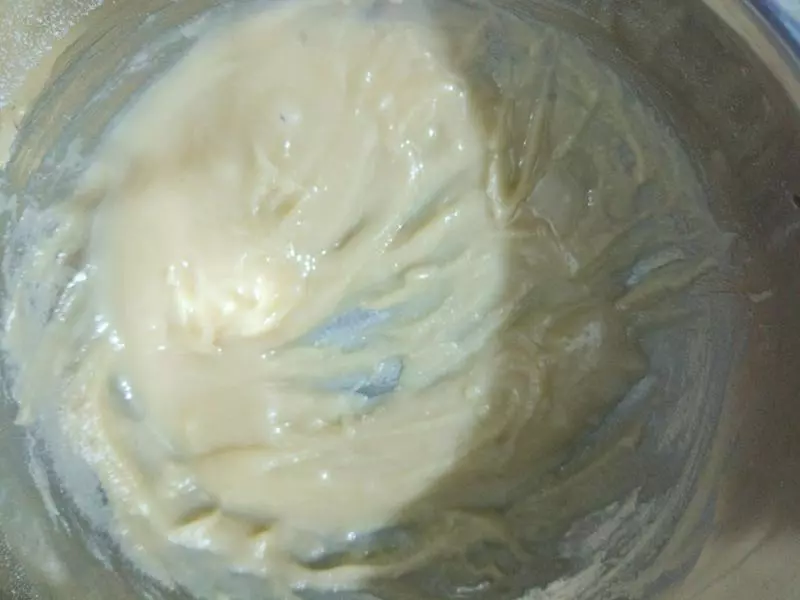
4筛入低筋面粉,搅拌均匀
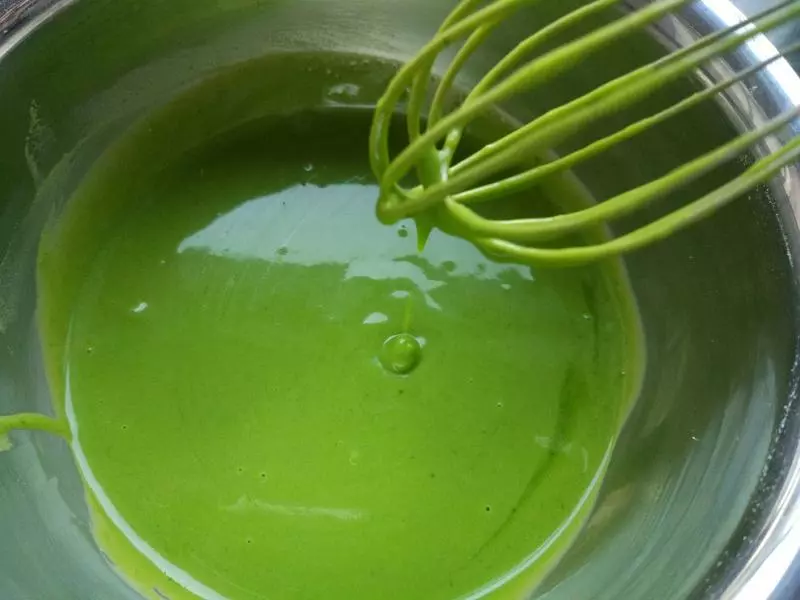
5倒入菠菜汁,蛋黄,盐,搅拌均匀
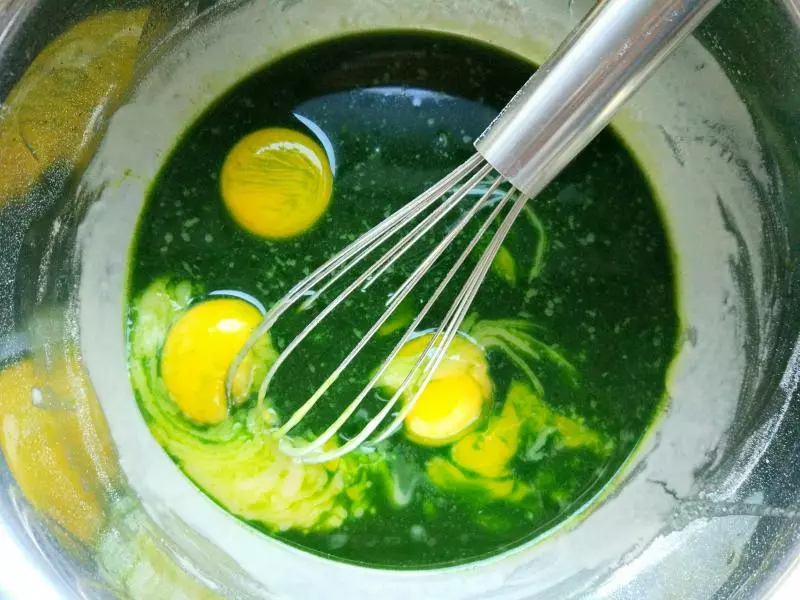
6这时搅拌均匀的面糊比较稀,不过不用但心,混合打发的蛋白后就没事了
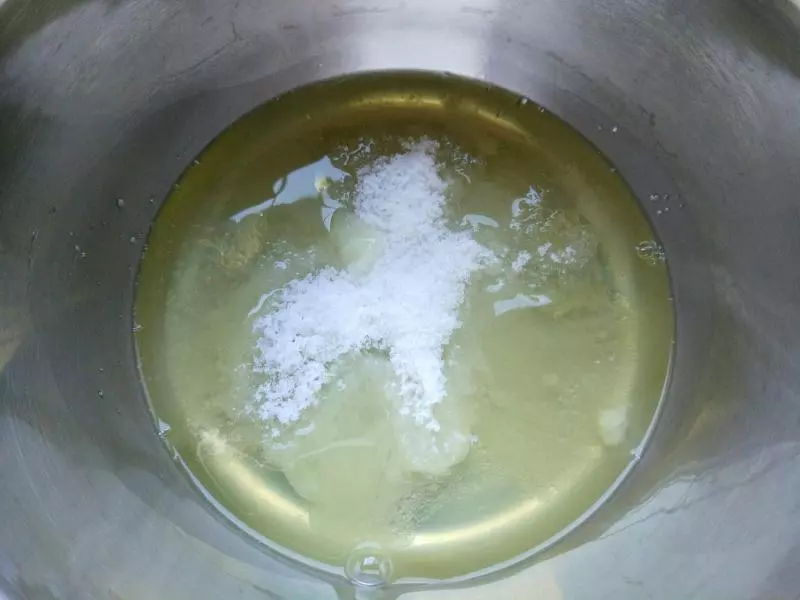
7将所有细砂糖全部加入蛋白, 用手动打蛋器搅打至细砂糖融化,
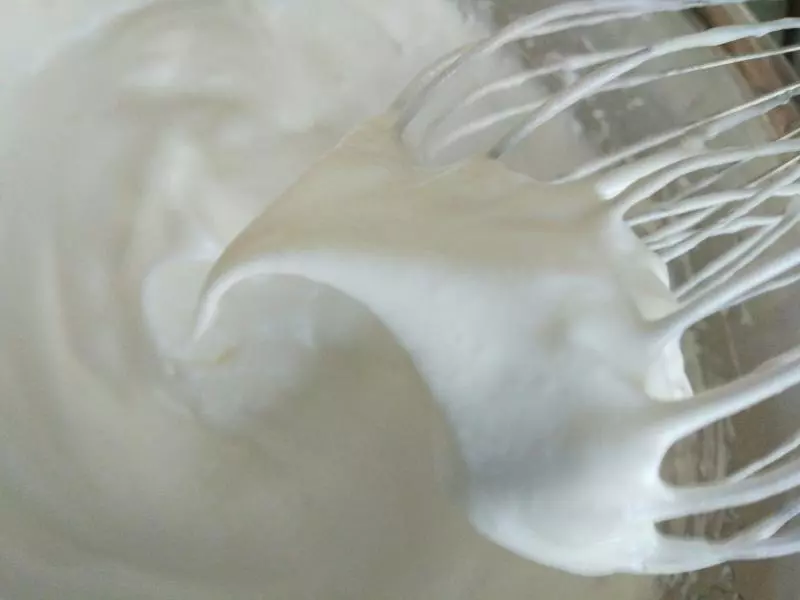
8换电动打蛋器打至湿性发泡,有小弯钩状态即可(预热烤箱上下火165度)
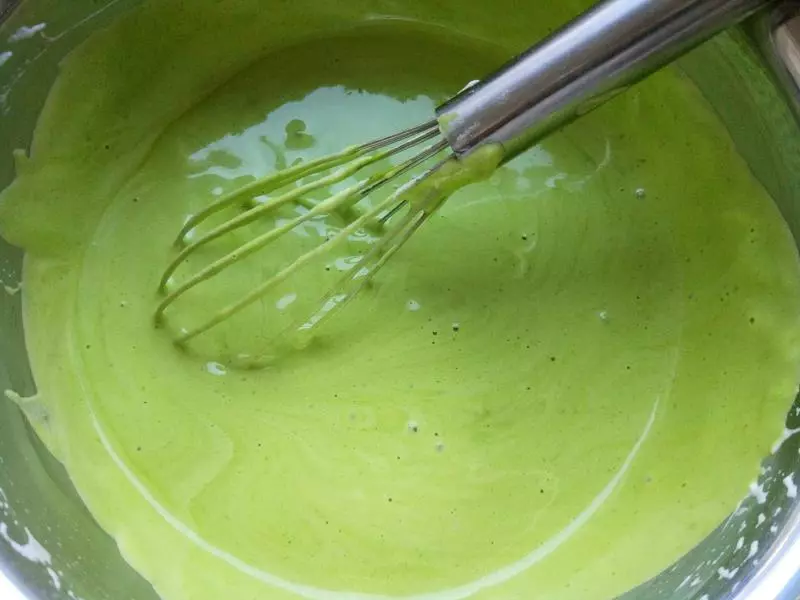
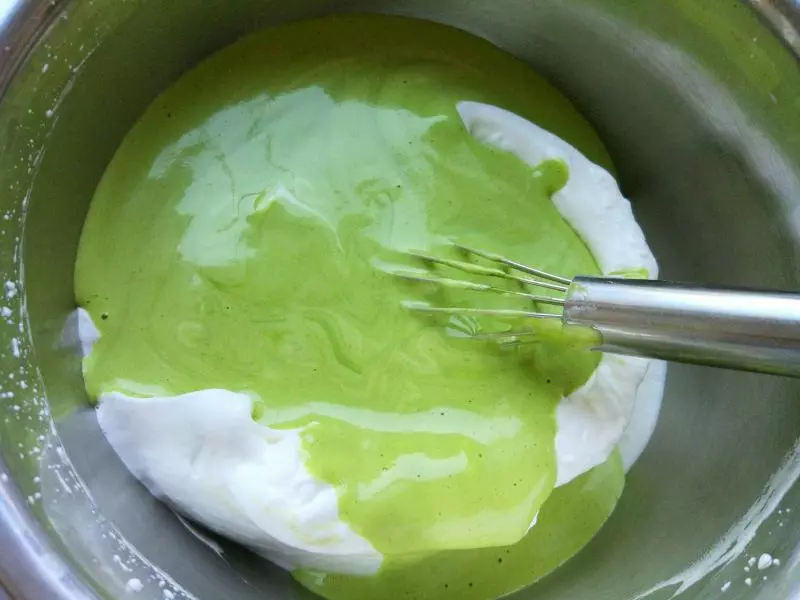
9取1/3打发的蛋白到烫面糊中

10翻拌拌匀
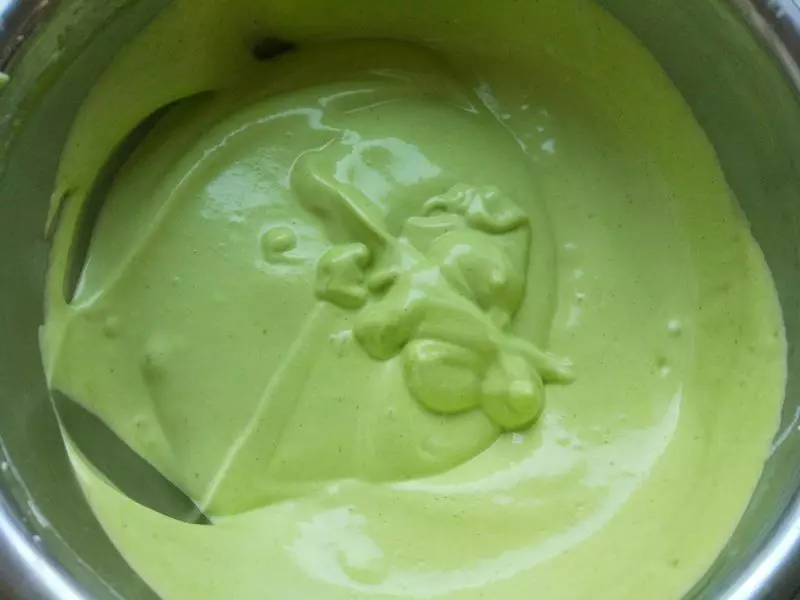
11到入剩下的2/3打发的蛋白中
12翻拌切拌均匀
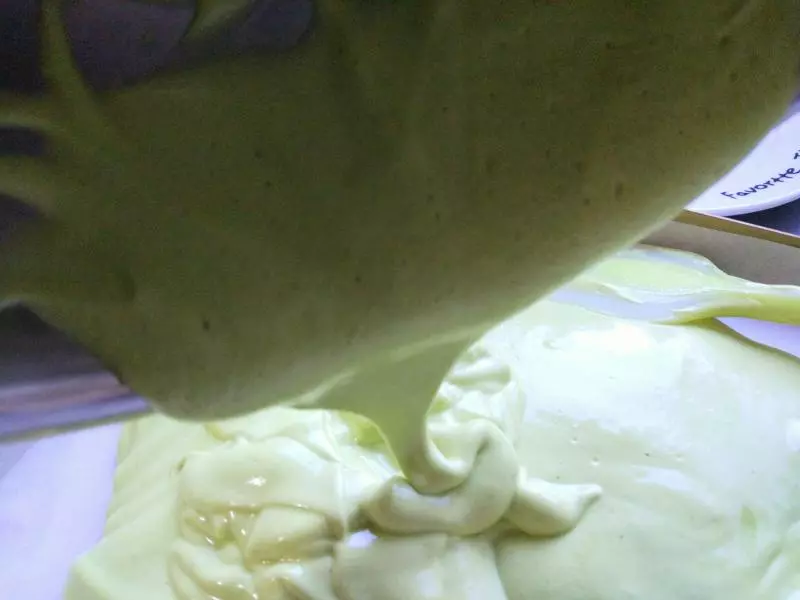
13从20厘米处倒入金盘
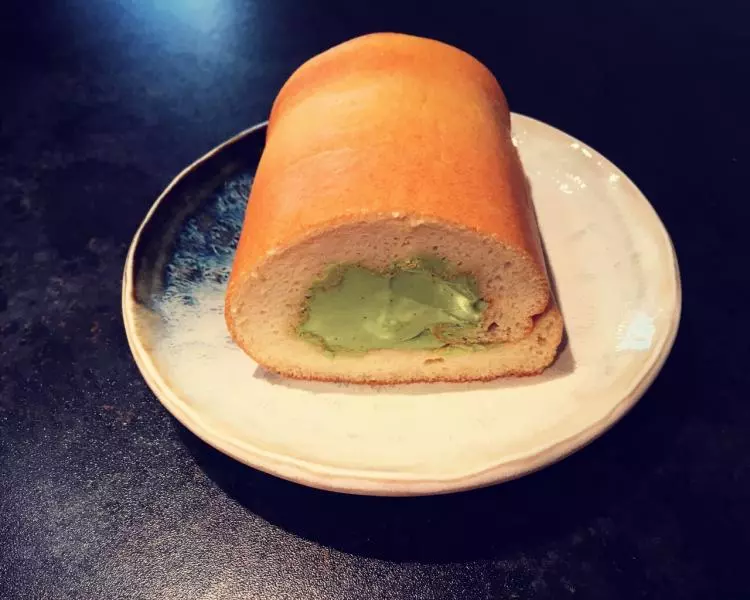
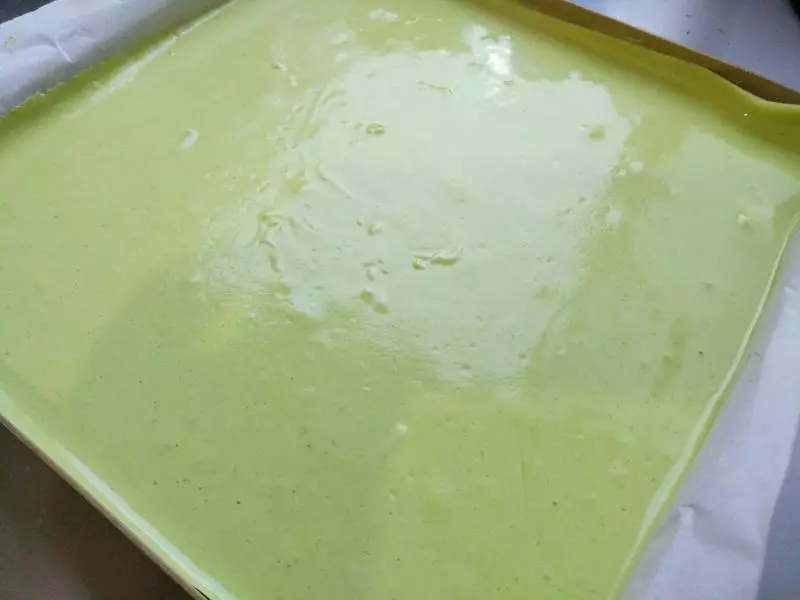
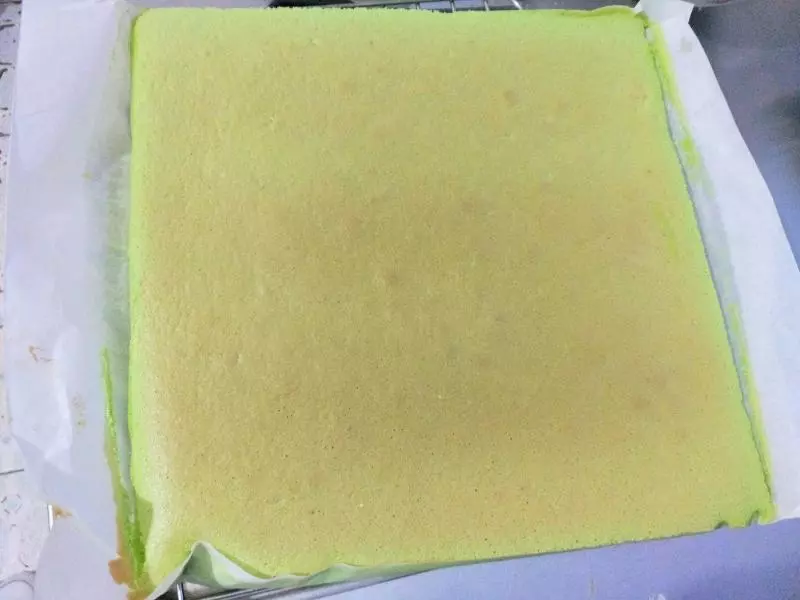
14抹平表面,轻震几下,震出气泡 送入烤箱,上下火165度,中下层 烘焙20分钟
15出炉后,拍几下烤盘底部,震出热气
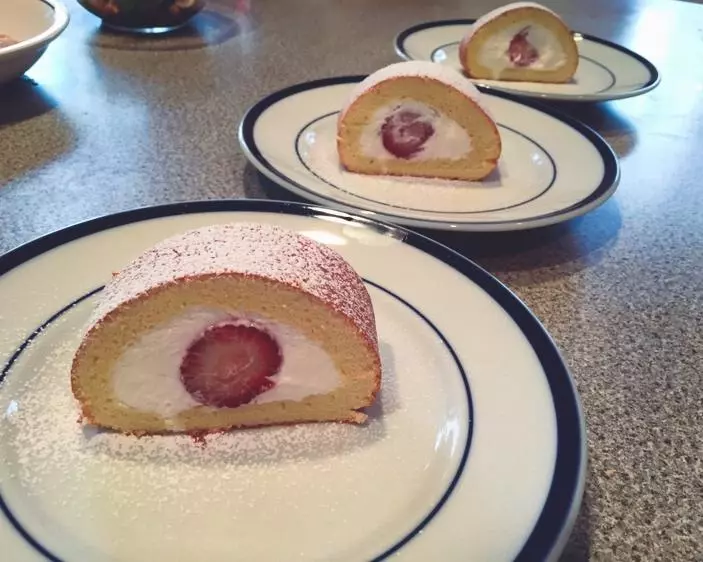
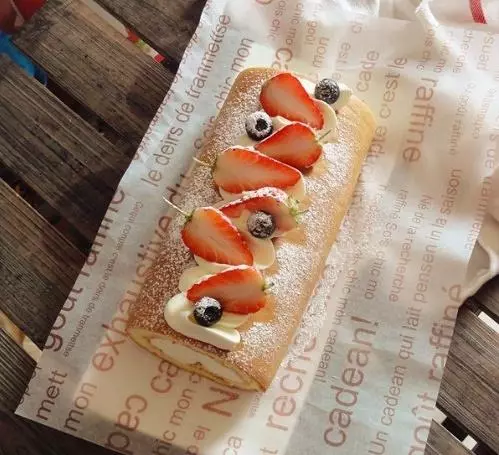
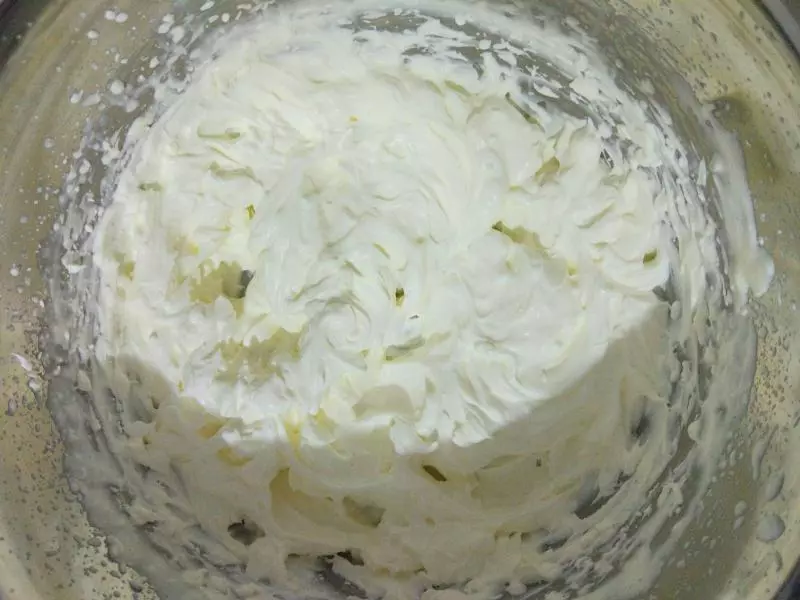
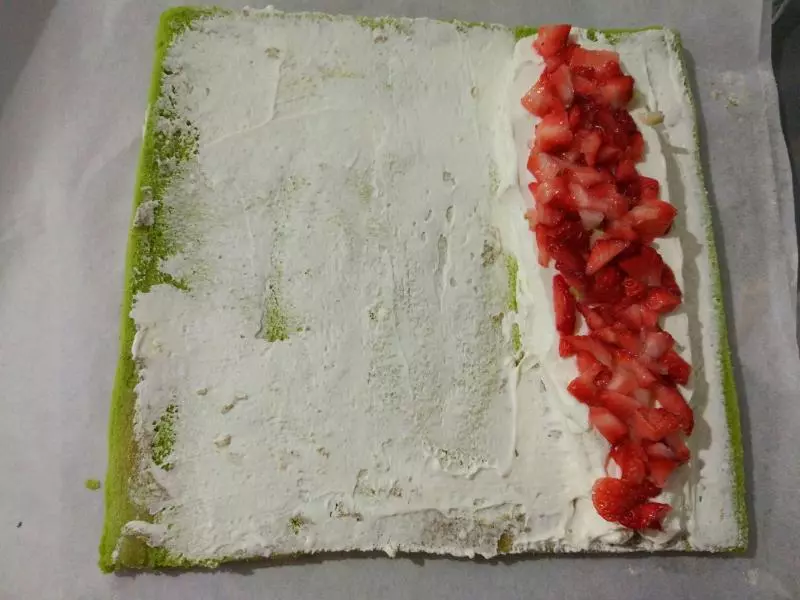
16淡奶油加细砂糖打发硬性打发 涂抹在蛋糕体上
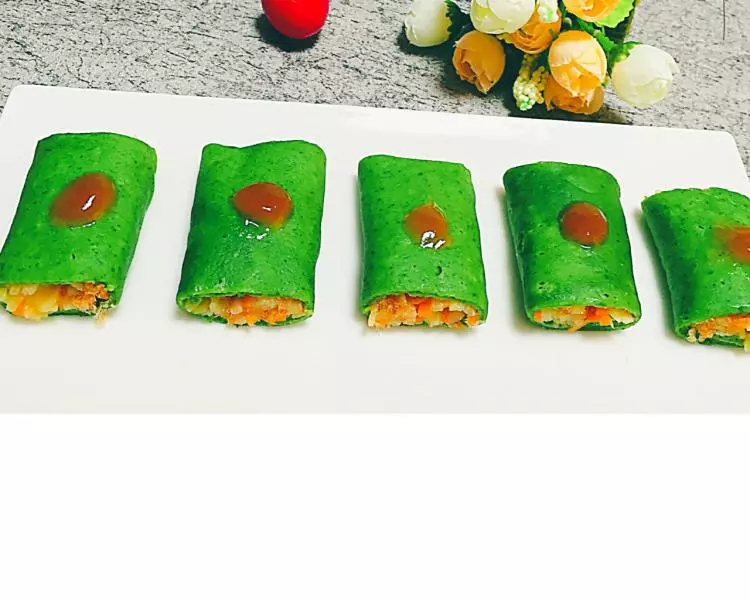
17草莓切丁,码在奶油上
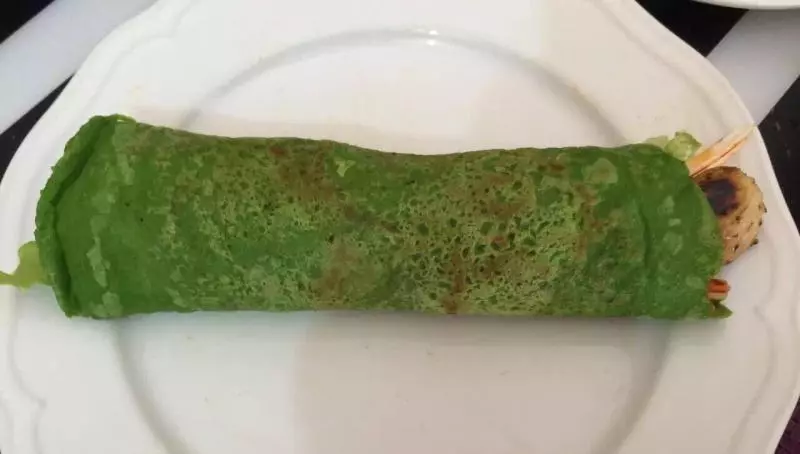
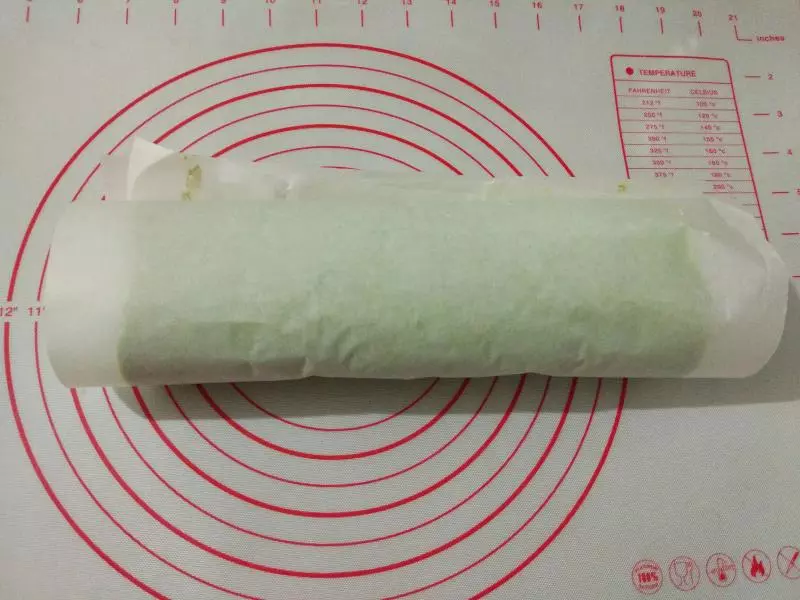
18借助擀面杖将蛋糕体卷起,定型15分钟
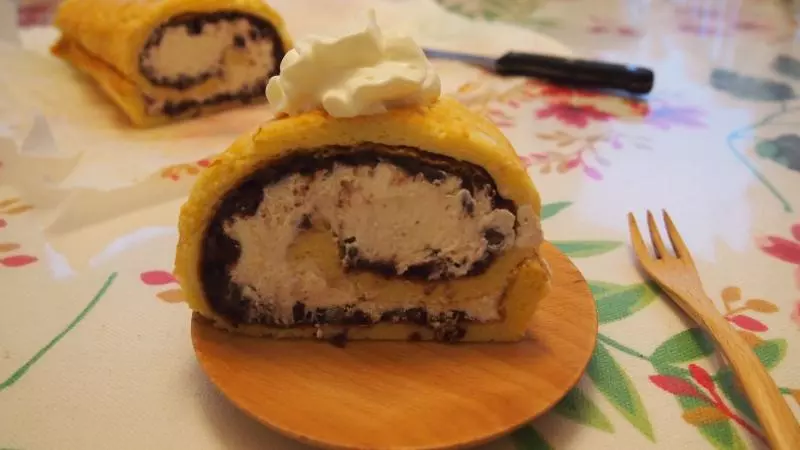
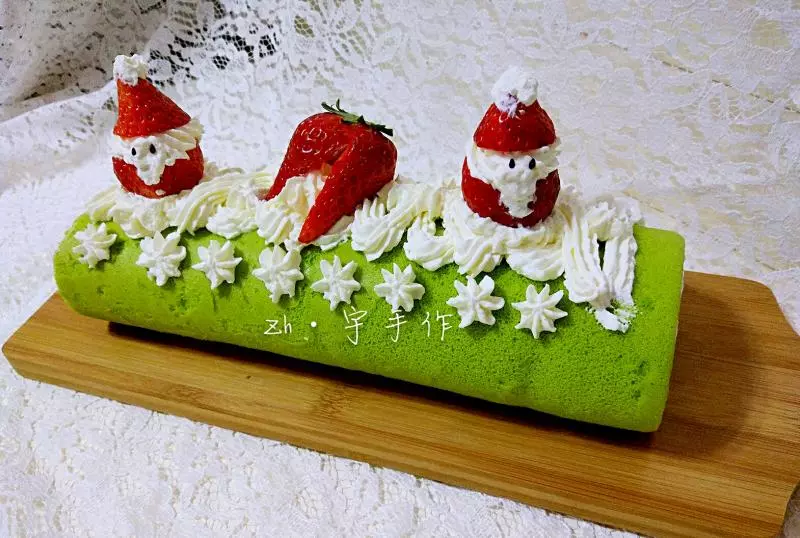
19挤些奶油在浮云卷上, 把草莓做成圣诞老人的模样, 码放在卷上

20美美的拍个照
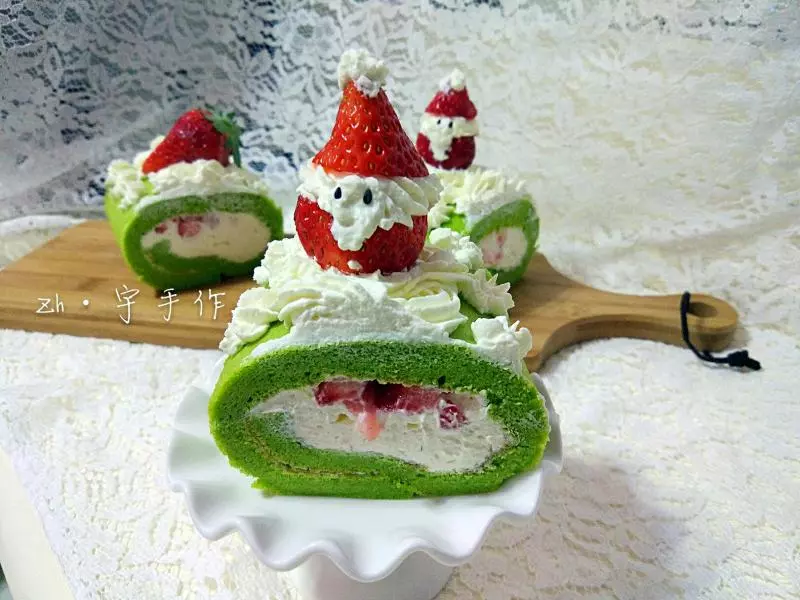
21圣诞老爷爷也来啦

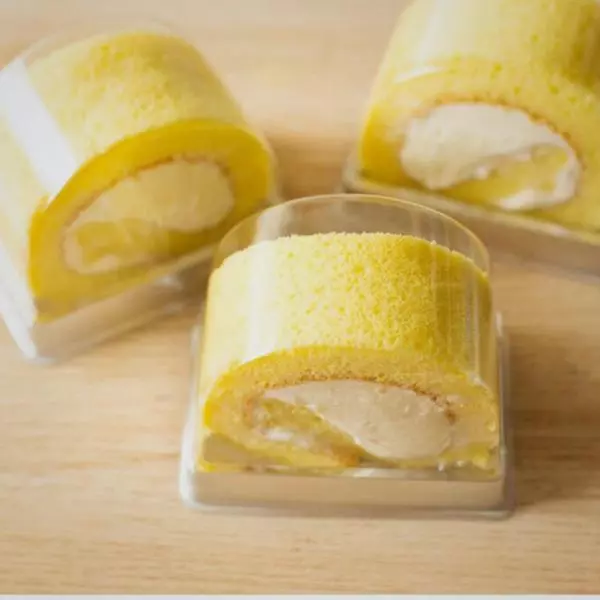
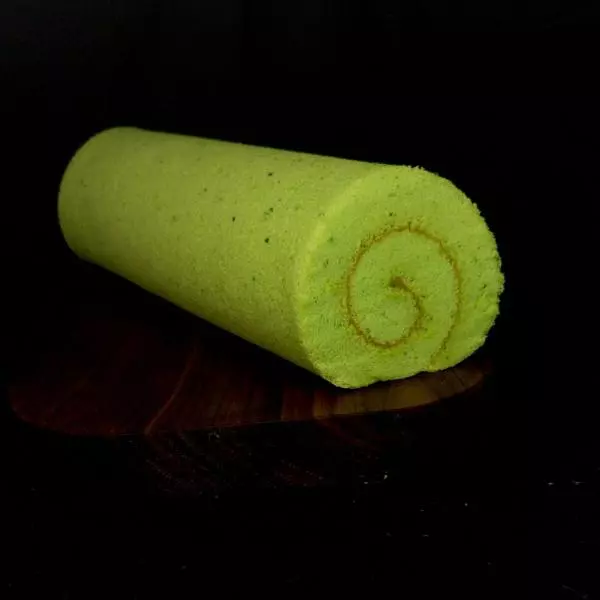
22侧面
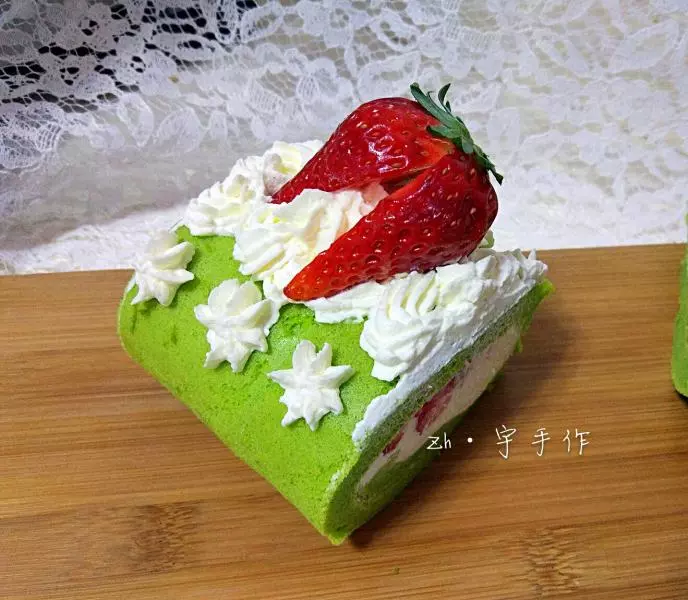
23是不是很美呀

小技巧
1.在制作过程中,加热玉米油和黄油的时候,油的表面起纹路后关火并立刻离火,一定要离火后筛入低筋面粉,否则电磁炉有余温使玉米油继续加热,这是筛入低粉,容易把面粉烫糊 2.步骤6,搅拌的面糊有些稀,不用担心,烫面的就是这样,混合打发的蛋白后就好了 3.每家的烤箱脾气都不同,根据自家烤箱调节温度