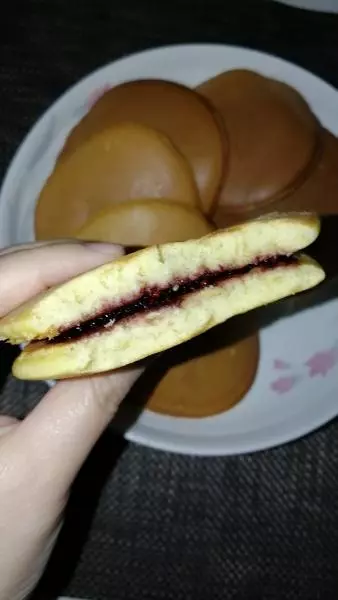
原料
融化的黃油 15g, 蛋黃 1隻, 龍眼蜂蜜 10g, 低筋麵粉 125g, 牛奶 125g, 鹽 1/4茶匙, 抹茶粉 5g, 熱水 2勺, 蛋白 1隻, 白糖 15g, 紅豆餡 適量
步驟
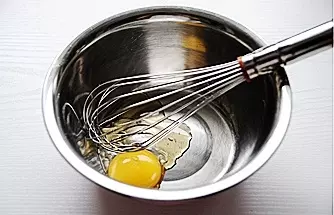
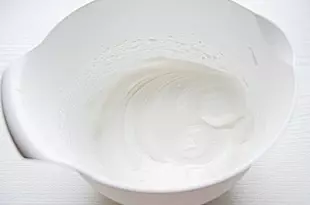
1蛋黃加蜂蜜攪勻
2加入融化成液體的黃油攪勻
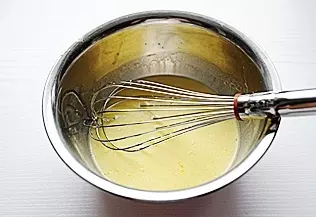
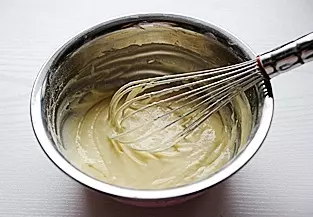
3加入低筋麵粉,攪勻
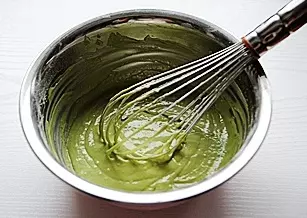
4抹茶粉加2勺熱水充分攪勻,至無顆粒

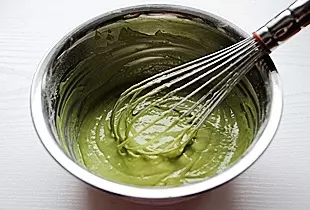
5將抹茶溶液加入到麵糊中,攪勻
6蛋白加白糖,用電動打蛋器打到硬性發泡
7將蛋白分三次加入麵糊中,拌勻,手法如戚風蛋糕
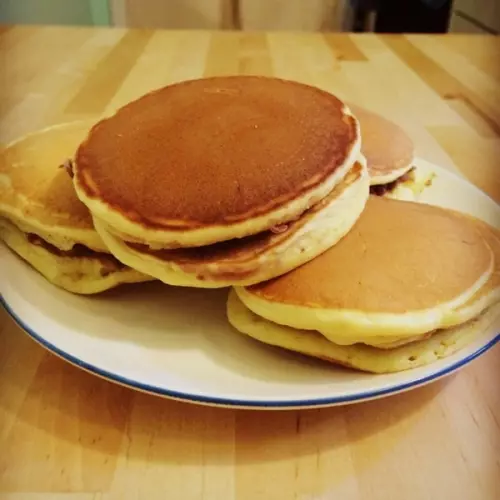
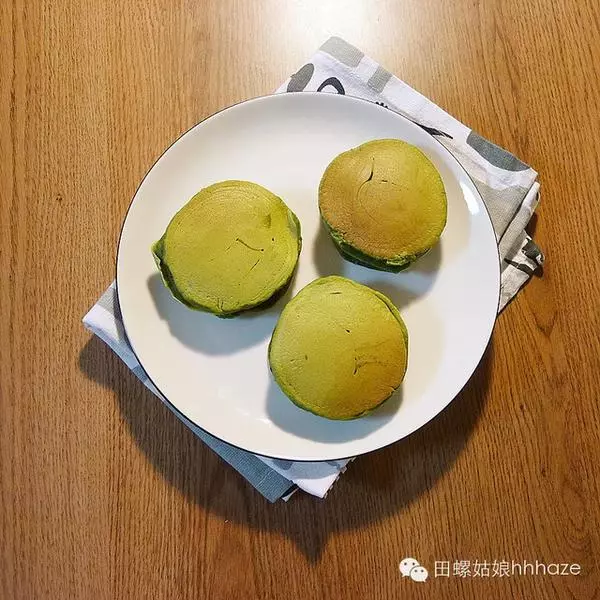
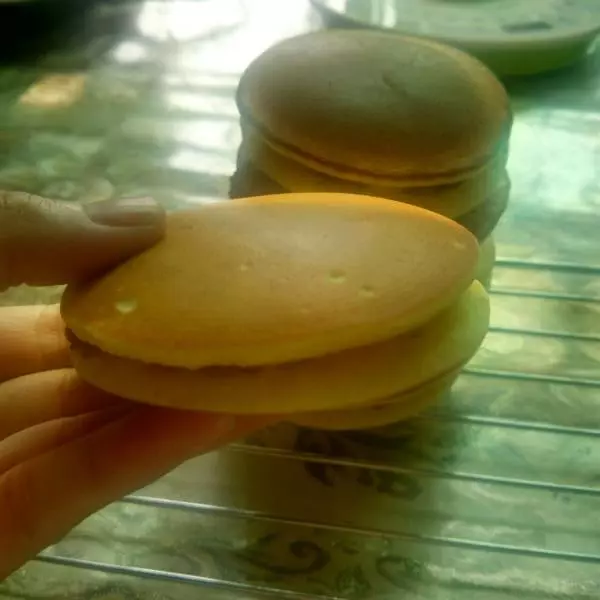
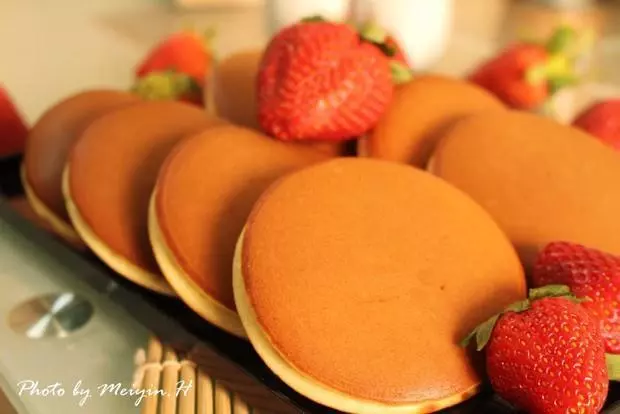
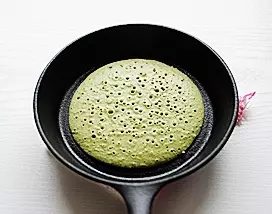
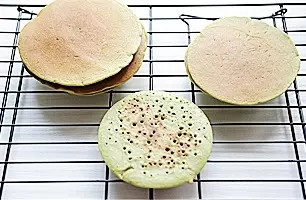
8不沾平底鍋抹少許油,燒熱後舀入一勺麵糊,小火慢烙,待邊緣凝固用竹籤能輕易挑起且表面有很多氣孔時,翻面烙另一面至上色後取出;
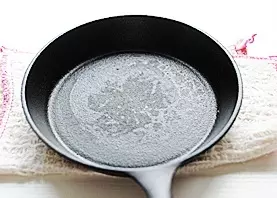
9將鍋子放在濕布上降溫,以保證烙下一個餅胚時顏色均勻
10將烙好的餅胚放在烤網上涼透
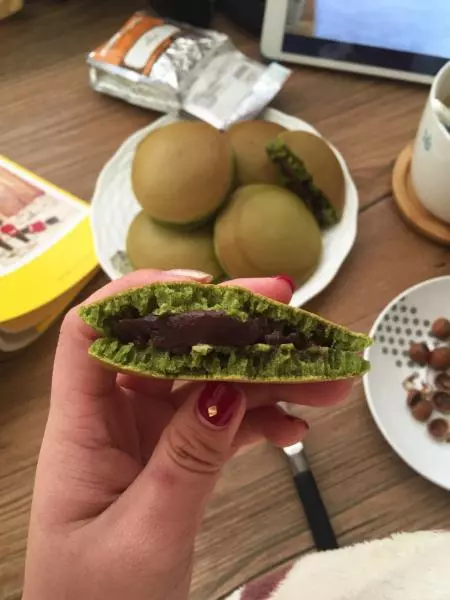
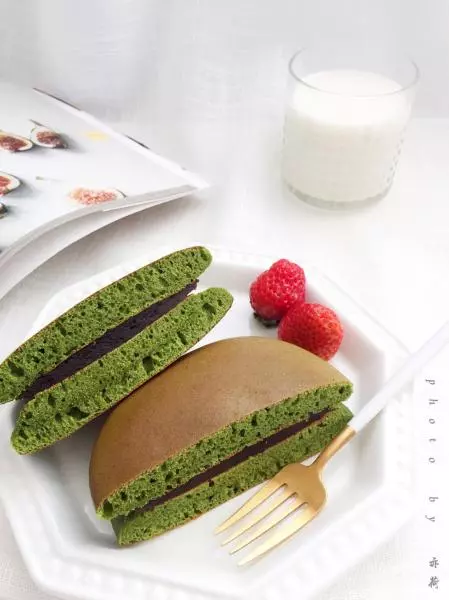
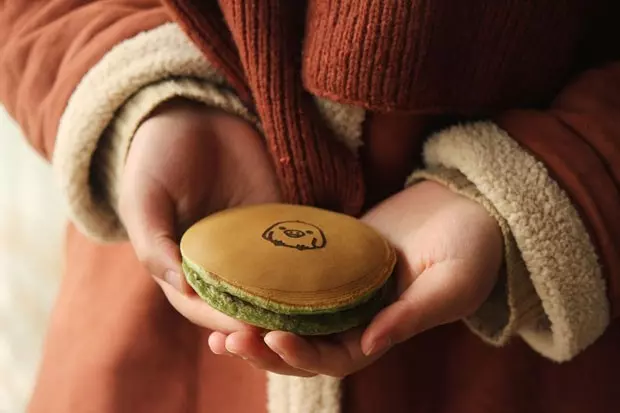
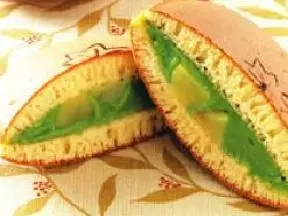
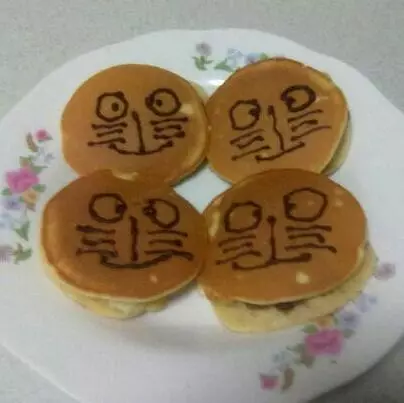
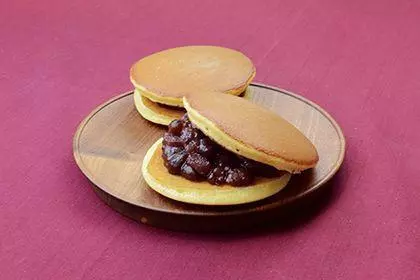
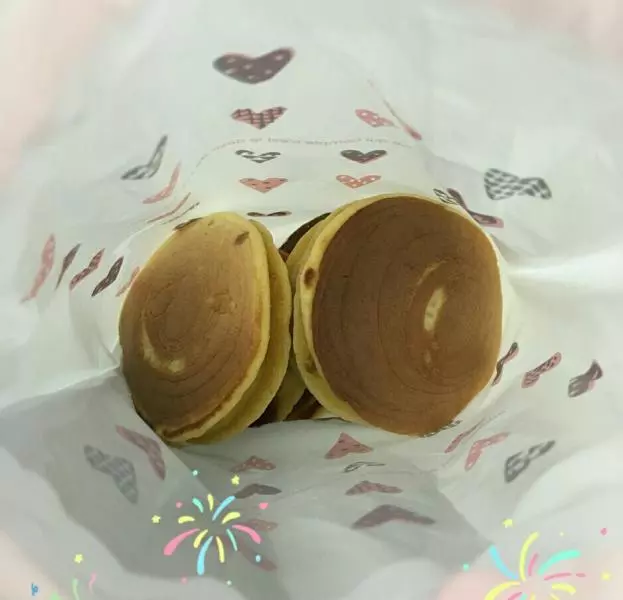
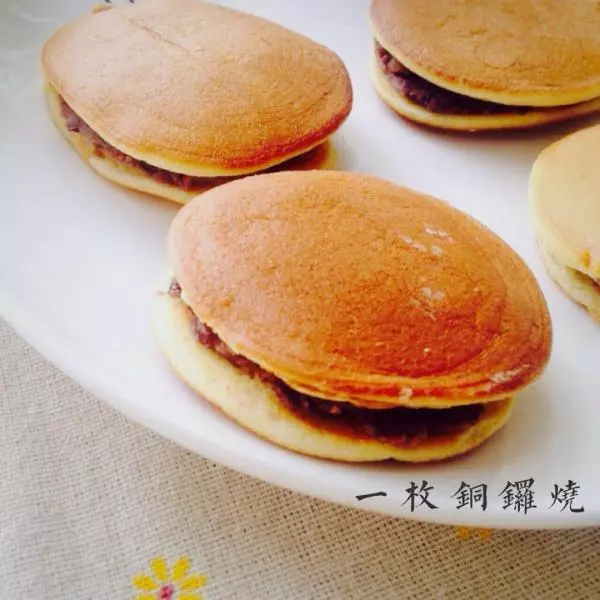
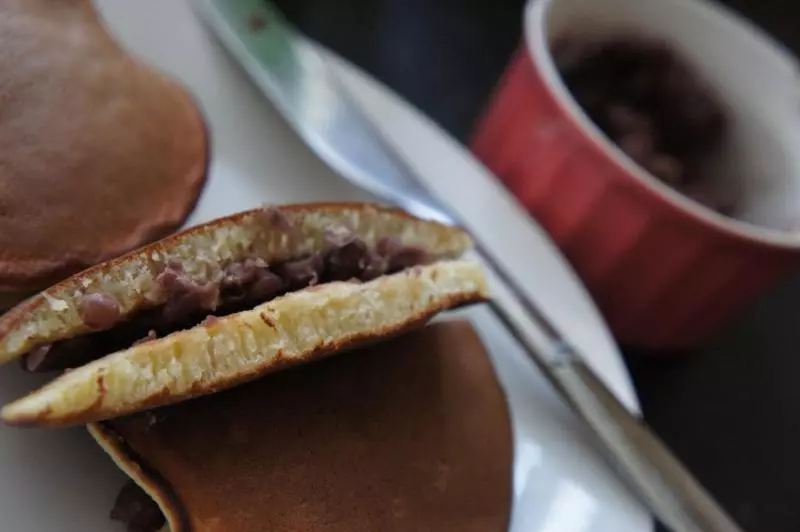
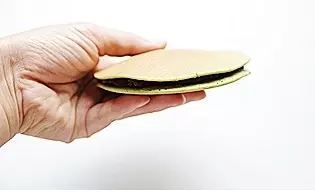
11取一片餅胚抹上紅豆餡,中間厚邊緣薄一些

12再蓋上另一片餅胚輕輕壓實即可
13