原料
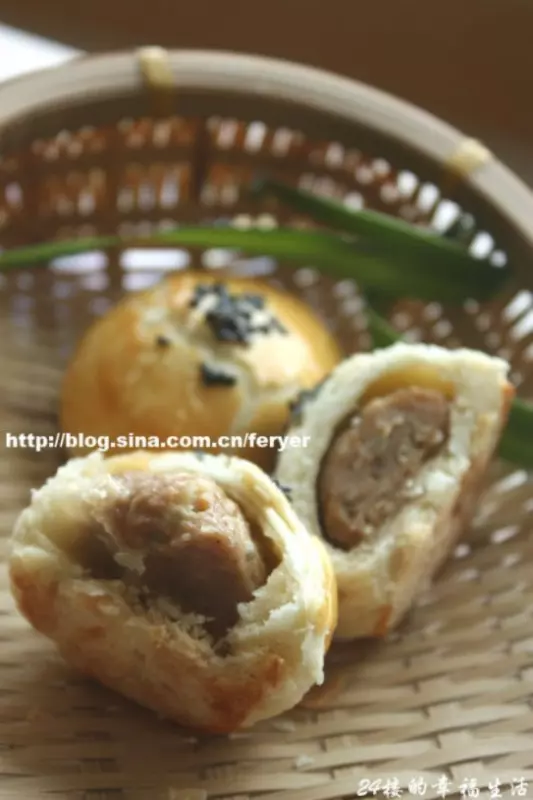
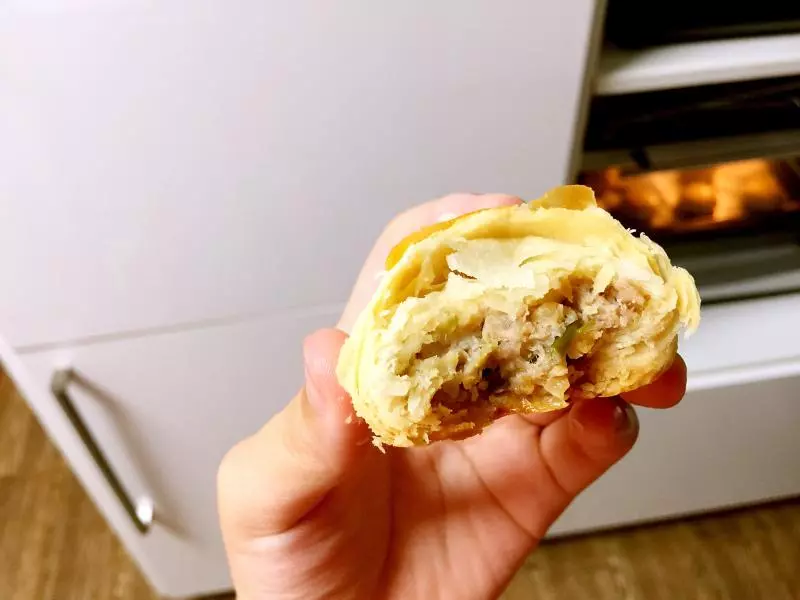
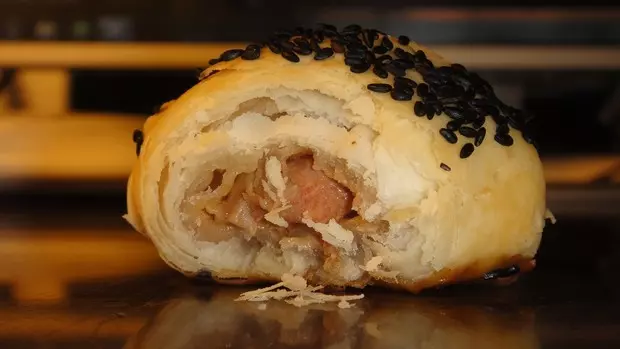
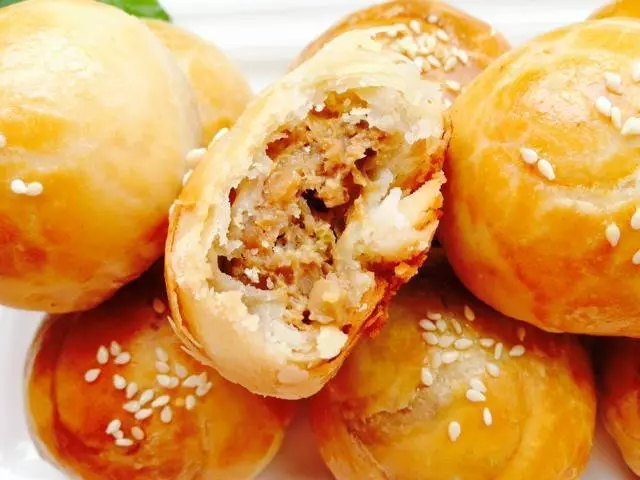
餡料:: , 3:7豬肉末: 400g, 蔥末: 適量, 烏江清淡榨菜: 60g切末, 雞蛋: 1個, 生抽: 1大勺, 蚝油: 2大勺, 鹽/糖: 1g/10g, 料酒、黑胡椒粉: 適量, 油皮:: , 中粉: 200g, 糖粉: 20g, 豬油: 60g, 水: 70g, 油酥:: , 低粉: 135g, 豬油: 70g
步驟
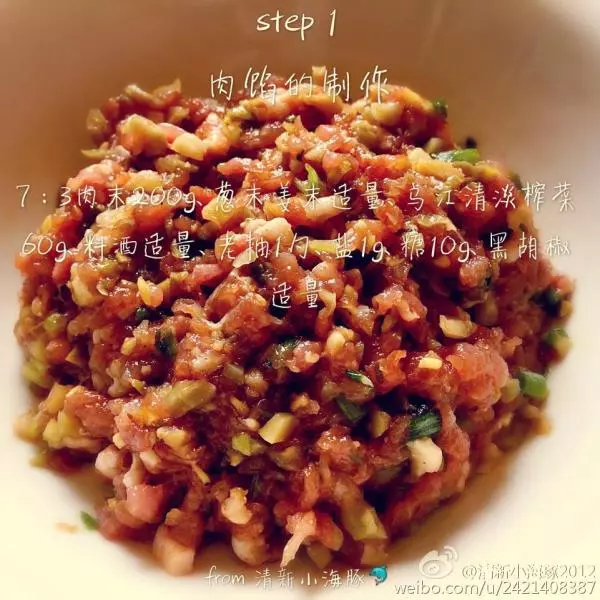
1step 1: 7:3肉末200g、蔥末薑末適量、烏江清淡榨菜60g、料酒適量、老抽1勺、鹽1g、糖10g、黑胡椒適量
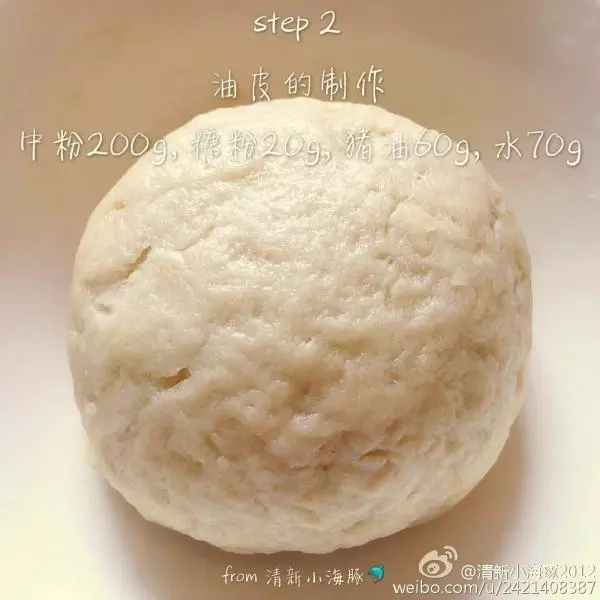
2step 2:中粉200g、糖粉20g、豬油60g、水70g
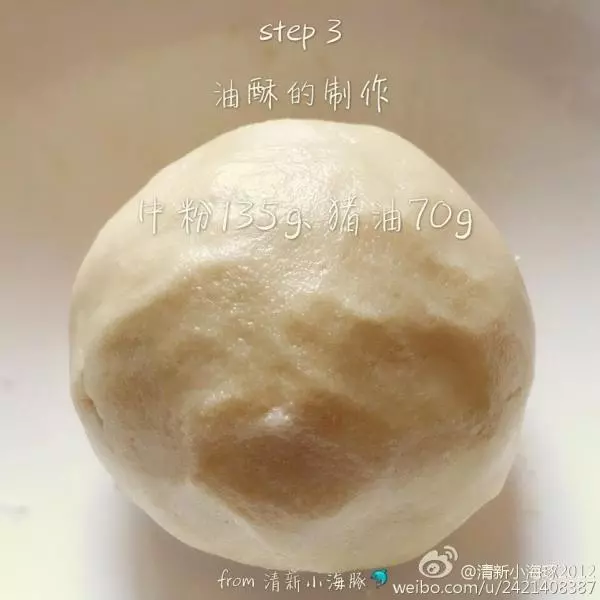
3step 3:中粉135g、豬油70g
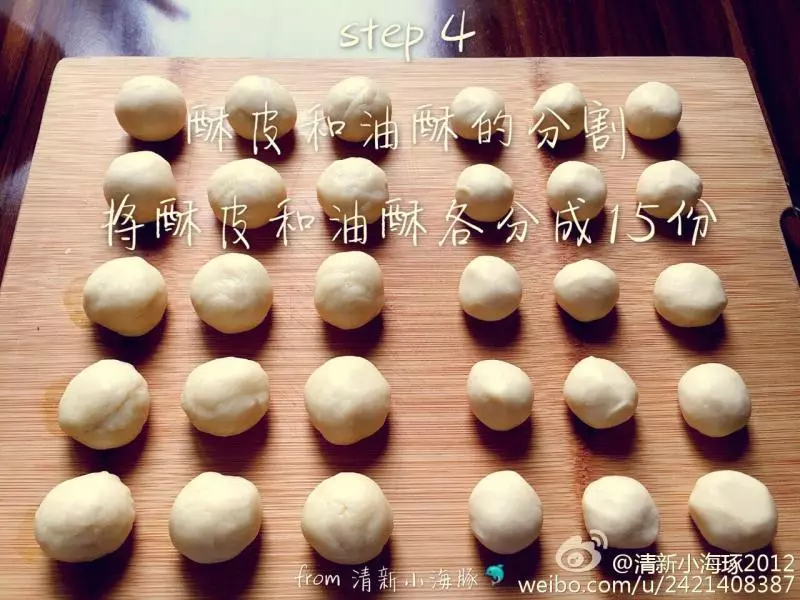
4step 4 酥皮和油酥的分割 將酥皮和油酥各分成15份
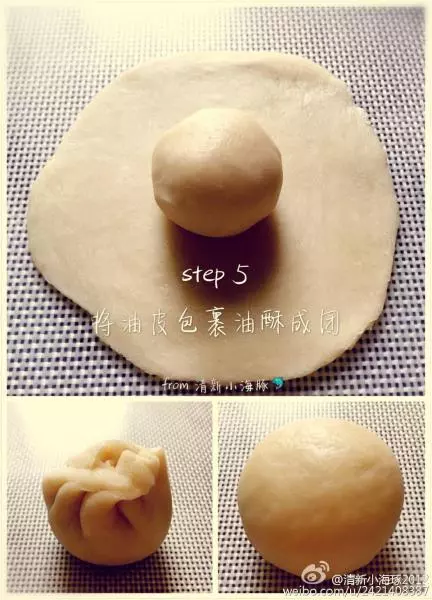
5step 5 將油皮包裹油酥成團
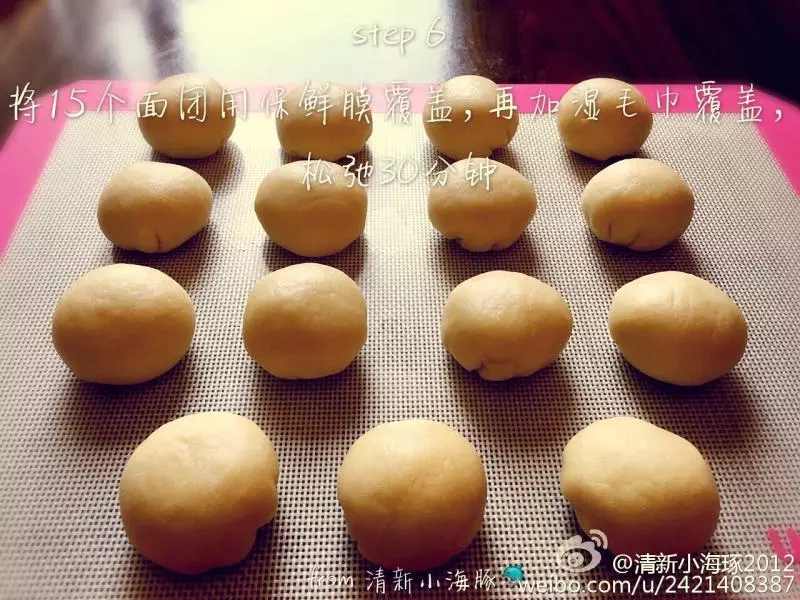
6step 6 將15個麵糰用保鮮膜覆蓋,再加濕毛巾覆蓋,鬆弛30分鐘
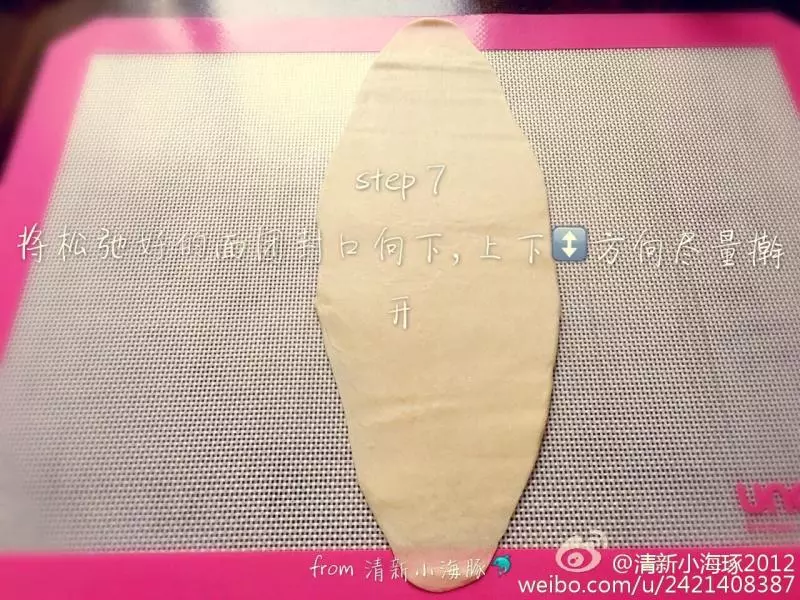
7step 7 將鬆弛好的麵糰封口向下,上下↕️方向儘量擀開
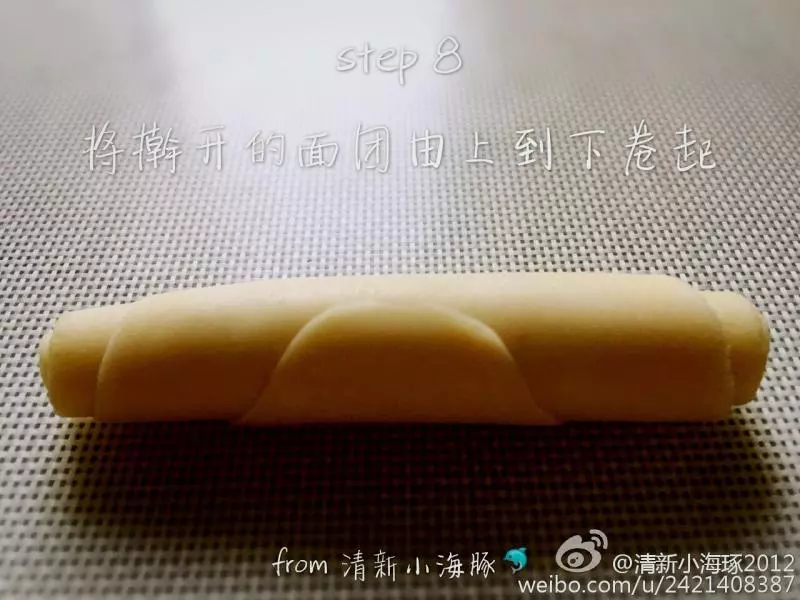
8step 8 將擀開的麵糰由上到下捲起
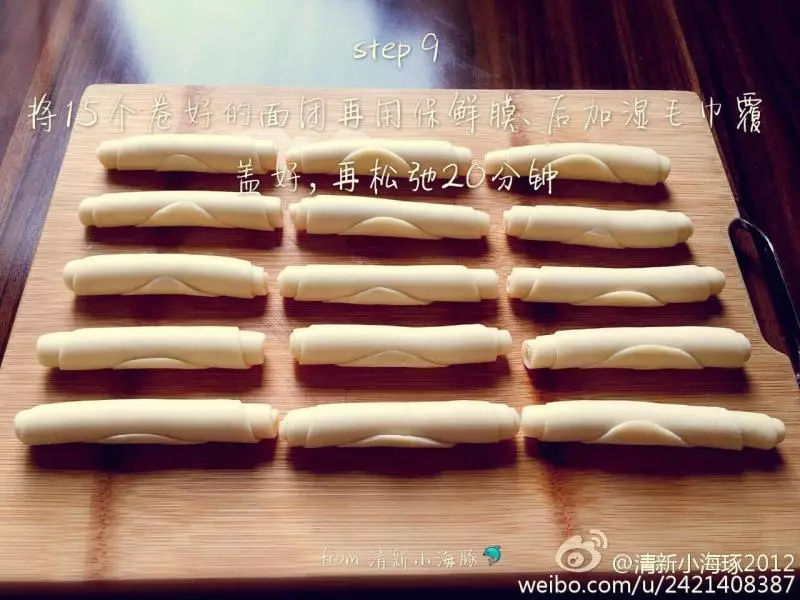
9step 9 將15個卷好的麵糰再用保鮮膜、後加濕毛巾覆蓋好,再鬆弛20分鐘
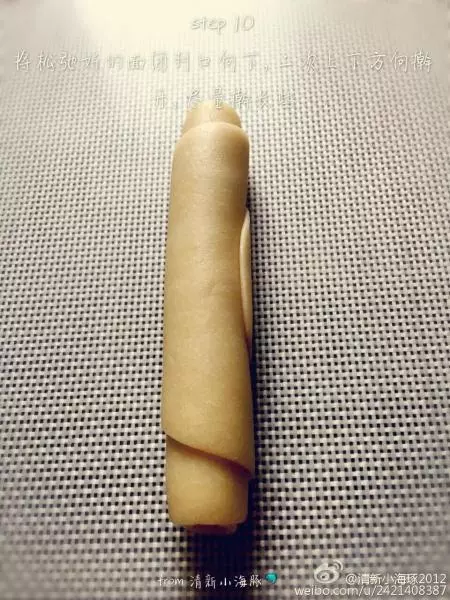
10step 10 將鬆弛好的麵糰封口向下,二次上下方向擀開,儘量擀長些
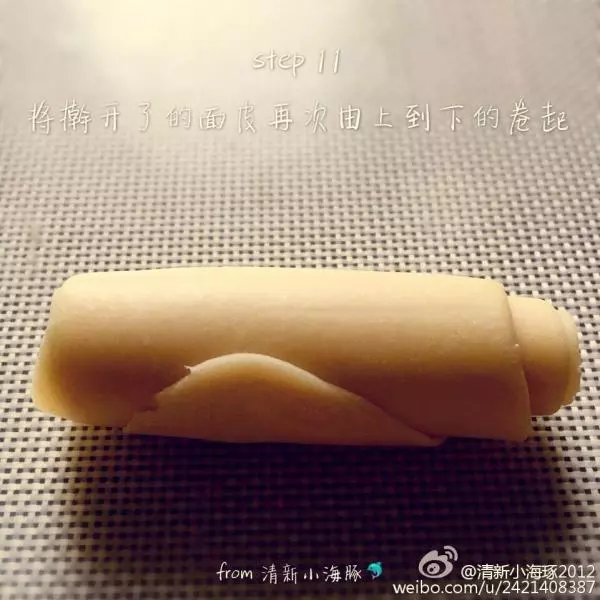
11step 11 將擀開了的麵皮再次由上到下的捲起
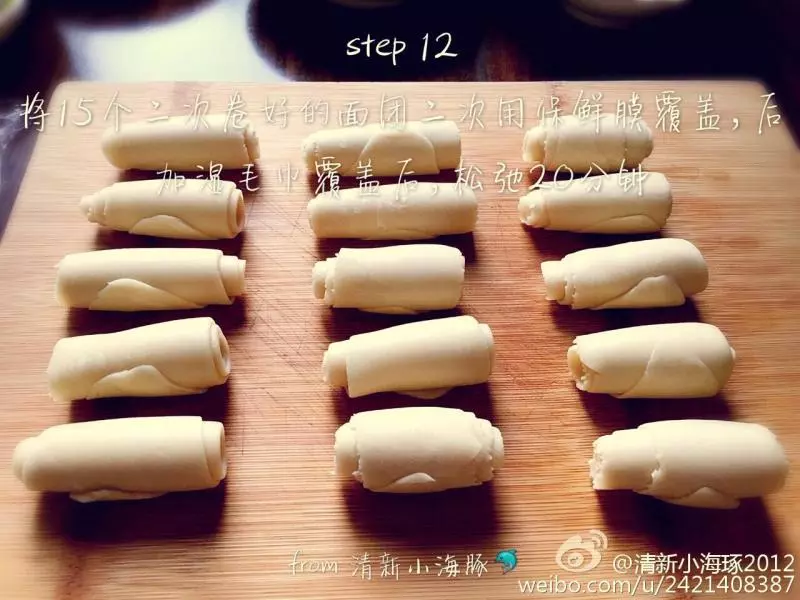
12step 12 將15個二次卷好的麵糰二次用保鮮膜覆蓋,後加濕毛巾覆蓋後,再鬆弛20分鐘
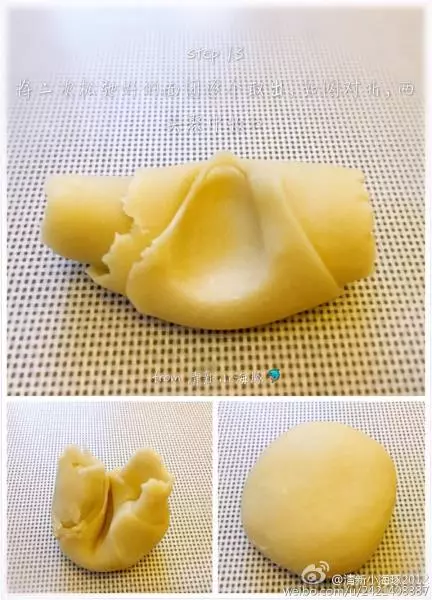
13step 13 將二次鬆弛好的麵糰逐個取出,如圖對摺,兩頭聚中收口
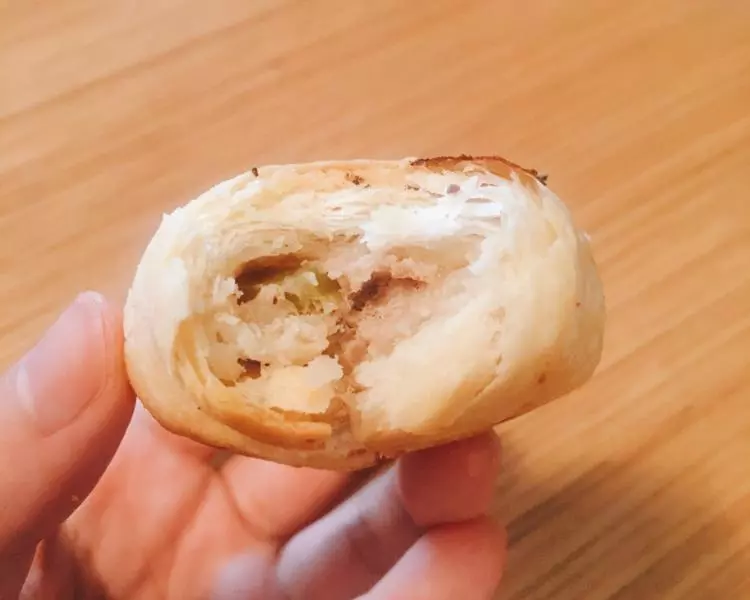
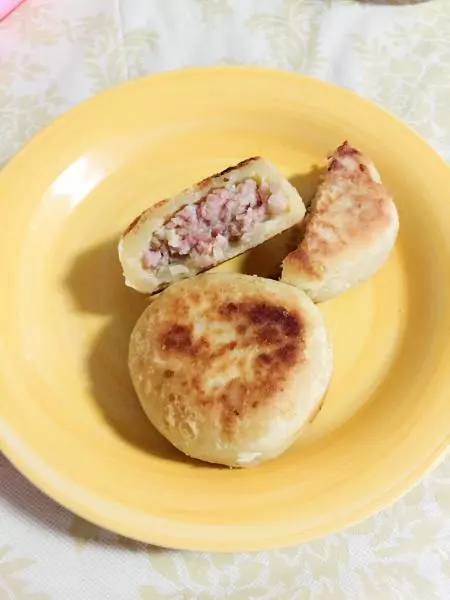
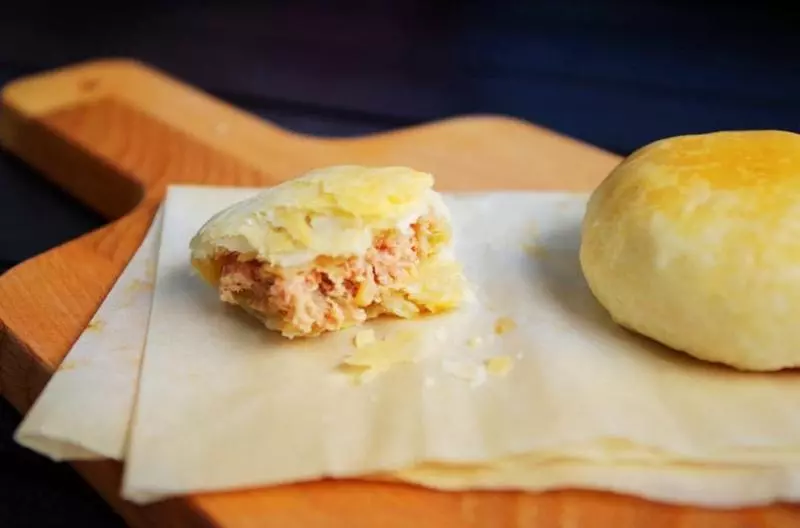
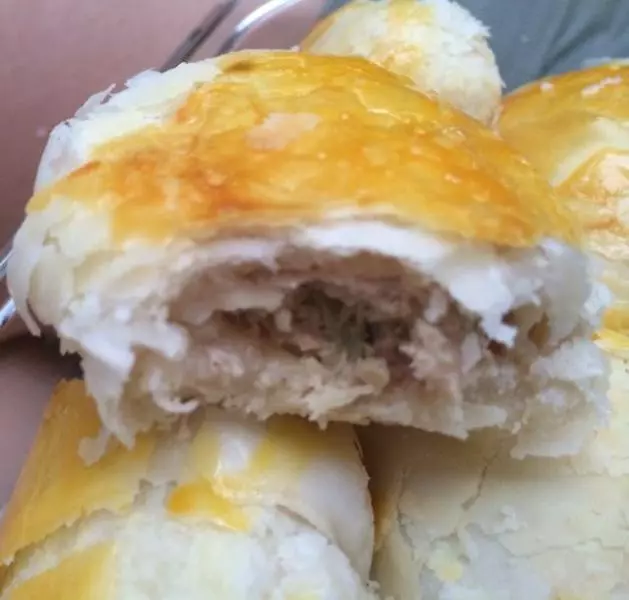
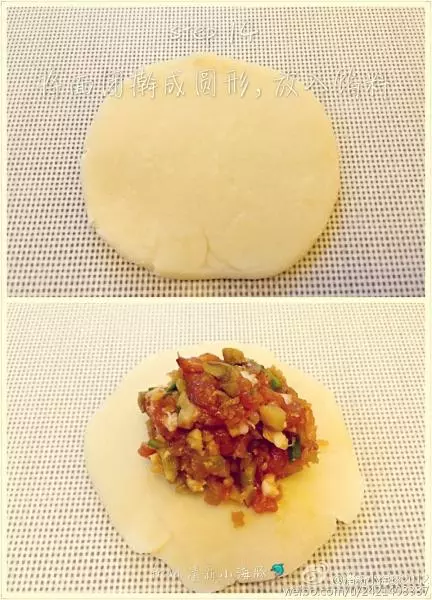
14step 14 將麵糰擀成圓形,放入餡料
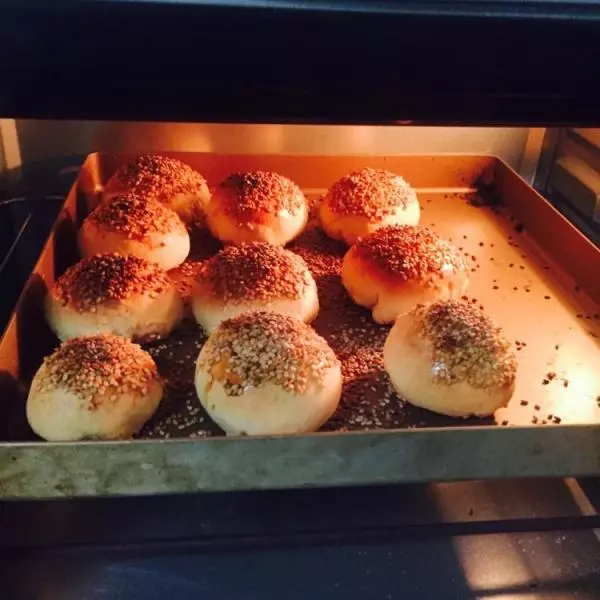
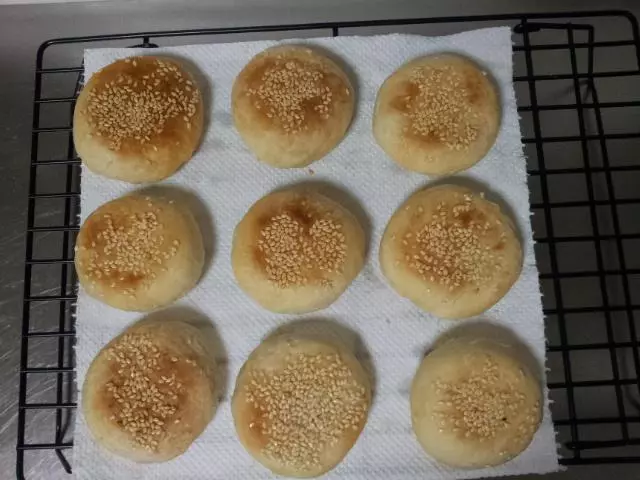
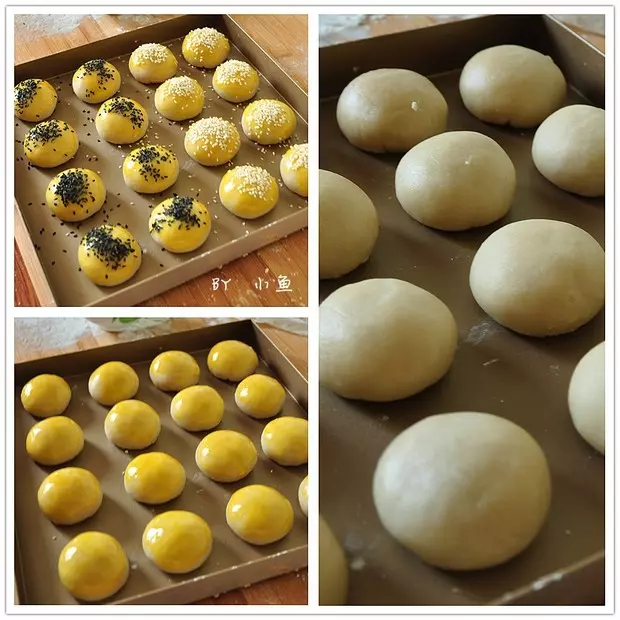
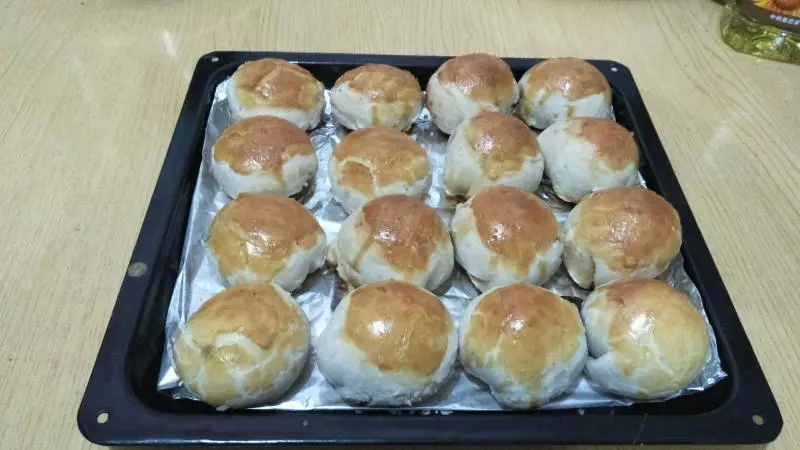
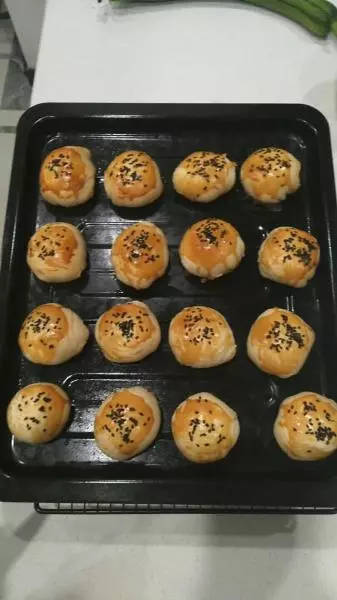
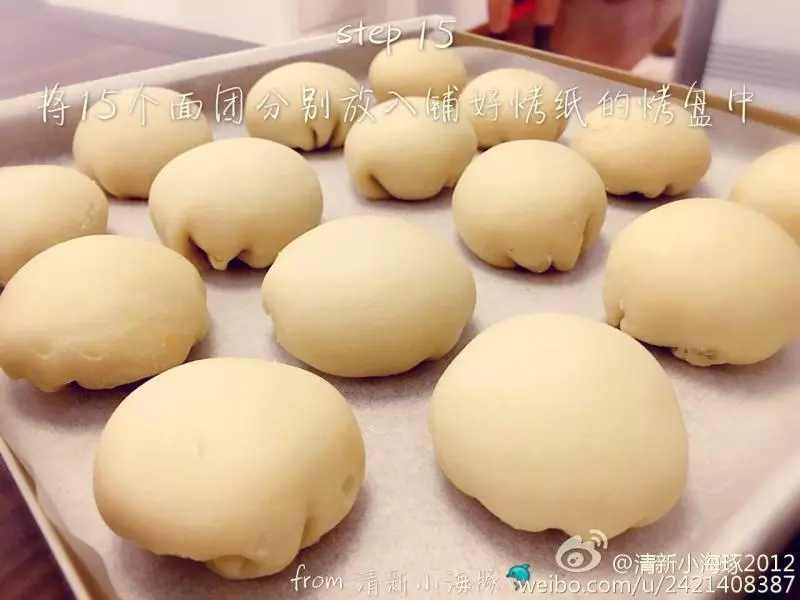
15step 15 將15個麵糰分別放入鋪好烤紙的烤盤中
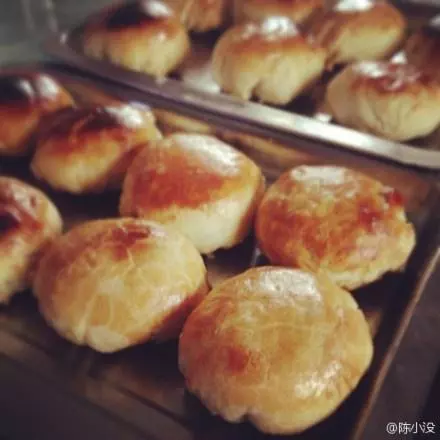
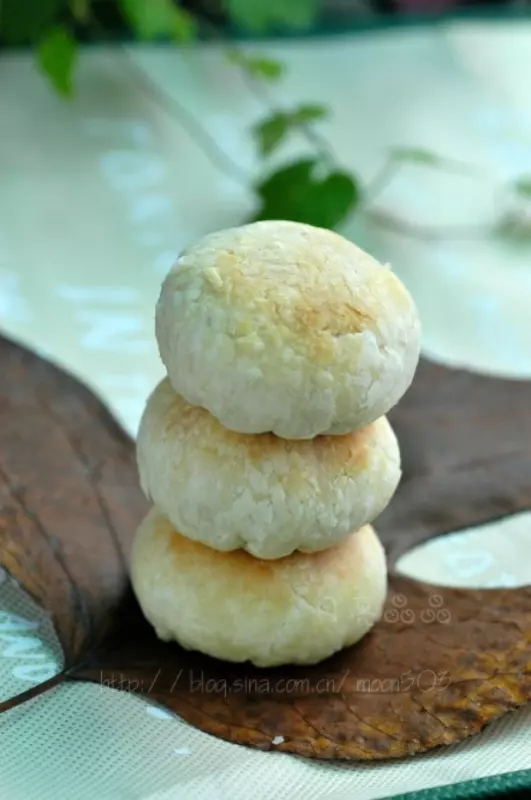
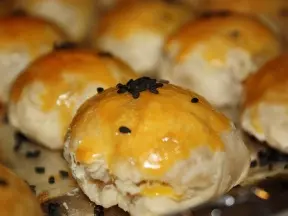
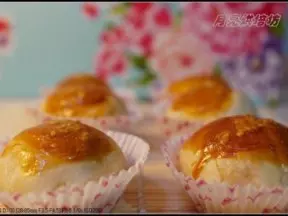
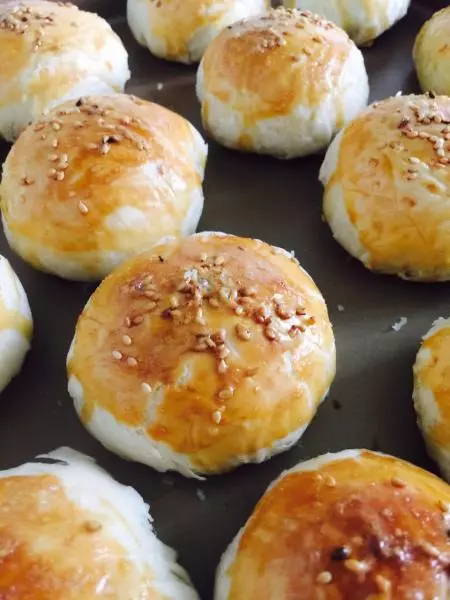
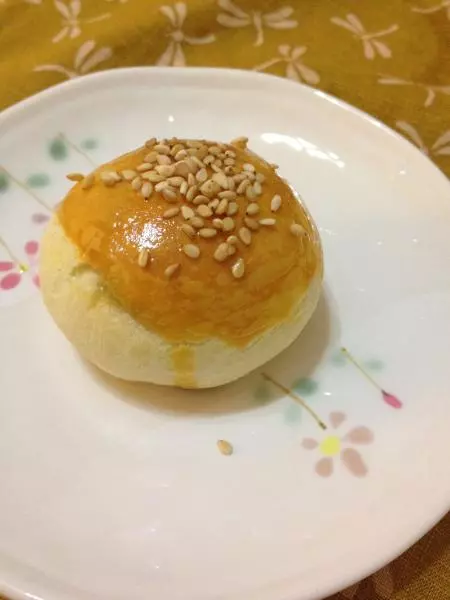
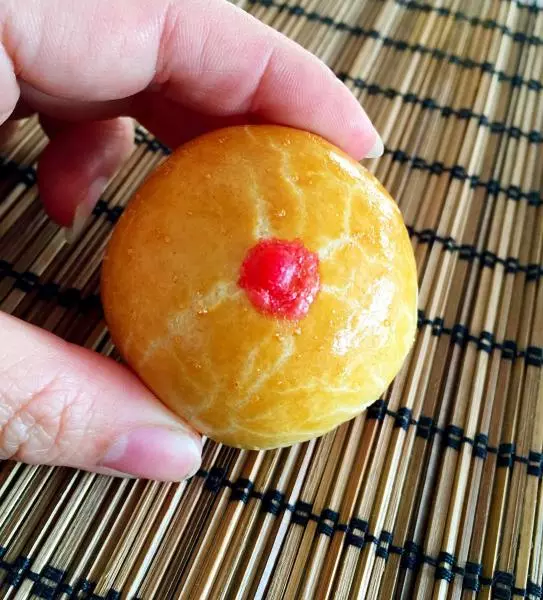
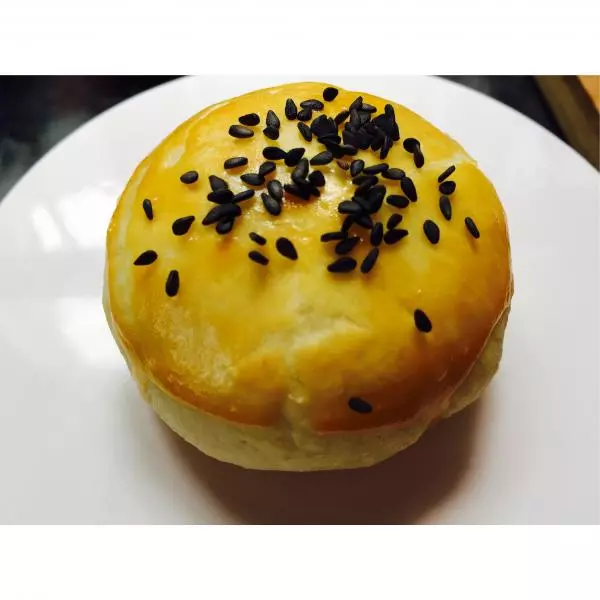
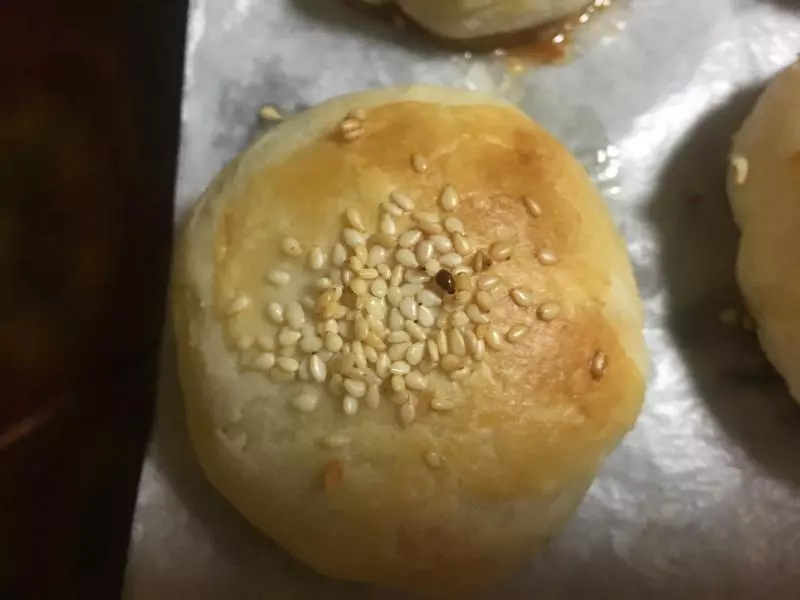
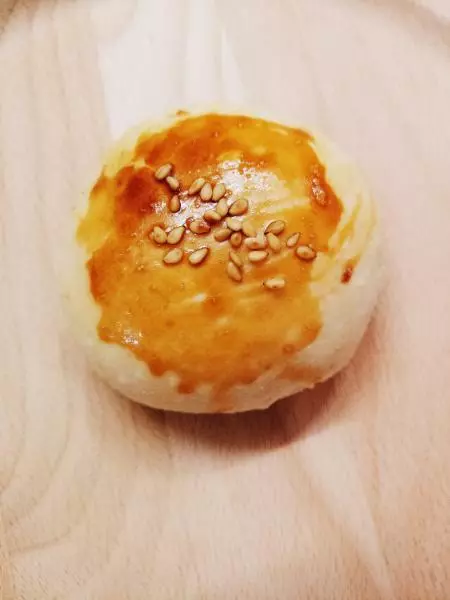
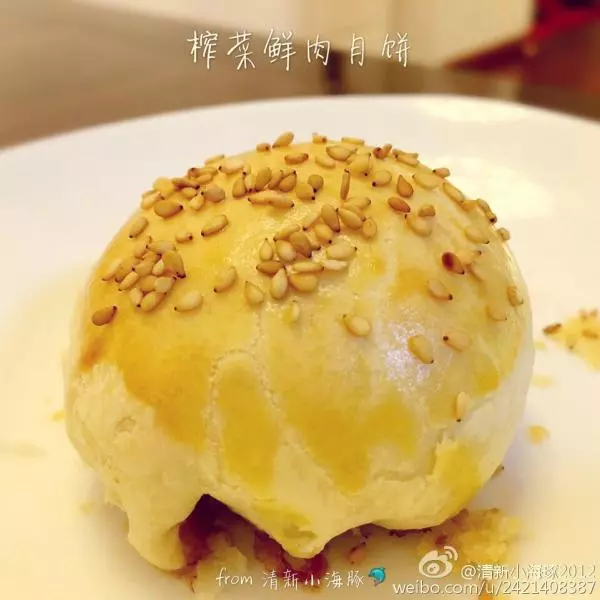
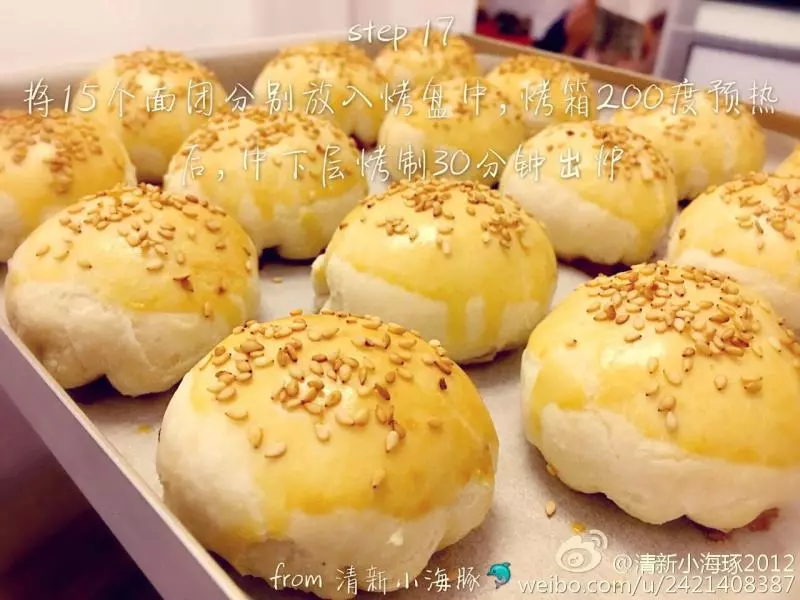
16step 16 將15個麵糰都刷上蛋液、撒上芝麻

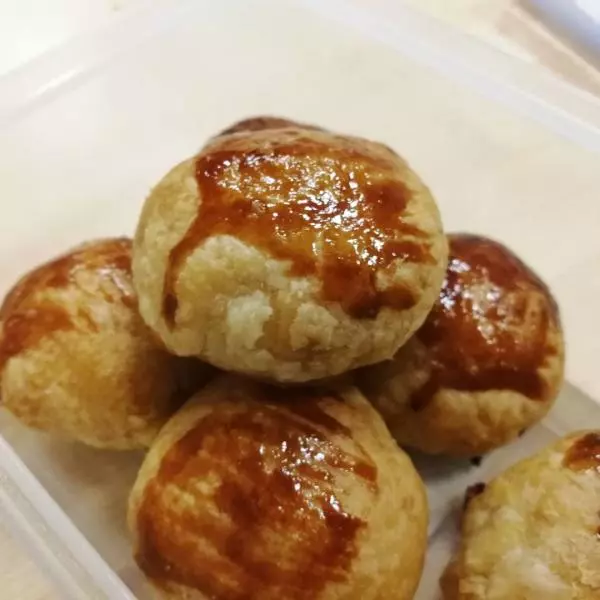
17step 17 將15個麵糰分別放入烤盤中,烤箱200度預熱後,中下層烤制30分鐘出爐
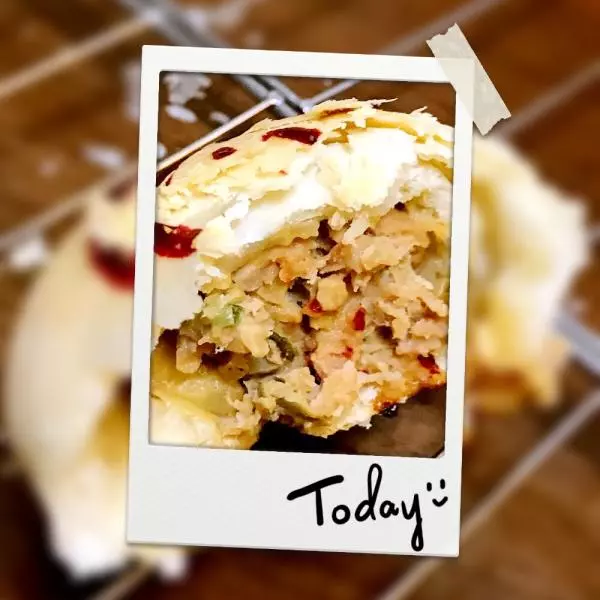
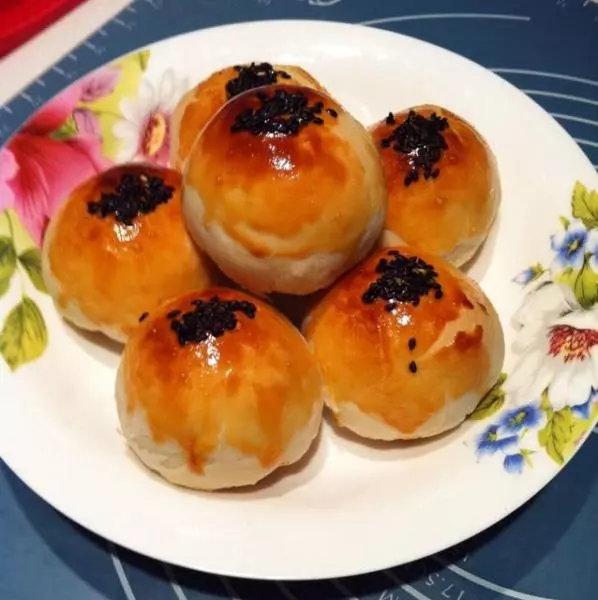
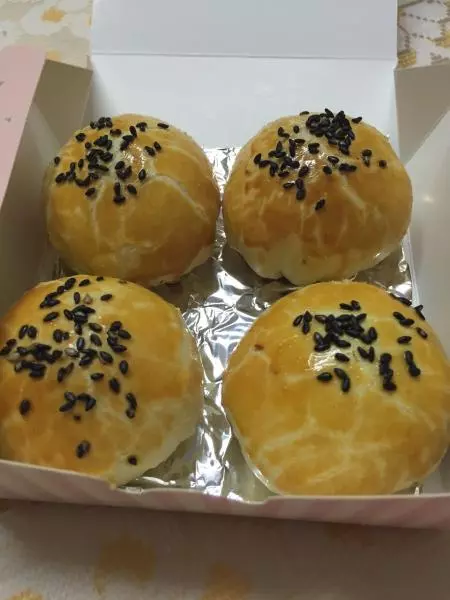
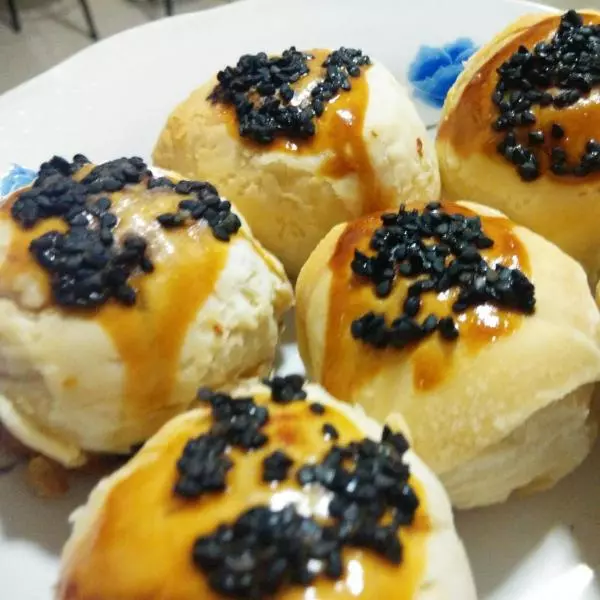
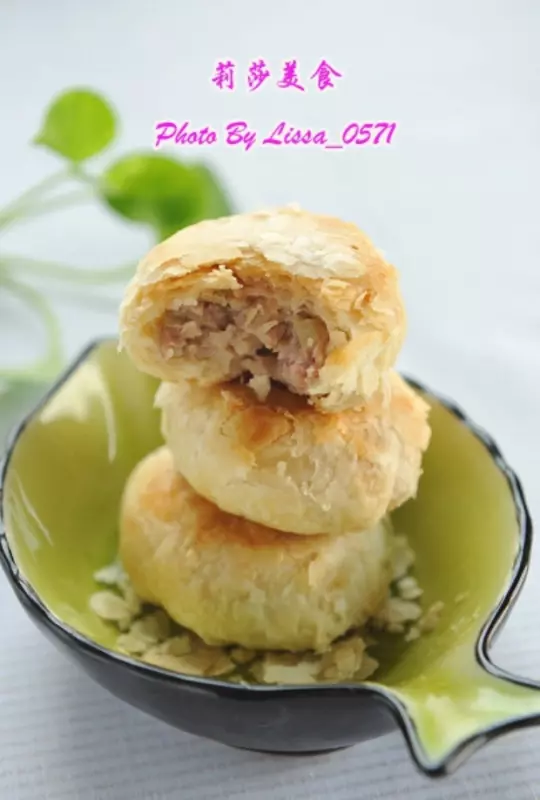
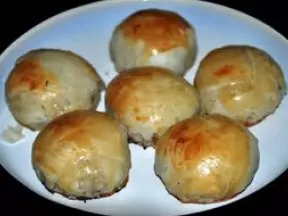
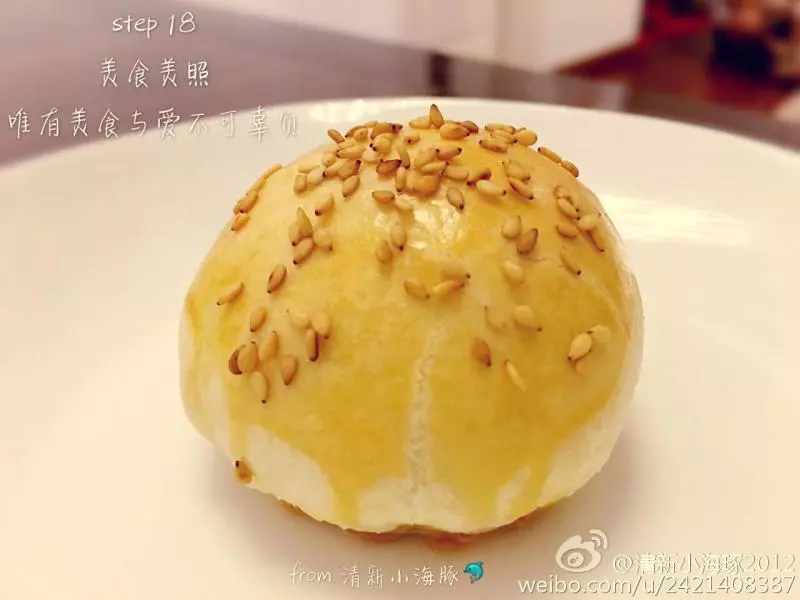
18step 18 美食美照 唯有美食與愛不可辜負
小技巧
薑末:建議不放!