原料
低筋粉: 100克, 白砂糖: 80克(蛋清60克,蛋黃20克), 草雞蛋: 6個, 植物油: 80毫升, 牛奶: 100毫升, 抹茶: 10克, 白米醋: 幾滴
步驟
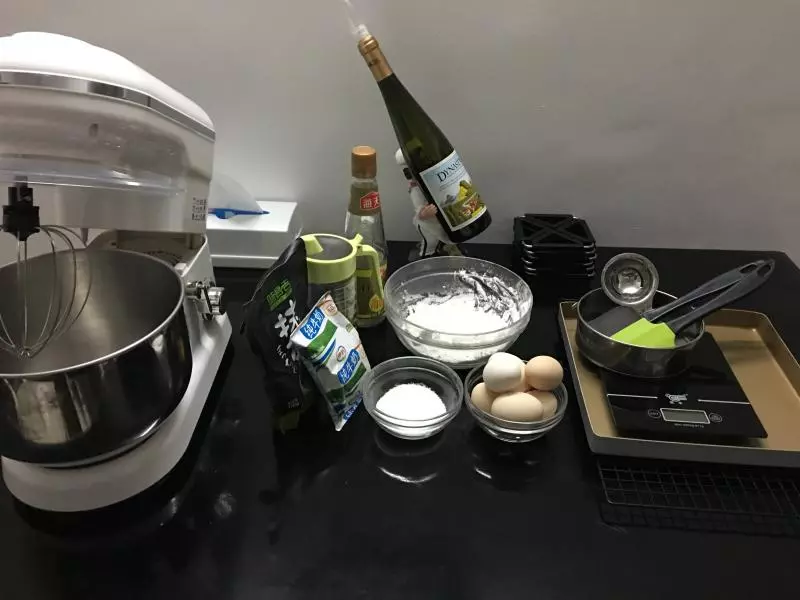
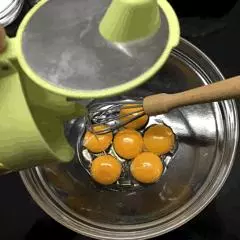
1準備好所需食材和工具
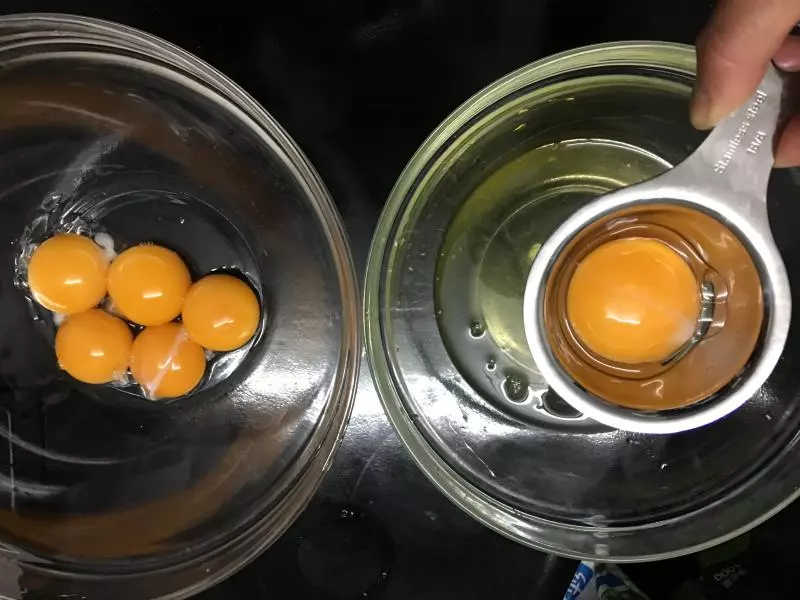
2用分蛋器分離蛋清、蛋黃,裝蛋清的碗不能粘油和水。
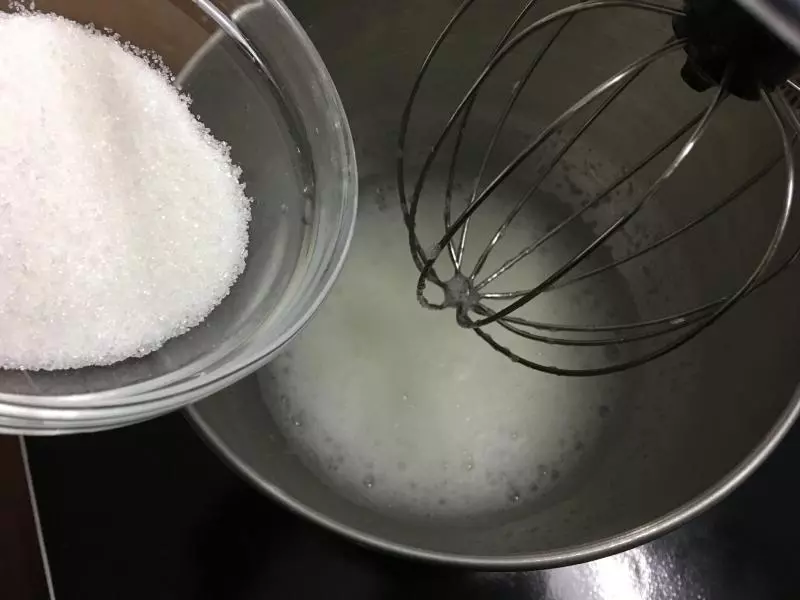
3蛋清倒入廚師機,加幾滴白米醋高速打發至魚泡眼,加一半白糖。
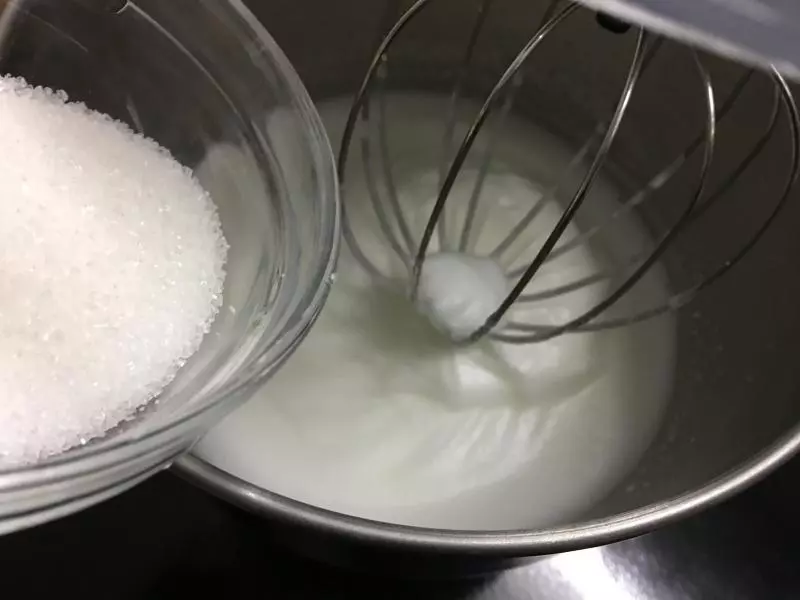
4繼續高速打發至表面起皺加剩下的白砂糖
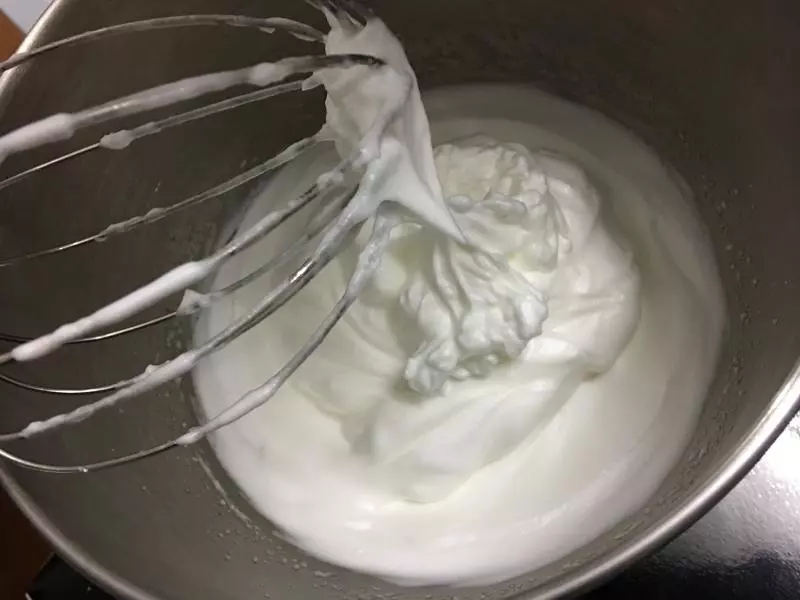
5打發至濕性發泡轉低速打發1分鐘,擰起打蛋頭,蛋清呈彎鉤狀即可。
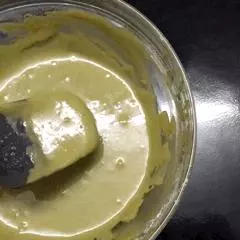
6蛋黃碗里加入植物油、白砂糖、牛奶、過篩的低筋粉和抹茶用拌勺拌勻。
7拌勻的蛋黃糊提起可滴落
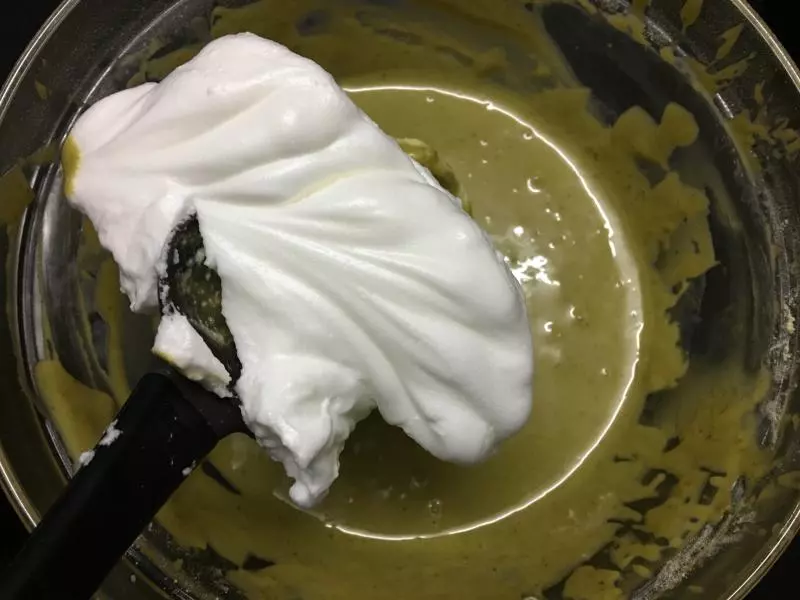
8蛋黃糊里加入三分之一打好的蛋清,採用上下翻拌的手法拌勻。
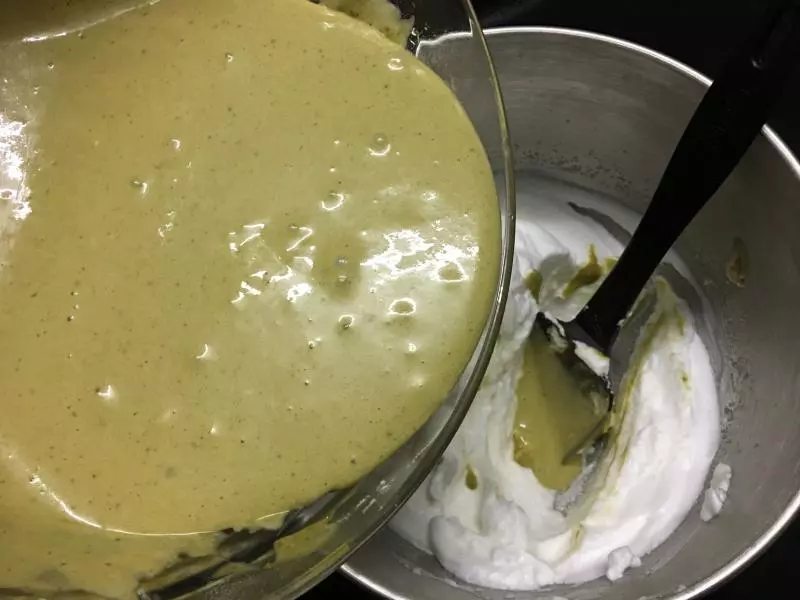
9拌勻的蛋黃糊倒入蛋清糊,用拌勺拌勻。
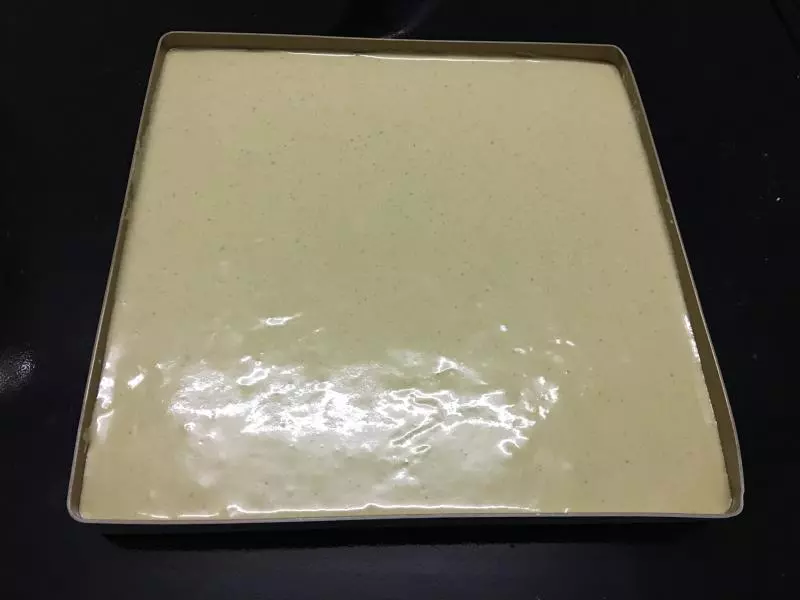
10倒入三能烤盤,震動幾下,用刮刀抹平。
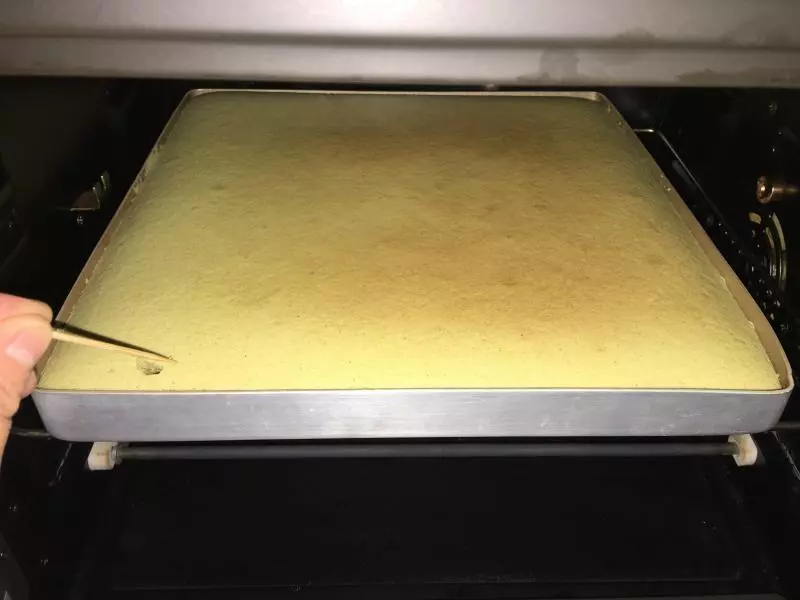
11放入預熱好的烤箱,上下烤、180°、20分鐘。用牙籤插入抽出無粘物,說明已烤熟。
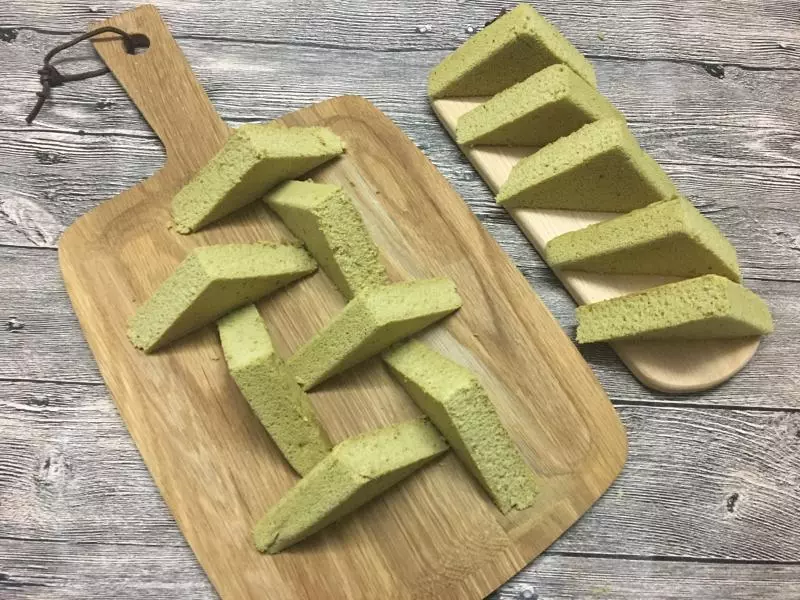
12取出脫模、放涼,用麵包刀切成小塊,開吃!O(∩_∩)O哈哈~ 美食DIY ,就是這麼簡單!
小技巧
- 蛋清裡面不能有蛋黃和水 2. 拌蛋黃糊和蛋清糊從底部往上翻拌 3.烤箱需要提前預熱