原料
餃子皮: 適量, 雞蛋: 1個, 肉泥: 300g, 蔥、姜: 適量, 醬油: 1勺, 耗油: 1勺, 料酒: 2勺, 白菜: 100g, 食用油: 8g, 生粉: 5g
步驟
1肉末可以自己事先剁好,沒有什麼特殊的,就是買點五花肉回來剁的稀碎就行了,打入一個雞蛋到肉末裡面(一般只要蛋清,但是蛋黃不是浪費麼,婷姐就一起用啦)

2然後加入薑末,姜也要剁碎一點喲,總不想一口咬下去有整塊的姜吧,其實可以用攪拌機啦

3然後加入蔥花

4再倒入適量的料酒

5加入醬油

6加入耗油和乾貝素提鮮

7吵著一個方向攪拌均勻

8一定要順一個方向攪拌喲

9再倒入白菜(白菜也要切得碎一點,這裡你可以添加任何你自己喜歡的配菜,木耳,芹菜都可以的)

10再次順一個方向攪拌均勻

11餃子皮幾張疊在一起,把邊上擀薄一點,這裡疊在一起的時候記得撒上一點乾粉,不然粘在一起你就哭了

12包入我們調好的餡料

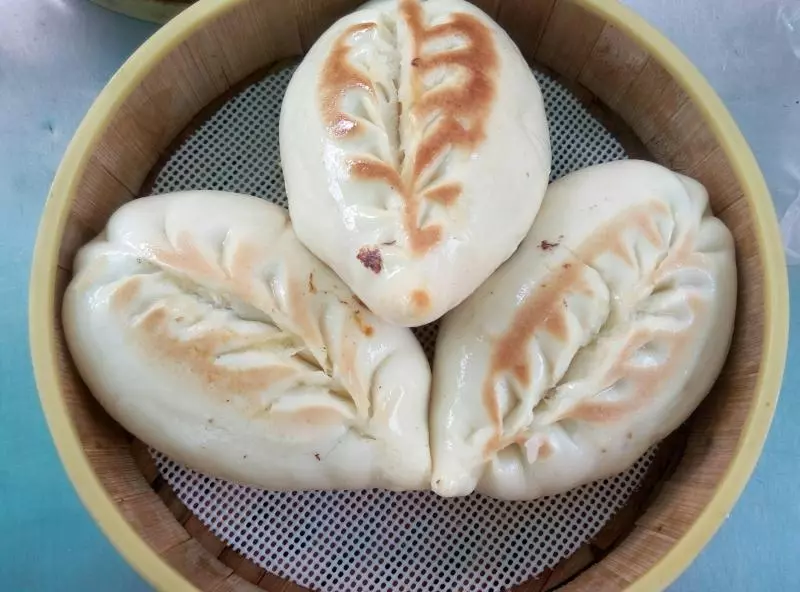
13用手指往前推出一個個的褶子,其實婷姐也不是很會包,但是多包幾個就熟練了

14包好的小包子放在一邊待用

15哇啦啦,雖然不怎麼好看,還是將就著包了一大盤呢,感覺可以吃上很久。多包一點可以放在冰箱冷凍,想吃的時候直接拿出來煎就可以了

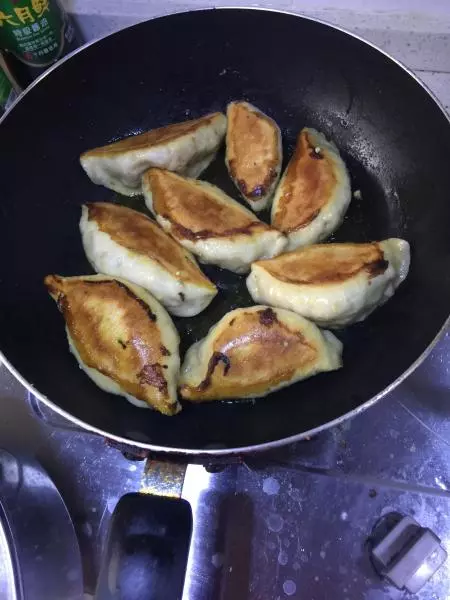
16鍋裡面放入適量的油,不用太多,親測一定藥用不粘鍋。哈哈哈

17放入小包子

18加入水,沒過包子的1/3處

19蓋上蓋子煮至水分漸少

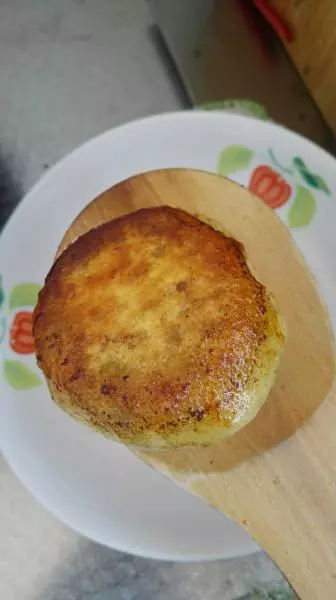
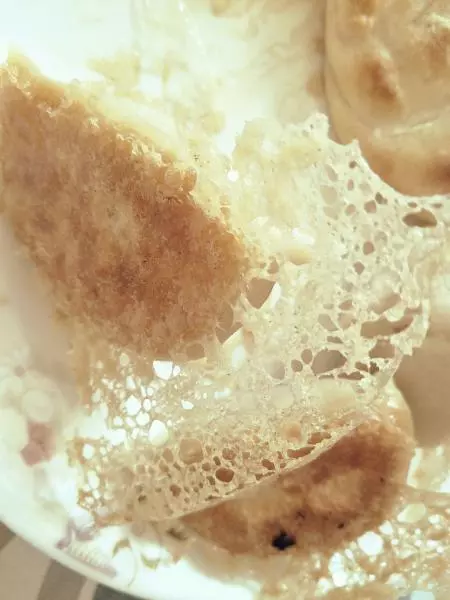
20生粉加水調製水澱粉

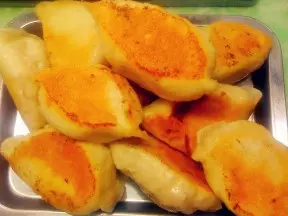
21待鍋內水快乾的時候,倒入水澱粉

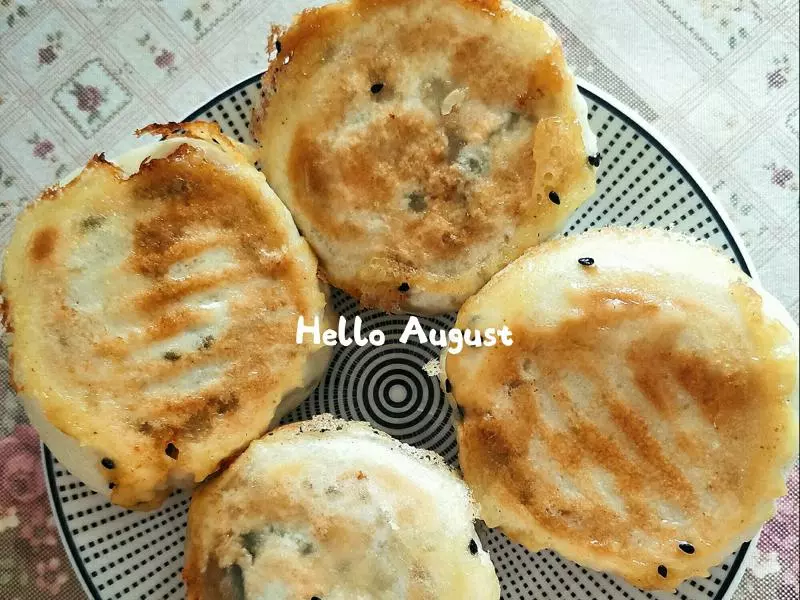
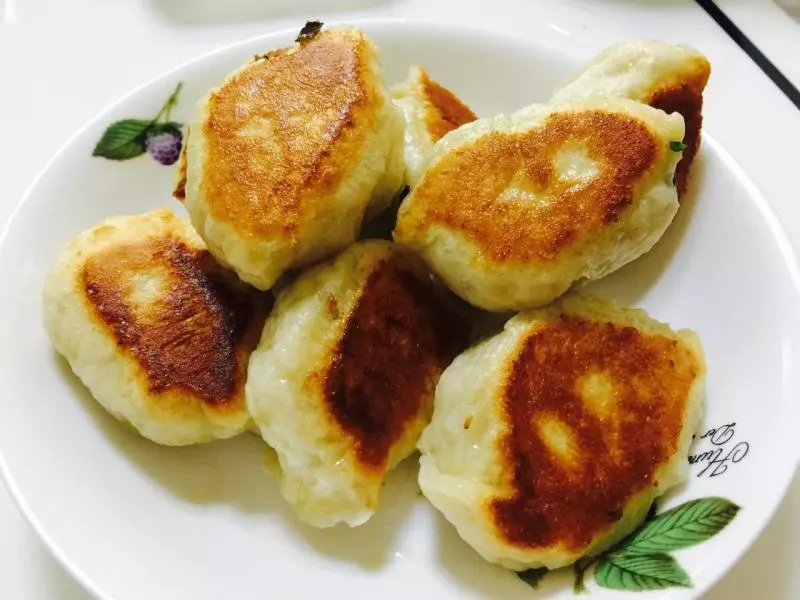
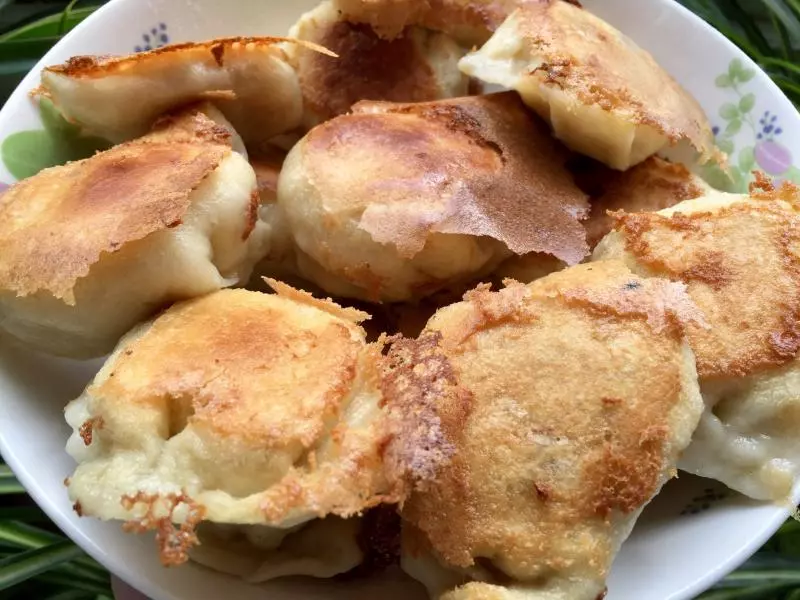
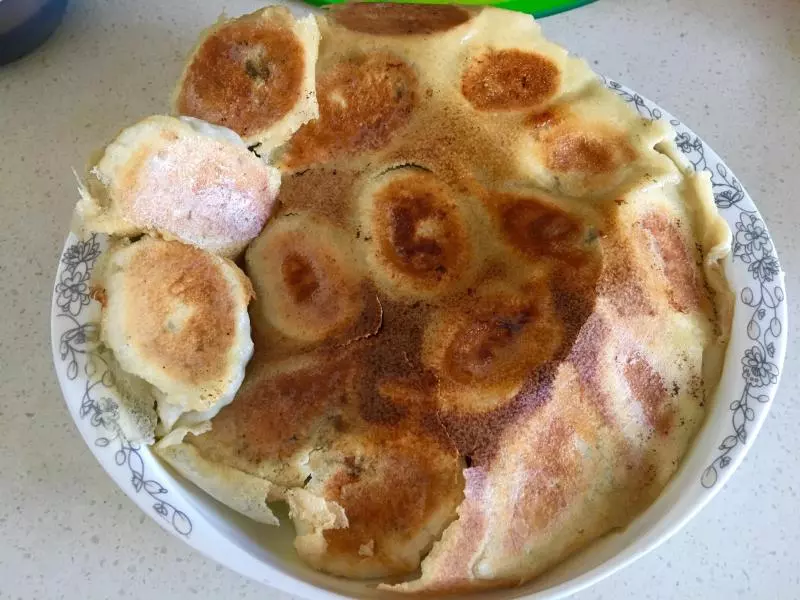
22小火慢慢煎,水澱粉就會結成冰花了。(這裡換了個鍋了,哈哈,知道為什麼前面提醒大家一定藥用不粘鍋了吧,不然後面要哭了)

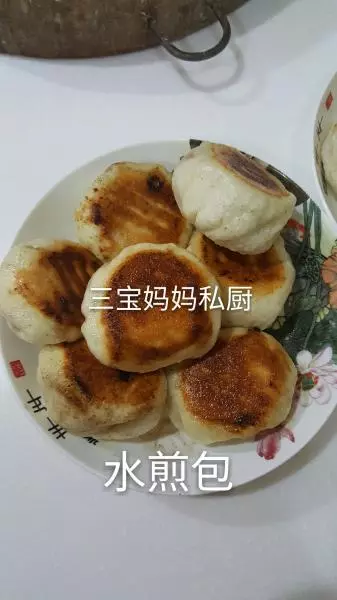
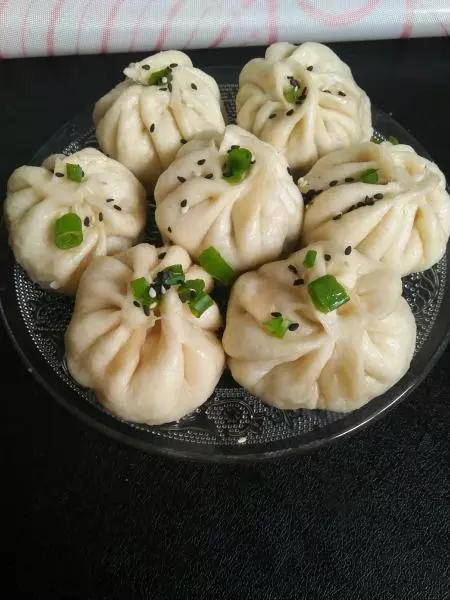
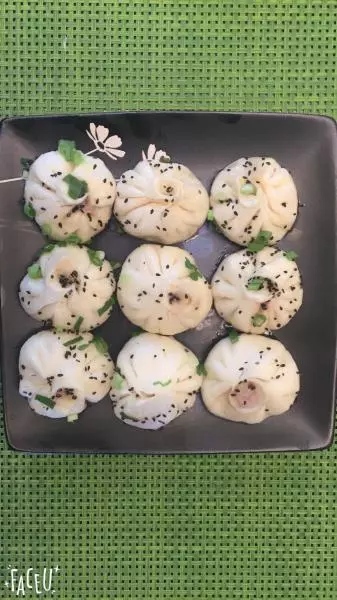
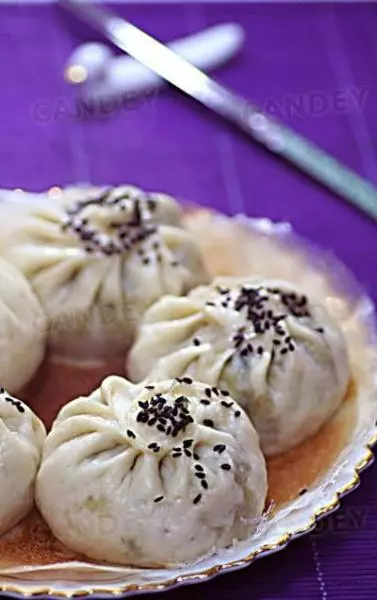
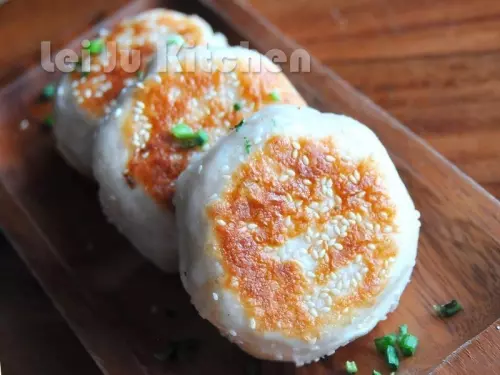
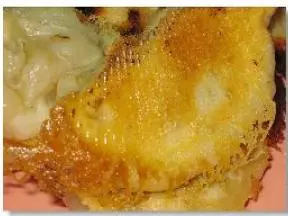
23邊上微黃的時候撒上黑芝麻和蔥花

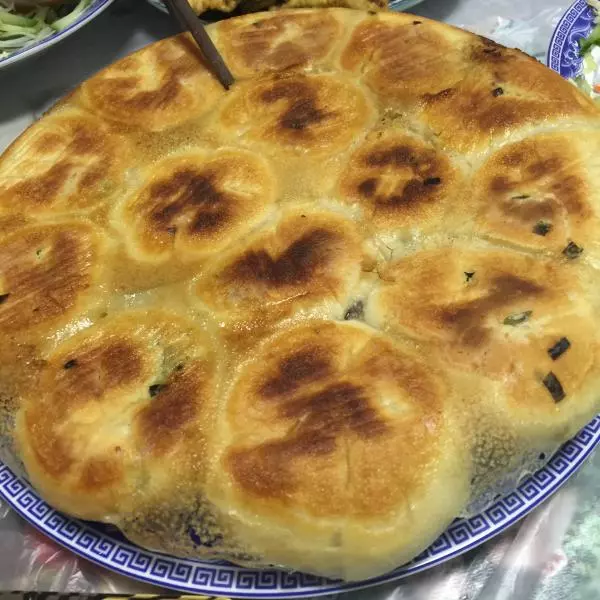
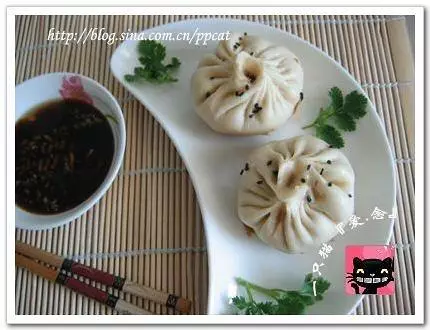
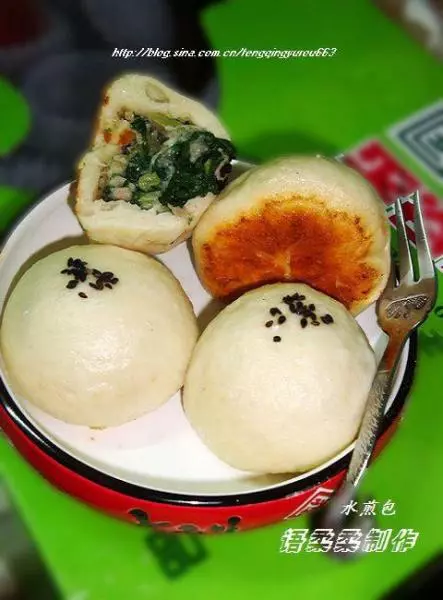
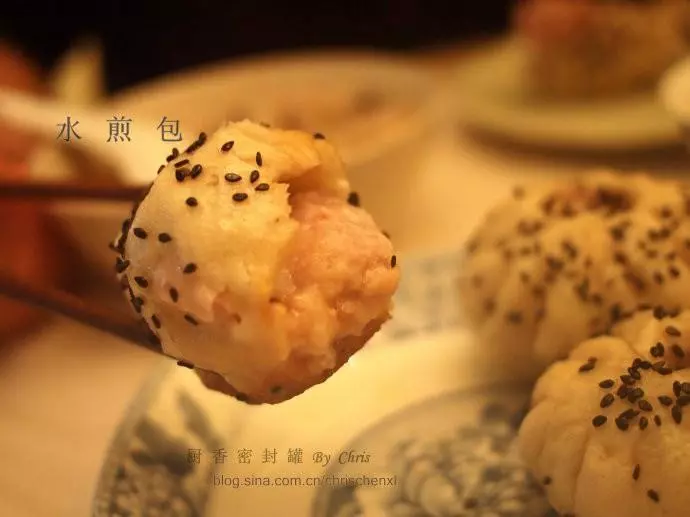
24漂亮的冰花水煎包就做好了

25想吃的寶寶們記得自己試一下喲,沒用完的餃子皮,有時候換一種做法也很好玩的啦~

小技巧
一定要用不粘鍋,不粘鍋,不粘鍋! 測試過水澱粉換成麵粉水也是可以的 至於包子的味道嘛,每個人口味不一樣,你喜歡的就是最好的。