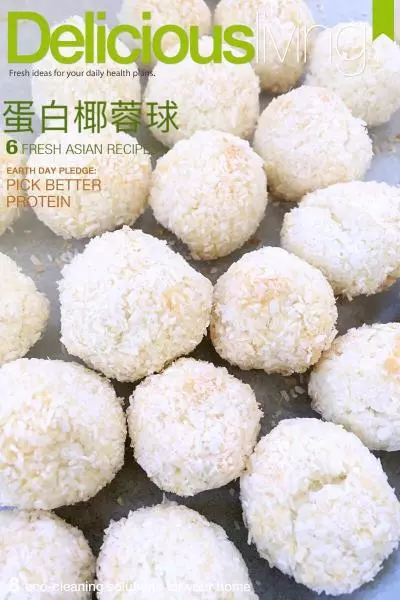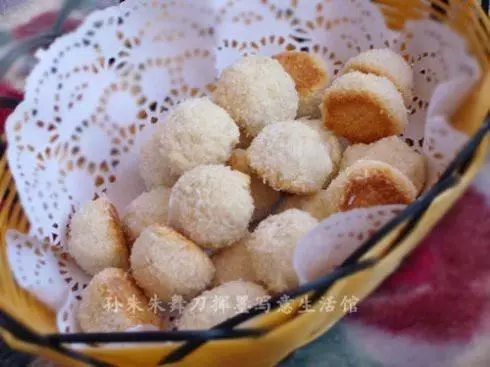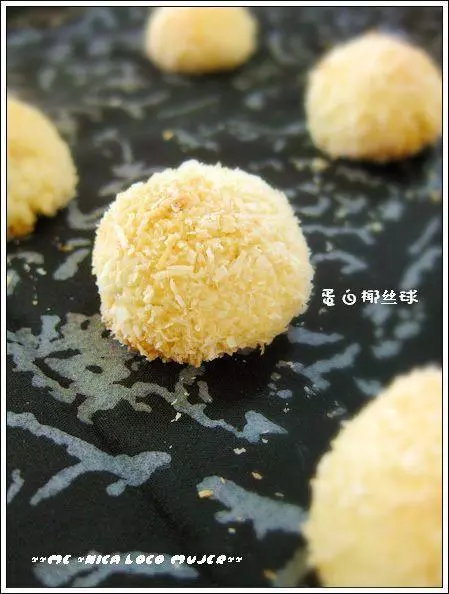
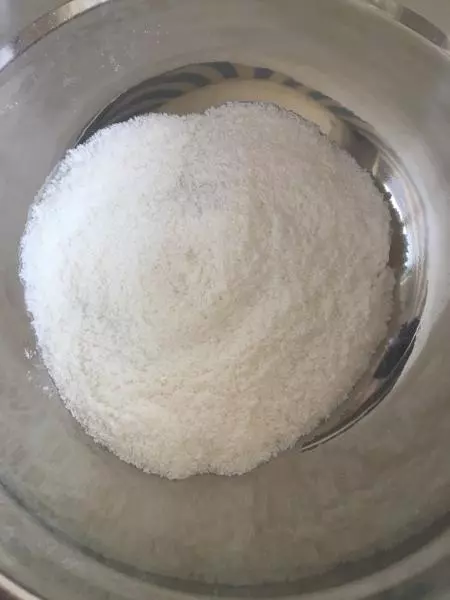
原料
椰絲: 90g, 奶粉: 20g, 低筋麵粉: 20g, 蛋白: 2個, 細砂糖: 25g
步驟
1取椰絲80g,與奶粉,低筋麵粉,細砂糖混合均勻。
2蛋白用筷子打散,不需要打蛋器,否則會產生過多不必要的泡沫。
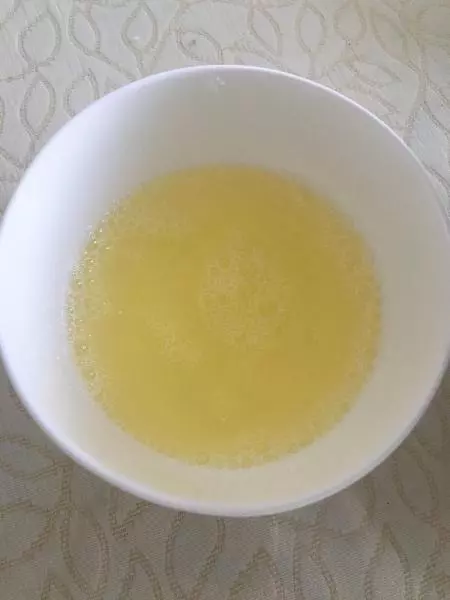
3把蛋白倒入步驟1的混合物里。
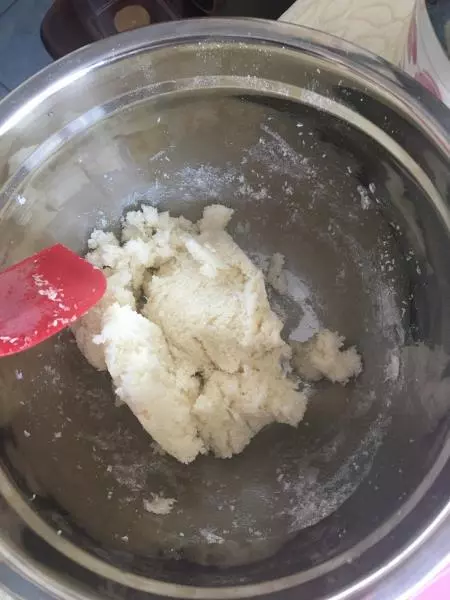
4攪拌均勻,形成一個均勻的麵糰。
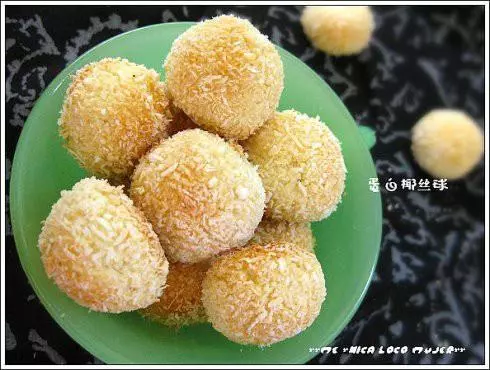
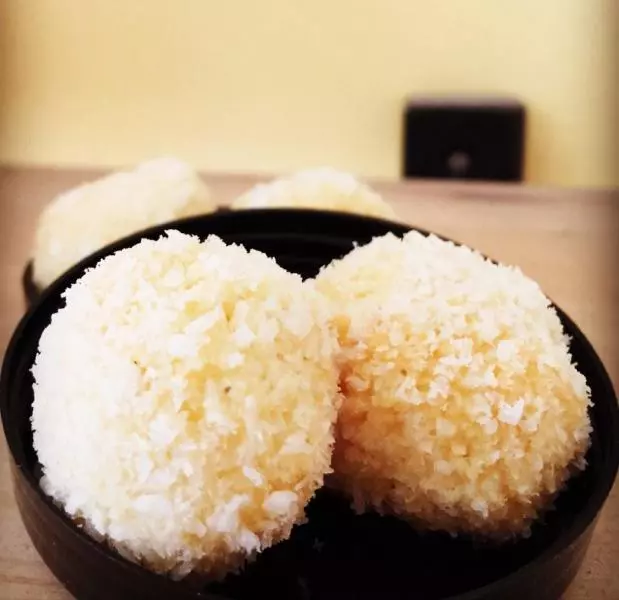
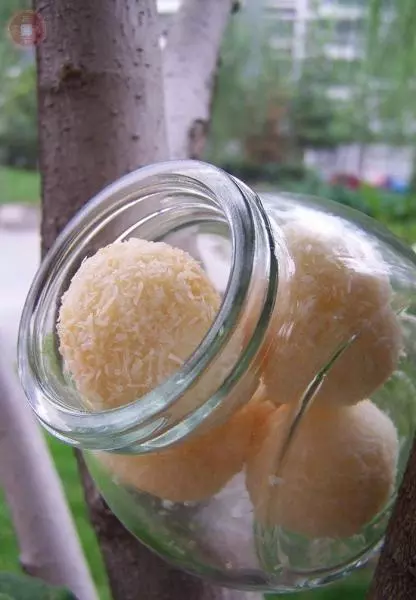
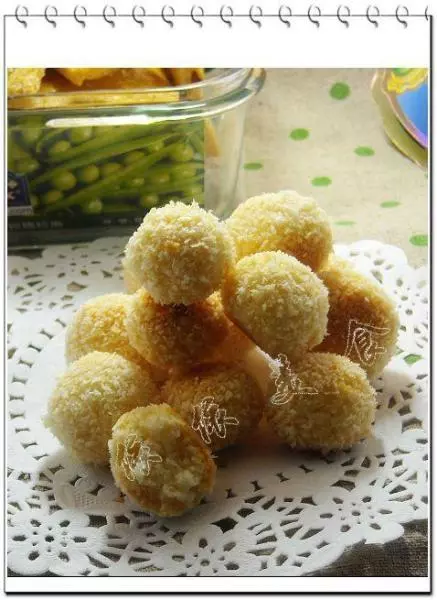
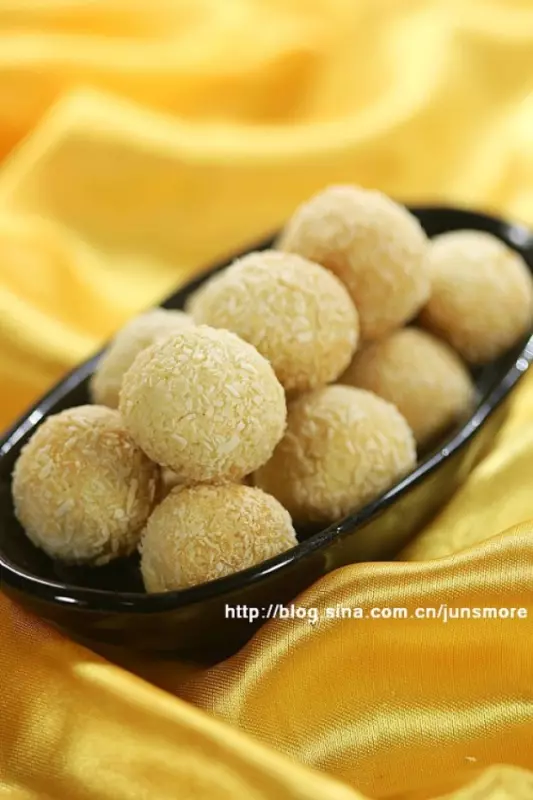
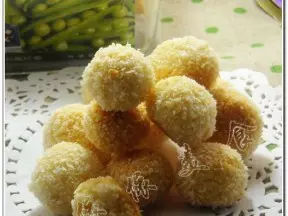
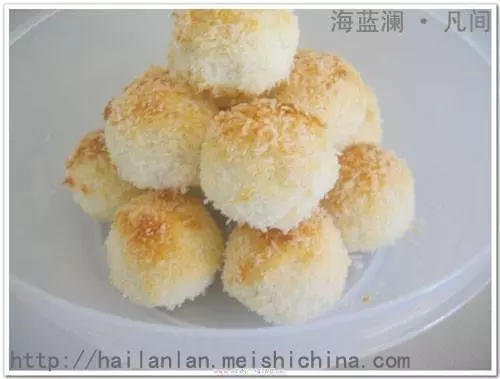
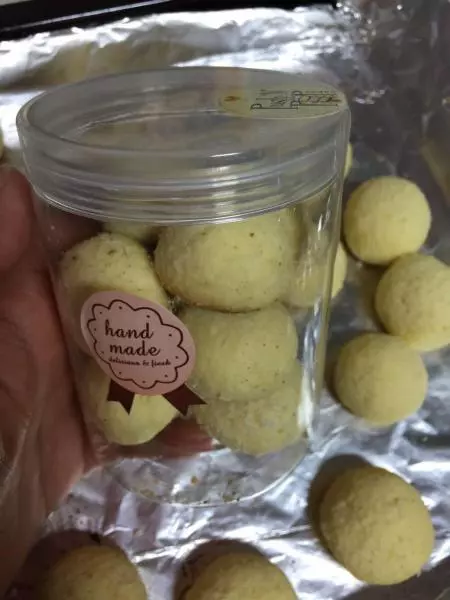
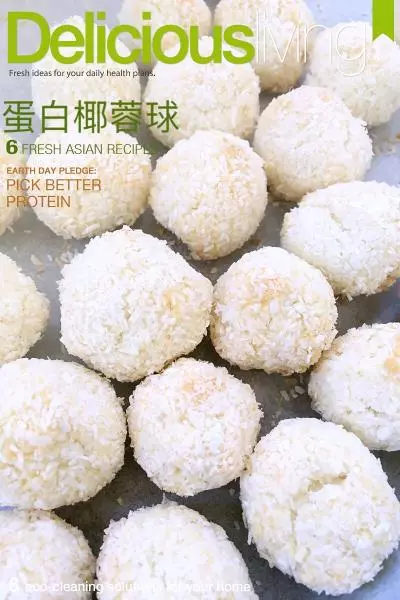
5取一小塊民團,搓成一個球。然後把小球在剩餘的10g椰絲里滾一圈。為了保證球大小差不多,我是每個小球都稱重,8g,保證烘烤的時候比較均勻。
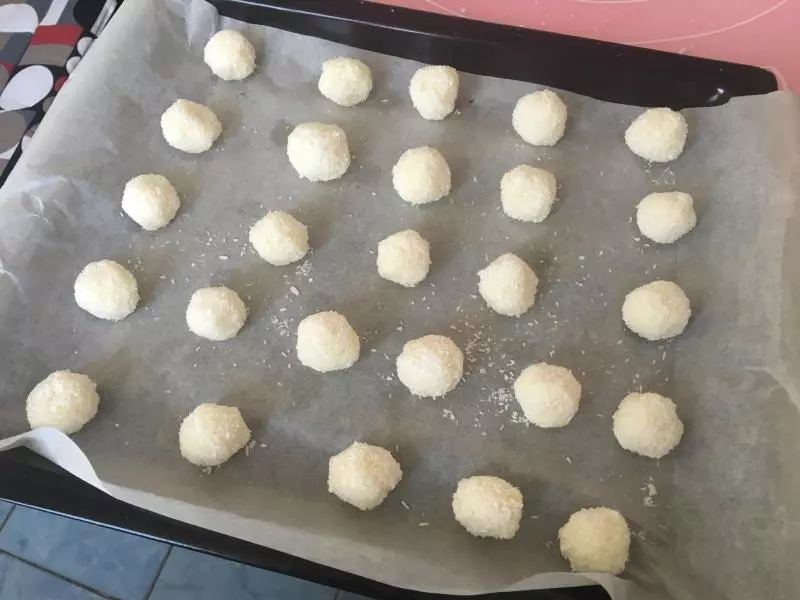
6把粘過椰絲的小球放到烤盤裡。送進預熱好的烤箱。我家的烤箱中層位置偏下,非居中。我的溫度是上層150度,下層130度,烘培25分鐘。如果中層居中,上下150度,烘培25分鐘。外表香脆內部柔軟的椰絲球就OK了。