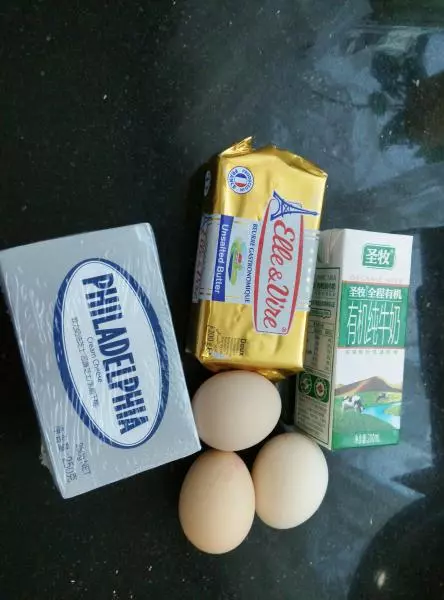
原料
乳酪: 125g(買的乳酪一塊250g,正好一分為二做兩個), 黃油: 30g, 牛奶: 50g, 細砂糖: 50g, 雞蛋: 3個(每個55左右), 低粉: 20g, 玉米澱粉: 10g, 白醋: 幾滴, 鹽: 1g
步驟
1秤重,備料
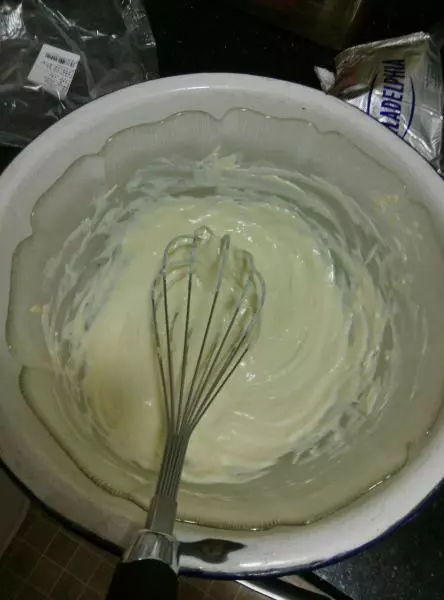
22.乳酪黃油常溫軟化,或用微波爐快速軟化,再加入牛奶,三者混合,放盛有熱水的盆里,隔水加熱,打發均勻。 用水廚寶的最熱水接盆里就行,不用開火折騰。很容易均勻,無顆粒。這個多打會,一定均勻無顆粒才可。
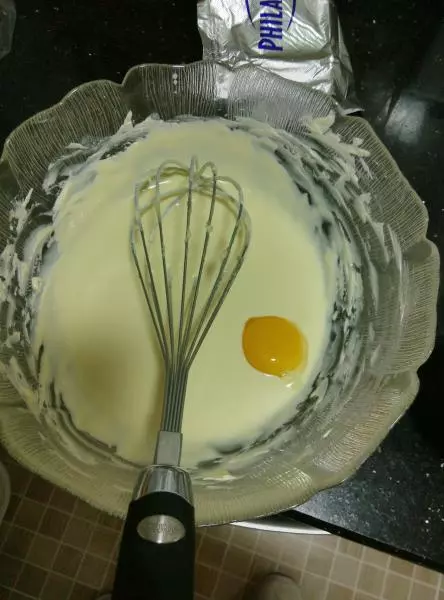
3雞蛋分離,蛋清直接放打蛋盆,放入冰箱冷藏。蛋黃加入,依次攪均,前面做好了,這部很容易。
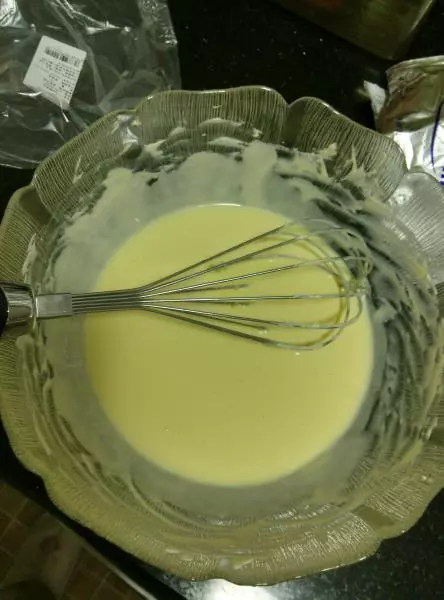
4篩入低粉,玉米澱粉,鹽,切拌成糊狀,(這個時間要短,沒有生粉即可),然後用保鮮膜封好,放一邊待用。
5打蛋白,打到濕性(很多人說不能打到乾性,但因為看多了,我倒覺得很多人因怕打幹而不敢打,濕性不夠,所以新手不妨大點膽子打,離乾性差遠呢)
6蛋白和乳酪糊混合切拌均勻,快速地切拌,別怕消泡不敢拌。
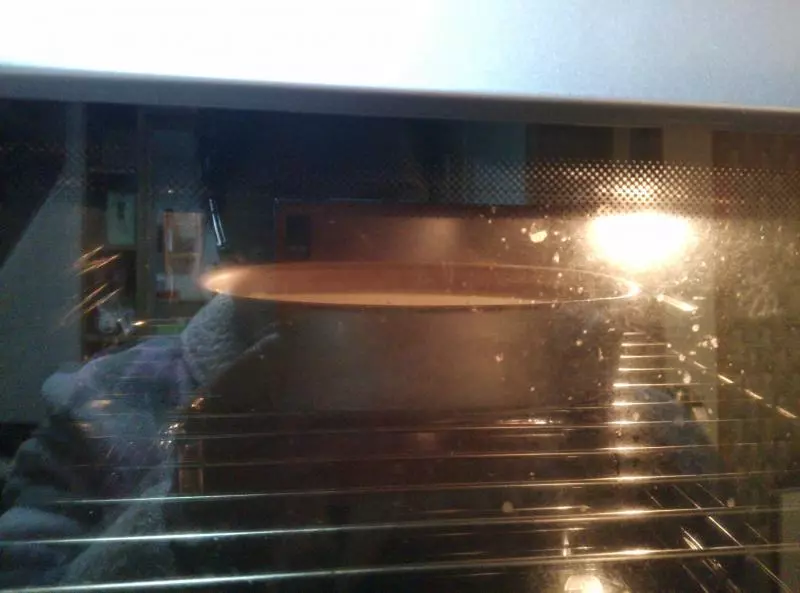
7模具底放油紙,攪拌好的糊倒入,振幾下,振出大泡。放烤箱,底下放水盤,保持濕度,125度80分鐘。
8125度20分鐘的樣子
9125度40分鐘的樣子
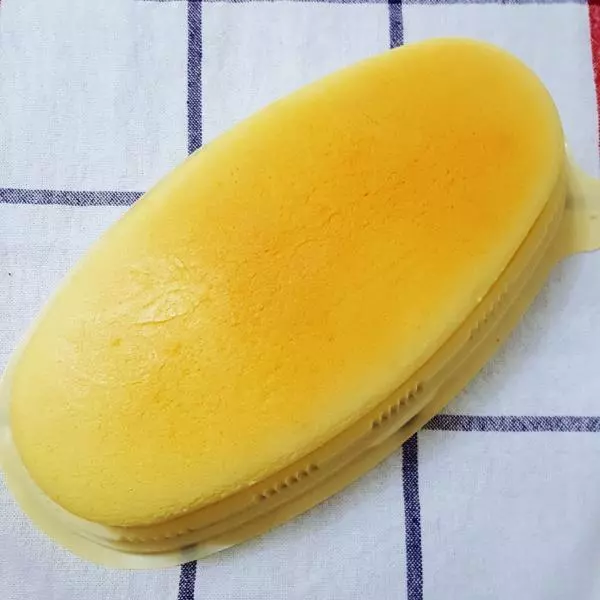
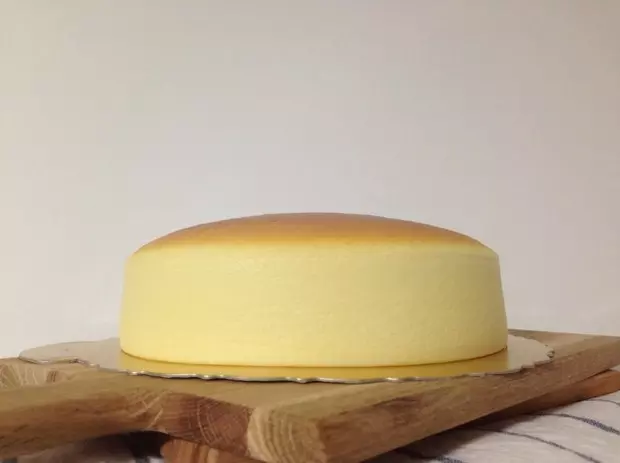
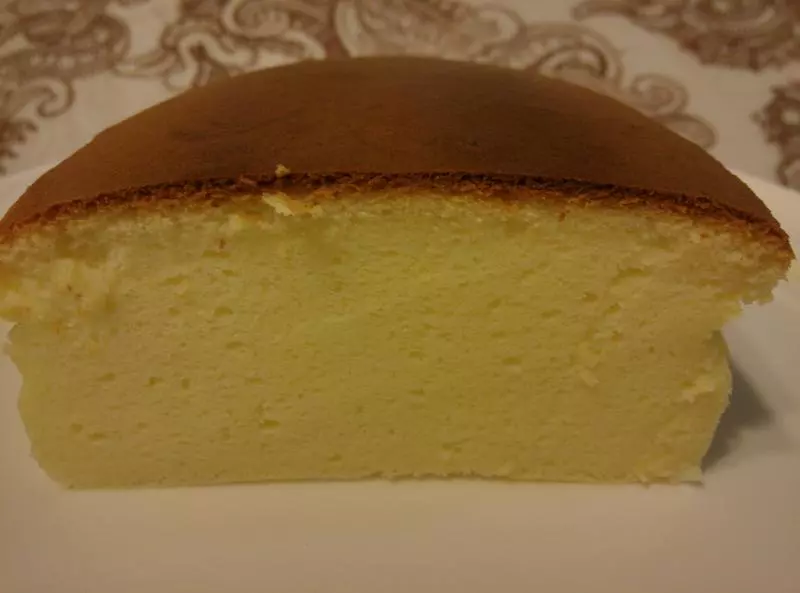
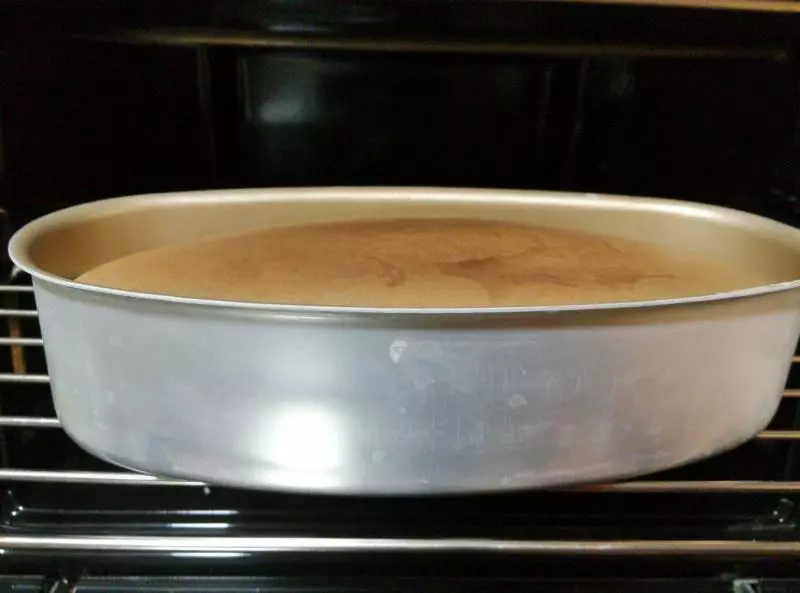
10125度80分鐘烤完,停火,在爐內降溫後的樣子
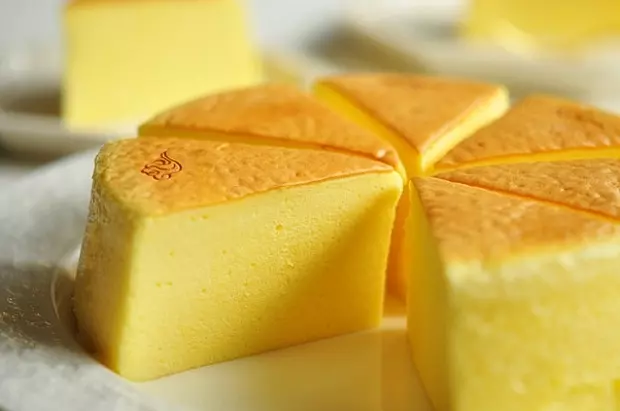
11取出來,倒扣即脫膜

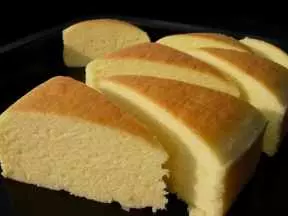
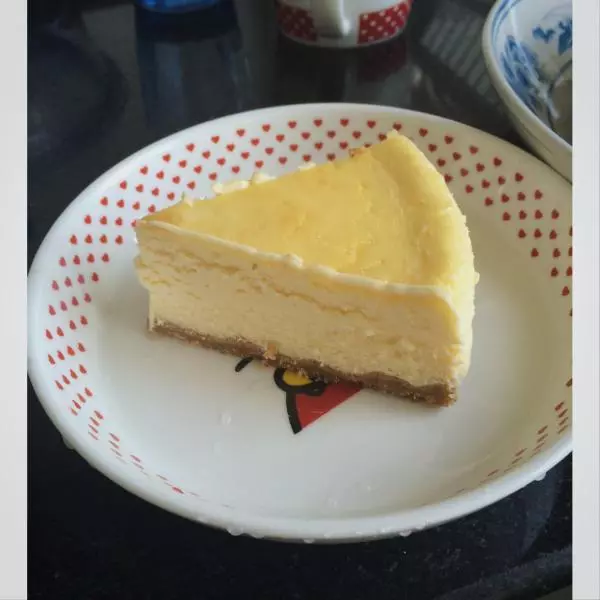
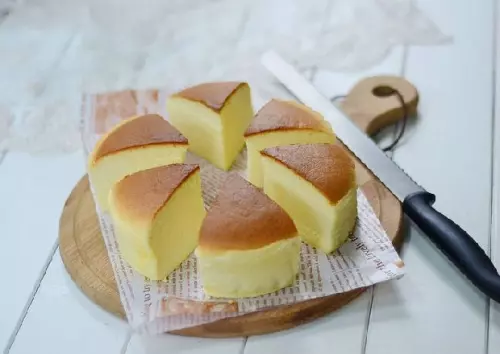
12分切裝盒,放冰箱冷藏。
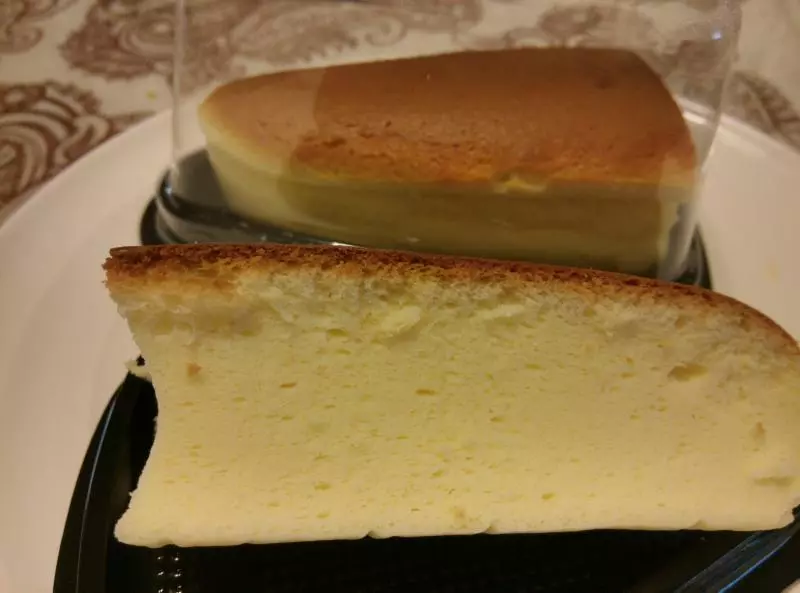
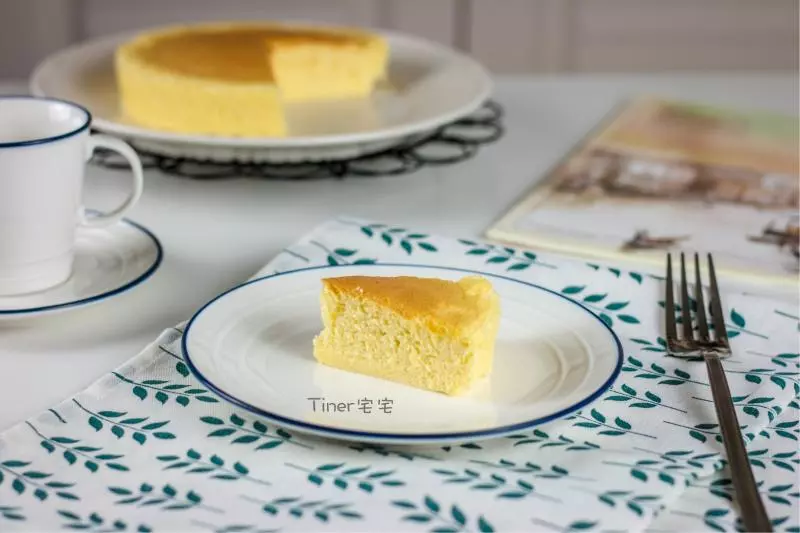
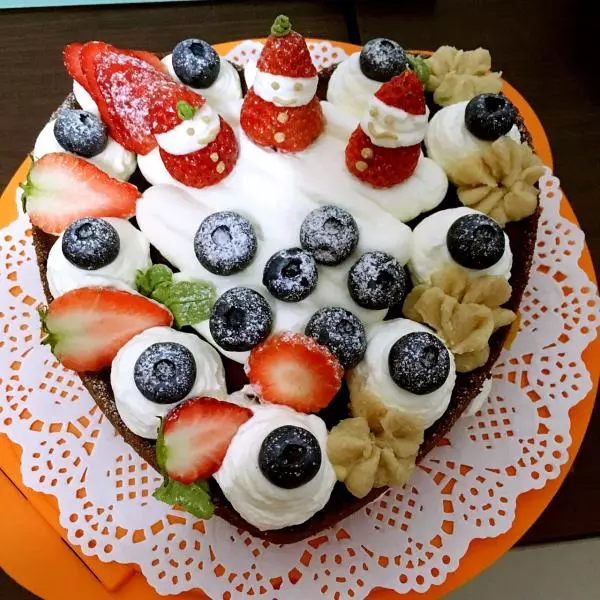
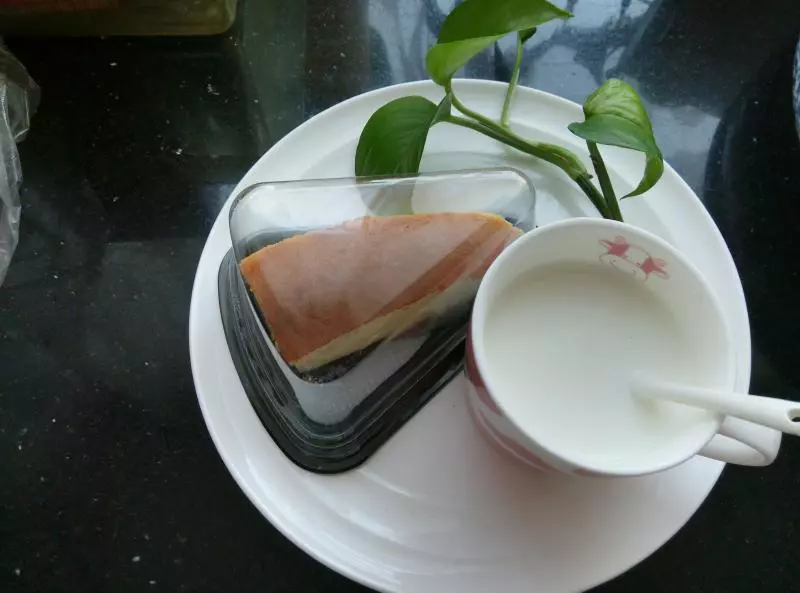
13第二天的早餐就這麼美噠噠地上桌啦
小技巧
1.乳酪黃油牛奶隔水加熱攪,很容易均勻,而且這一步可多攪會,不要有小顆粒; 2.不要再糾結蛋白乾性濕性。蛋白打發可以打到接近乾性的時候,也可以打到稍有濕性,前者低溫烤,延長時間,後者,高溫,縮短時間。 3.新手對自己家烤箱不太了解的話,寧低勿高。我做了兩次,一次120度30分,100度50分;另一次125度100分,30分時中間加蓋錫紙,都沒有出現開裂問題,停止回熱有回縮,但表面沒鄒。應該算是成功。 4.第二次延長時間,是為了怕第一次不熟,通過對比綜合,理想的溫度是120~130度80分種,30分鐘後加蓋錫紙。 5.備註,我的烤箱是德龍32升。其他烤箱自行參考。 哎喲,這寫個方子,真不容易,給加個贊吧?