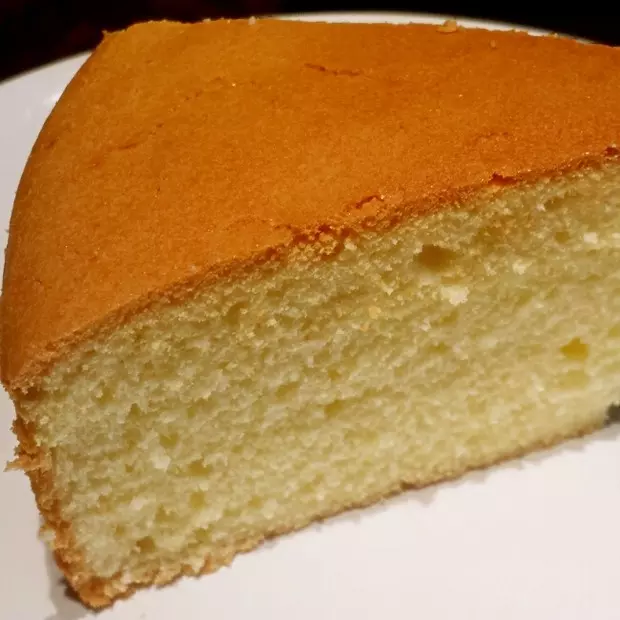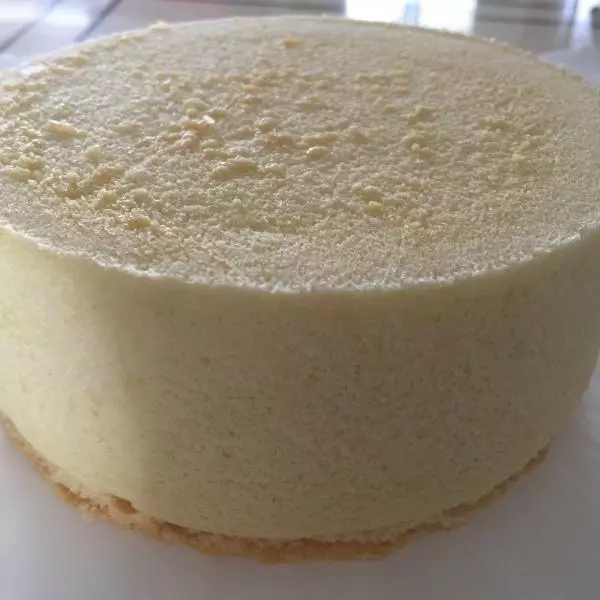
原料
葵花籽油: 25g, 雞蛋60g: 4個, 低筋麵粉: 90克, 牛奶: 100ml, 白砂糖: 40克
步驟
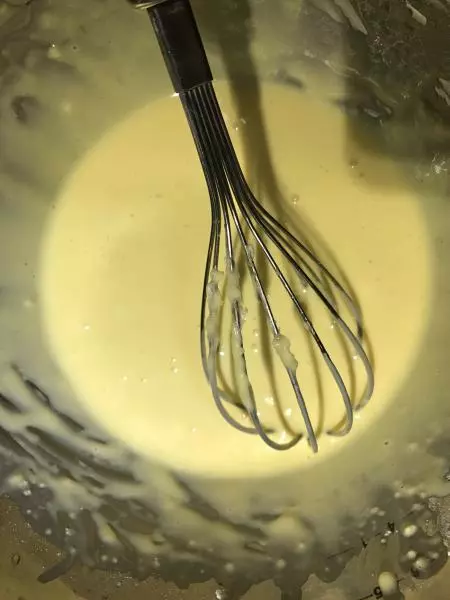
1蛋黃蛋清分離,蛋清進冰箱(好像有助於打發),蛋黃均勻打散
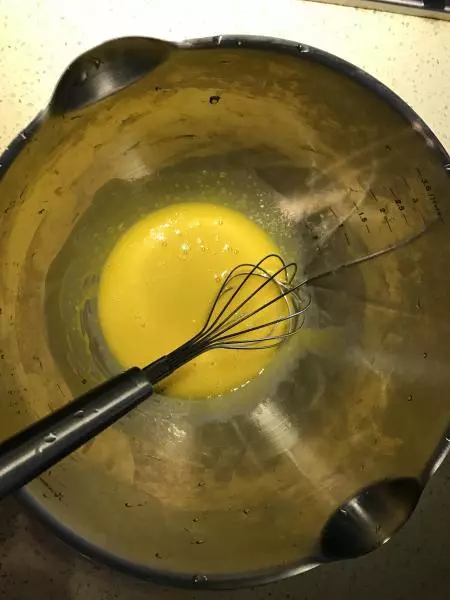
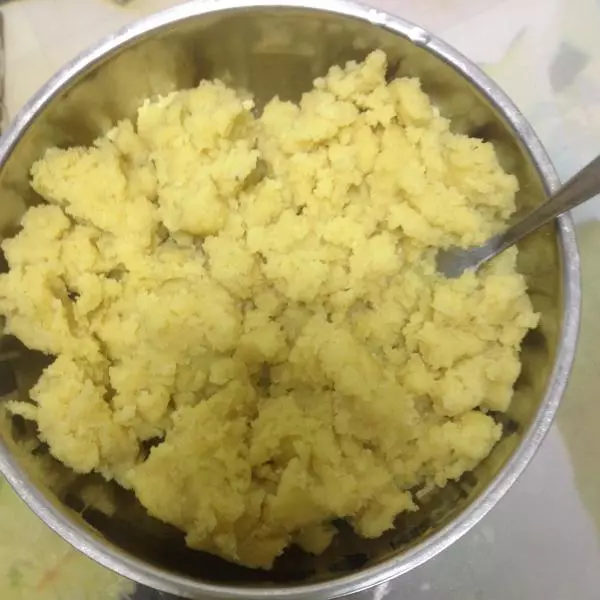
2分2次緩慢加入油,均勻混合
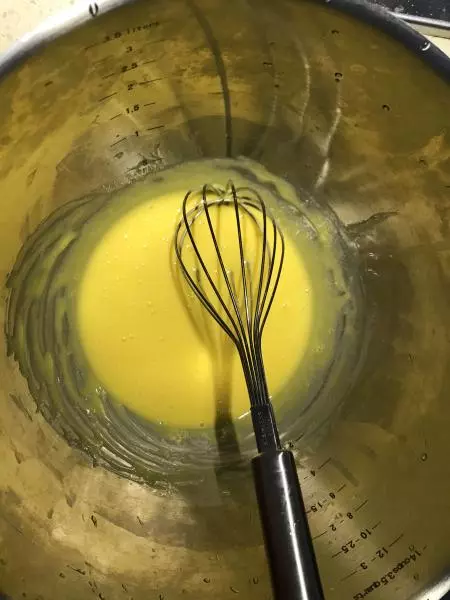
3分多次倒入牛奶,混合均勻
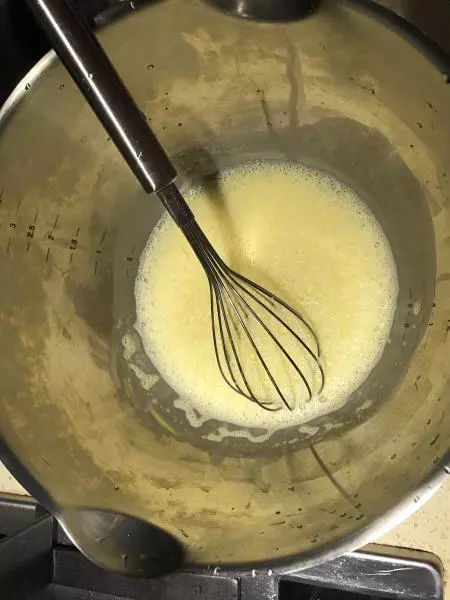
4篩入麵粉,橫向劃勻,這步比較費時費力,不建議發圈,容易起筋
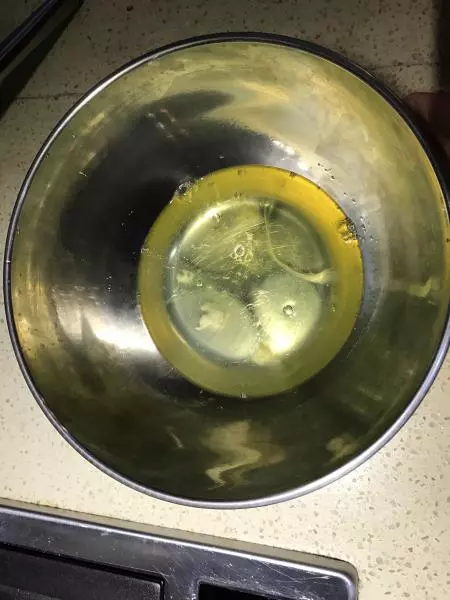
5洋雞蛋的蛋清就是多呀!
6準備白砂糖

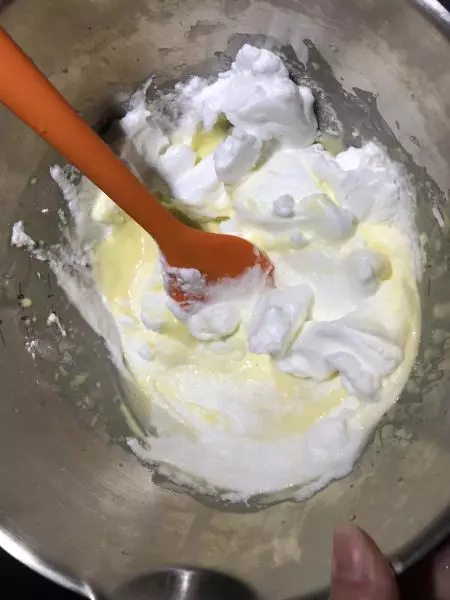
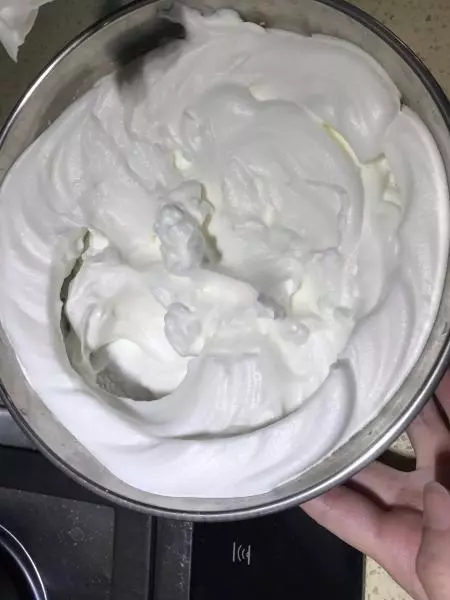
7打發蛋清,分3次加入白砂糖
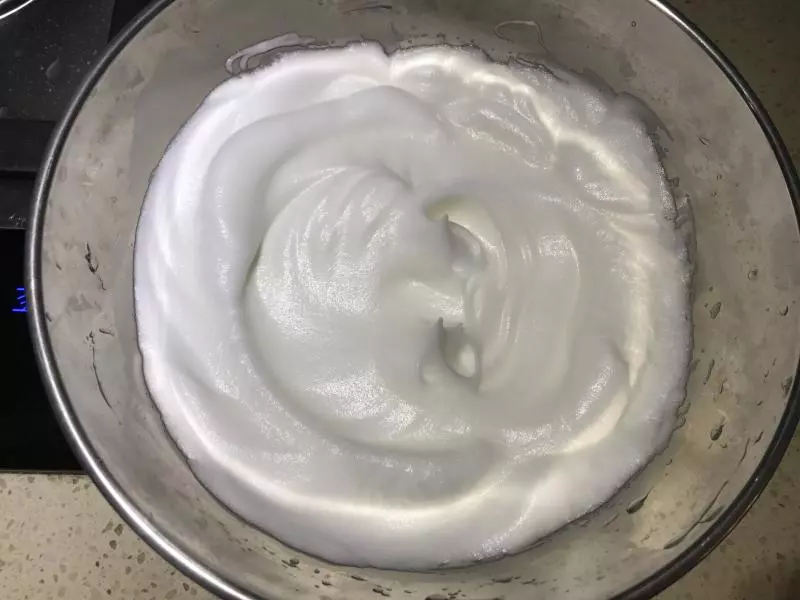
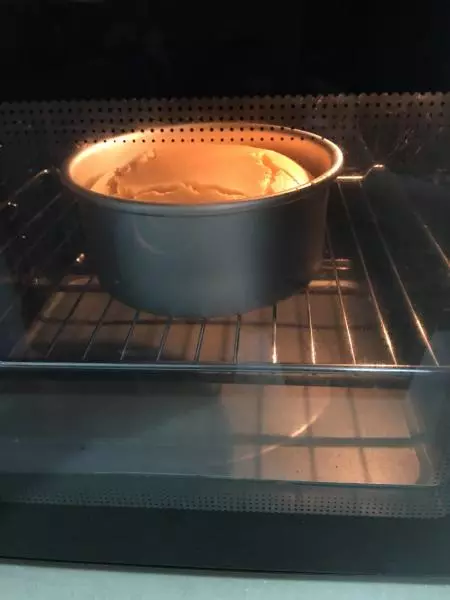
8第2次加入白砂糖後,基本有濕性發泡,烤箱180℃預熱
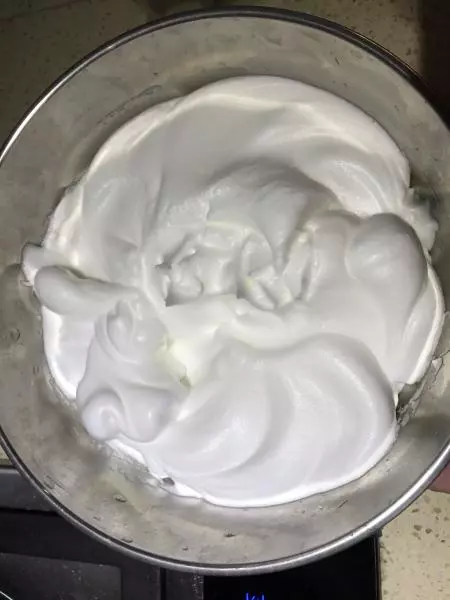
9到乾性打髮狀態,結束打發。
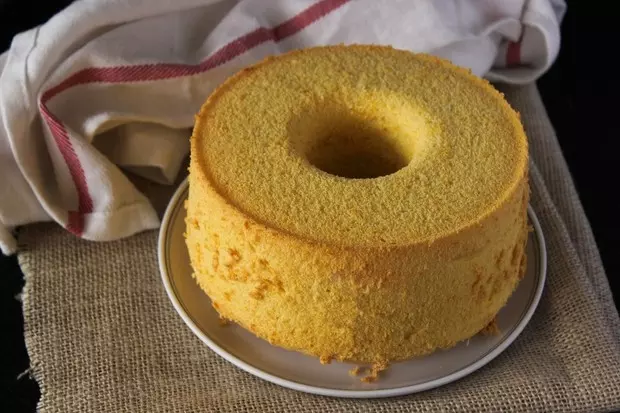
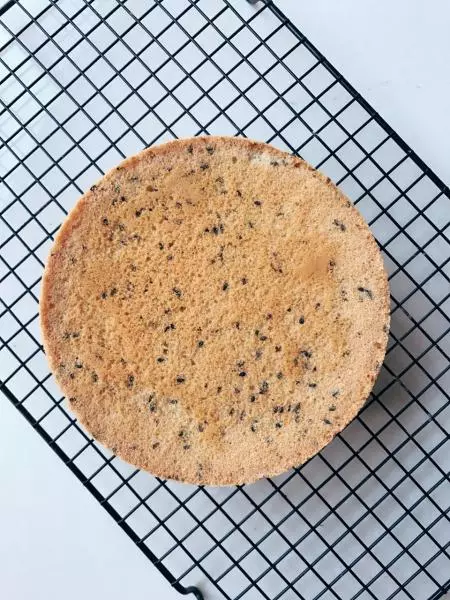
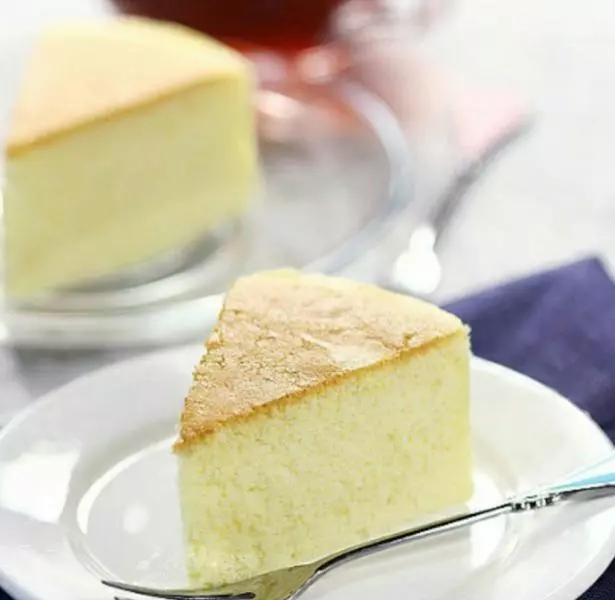
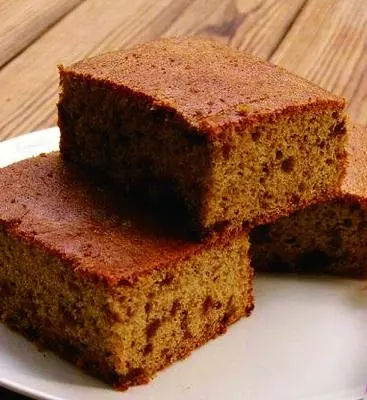
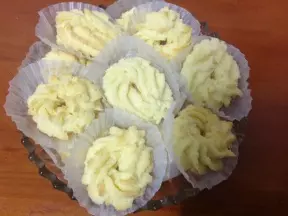
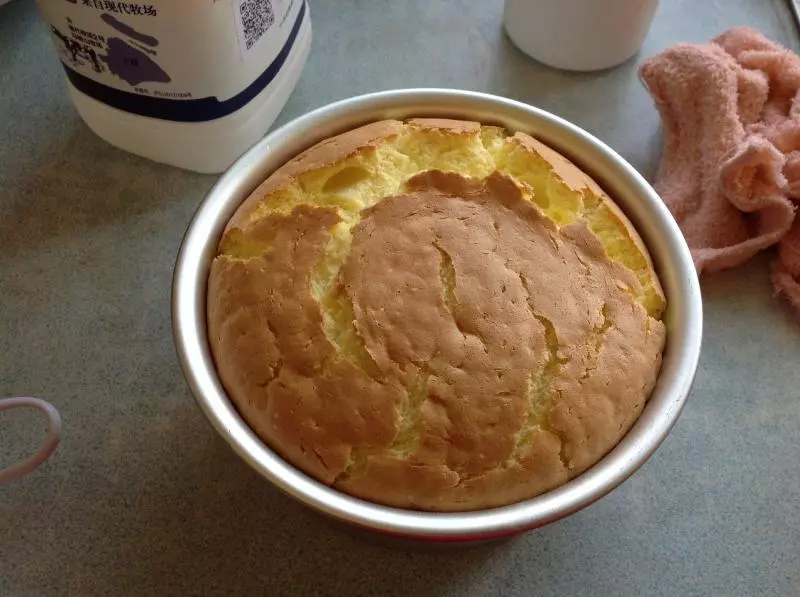
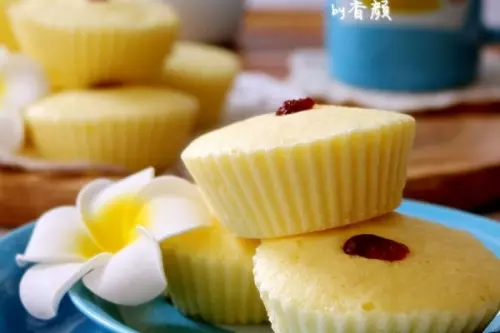
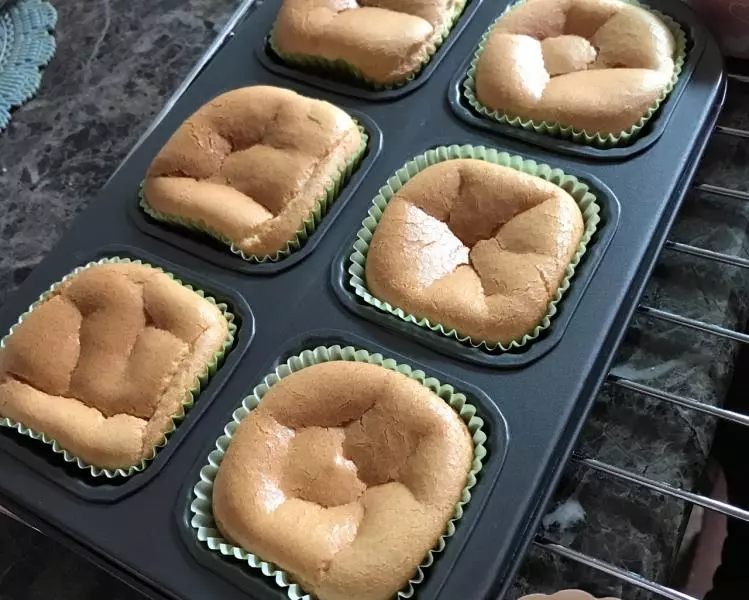
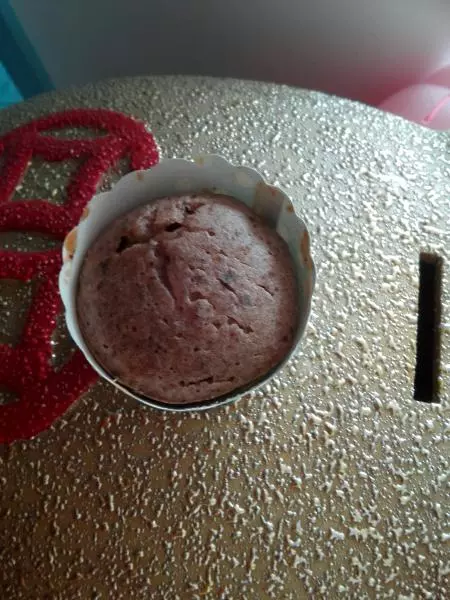
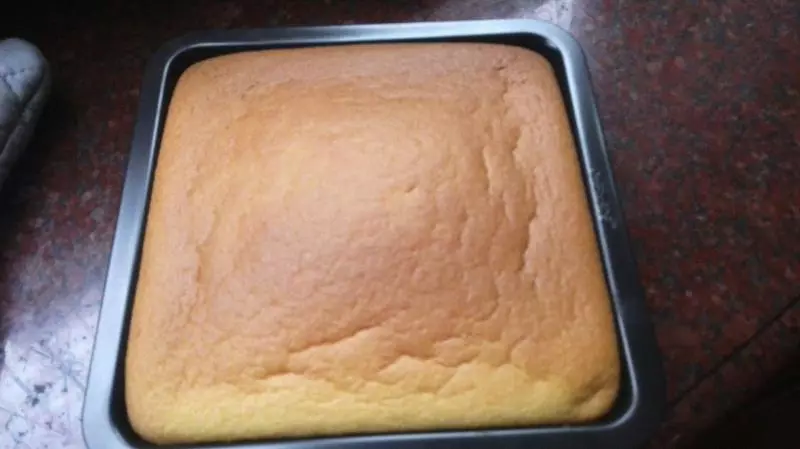
10分3次將打發的蛋清混入蛋黃麵粉糊,倒入模具中,放入烤箱35分鐘。減半量的話,25-30分鐘