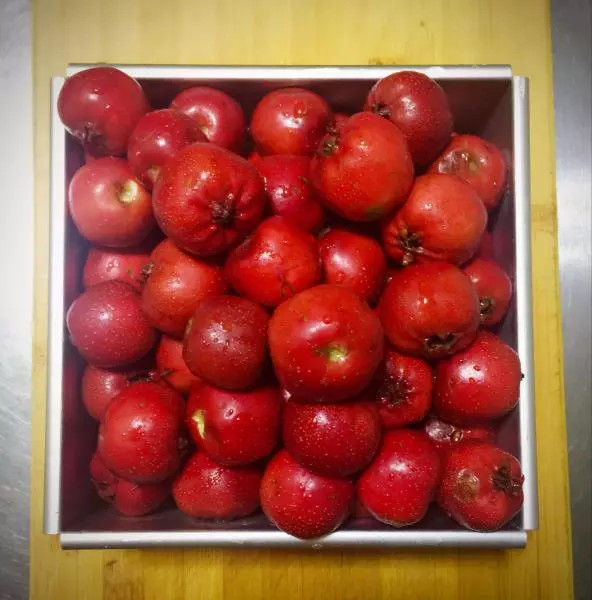
原料
山楂: 750G, 細砂糖: 300G, 水: 450G, 檸檬汁: 15ML
步驟
1山楂750G,洗凈
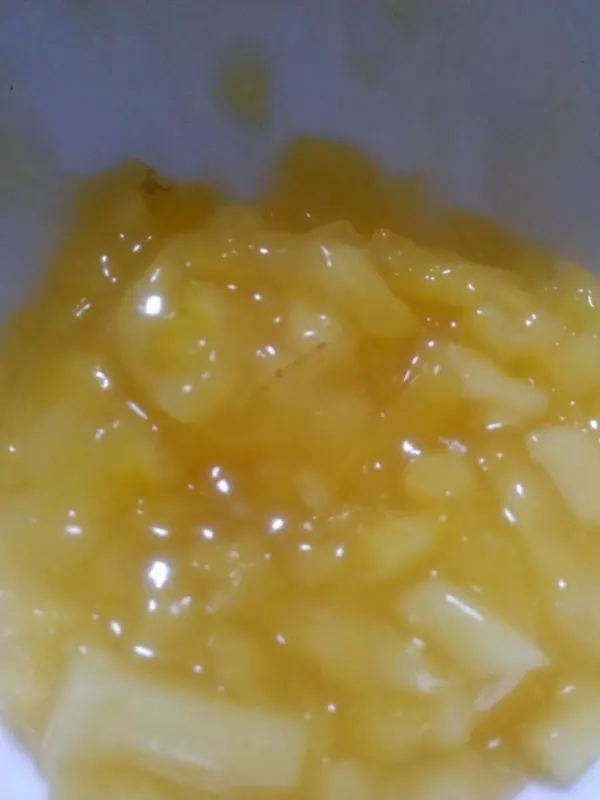
2去蒂,去核 凈果肉650G左右
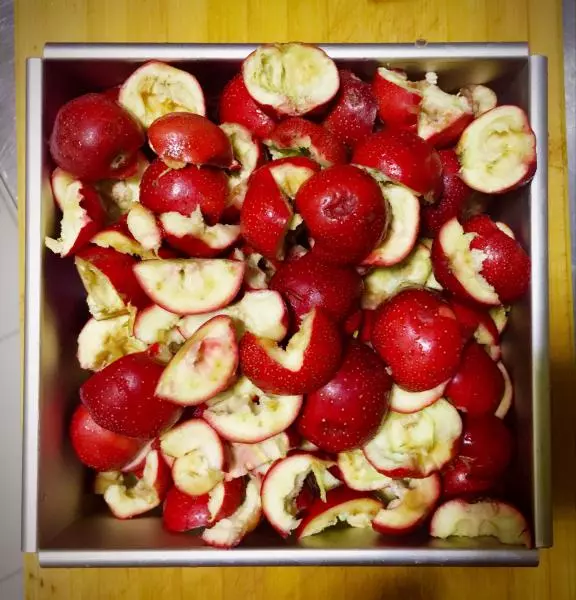
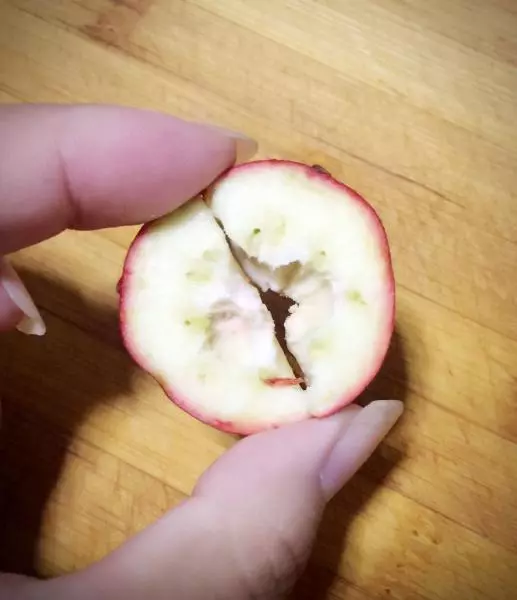
3接下來三步我扯點我的去核的心得~ 先把山楂正常切開
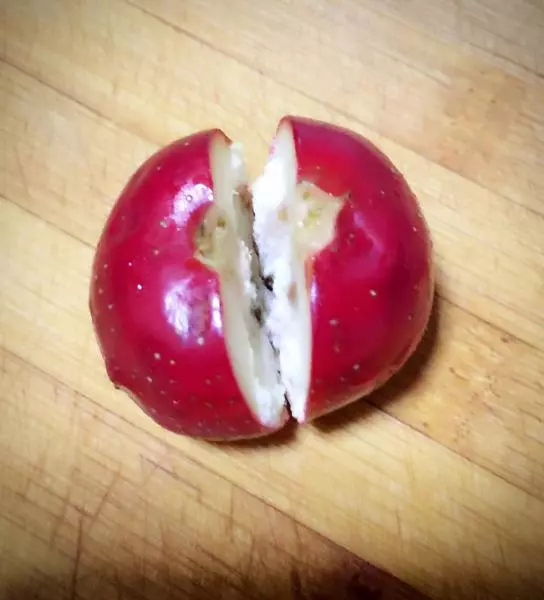
4取一半山楂,橫向!橫向!橫向!切開,這樣所有藏在裡面的核就會全會露出來,輕鬆去核
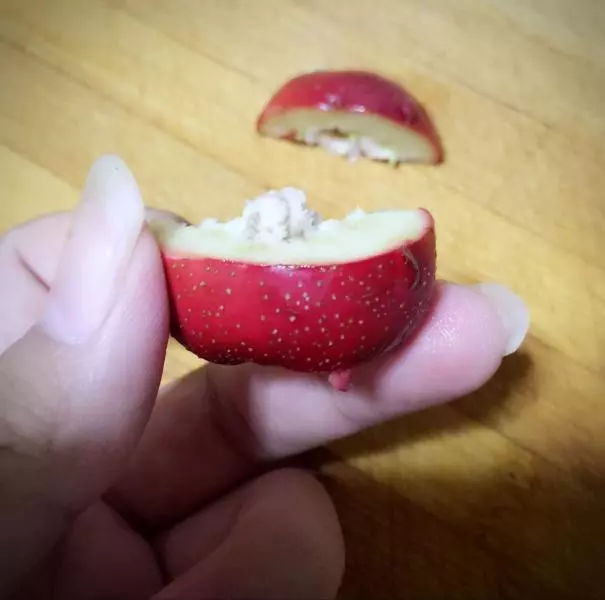
5完美~我看很多人用筷子捅。。。總感覺會爛。。。看個人喜好各位上帝們~
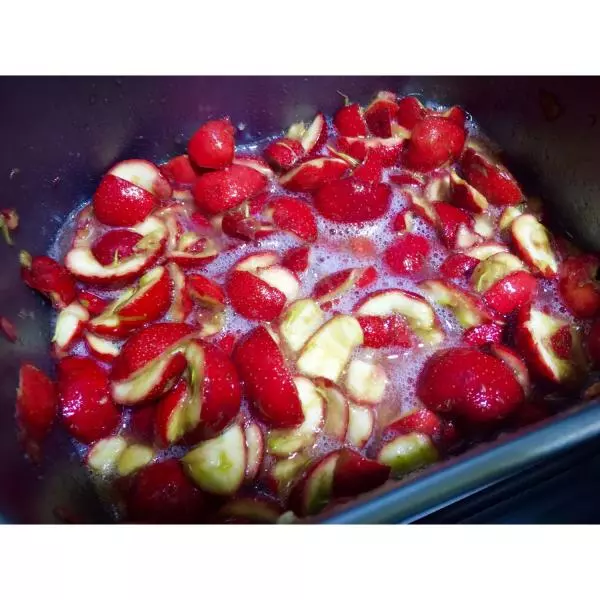
6倒入麵包桶,加入水、細砂糖、檸檬汁,開啟果醬功能,我的麵包機是ACA的,想要稠一點所以大概走了一個半流程。
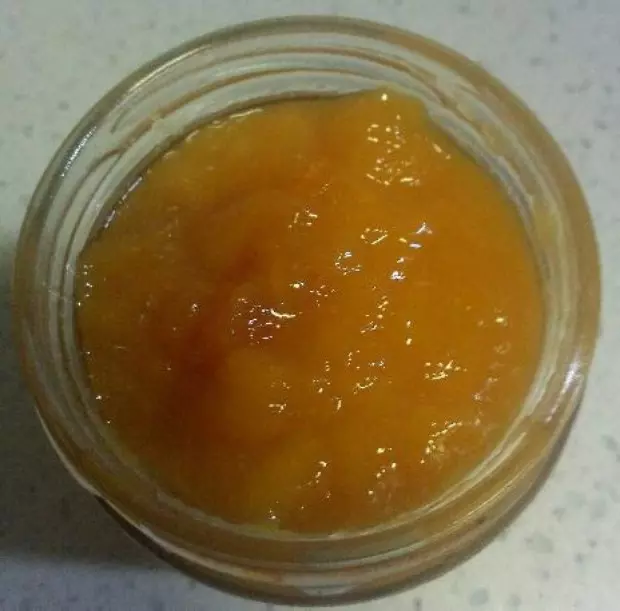
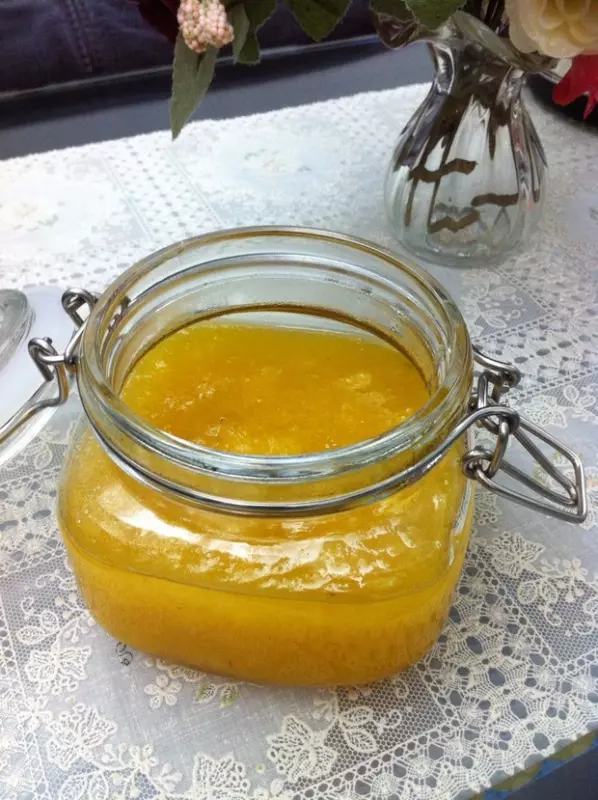
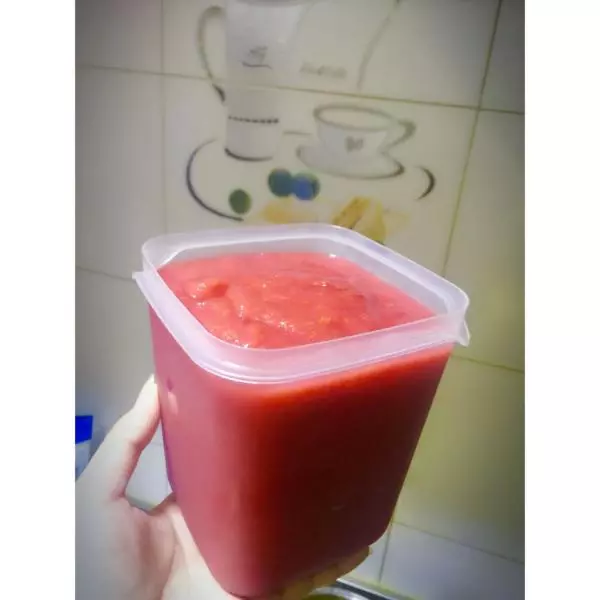
7程序走完,倒出,完成。
小技巧
1.別問為什麼不用料理機先打碎再放進麵包機,因為我懶得多刷料理機,簡單麼 2.麵包機不同可能導致做出成品稍有差異 3.水量根據個人喜好可以適當增減,數量太多會導致山楂醬不夠濃郁