原料
餃子皮: , 瘦肉末: 雞蛋, 生粉: 鹽, 雞精: 蔥花, 薑末: 白菜, 油: , 清水:
步驟
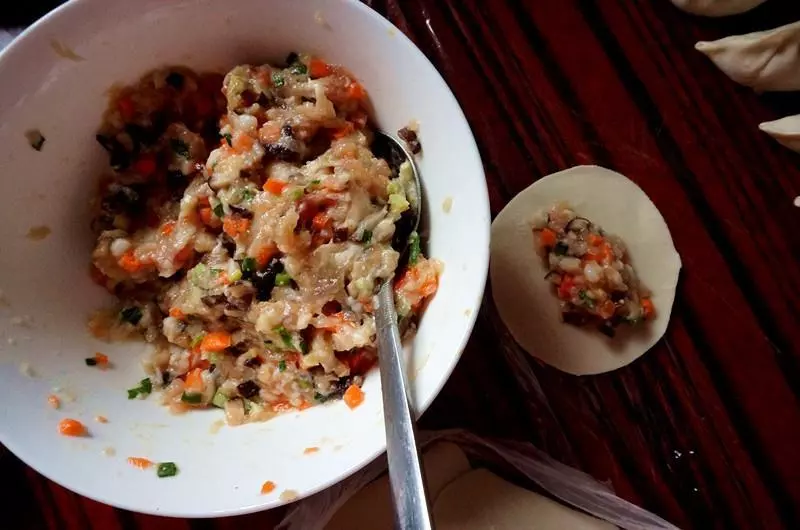
11、肉沫中加入雞蛋、生粉、鹽、雞精、蔥花、薑末攪拌均勻。
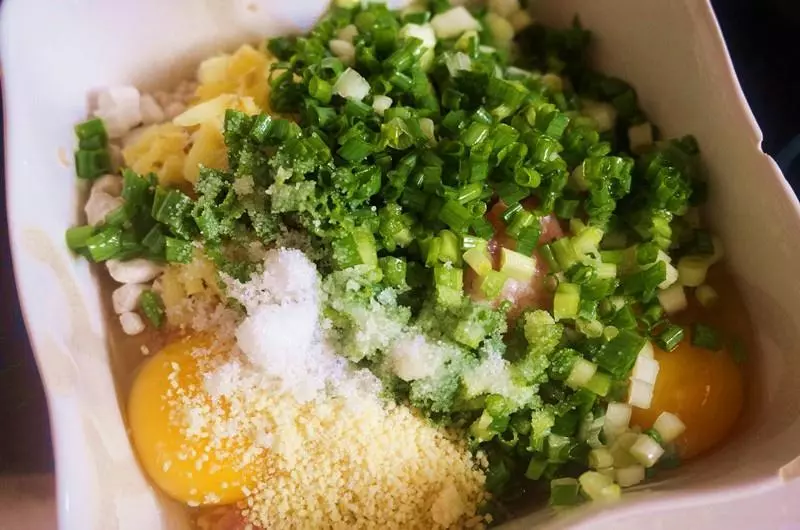
2把白菜切碎加入肉末中攪拌均勻。 (加幾個雞蛋可以根據瘦肉的量來定,我加的是兩個雞蛋,瘦肉500克,白菜和肉的比例是1:1)

3調好的肉沫包在餃子皮裡面,具體的包法我就不演示了,小美我實在慚愧。
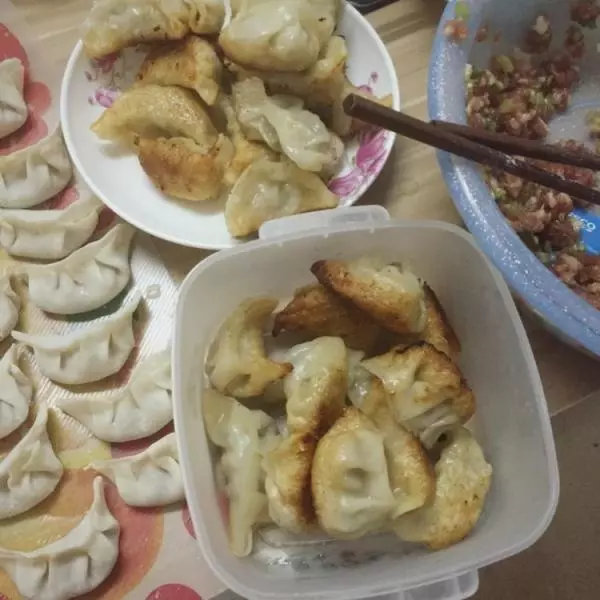
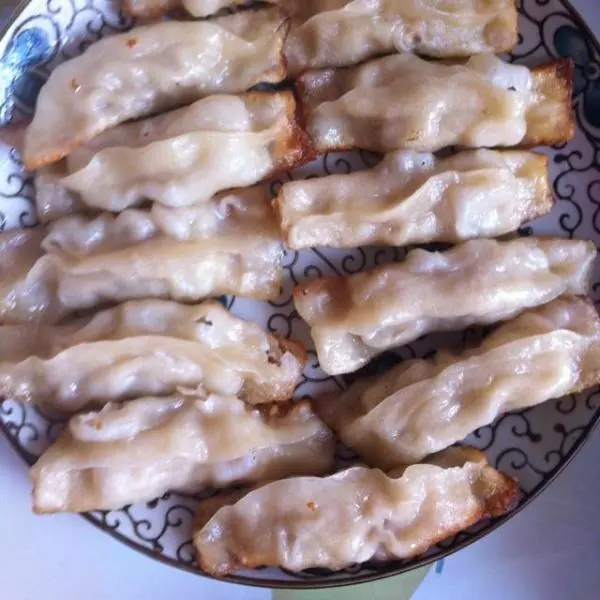
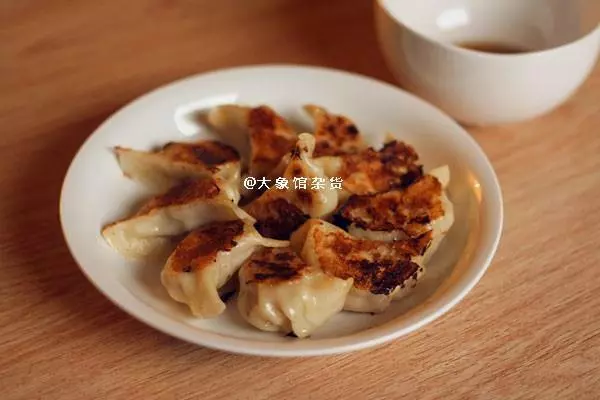
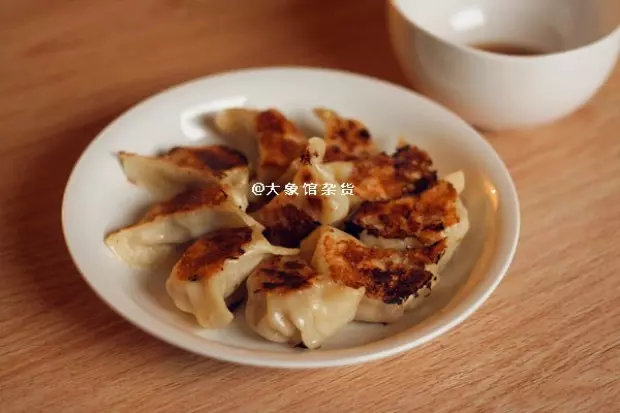
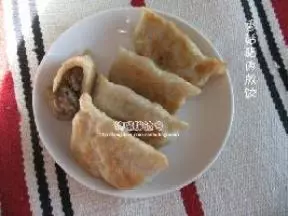
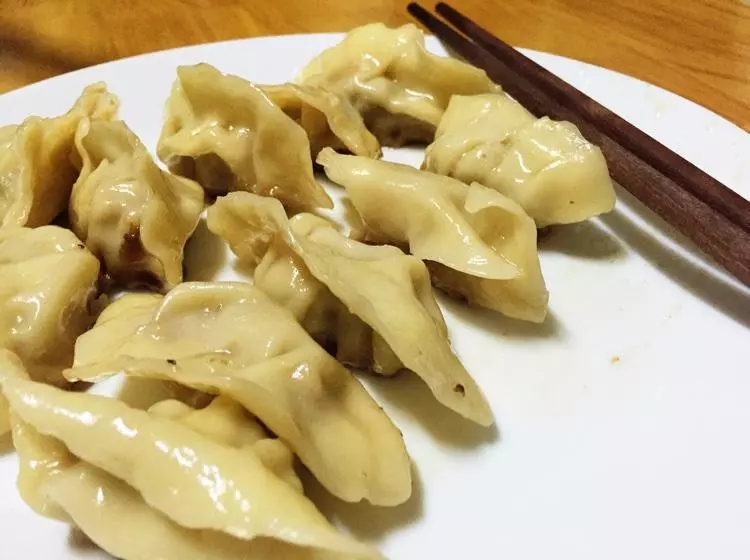
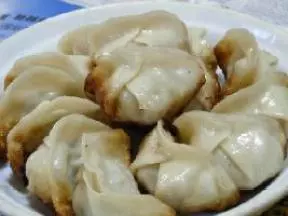
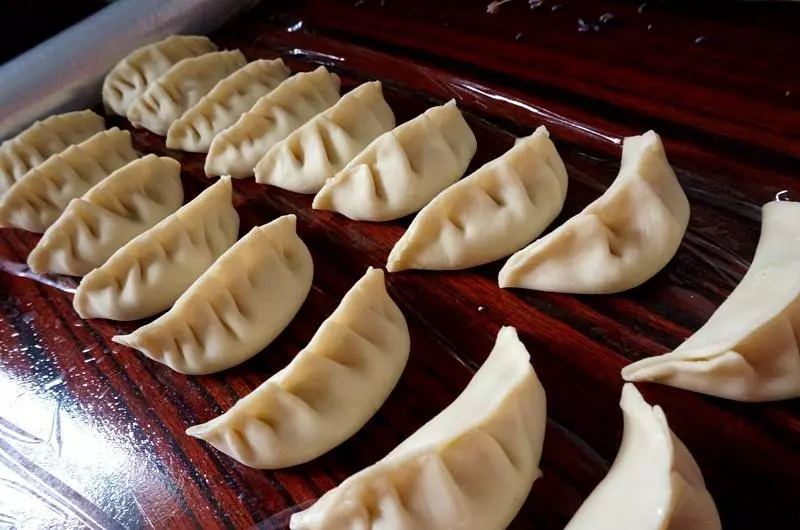
4包好的成品
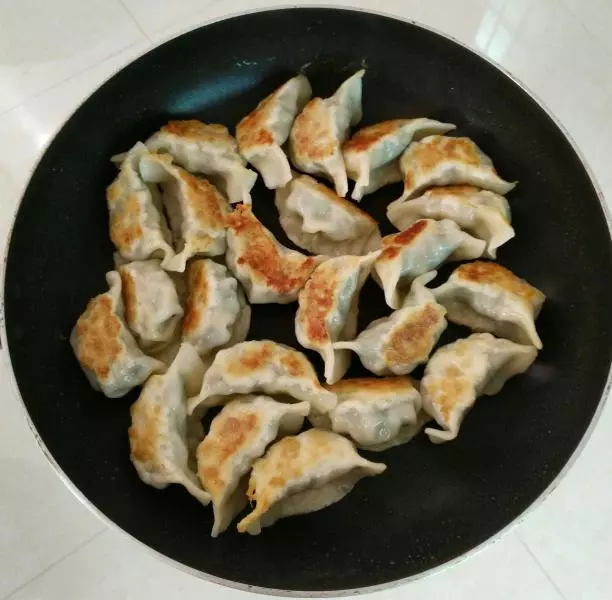
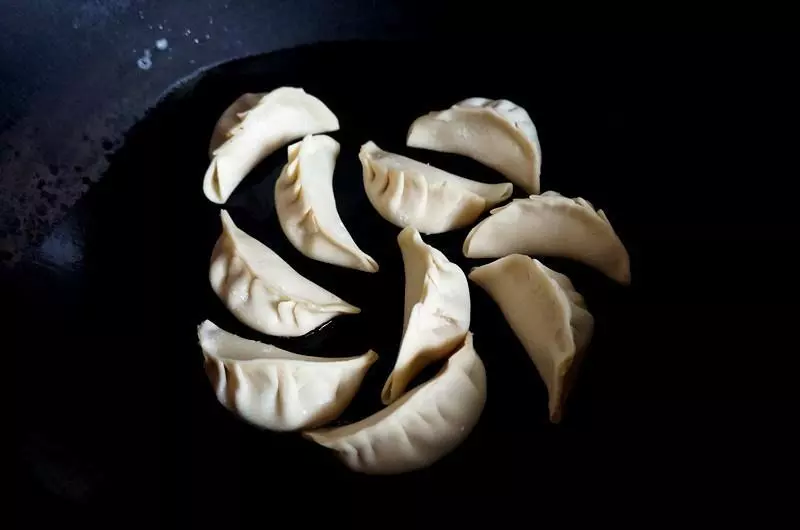
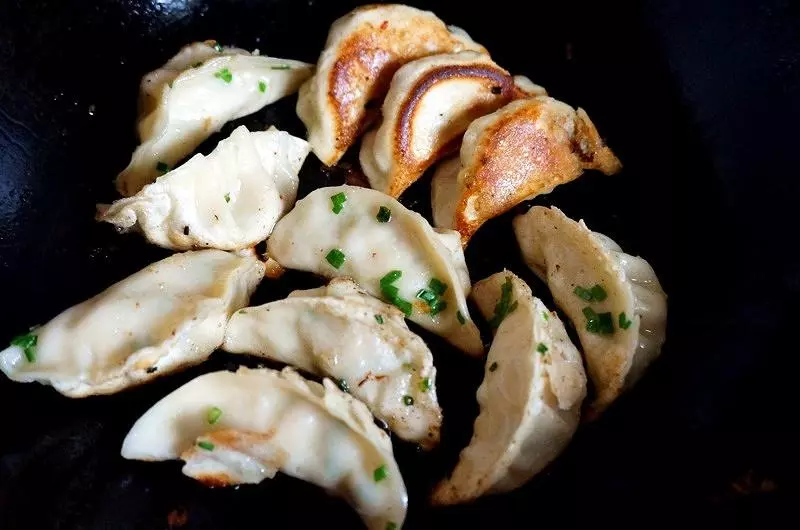
5熱鍋倒入少許油,把剛包好的餃子放入鍋中,煎至底部微焦(煎到晃動鍋柄餃子在鍋中也能動的程度)。
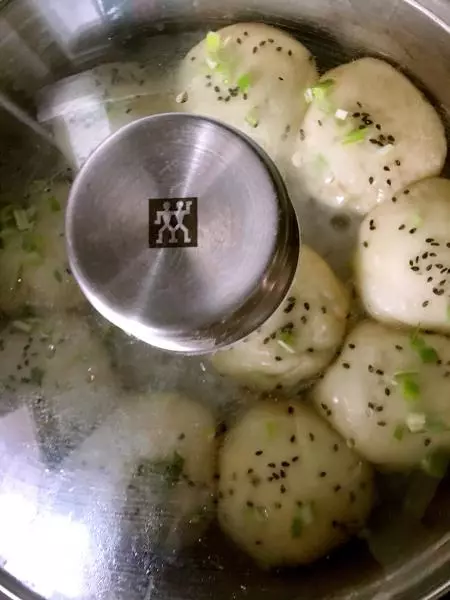
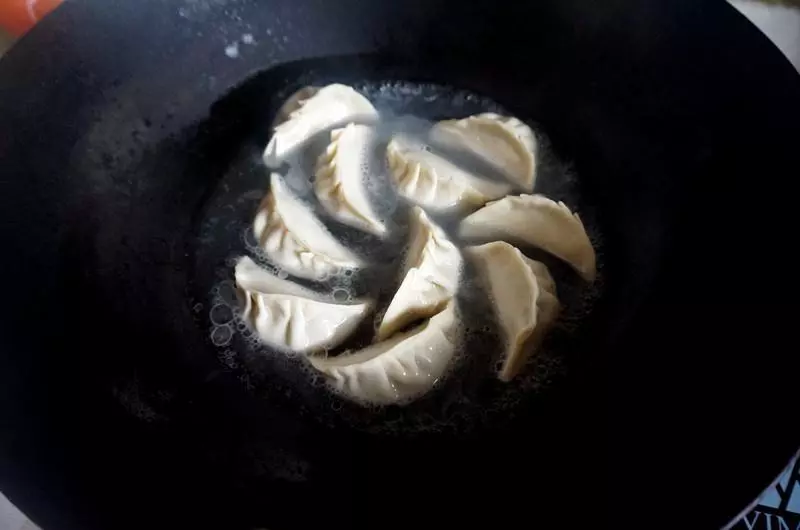
6加小半碗水,中火蓋上鍋蓋燜至水干(聽到鍋中滋滋響時)。
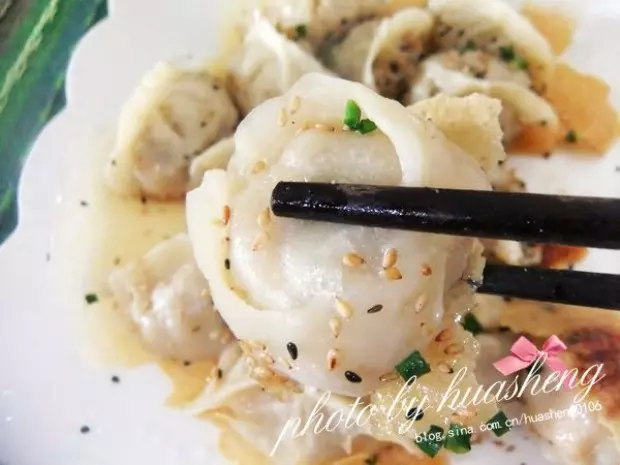
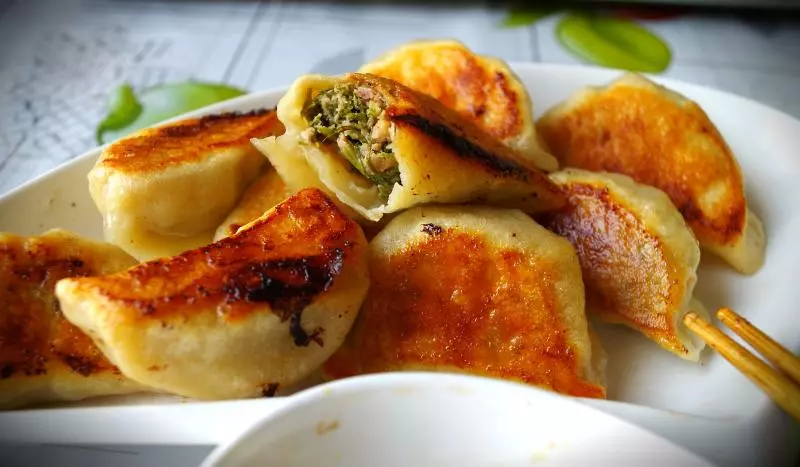
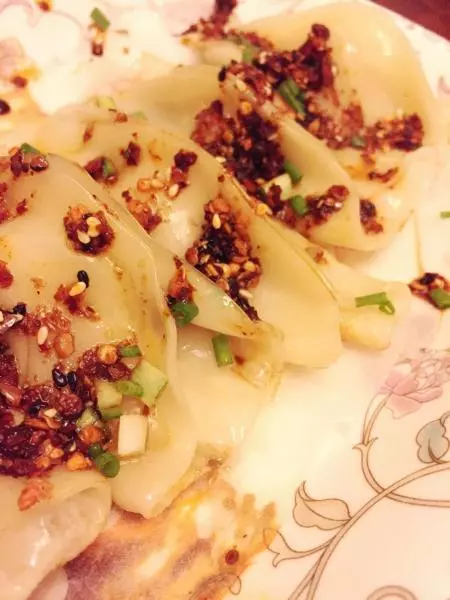
7再次加食用油把餃子底部煎至合適的焦黃,自己覺得可以了就撒上蔥花起鍋。
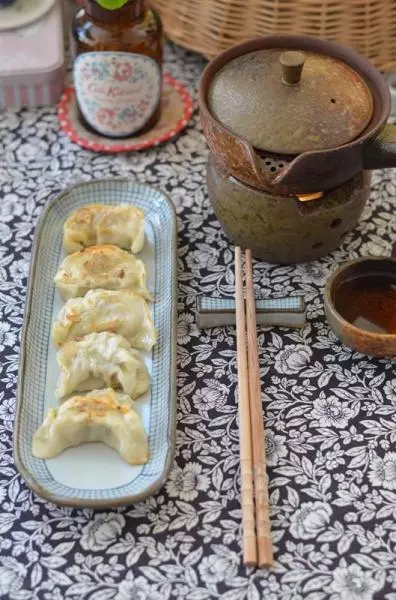
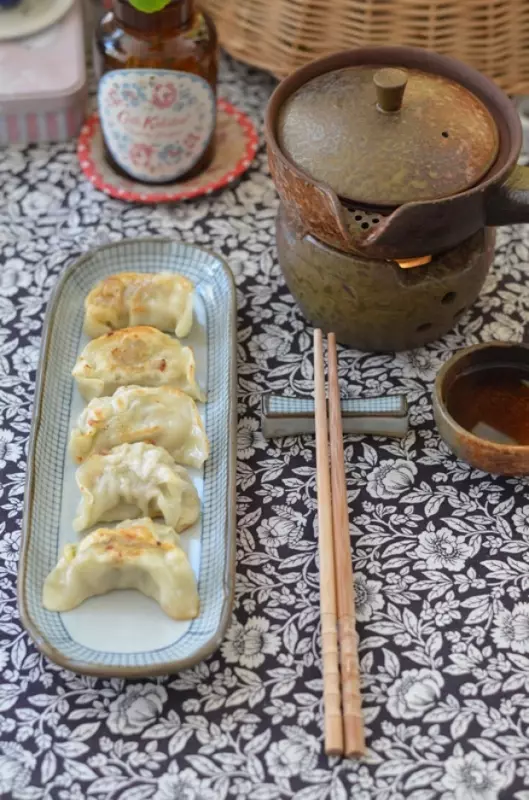
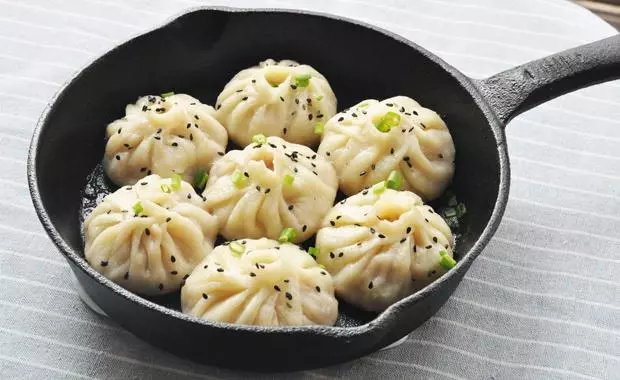
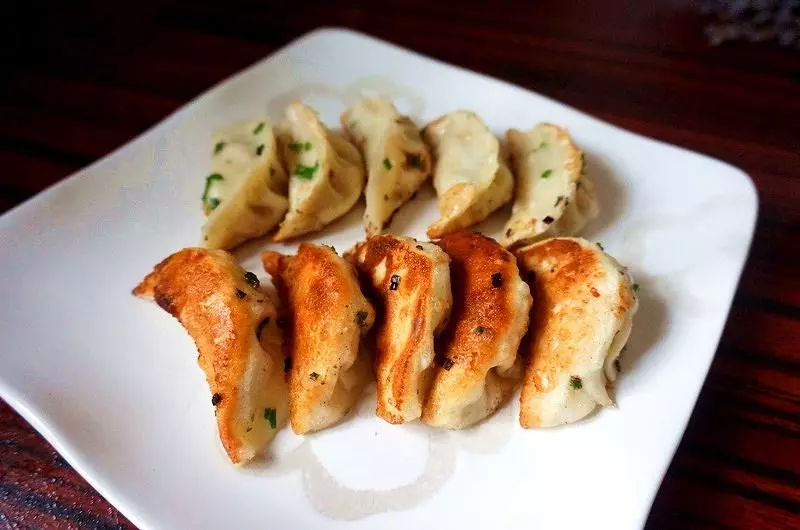
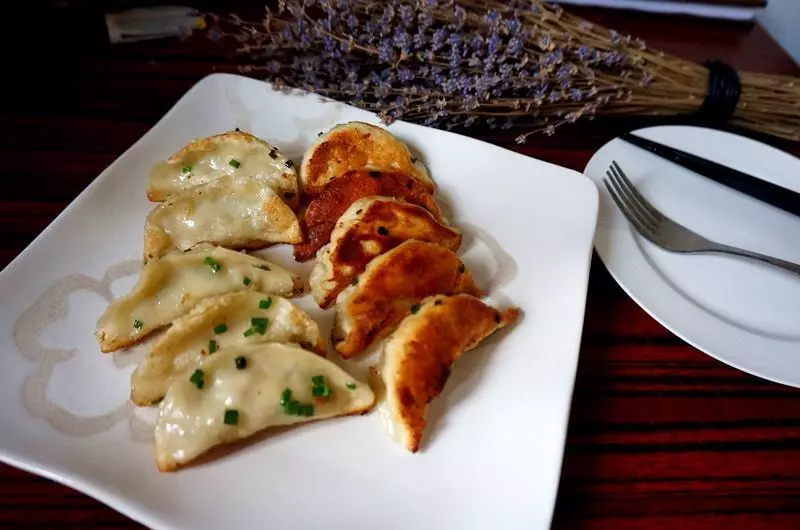
8成品圖欣賞
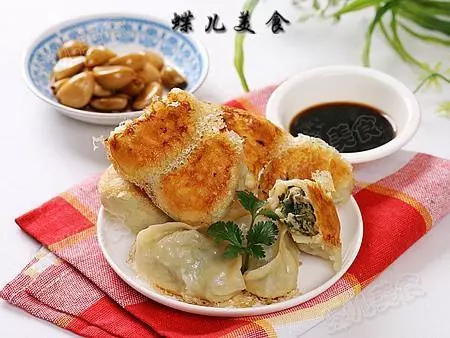
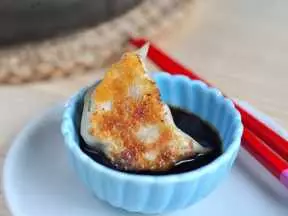
9吃得時候放點調料沾著吃吧!!生抽、醋、辣椒油(1:2:2)
10小編的個人公眾號,上面很多菜譜,每天也都會更新最新的菜譜,搜索公眾號「meishi0123」或者掃這個二維碼添加。

小技巧
1、剛放入鍋中的餃子是粘鍋的不能動,親不要用鍋鏟去碰它哦,它們很脆弱的。 2、水燜干以後加油進去煎時,也不要隨意的碰它,直到底部變焦黃或者變硬可以用鏟子微微移動。如果餃子粘鍋了,硬去動它餃子皮容易壞掉。