原料
高筋麵粉: 300g,B, 黃油: 15g,C, 肉桂粉: 適量,C, 小豆蔻(粉狀): 1/4茶匙,A, 雞蛋: 1/2個,D, 白糖: 30g,C, 乾酵母: 5g,A, 牛奶: 180ml,B, 珍珠糖: 適量,D
步驟
1將材料A攪拌均勻

2把奶加熱至40度,倒入材料A

3攪拌均勻

4加入麵粉,先用筷子攪拌成麵糊

5然後用手把麵糊揉成光滑有彈性且出筋的麵糰
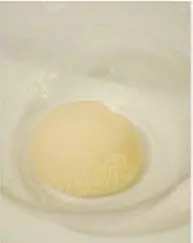
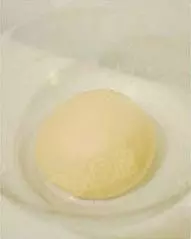
6加入軟化的黃油

7繼續揉至擴展階段
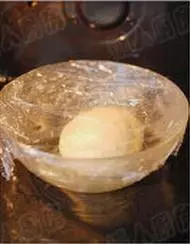
8揉好的麵糰放入碗里,蓋上保鮮膜,室溫(28度需要1小時)進行第一次發酵,天氣寒冷時可把麵糰塞進40度的烤箱裡發酵

9直到麵糰變成原來的2倍大,用手指沾麵粉捅入麵糰再拔出,孔洞不回縮也不塌陷,第一次發酵完成

10把發酵好的麵糰壓出空氣

11揉成圓麵糰,放回碗里蓋上保鮮膜
12在室溫(28度需要15分鐘)進行二次發酵,同理可在40度的烤箱裡進行二次發酵

13把發酵好的麵糰擀成40cm X 30cm 的長方形面片

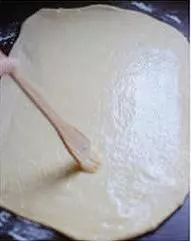
14倒入融化的15g黃油

15用刷子刷均勻,上下留3cm不塗
16然後在塗了黃油的地方撒糖
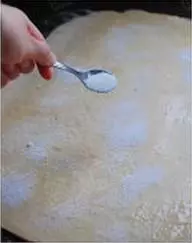
17撒肉桂粉

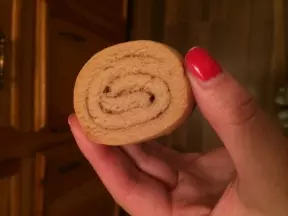
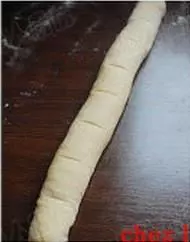
18捲起成面卷

19並把邊緣用手捏上

20朝下擺放

21分成8等份
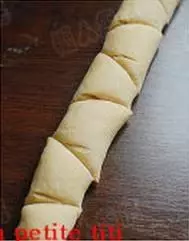
22以「八字」的角度斜切成8個梯形
23豎起來

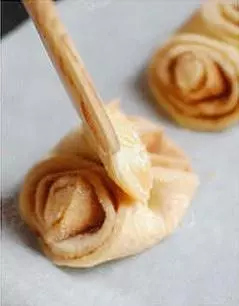
24用筷子在中間

25朝下用力一壓

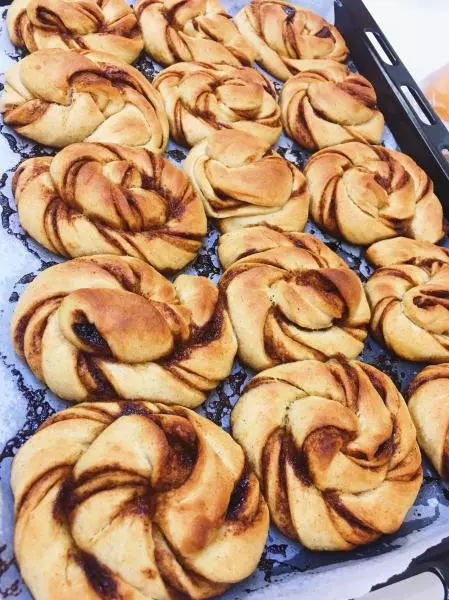
26定型

27放在鋪了廚房用紙的烤盤上

28用布蓋上

29放進40度的烤箱裡醒面15分鐘

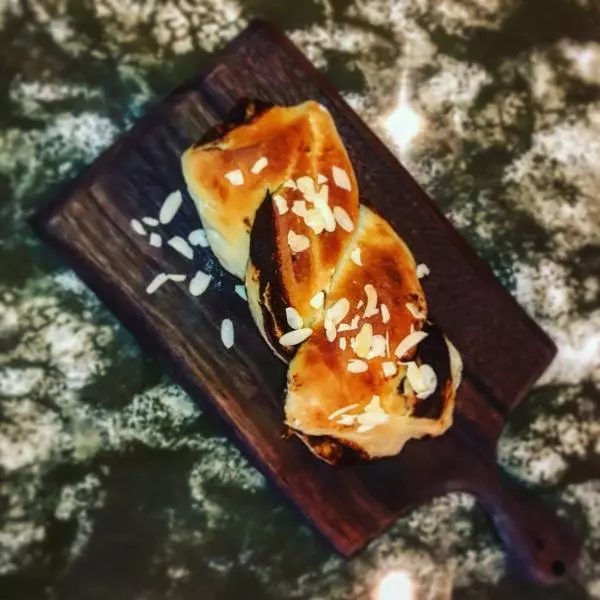
30取出,表面刷上蛋液
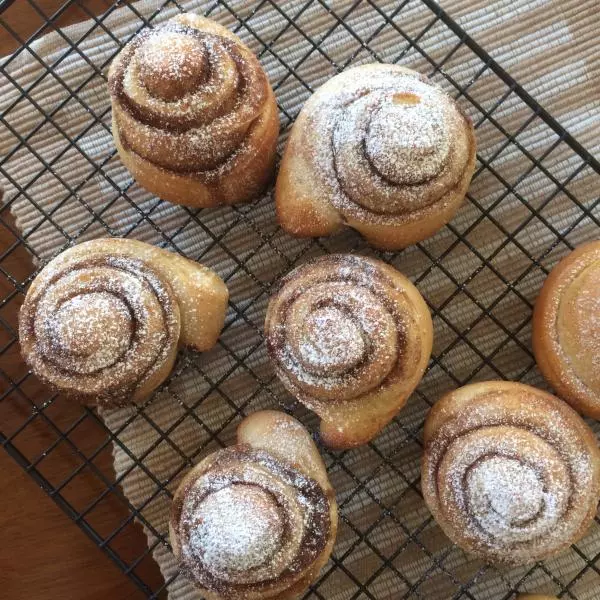
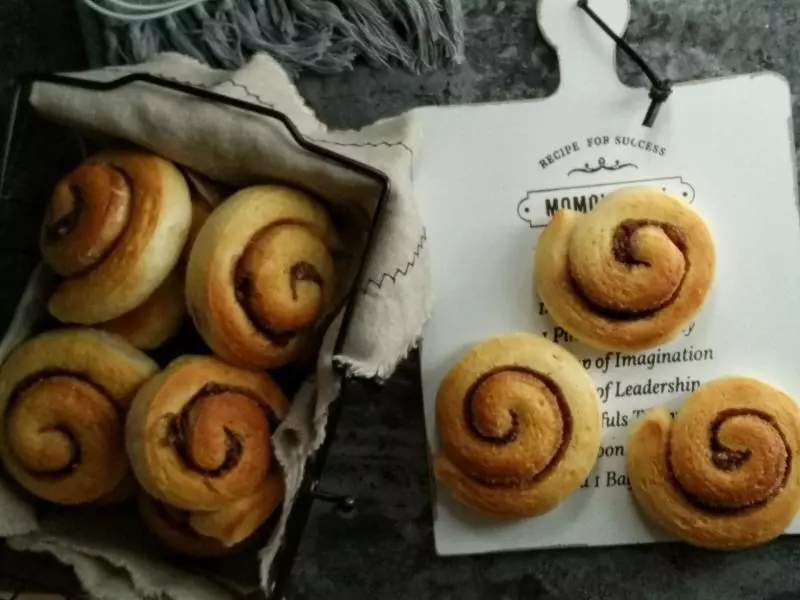
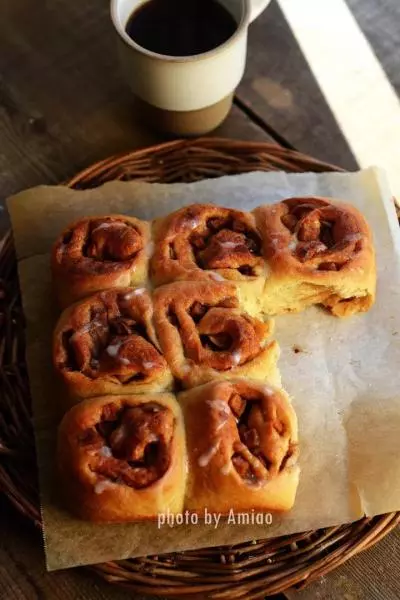
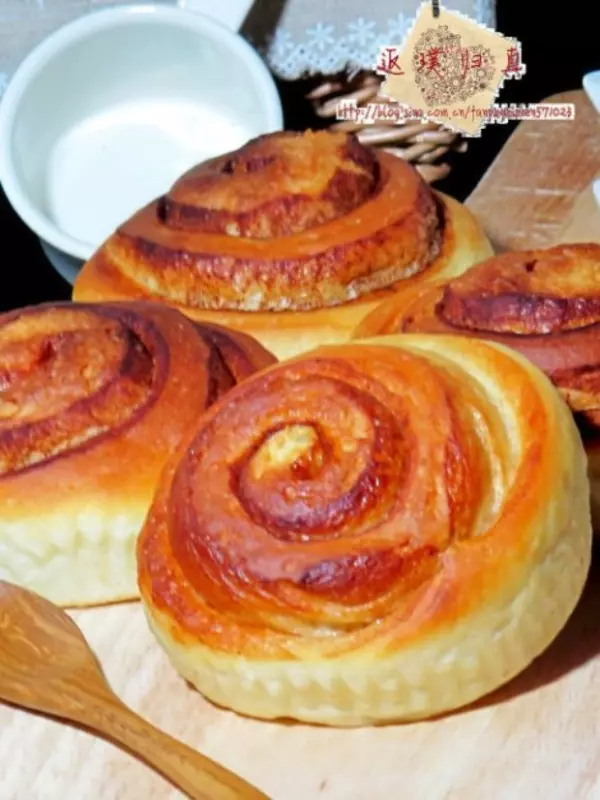
31撒上珍珠糖

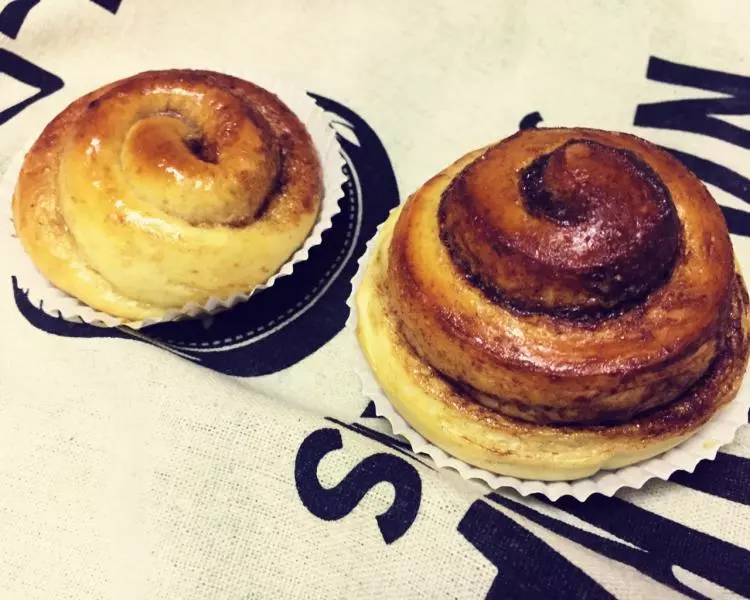
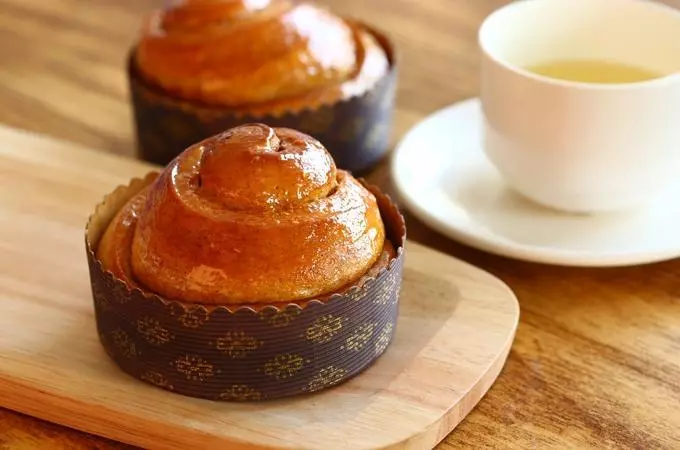
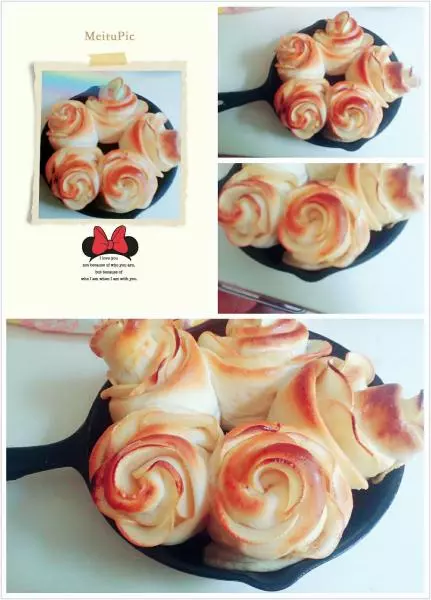
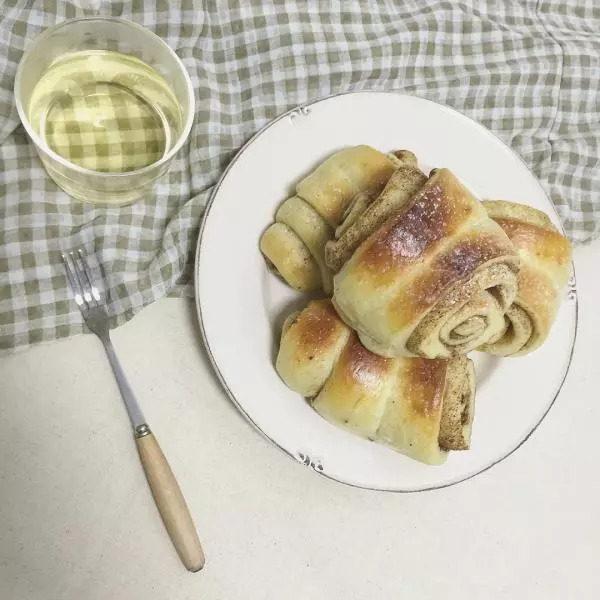
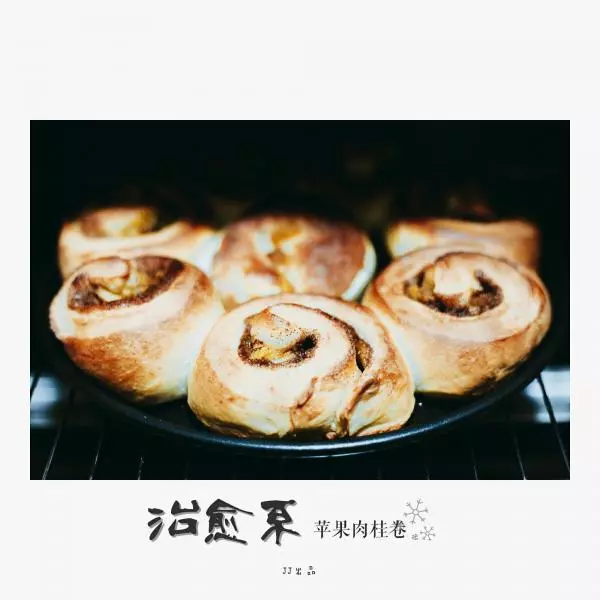
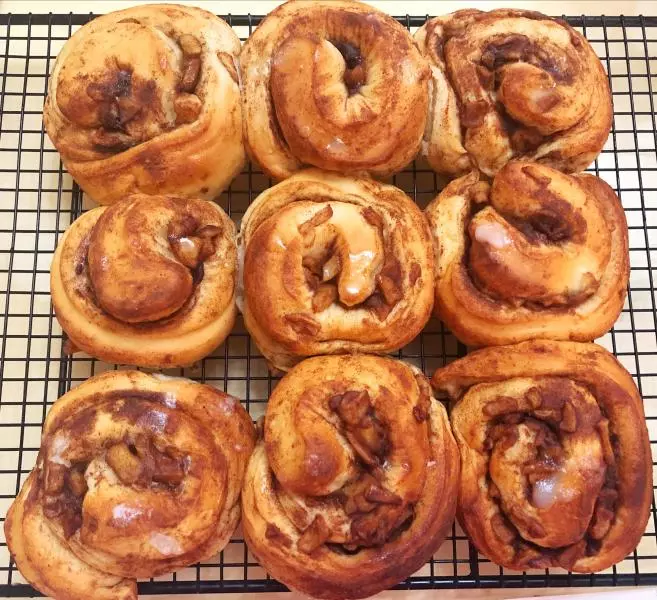
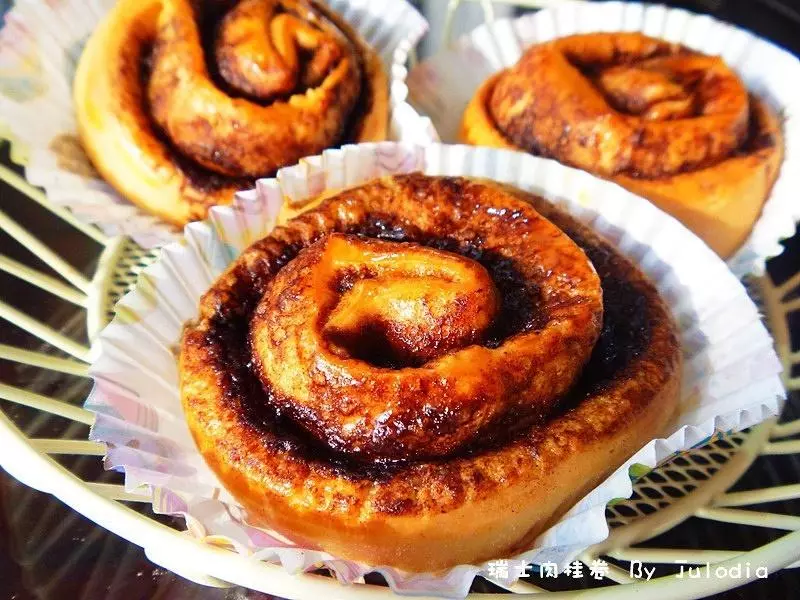
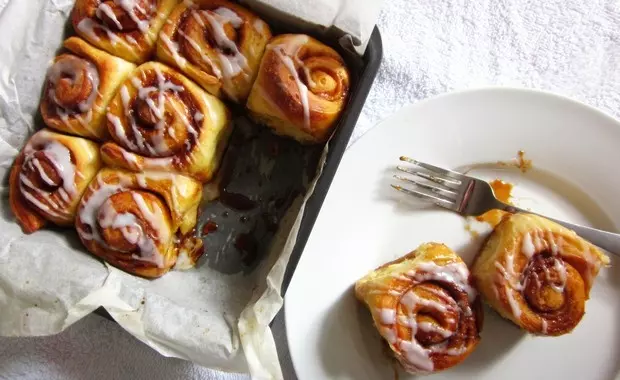
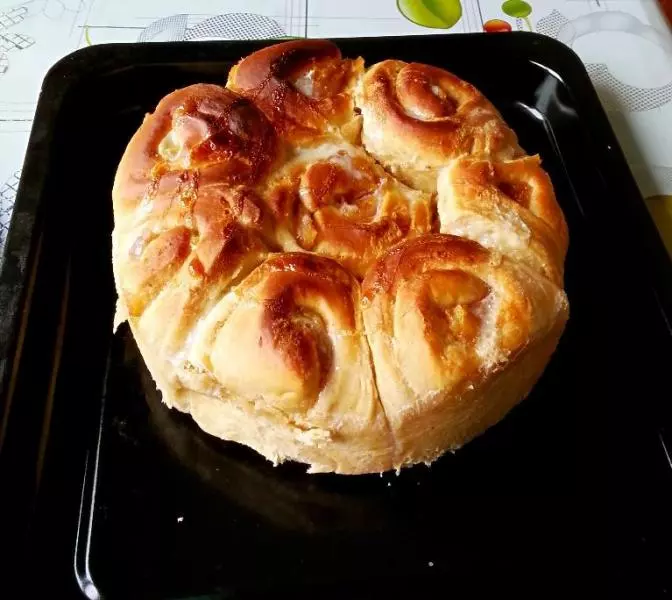
32烤箱預熱200度,以180度烤15分鐘子表面金黃即可

小技巧
1.小豆蔻(cardamome)不是肉豆蔻(muscade),請不要弄錯,另外小豆蔻味道濃重,量一定不能多放 2.此方若用鮮酵母製作,量要比乾酵母多放一倍 3.不同的麵粉吸水性不同,奶的量可以增減10ml,揉麵糰時一開始是麵糊狀,一定要有耐心從麵糊揉成出筋的麵糰,不能一直加乾麵粉;同理,加入融化的黃油時要耐心揉到麵糰完全吸收黃油至擴展階段,此過程絕對不能加乾麵粉。 4.糖請按個人口味增減 5.烤箱因品牌、型號、大小等不同,烘焙溫度與時間也有所差異,請參考各自的說明書並作適當調整。 6.揉面是力氣活,懶人們有機器就使機器,如麵包機、廚師機,友情提示:小心別揉過頭。 7.天氣太冷發麵困難,可以把麵糰放暖氣旁,或者用一鍋溫熱水溫底部,又或者放進烤箱,甚至還可以扔進電飯鍋按保溫檔。