簡介
這個是根據下廚房裡的 @大小米 的菜譜蛋奶小餅乾改編的 我覺得味道還不錯 寶寶也很愛吃 再加點糖做個大人的小零食也挺好吃的~
原料
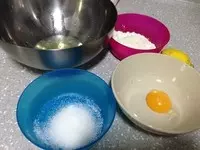
雞蛋 1個, 高筋麵粉 10g, 低筋麵粉 30g, 檸檬汁 少許, 檸檬皮屑 少許, 白砂糖 9g, 奶粉 5g
步驟
1原材料備齊稱重 雞蛋清洗擦乾後分離出蛋清放在無油無水盆中
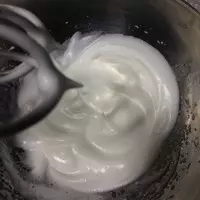
2蛋白盆中滴入檸檬汁 把白砂糖分次加入蛋白盆中 打發蛋白至乾性發泡 如圖中慢慢拉起打蛋器 有個直立的小尖角就可以了
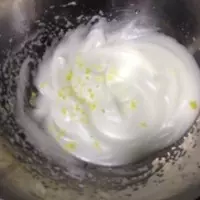
3放入檸檬皮屑
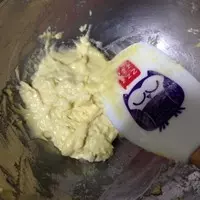
4將打散的蛋黃放入蛋白中 篩入粉類 迅速翻拌至無乾粉即可
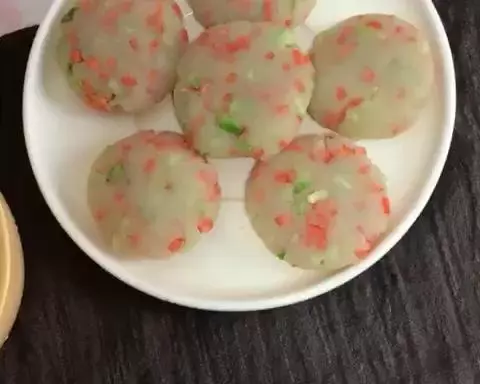
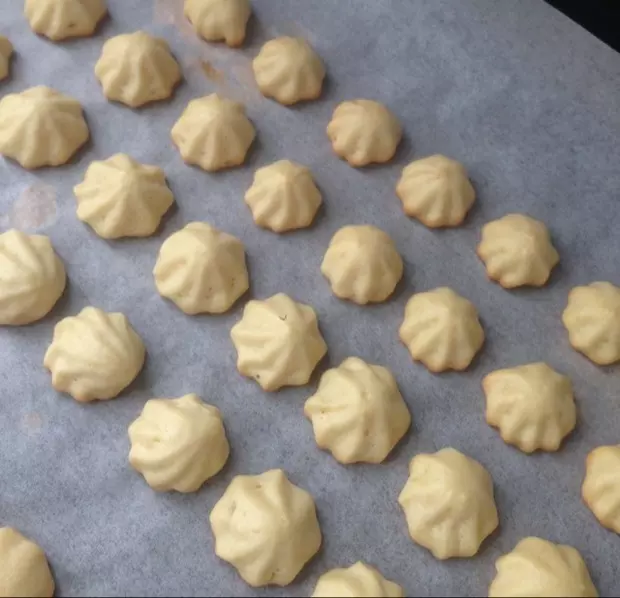
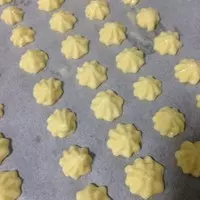
5放入裱花袋中擠在油紙 因為是寶寶吃的 我擠的比較小
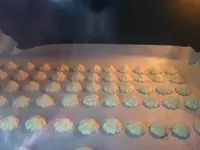
6放入預熱好的烤箱 150度 上下烘烤15分鐘
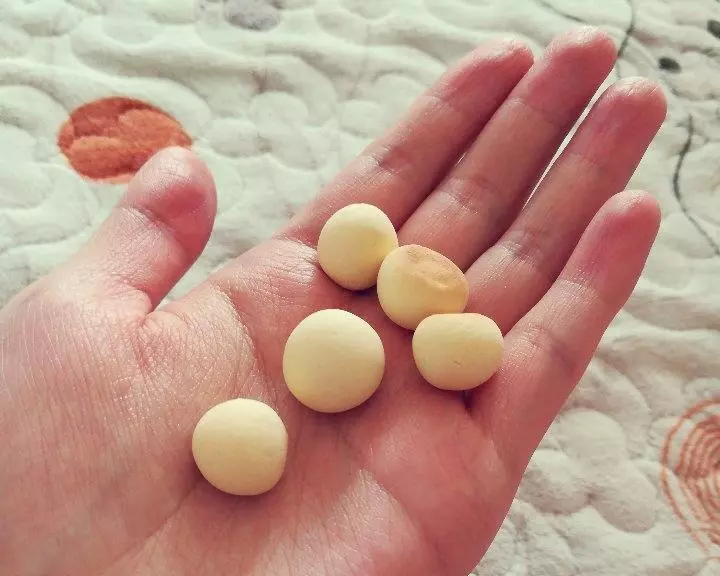
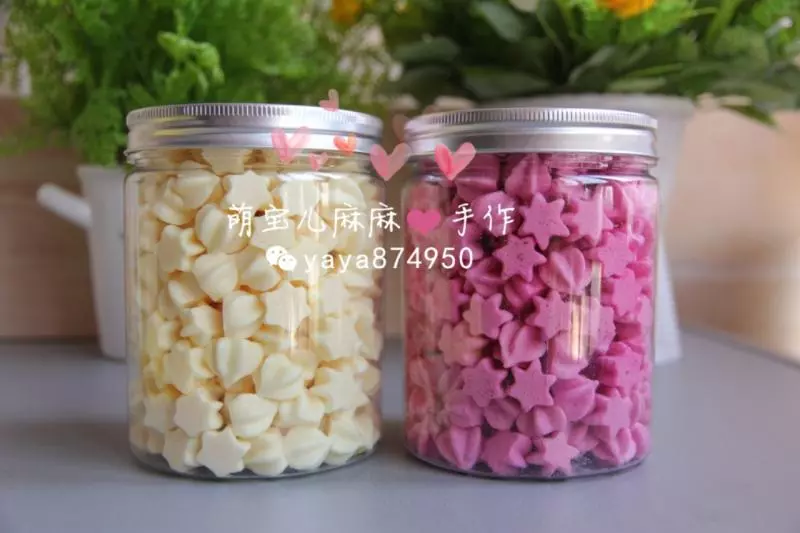
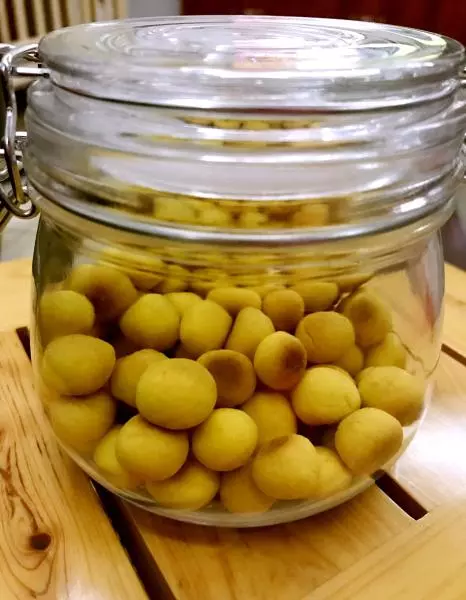
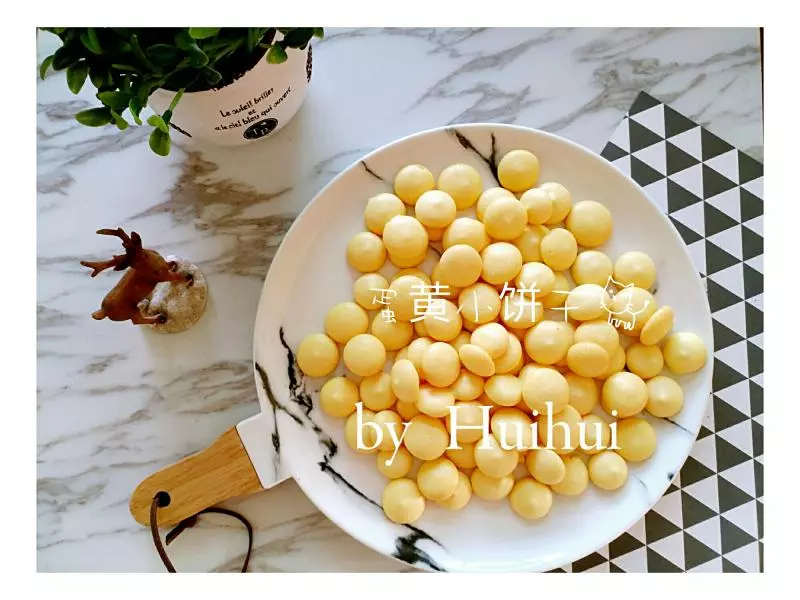
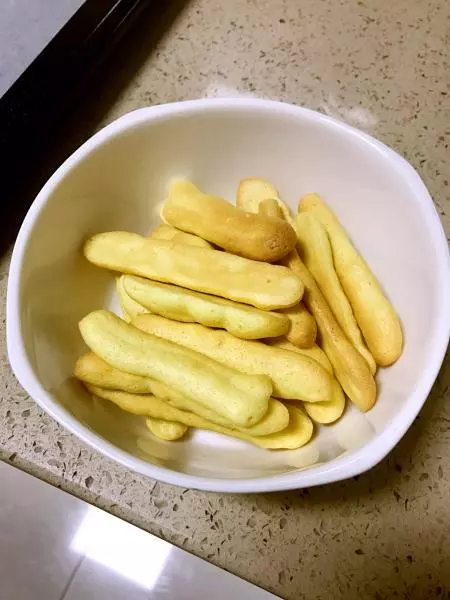
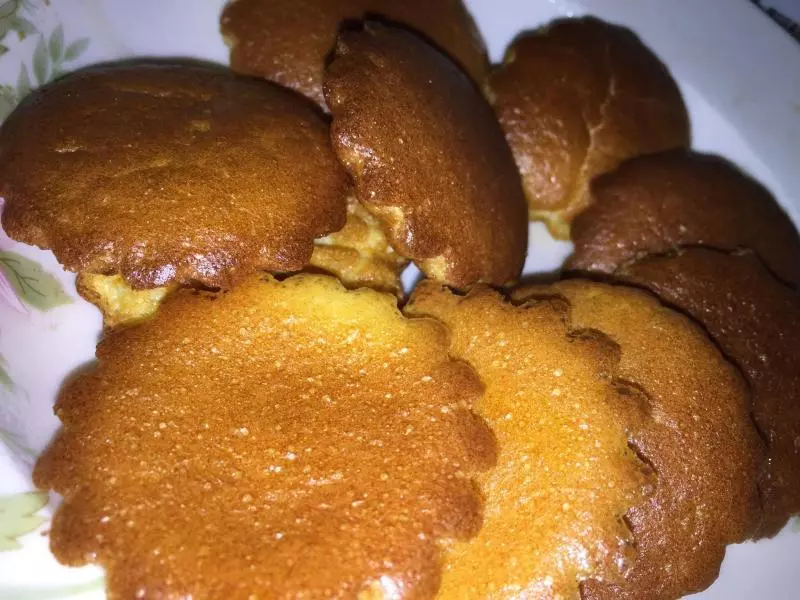
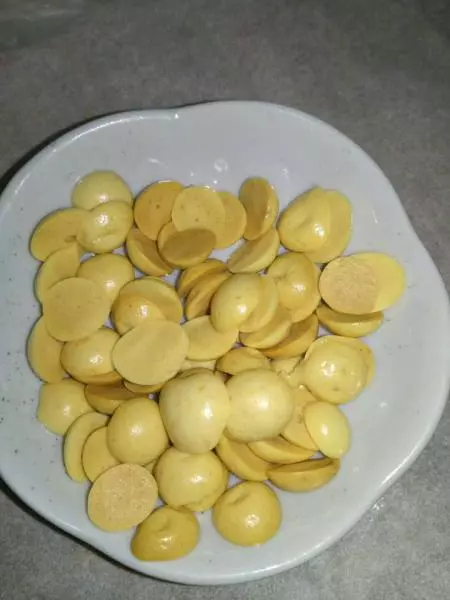
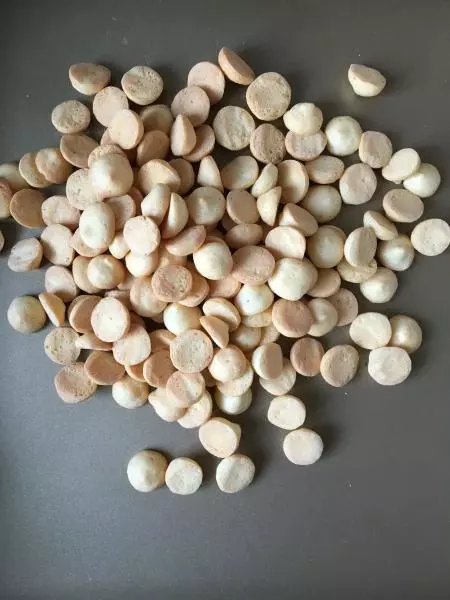
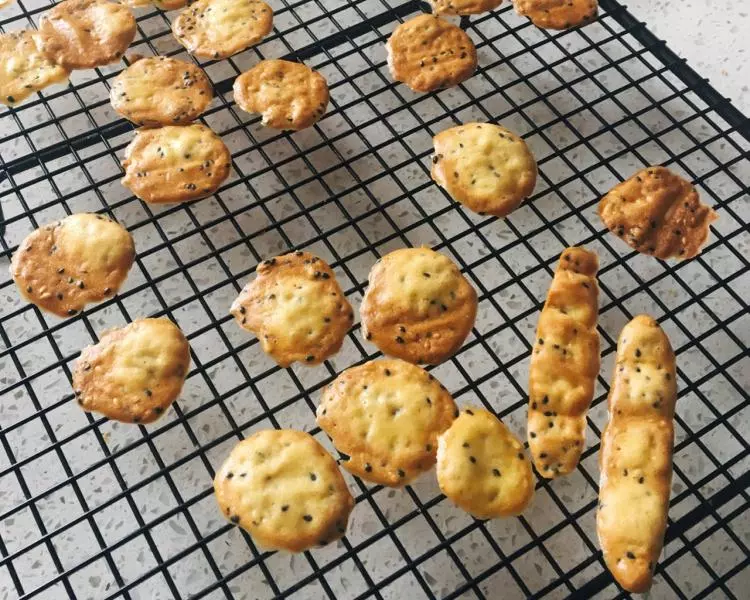
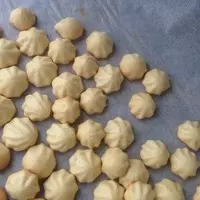
7成品~
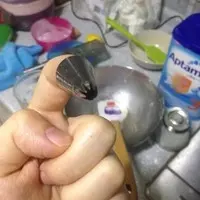
8裱花嘴
小技巧
1、我的烤箱42L 這些材料大概能做一個烤盤 2、糖已經減到9g了 我覺得已經很少了 3、我用的新鮮檸檬手擠的檸檬汁 這樣可以去除雞蛋腥味 沒有也可以不加 4、材料簡單 只有雞蛋 高粉 低粉 糖 成品蛋餅外皮有點脆中心柔軟 我的寶寶一歲 他有六顆牙 很愛吃 5、奶粉是配方奶粉 6、目前只想到這麼多