原料
動物性無鹽黃油: 80, 糖粉: 40, 低筋麵粉: 100, 雞蛋: 2隻, 檸檬汁: 25G, 泡打粉: 2G, 鹽: 少許, 檸檬皮: 2個量, 細砂糖: 5G, 細砂糖-輔料: 7G, 水-輔料: 25G, 檸檬汁-輔料: 25G, 君度橙酒-輔料: 10G
步驟
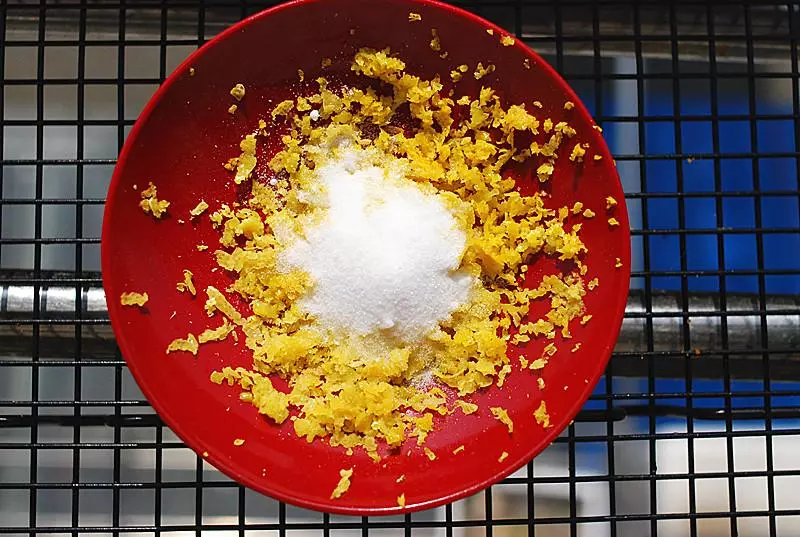
1檸檬洗乾淨,將表皮擦成檸檬皮屑(不要擦到白色部分,會發苦的喔···)
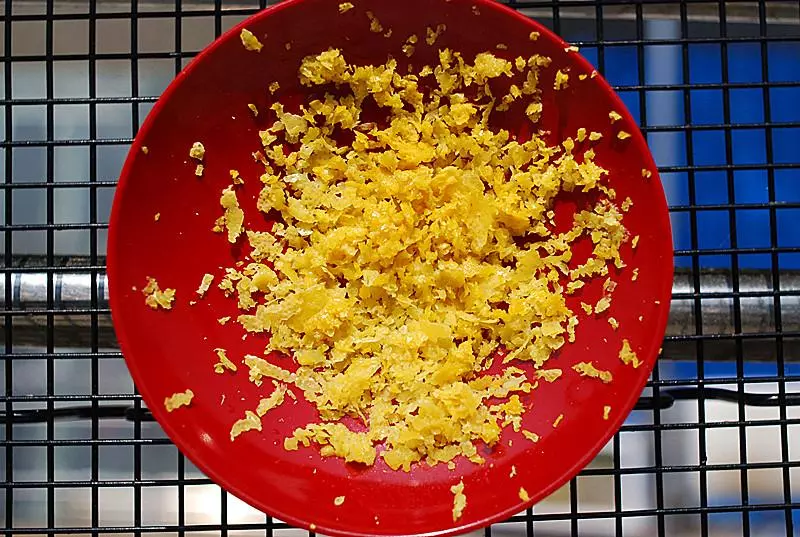
2加入5克糖,混合放置15分鐘,讓檸檬皮的香味揮發出來
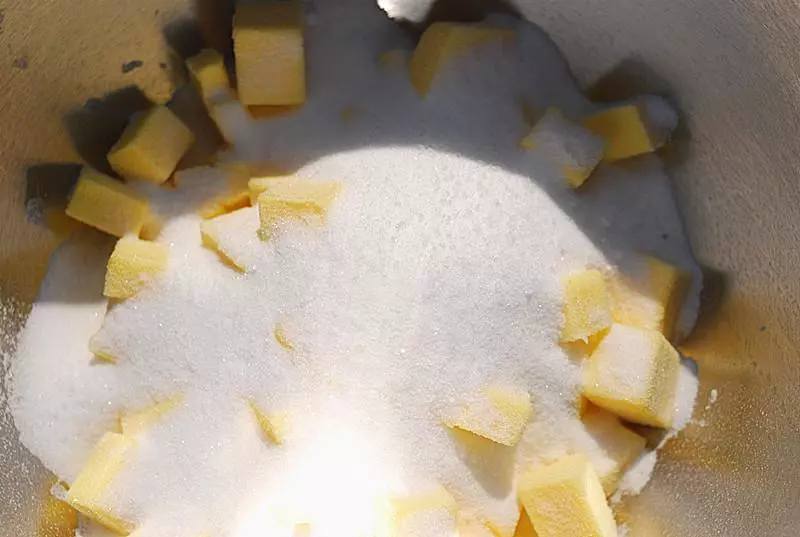
3黃油80g,切小塊,室溫軟化

4糖粉和鹽過篩,加入到軟化的黃油中,打發至黃油發白
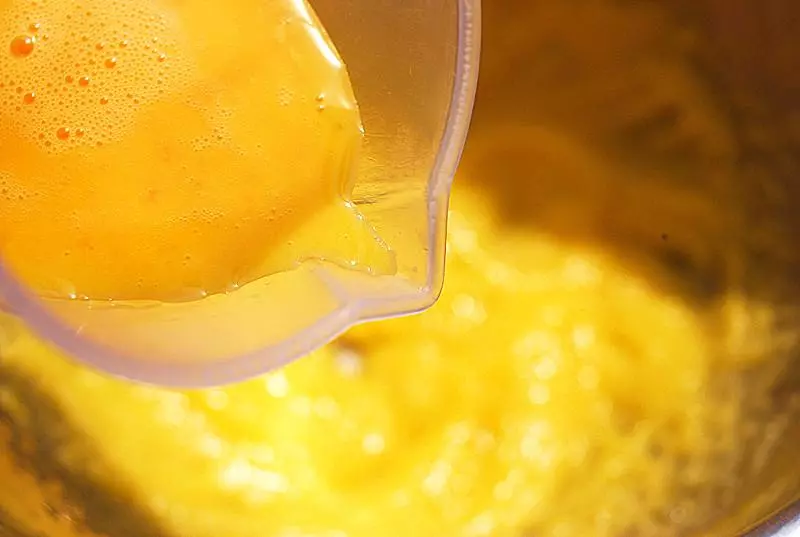
52隻雞蛋液打勻,少量多次地加入到黃油中打發,每次都要混合均勻再加入蛋液(一定要少量多次,不然容易造成油水分離)
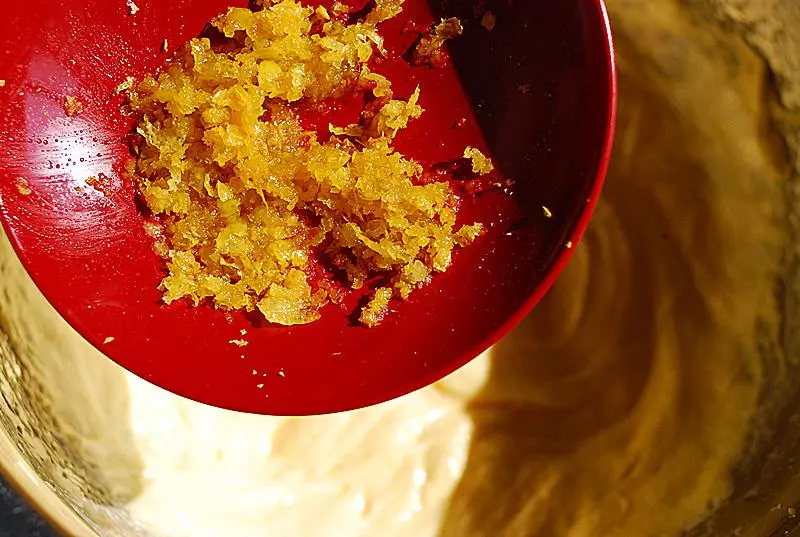
6加入檸檬皮,再次打發均勻
7加入過篩後低筋麵粉和泡打粉的混合物
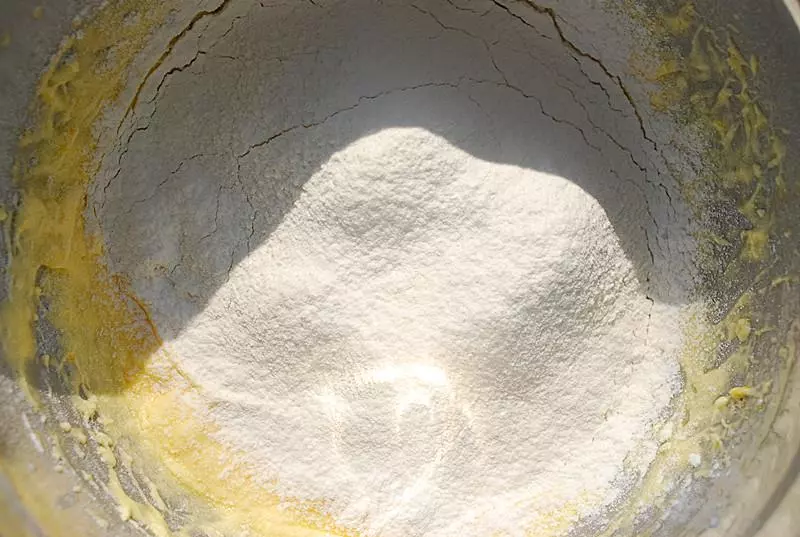
8用刮刀切拌混合均勻
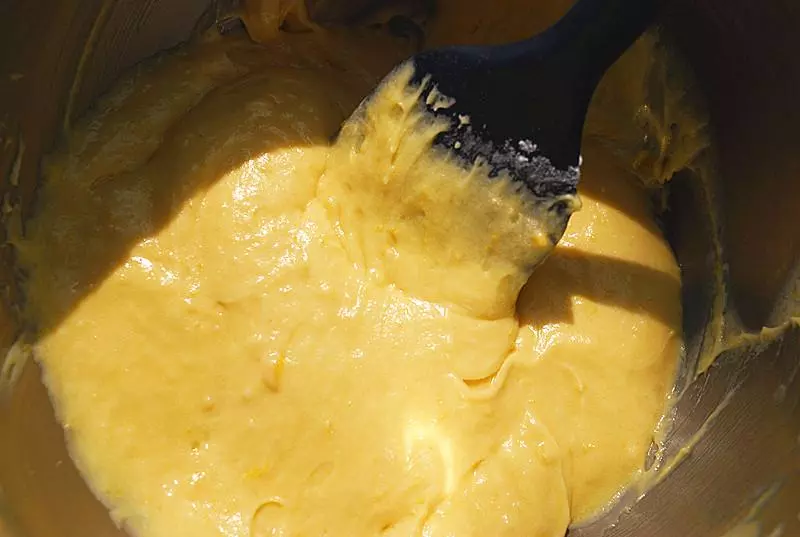
925g檸檬汁,加入到混合好的麵糊中去
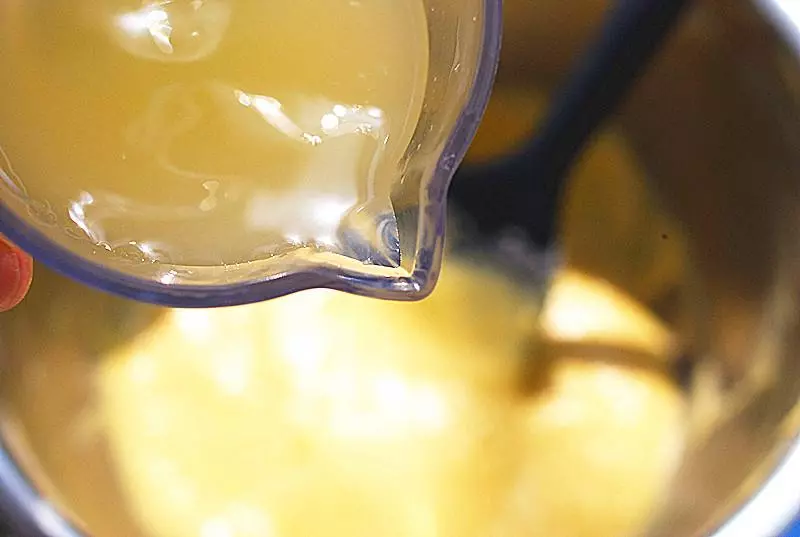
10將麵糊混合均勻
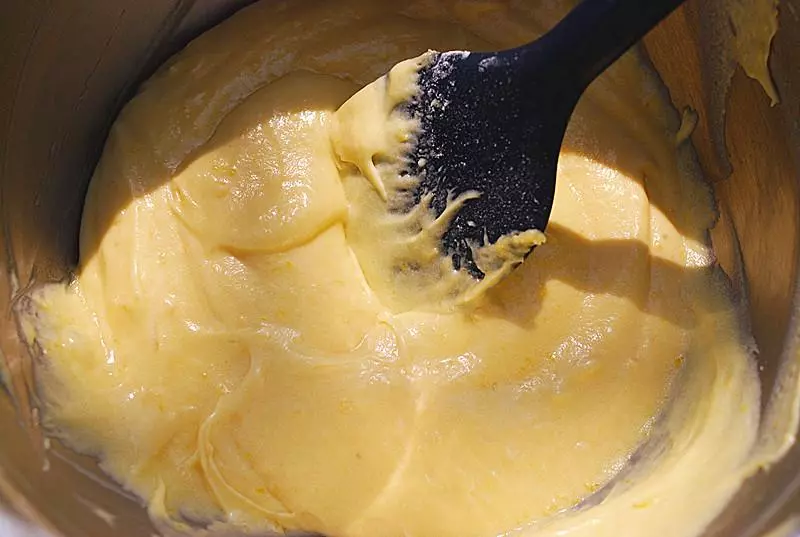
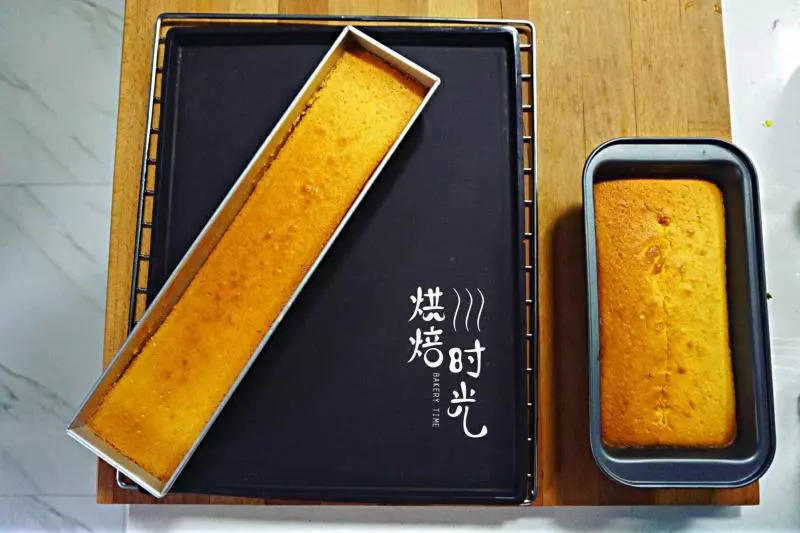
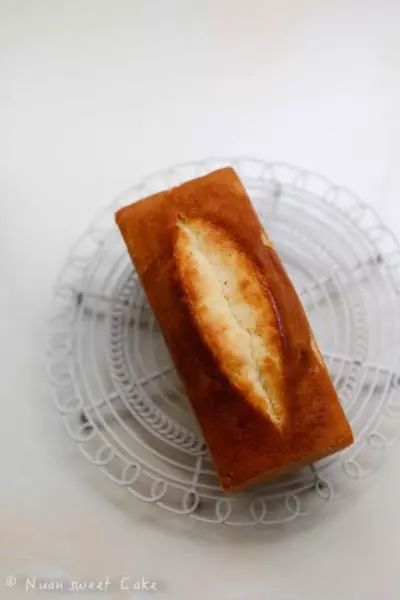
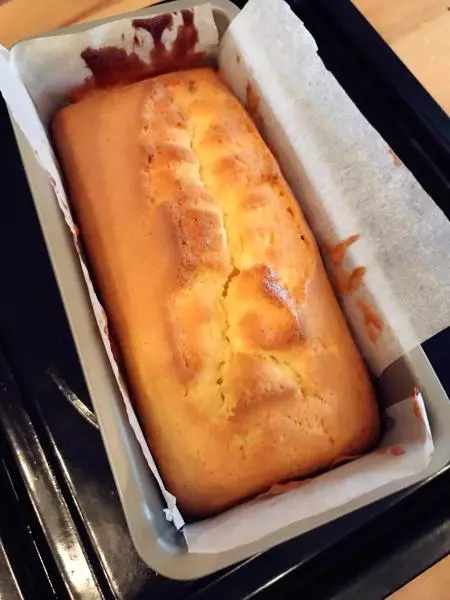
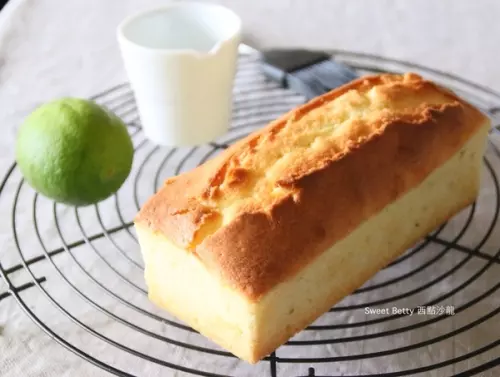
11倒入磅蛋糕模具中,用勺子將蛋糕抹成中間凹兩邊高
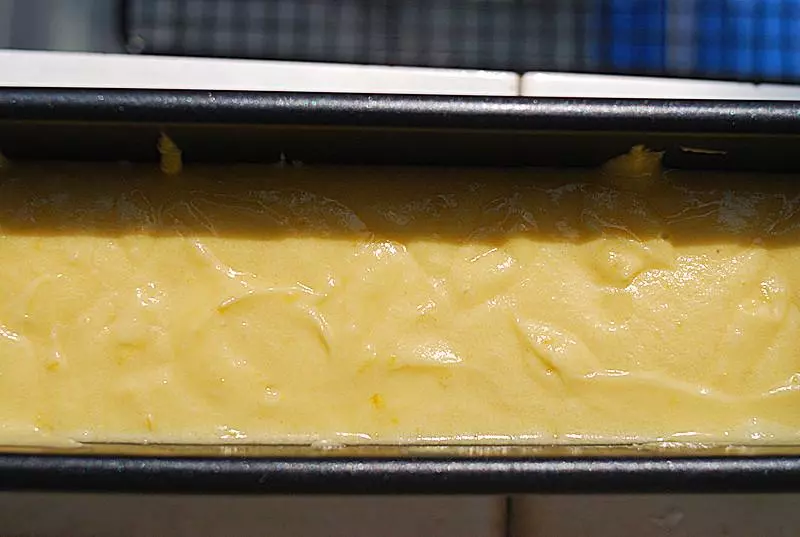
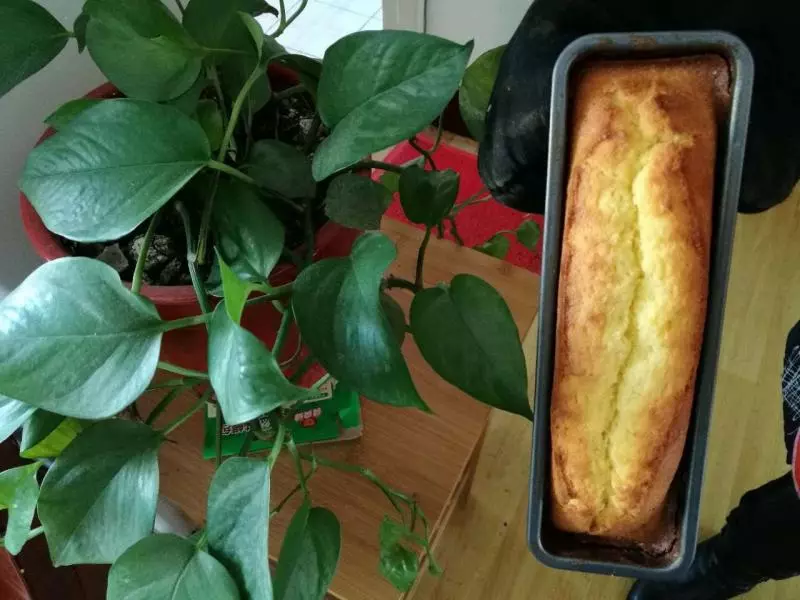
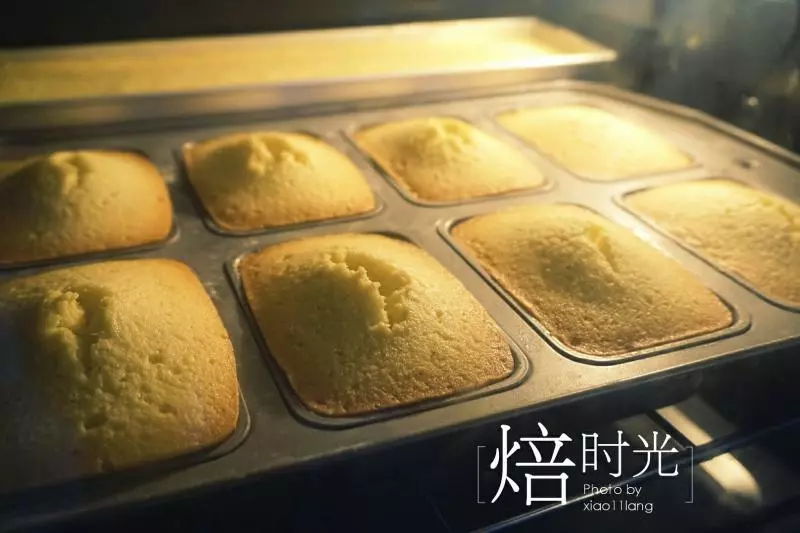
12烤箱預熱,中層,180度,40到45分鐘左右,蛋糕頂部焦黃,牙籤從裂縫中插進去沒有帶出濕麵糊就可以了(這個模具比較瘦高,寬一點的模具可以適當調整時間)
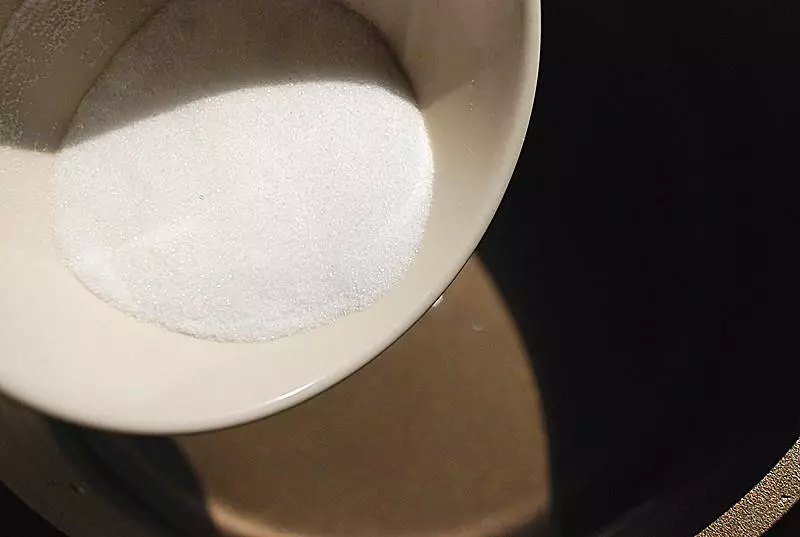
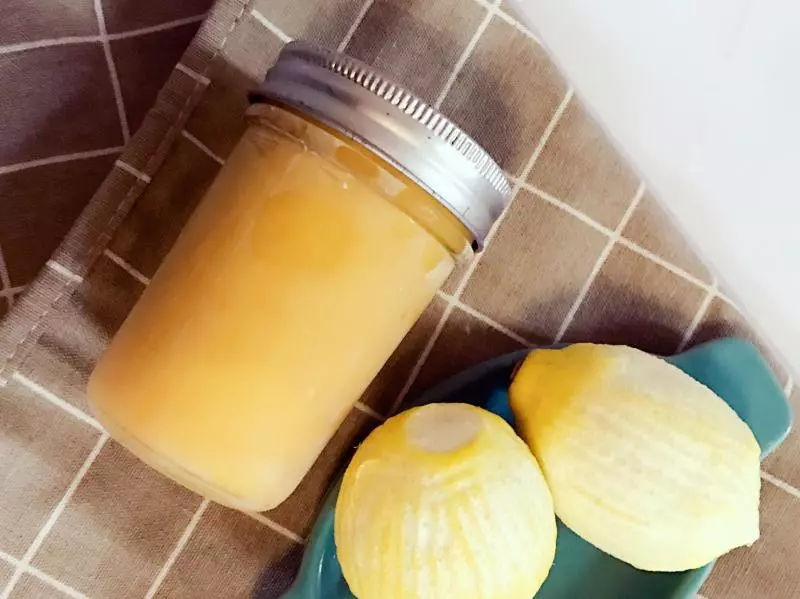
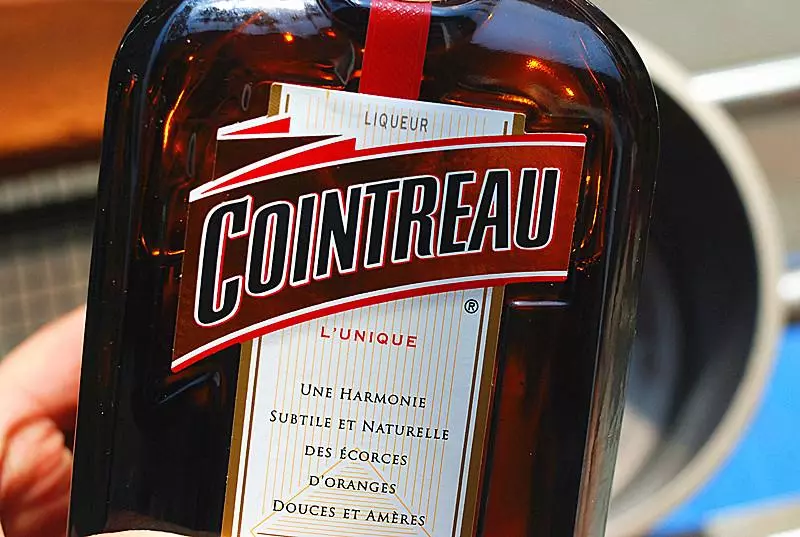
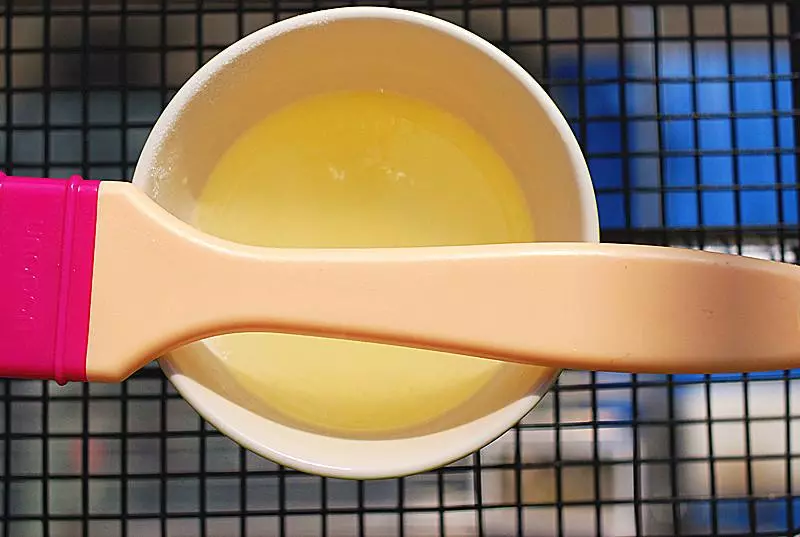
13烤蛋糕的過程中,我們可以準備好刷蛋糕的糖漿: 將17克細砂糖,25克水放進奶鍋中,煮至水沸騰,立刻關火,關火後加入檸檬汁和君度橙酒
14刷蛋糕的糖漿就完成了
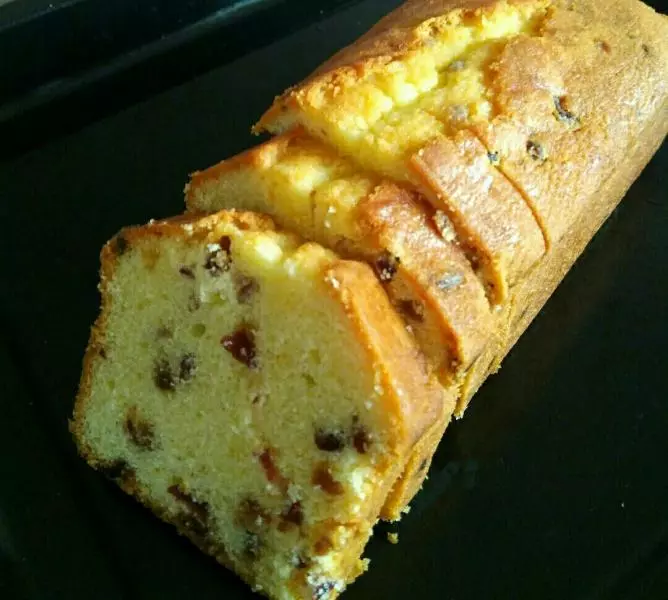
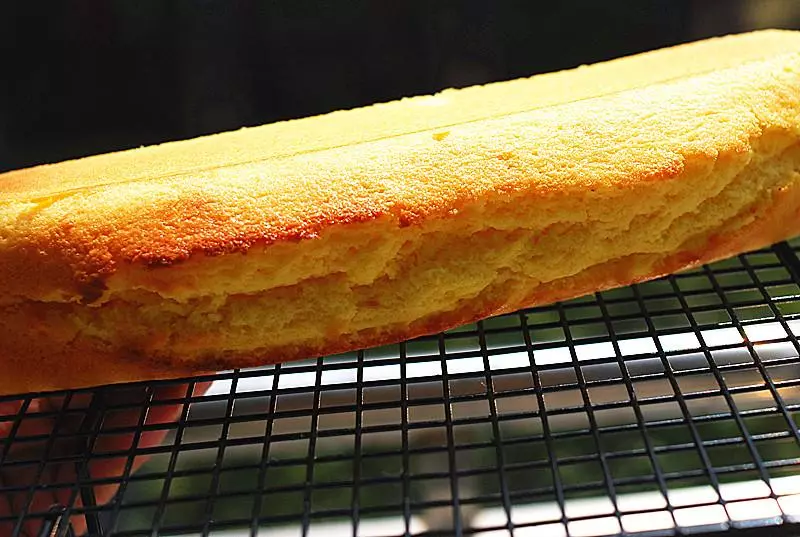
1545分鐘後,看到蛋糕頂部呈現略焦黃的顏色,即可將蛋糕取出,用牙籤從蛋糕頂部中間戳進去,取出,沒有濕麵糊就表示蛋糕已經好了,蛋糕倒出放晾網上
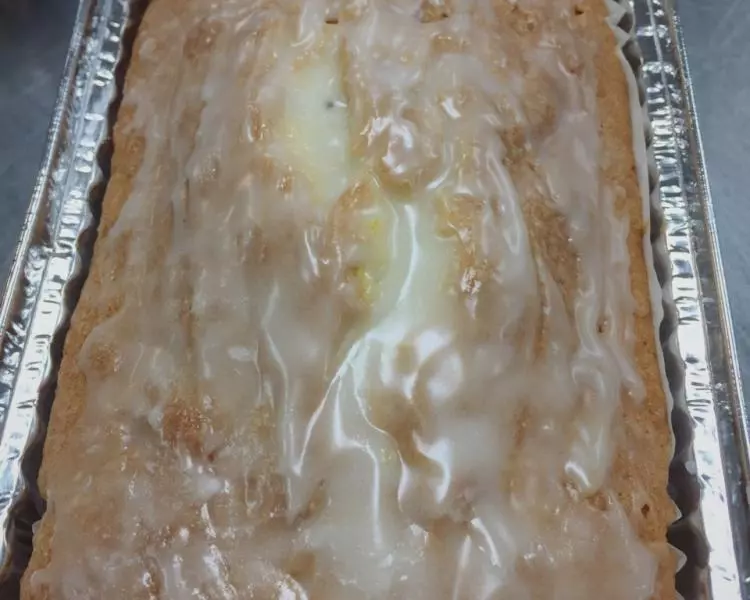
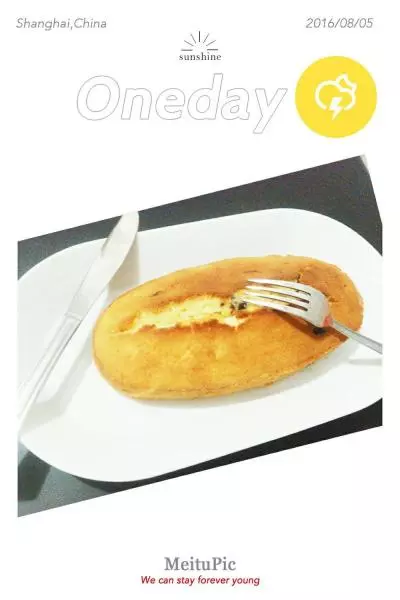
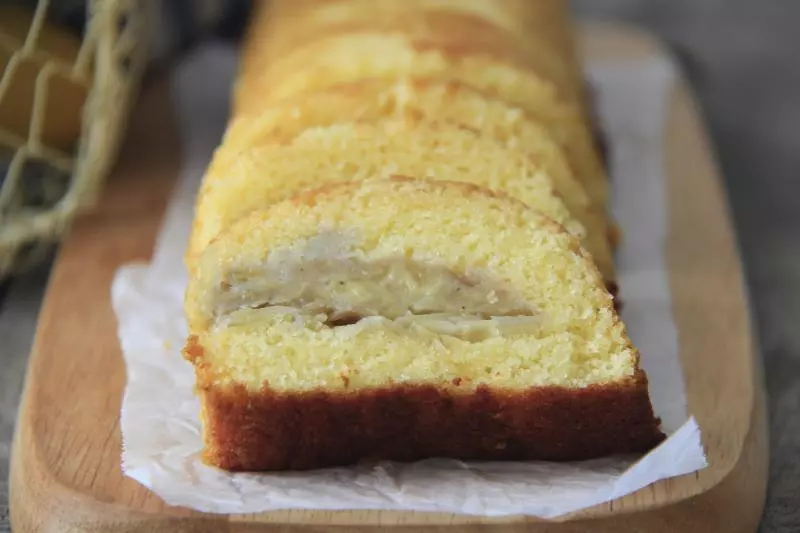
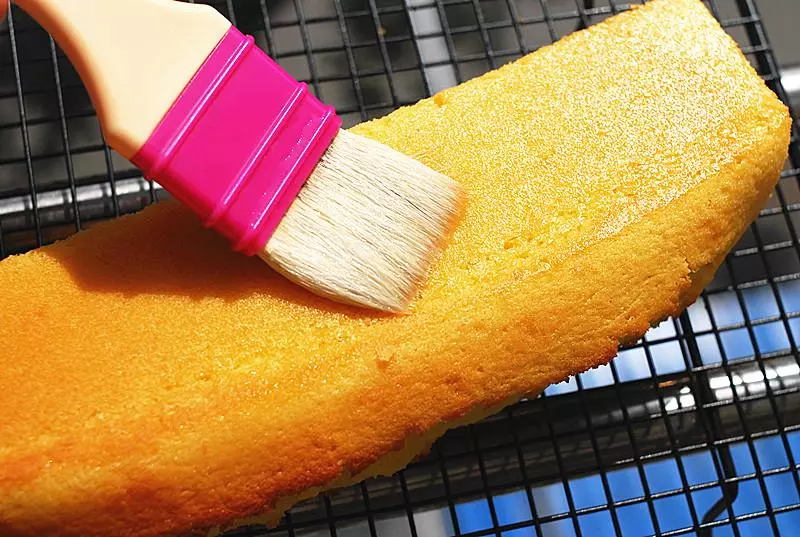
16蛋糕放涼至溫熱,用毛刷將糖漿刷到蛋糕的底面,四周,還有從中間的裂縫刷進去,可以看到蛋糕會迅速吸收,使勁的往蛋糕上刷吧,嘎嘎··· 刷好糖漿的蛋糕用保鮮袋裝好,放冰箱第二天切塊食用(其實磅蛋糕放3天會更好吃!)
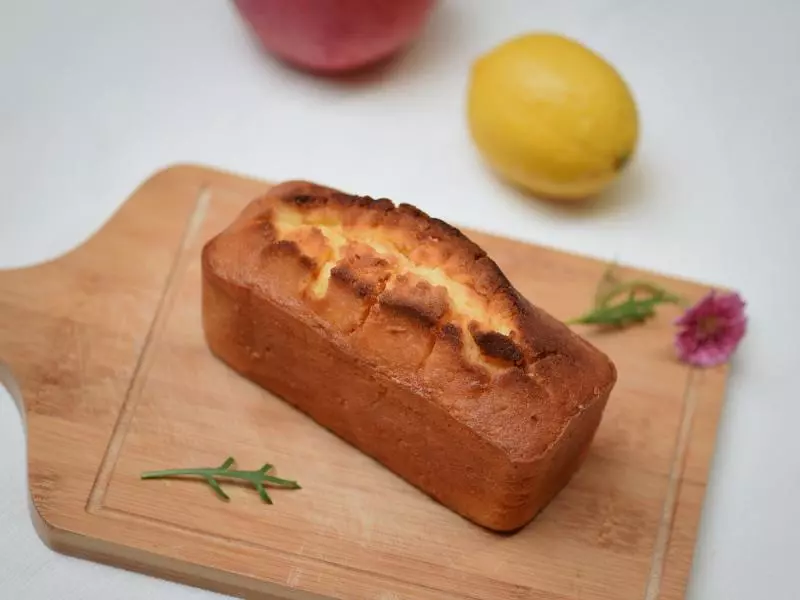
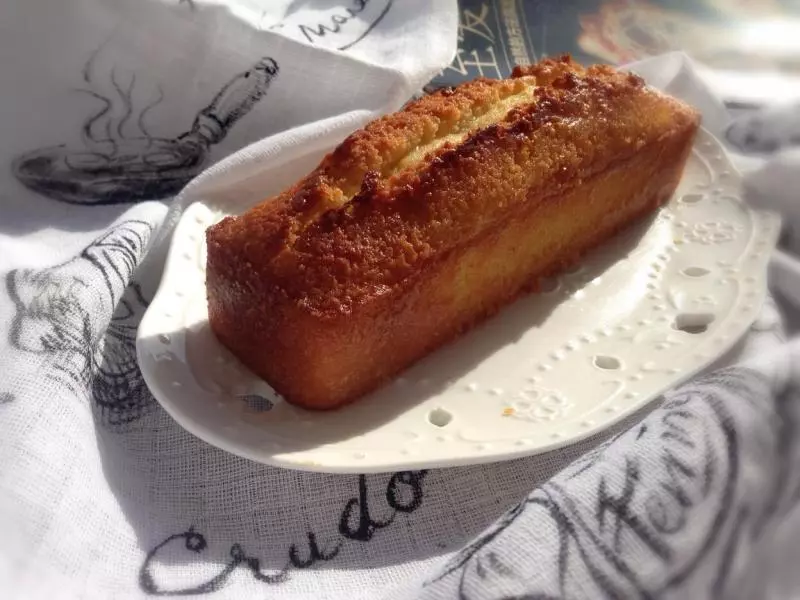
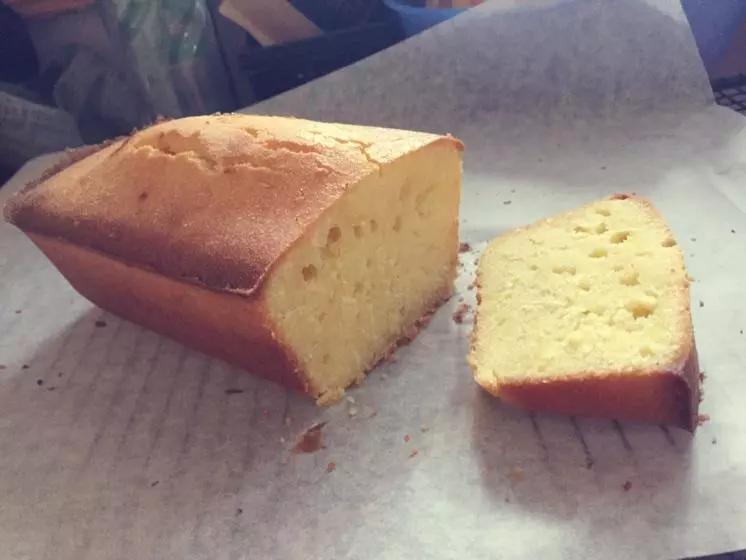
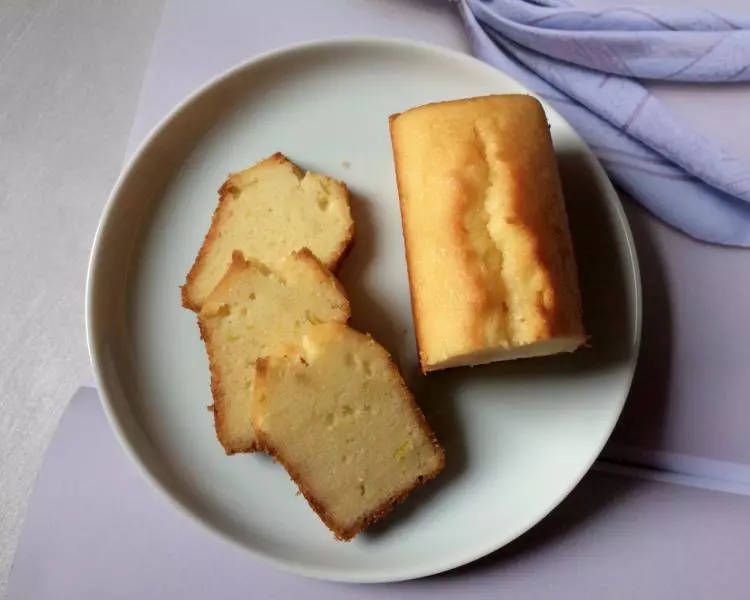
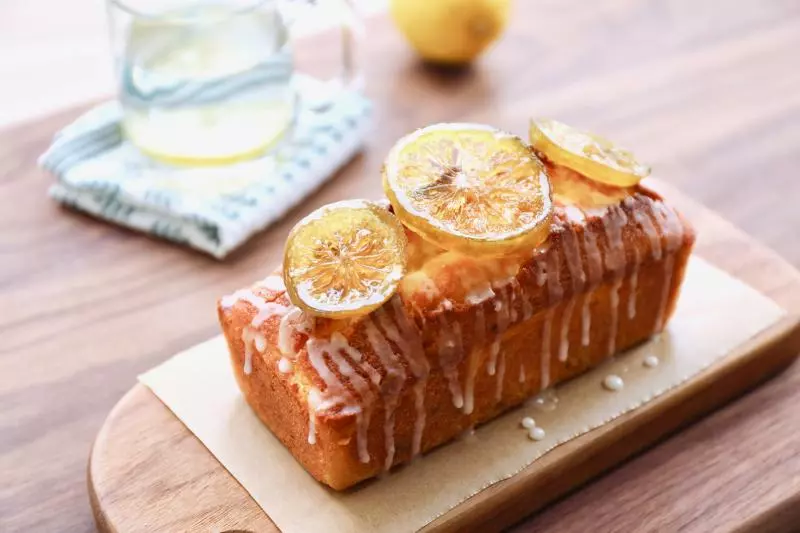
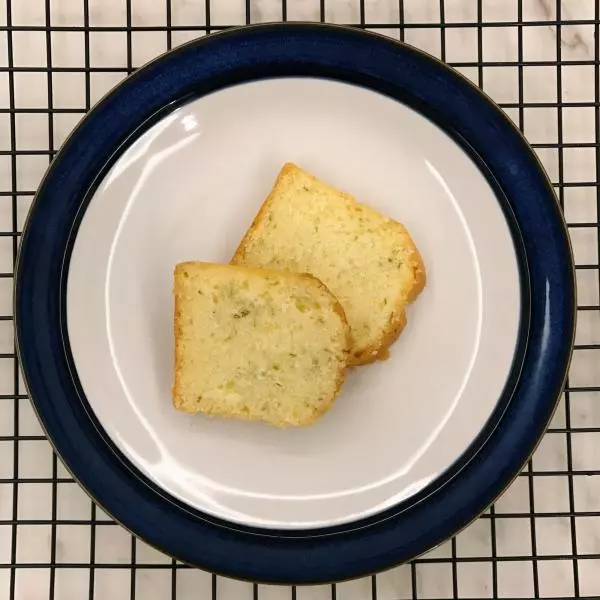
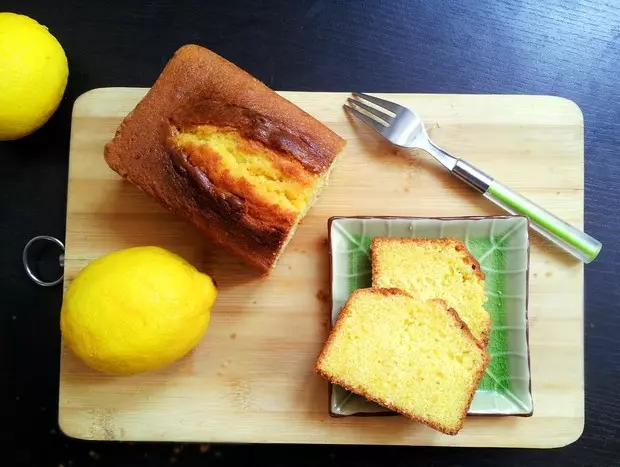
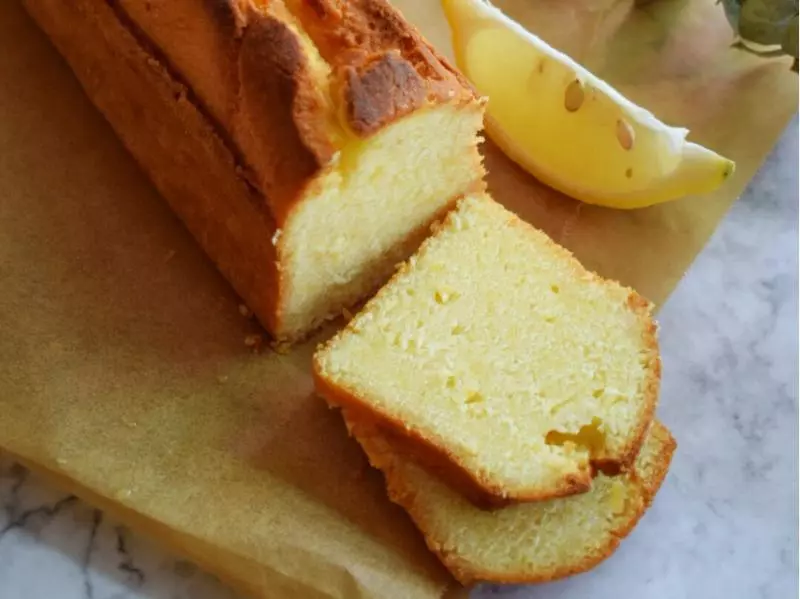
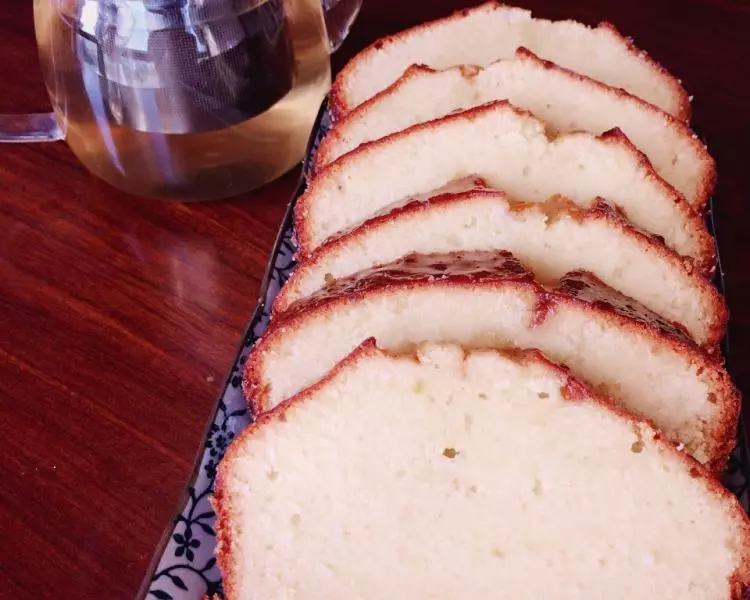
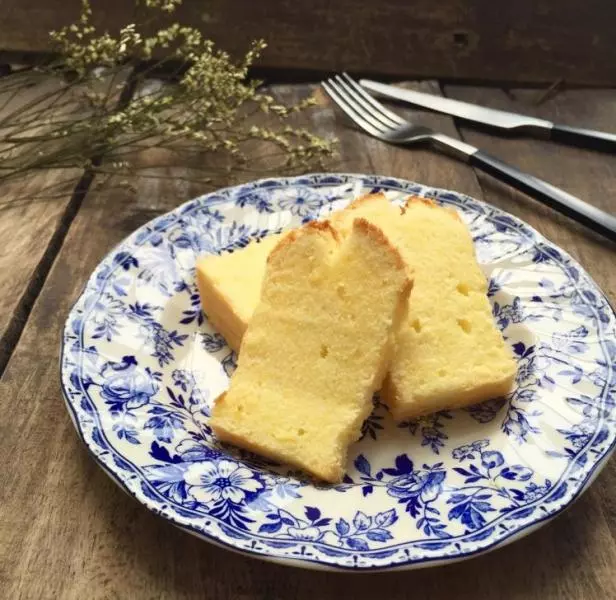
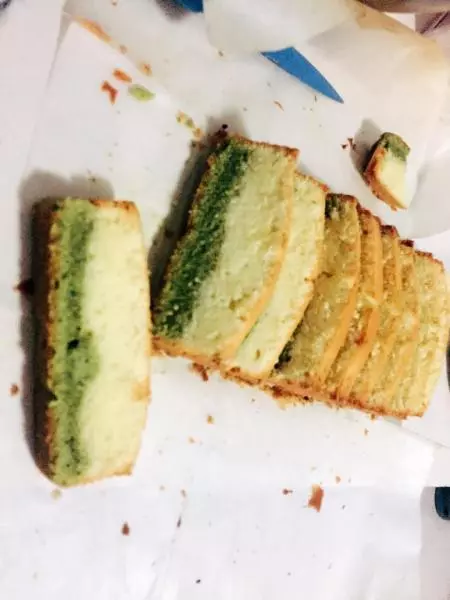
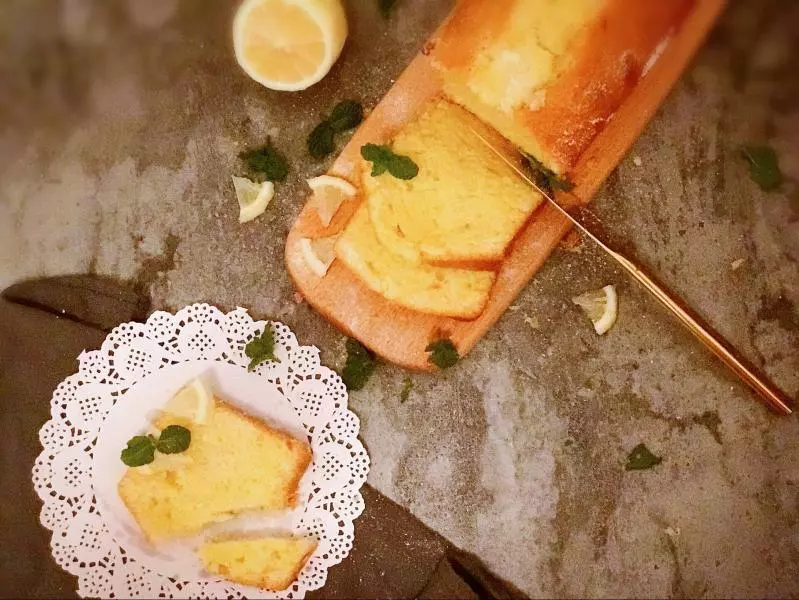
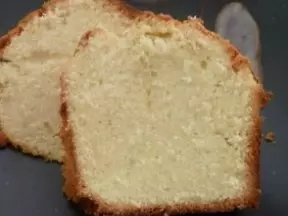
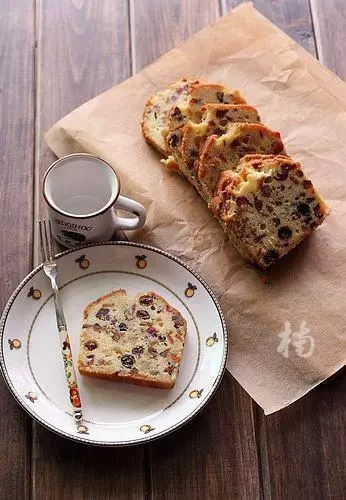
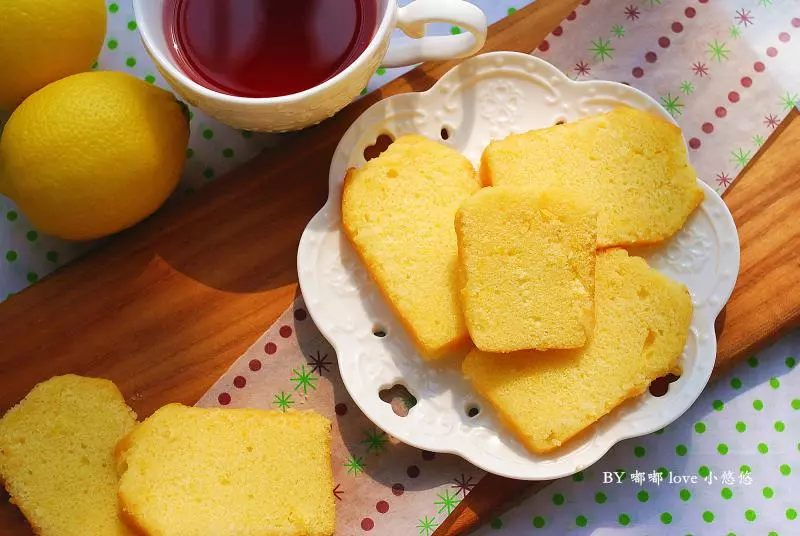
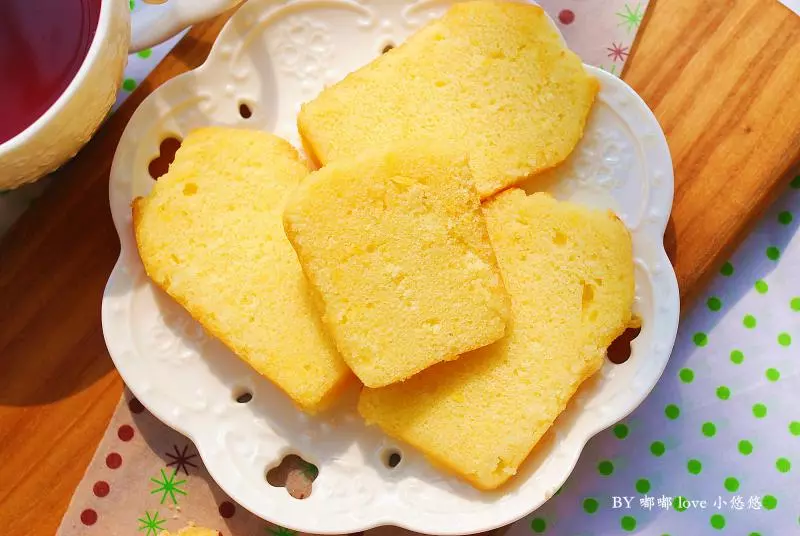
17切片,裝盤,是不是很誘人哪···
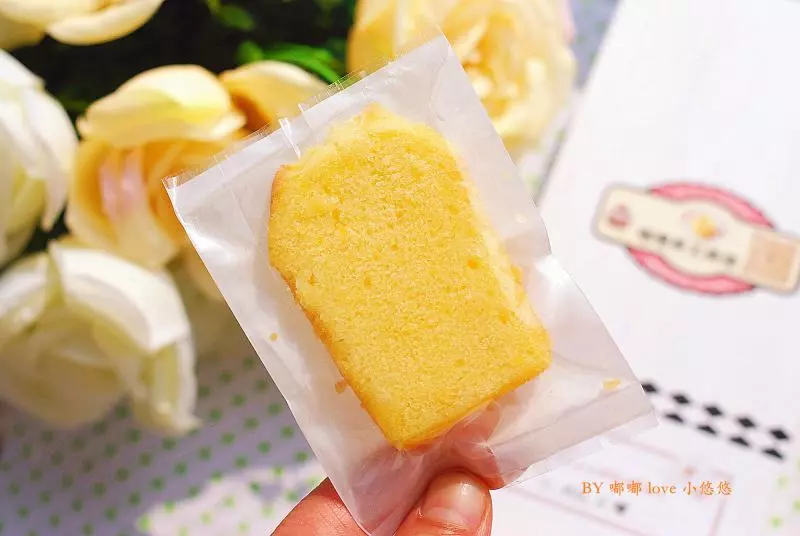
18再套上個小袋子,是不是更加的乾淨衛生,方便攜帶呢,如果想送人,可以再包裝一下放入盒中,作為手作禮物,非常的漂亮呢···
小技巧
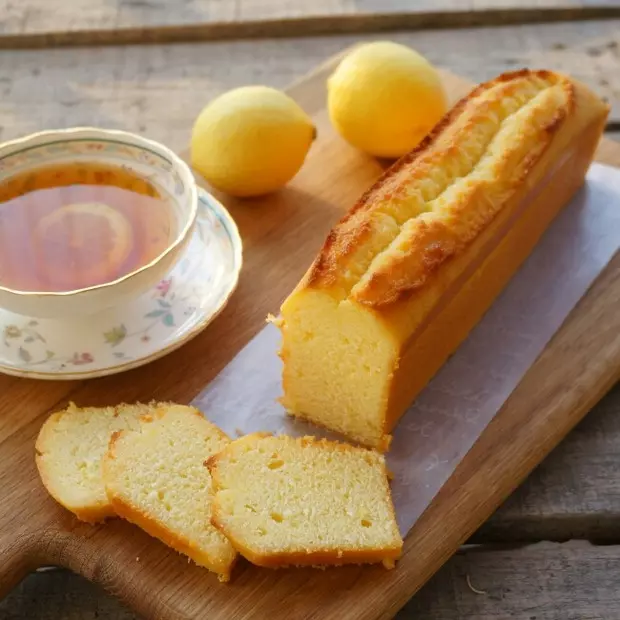
1.這個量是一個水果條的分量喔 2.磅蛋糕,能量非常大,多糖多黃油,但是試過一次你絕對會愛上它的滋味,特地加入大量的檸檬汁還有檸檬皮,酸甜的,還能看到切開後分布均勻的檸檬皮顆粒,少許的鹽也更能帶出檸檬的清香 3.刷糖漿部分,我覺得是磅蛋糕的靈魂所在,這裡選用了君度橙酒,帶果味的酒配合果汁,三天之後酸味不會太明顯,但是留有果香,配合咖啡或者紅茶都是非常不錯的選擇呢··· 4.烤箱溫差,請自行調整,我家烤箱溫差30度,所以我只要調到150度就OK了,各位請根據各家烤箱具體情況調整喔···