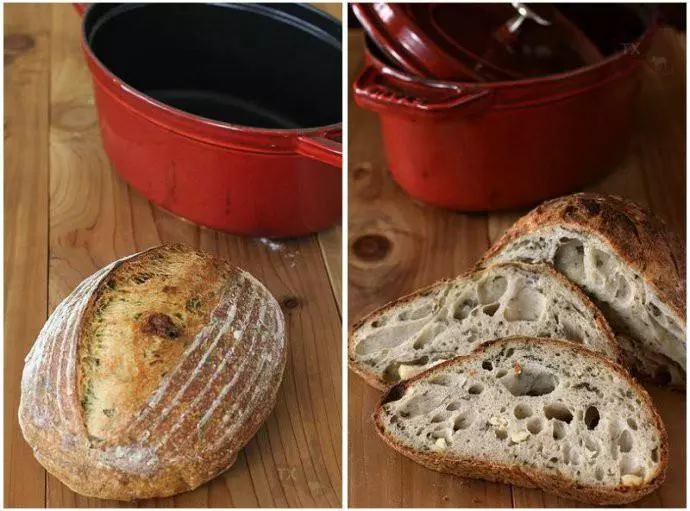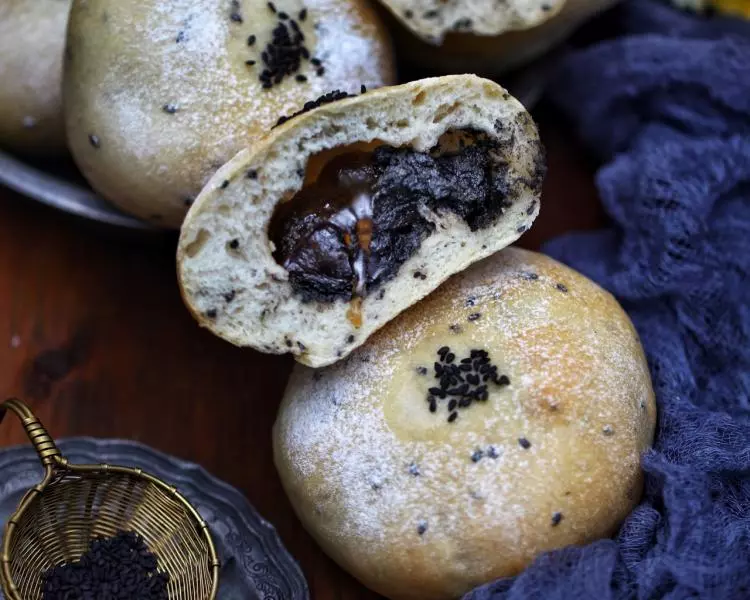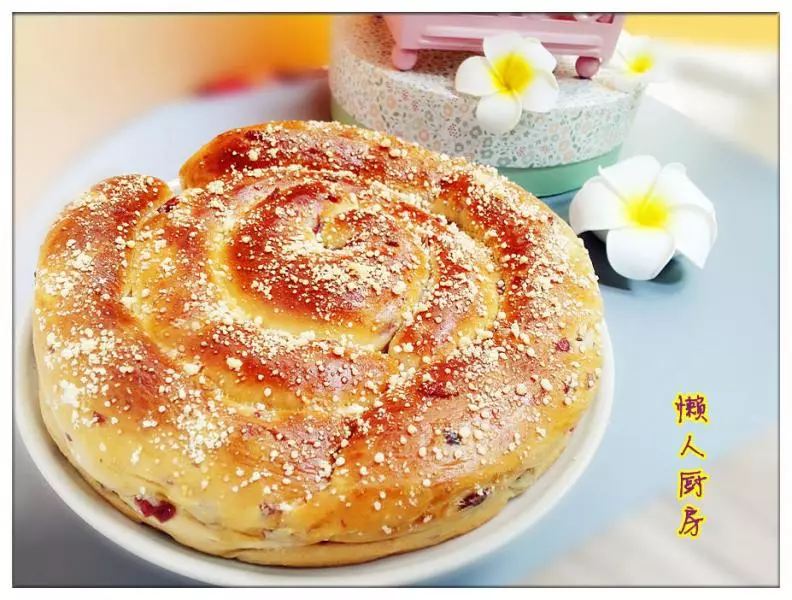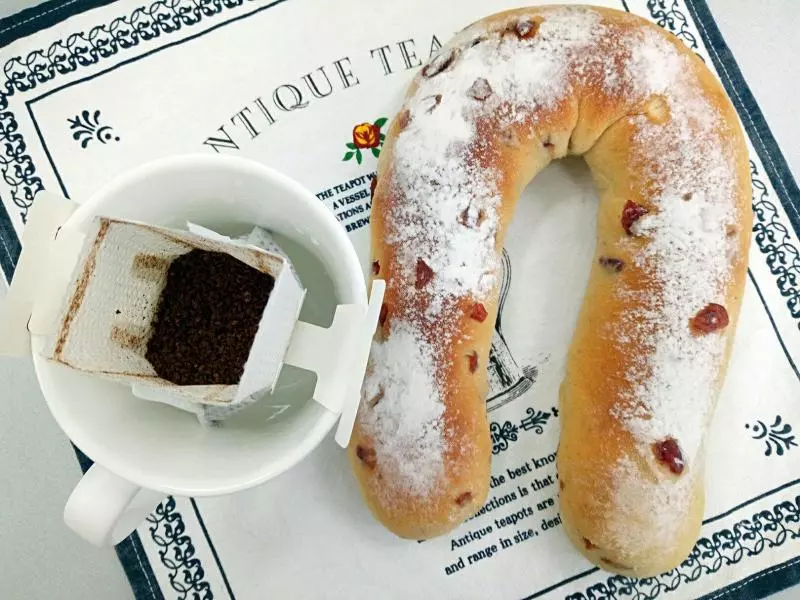
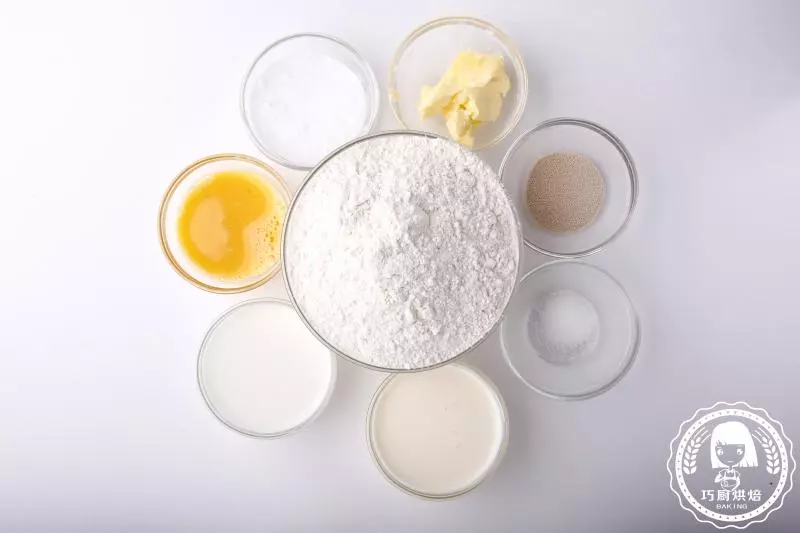
原料
展藝高筋粉: 300g, 琦雷薩淡奶油: 50g, 雀巢純牛奶: 130g, 展藝酵母: 4g, 展藝細砂糖: 30g, 雞蛋: 1個, 鹽: 2g, 多美鮮黃油: 20g, 多美鮮奶油芝士: 170g, 琦雷薩淡奶油: 35g, 展藝糖霜: 25g+適量(表面裝飾)
步驟
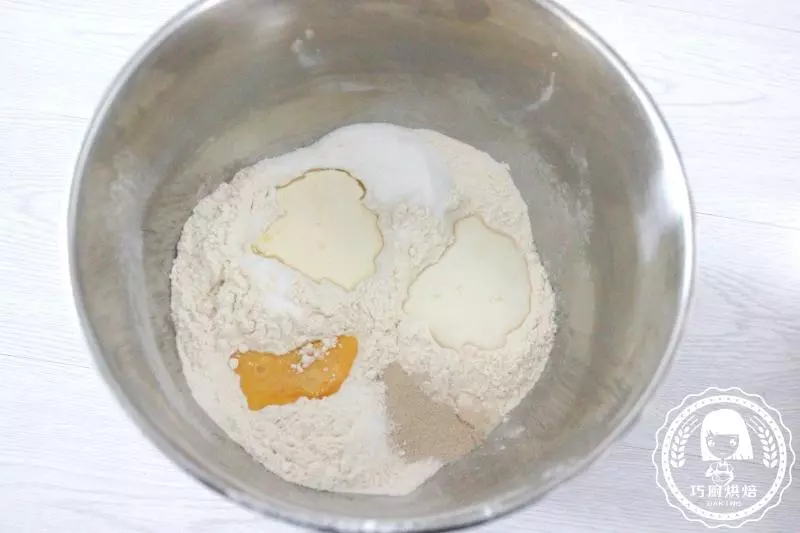
1麵糰材料: 展藝高筋粉:300克、琦雷薩淡奶油:50克、雀巢純牛奶:130克、展藝酵母:4克、展藝細砂糖:30克、雞蛋:1個、鹽:2克、多美鮮黃油:20克
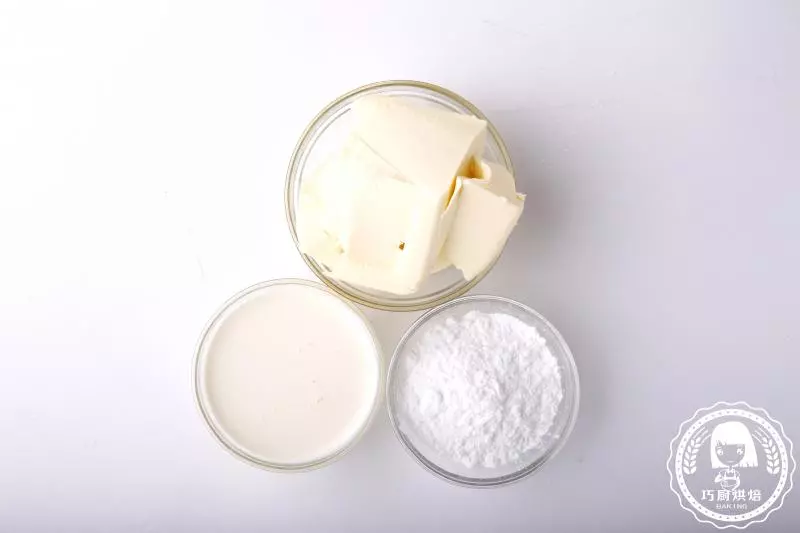
2內陷材料: 多美鮮奶油芝士:170克、琦雷薩淡奶油:35克、展藝糖霜:25克+適量(表面裝飾)
3製作: 1.麵糰部分除了黃油,其他材料倒一起攪打成團
42.成團後加入室溫自然軟化的黃油一起繼續攪打麵糰
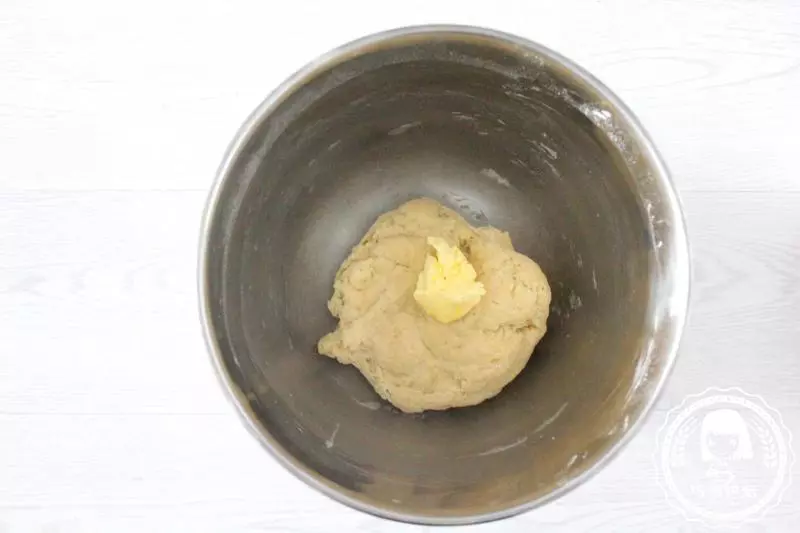
53.麵糰攪打至能拉出細膩薄膜的擴展階段

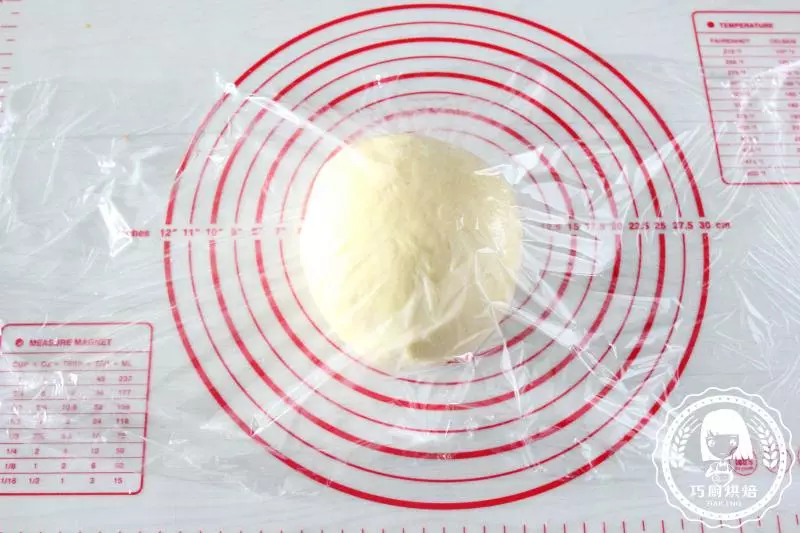
64.取出麵糰,蓋上保鮮膜進行第一次發酵
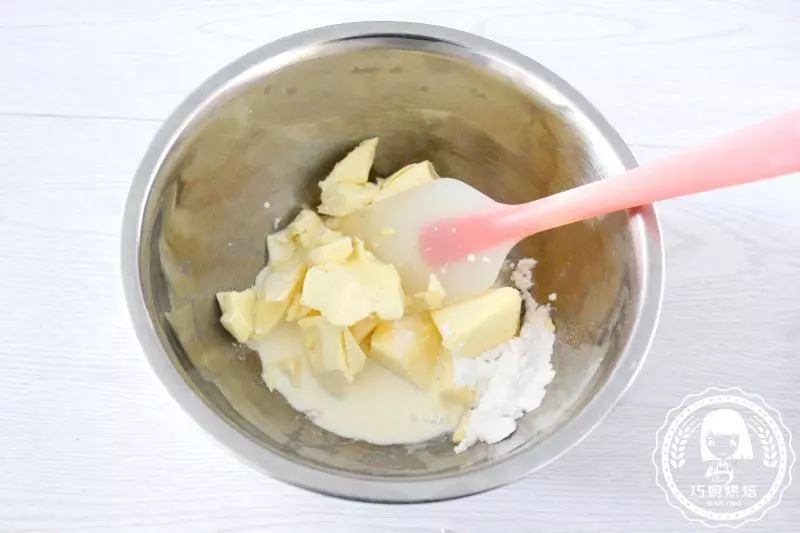
75.麵糰發酵期間來製作奶酪餡,內陷所有材料倒一起先用刮刀翻拌一下
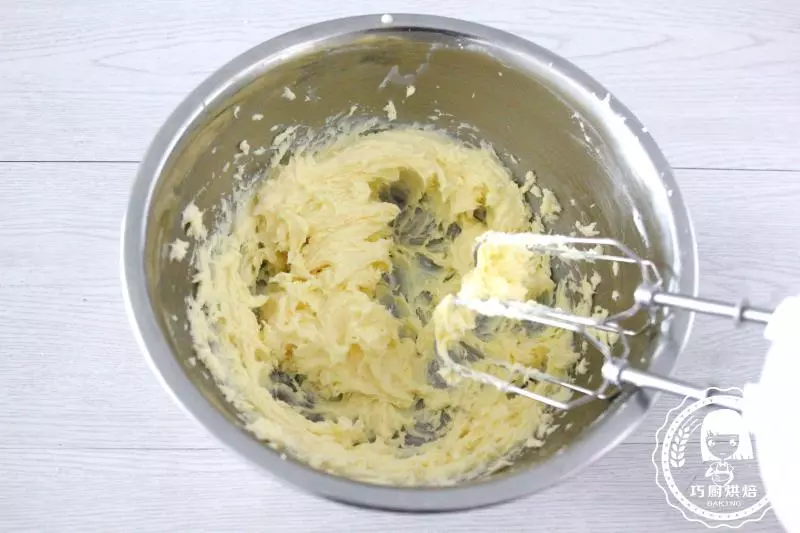
86.再用電動打蛋器攪打均勻備用
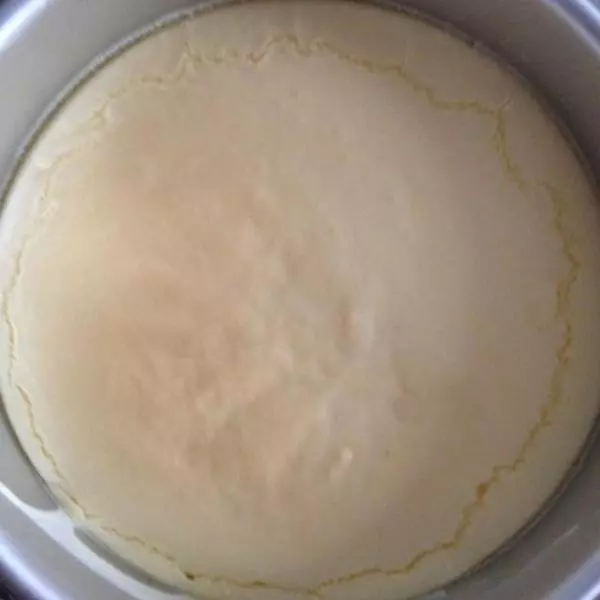
97.麵糰發酵至體積膨鬆且用手指粘麵粉,從中間捅個洞,洞不會馬上回縮即可

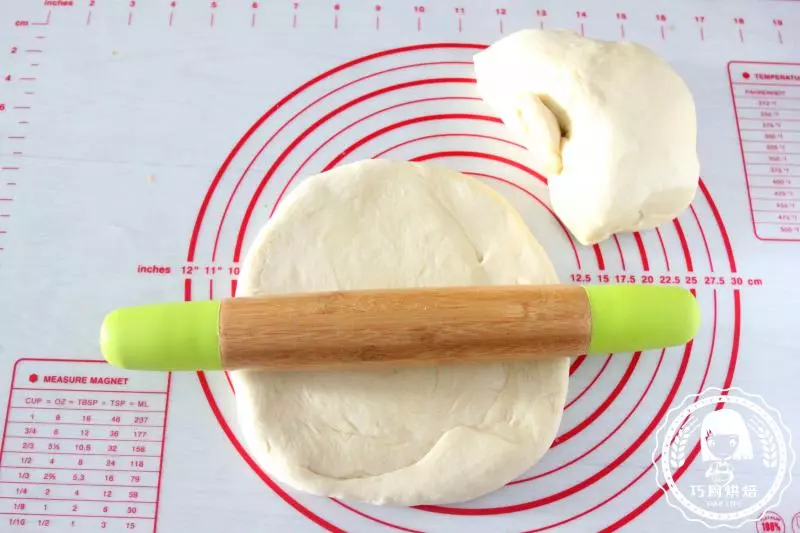
108.將麵糰分為兩等份,用擀麵杖分別擀開成圓形
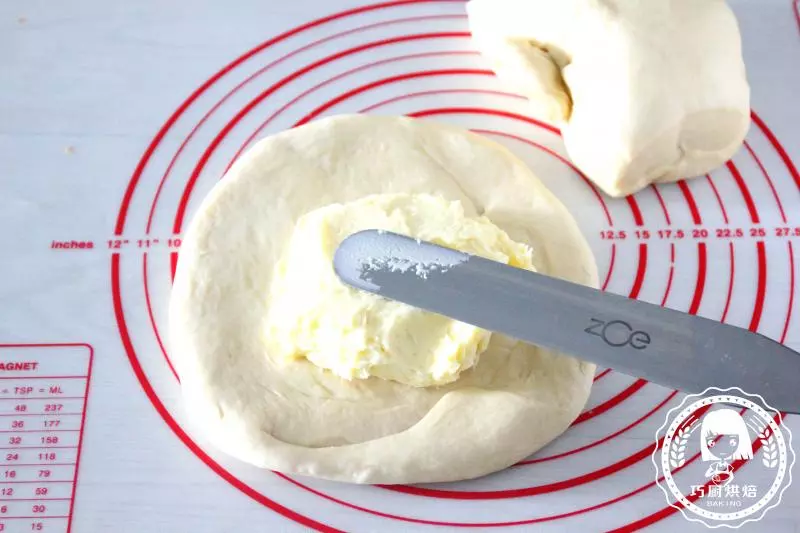
119.將準備好的奶酪餡也分為兩等分,分別抹在兩個麵糰的中間
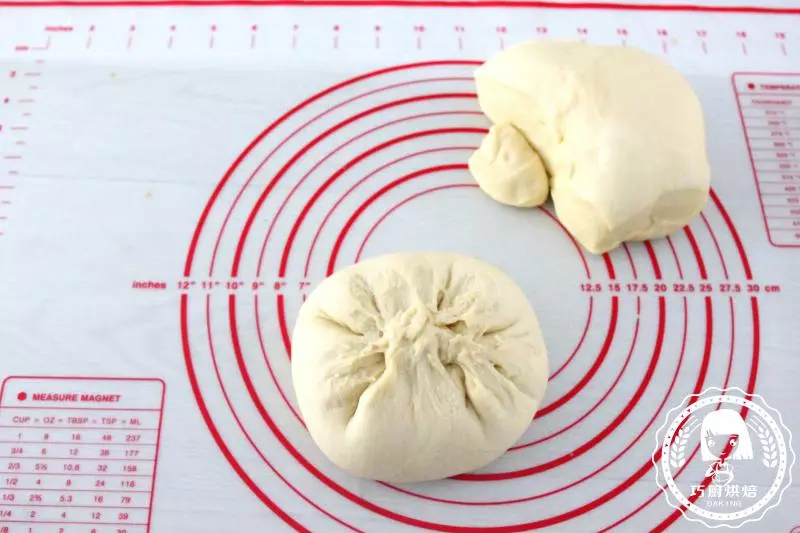
1210.慢慢將內陷包起來,收口捏緊
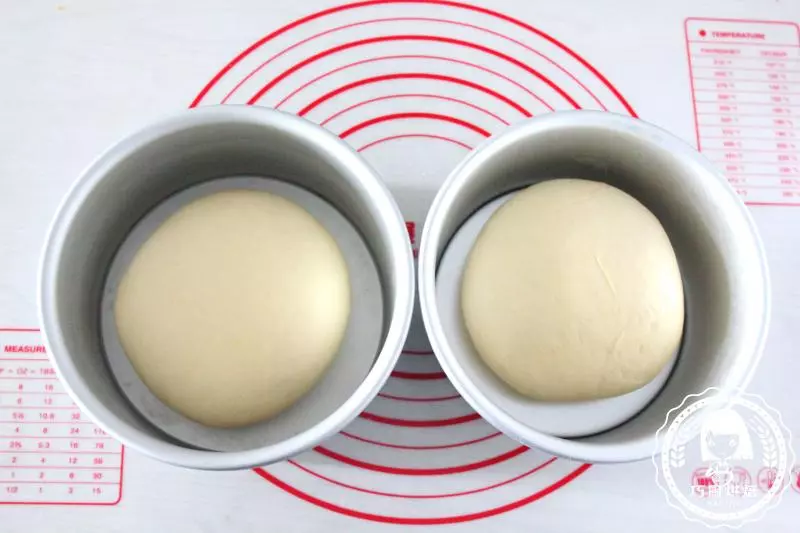
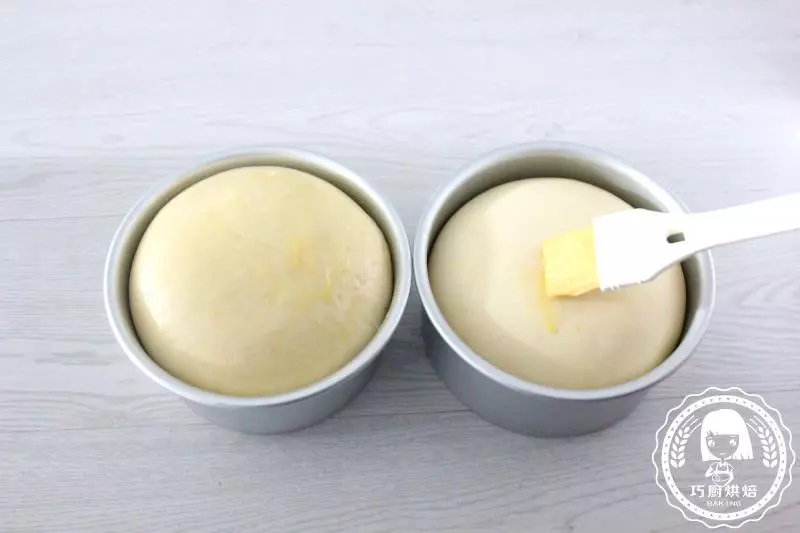
1311.將包好餡的麵糰底朝下放8寸蛋糕模具里,將模具放烤箱裡,烤盤下面放盆熱水,關上烤箱門不開火,進行第二次發酵
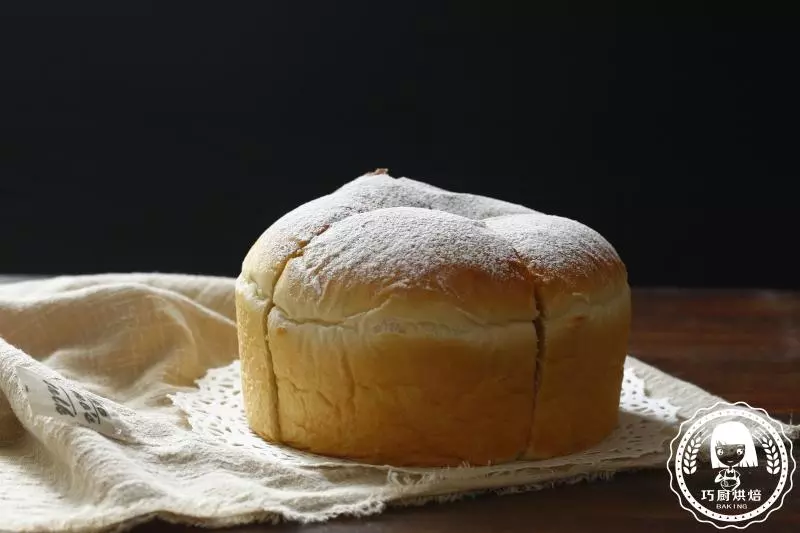
1412.發酵至體積增大蓬鬆後,取出,表面刷一層蛋液,烤箱預熱上下火175度
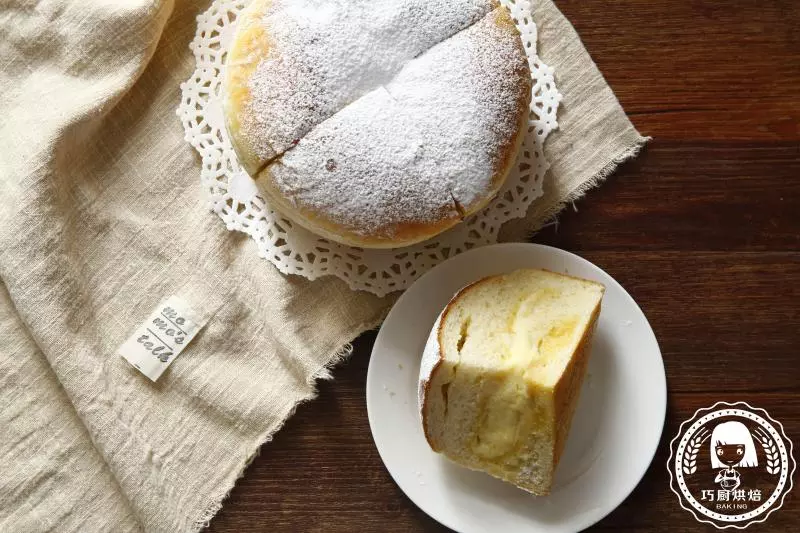
1513.將模具放入烤箱中下層,烤20分鐘左右至表面金黃色即可出爐
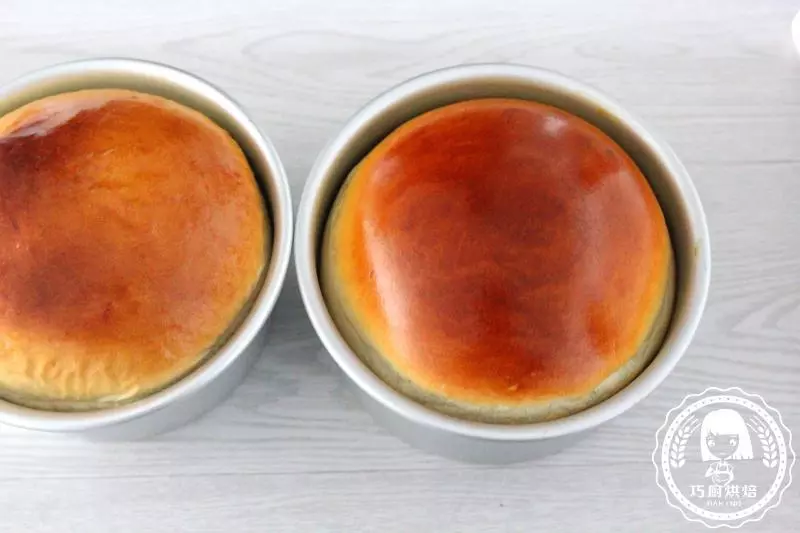
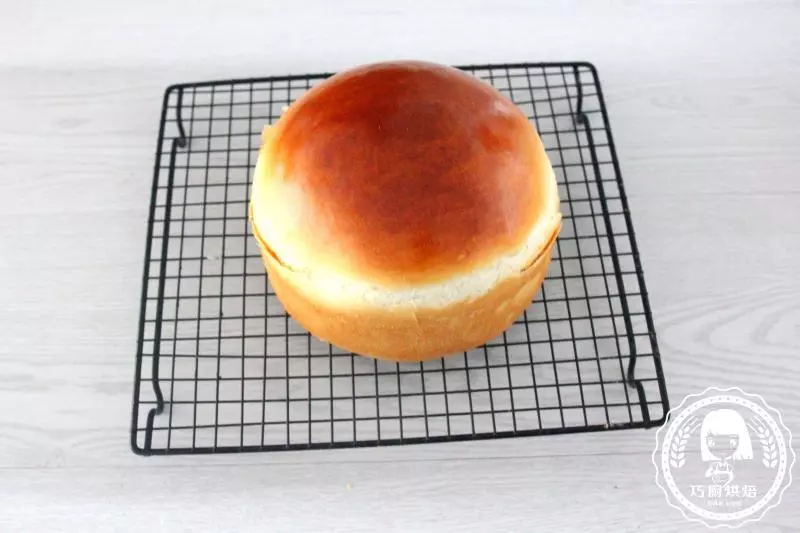
1614.模具不燙手了脫模,將乳酪包放冷涼架上冷卻
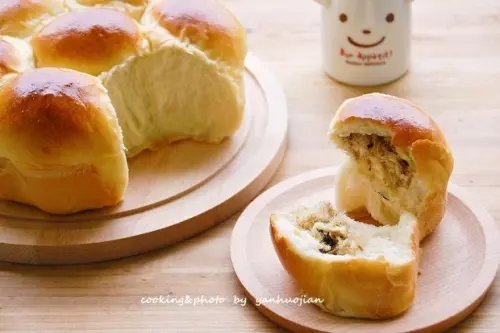
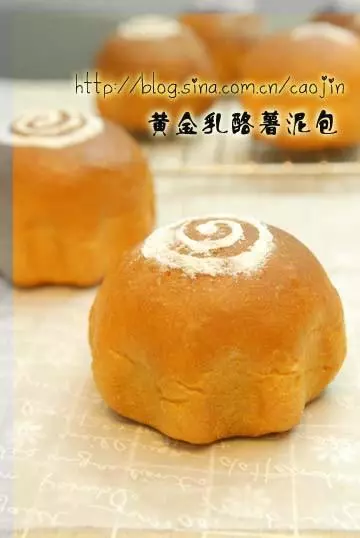
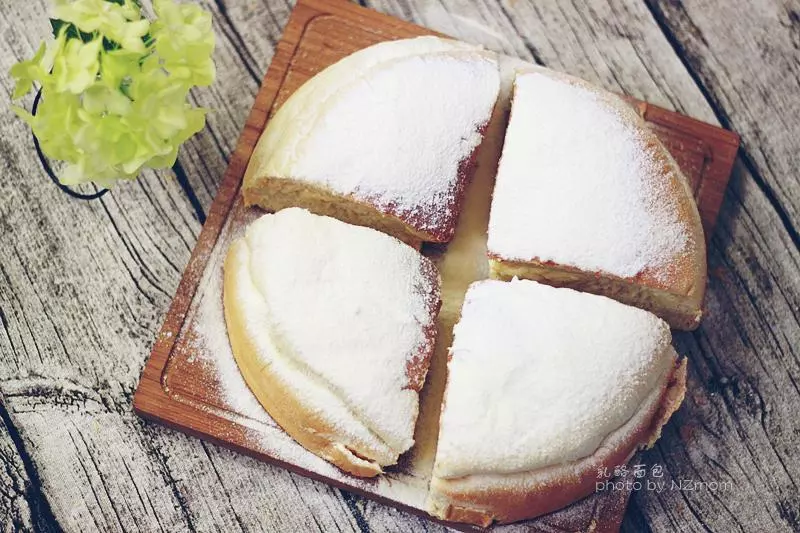
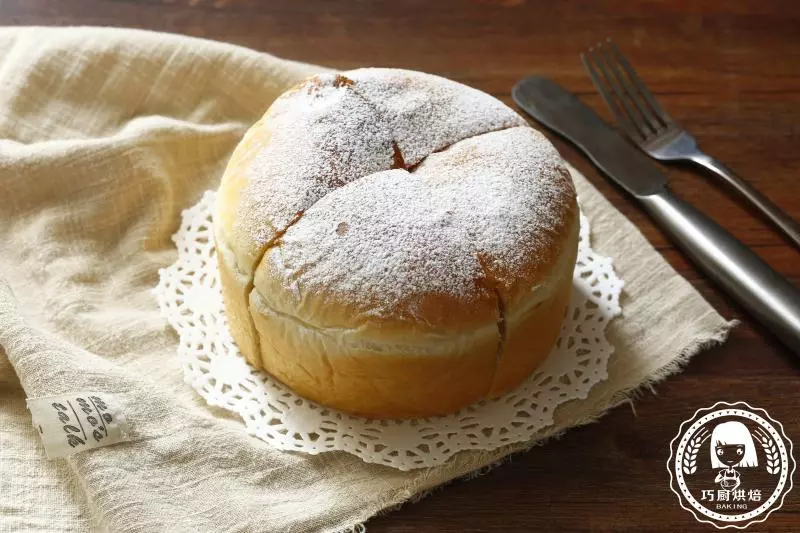
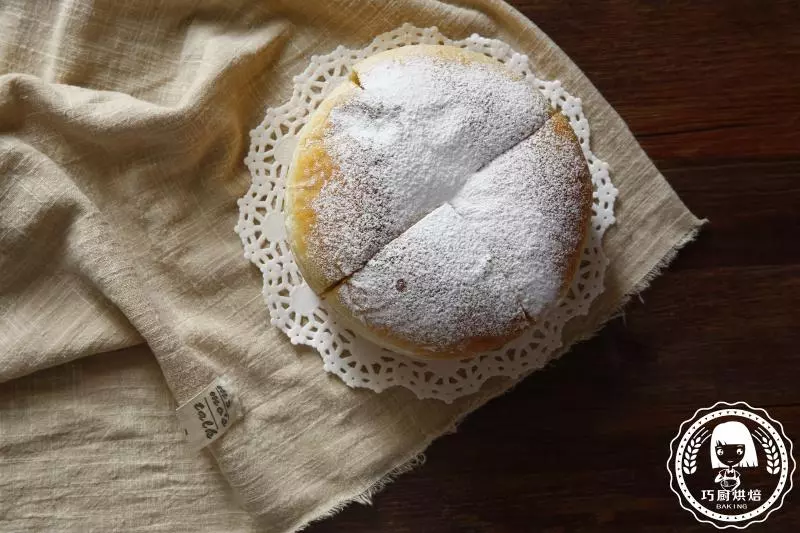
1715.麵包冷卻後,用鋸齒刀橫豎切兩刀成4等份
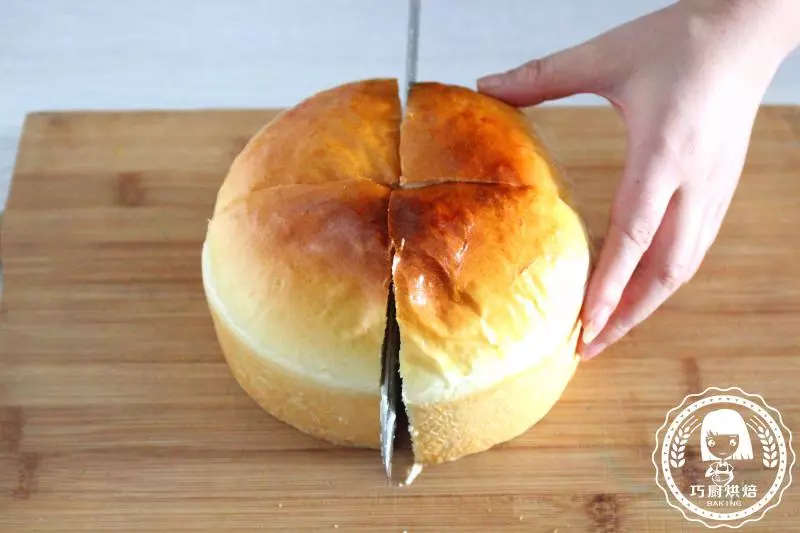
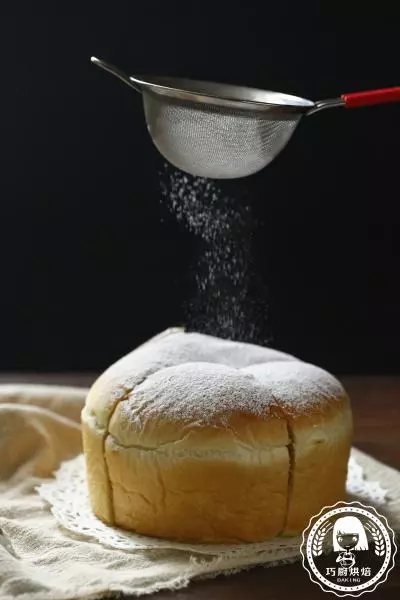
1816.最後表面篩層糖粉即可

19完成咯
20..
21..
22..