原料
香草莢: 1/3支, 低筋麵粉: 100g, 玉米油: 80g, 牛奶: 50g, 鹽: 2g, 雞蛋(蛋黃+蛋白): 2個, 蛋黃: 6個, 蛋白: 6個, 檸檬汁: 少許, 砂糖: 80g
步驟
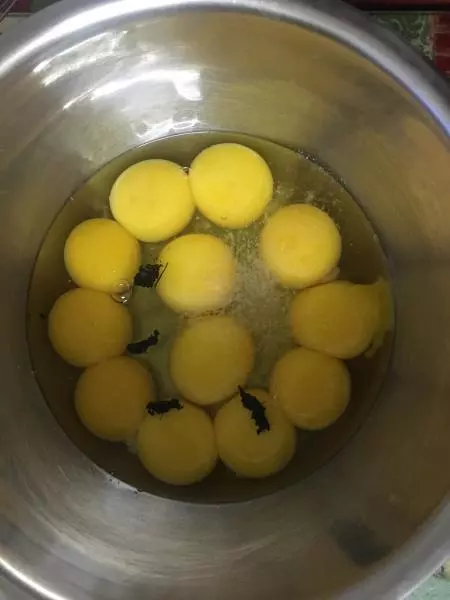
1雞蛋6顆蛋白與蛋黃分開放入無水無油的打蛋盆里,在蛋黃盆中打入2顆全蛋。
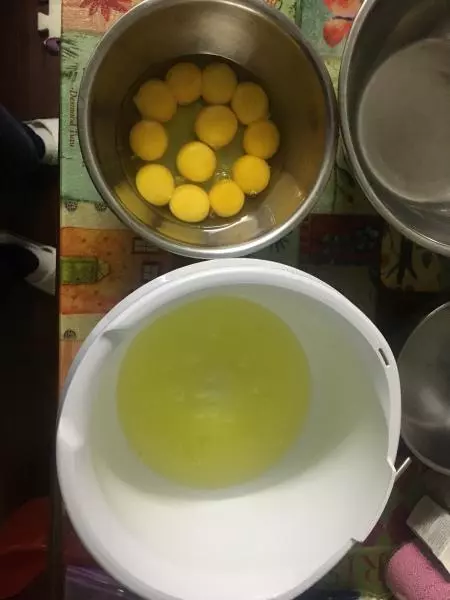
2加入香草莢內的籽~
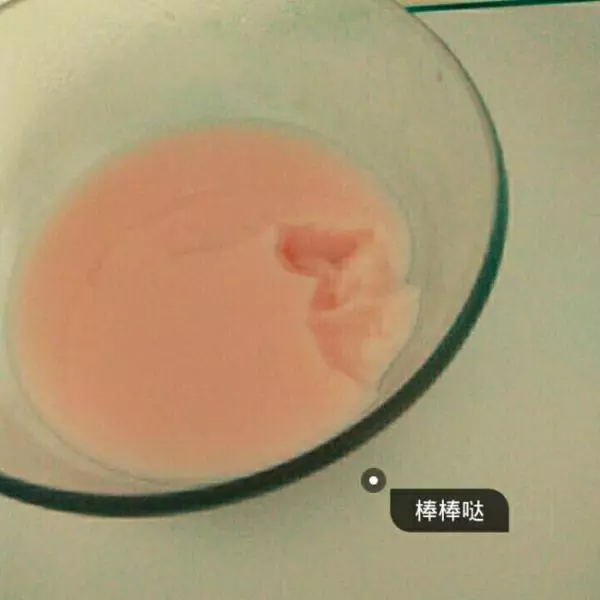
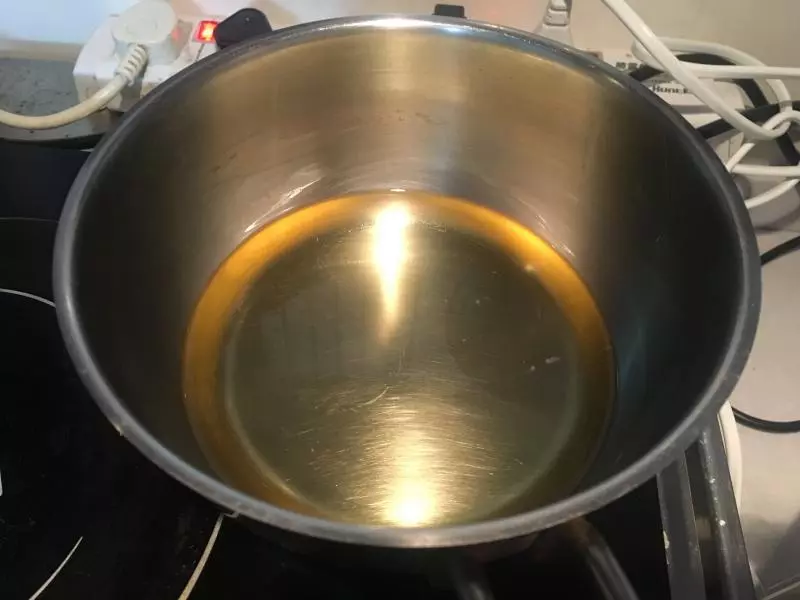
3玉米油加熱到出現紋理,離火。
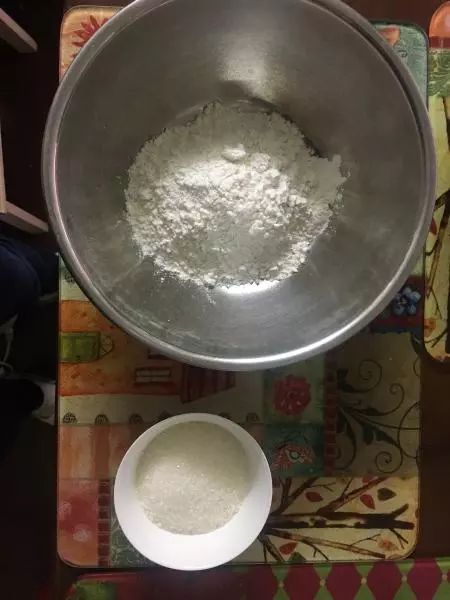
4玉米油倒入麵粉中拌勻,要求無顆粒。蛋黃打散加入牛奶,拌勻。
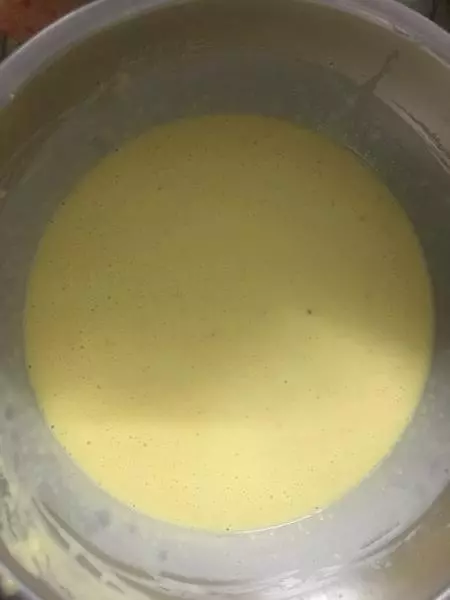
5麵粉與油的混合物冷卻到不燙手後,加入蛋黃及牛奶的混合物。
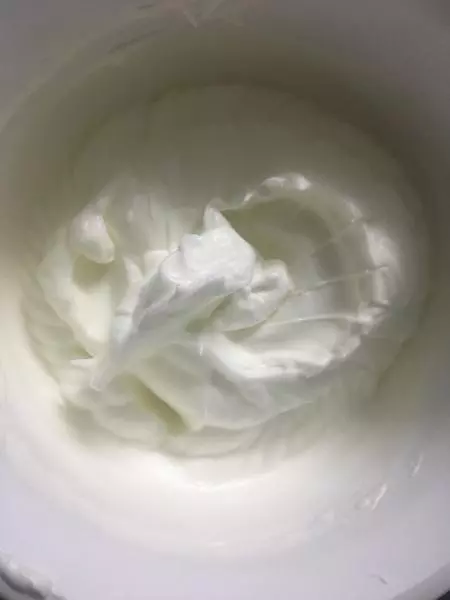
6蛋白打發,加入適量檸檬汁後,分三次加入砂糖打至硬性發泡狀態。
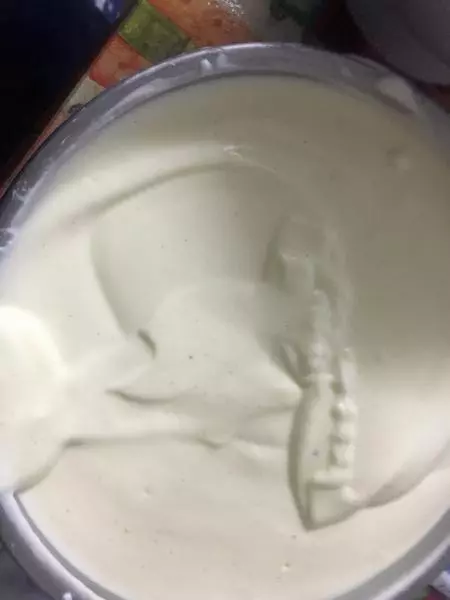
7蛋黃糊中加入1/3打發的蛋白,切半均勻。將混合物倒入剩餘的蛋白中,切拌均勻。
81.底層烤盤中放滿開水180度預熱。2.烤盤內墊上烘焙紙,倒入麵糊,整平入烤箱中下層進行烘烤。
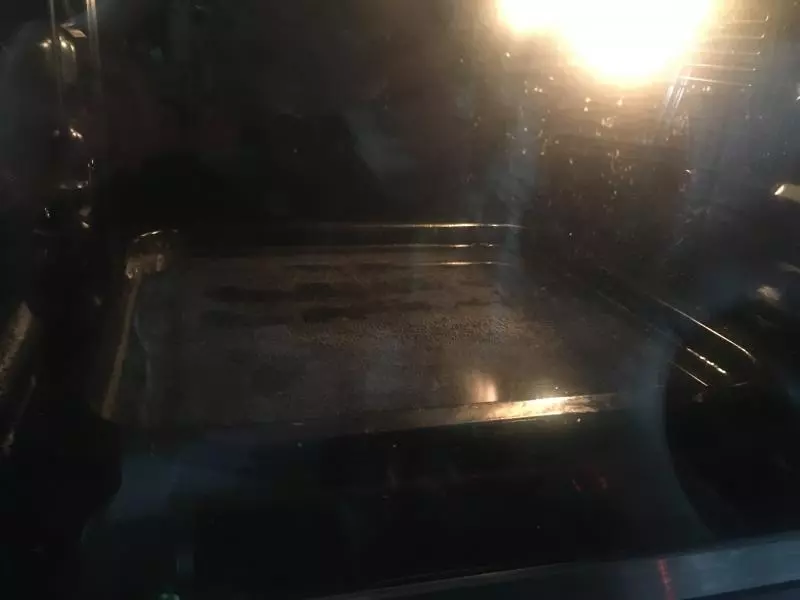
9180度15-20分鐘,上色。150度烤1.5小時。

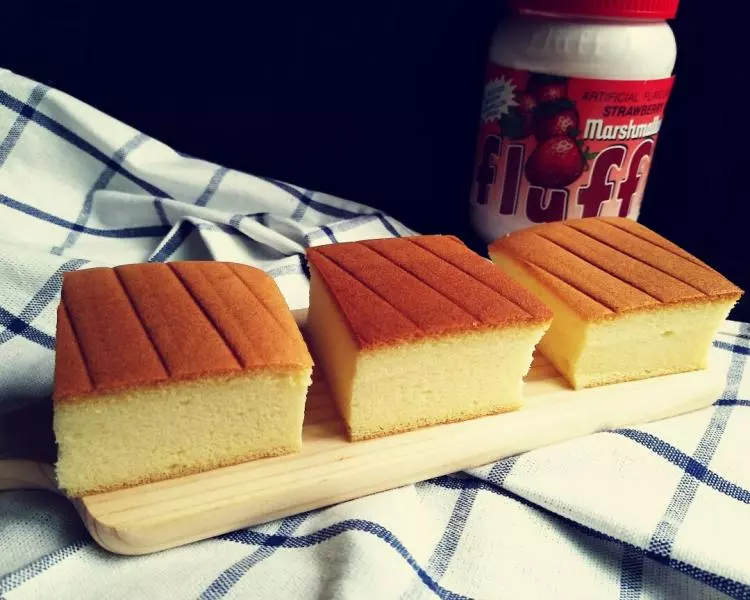
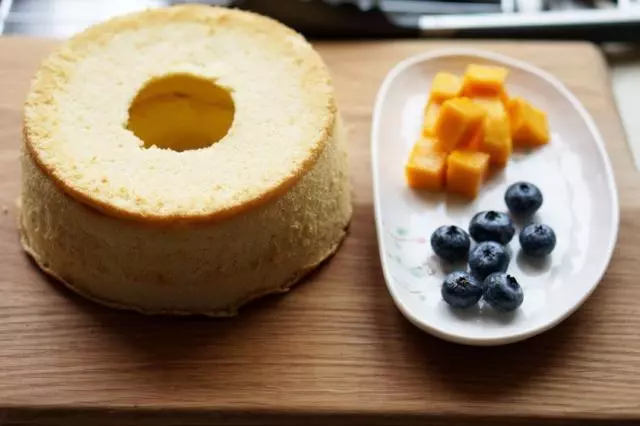
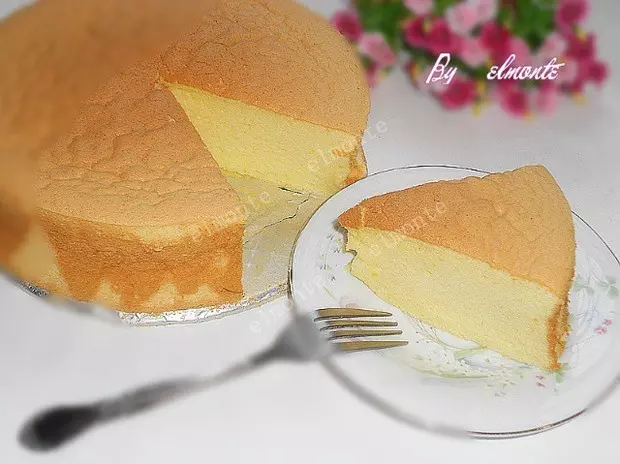
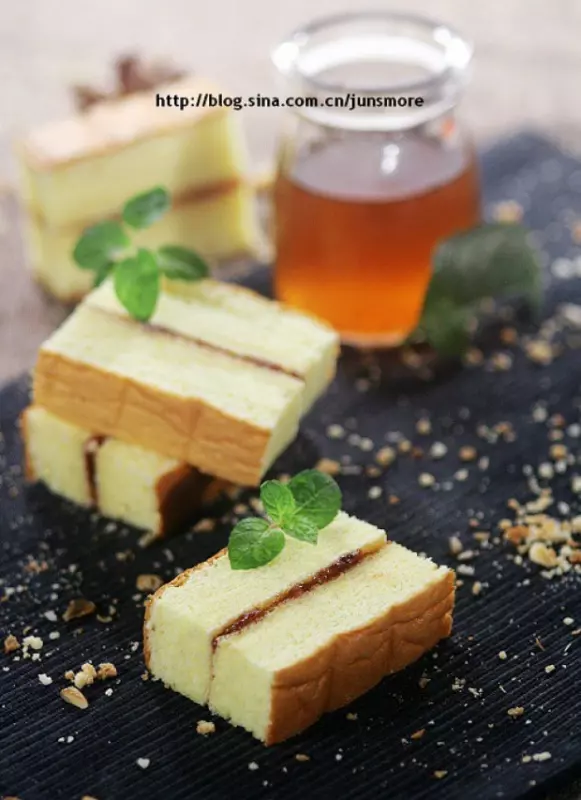
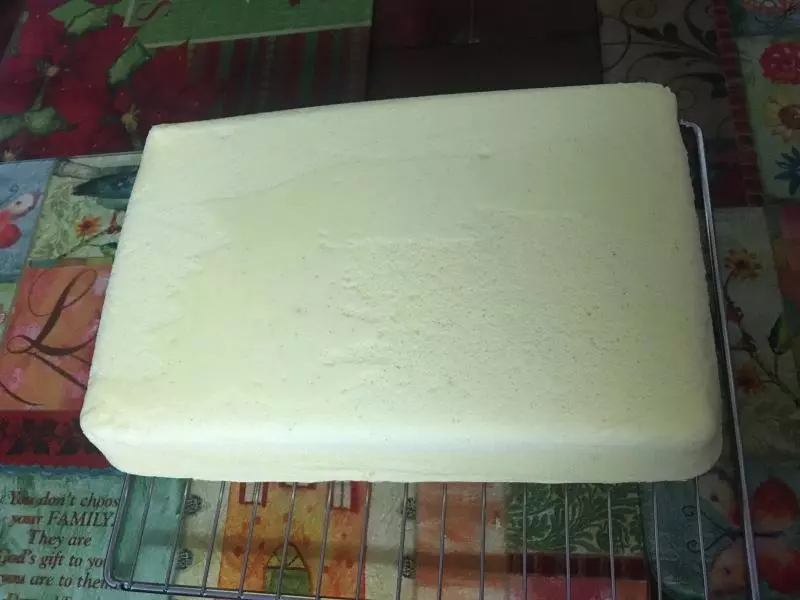
10脫模時記得把烘培紙一起取下~蛋糕胚完成?
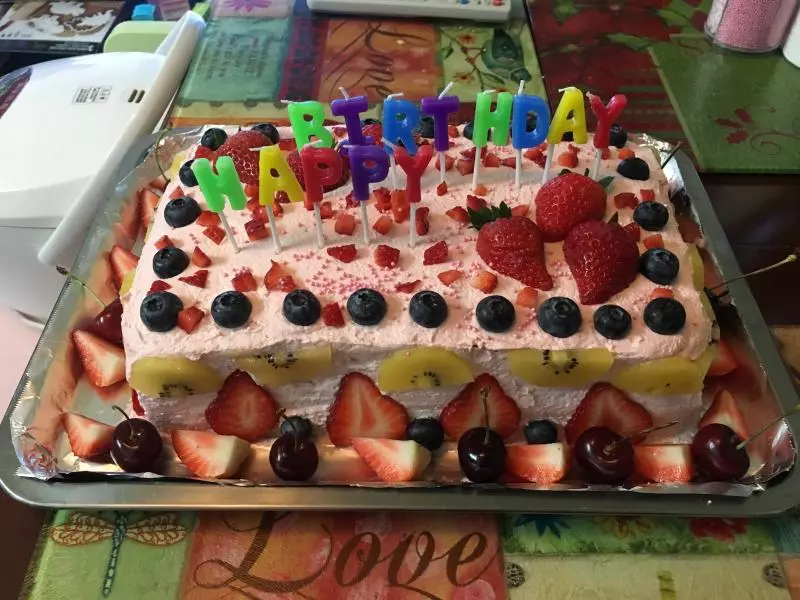
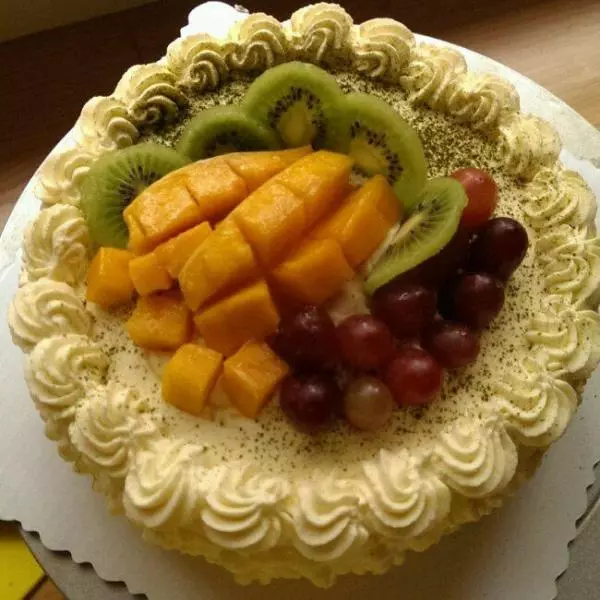
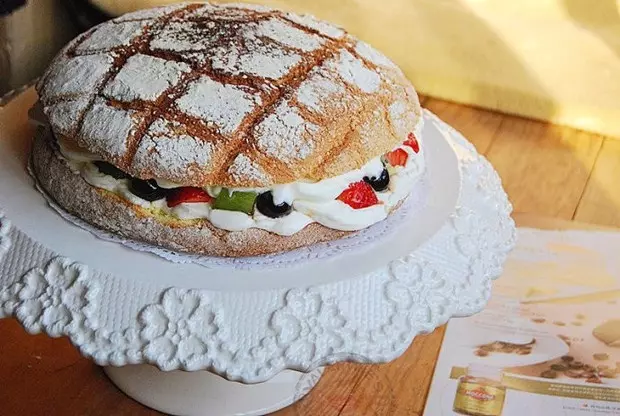
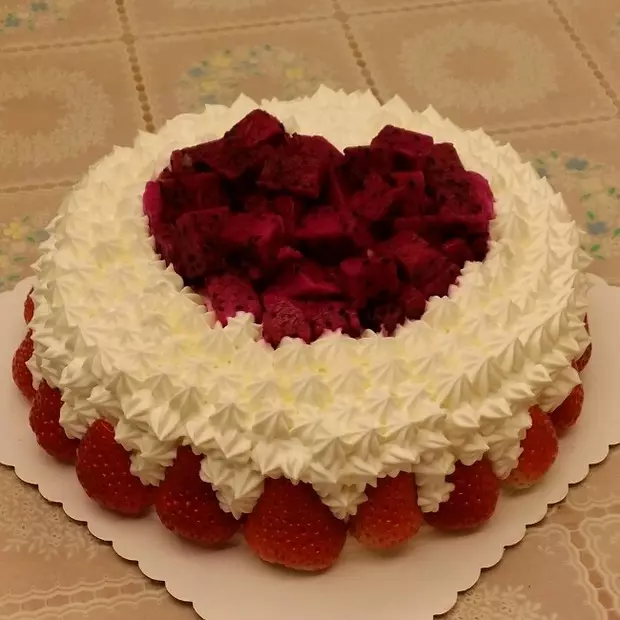
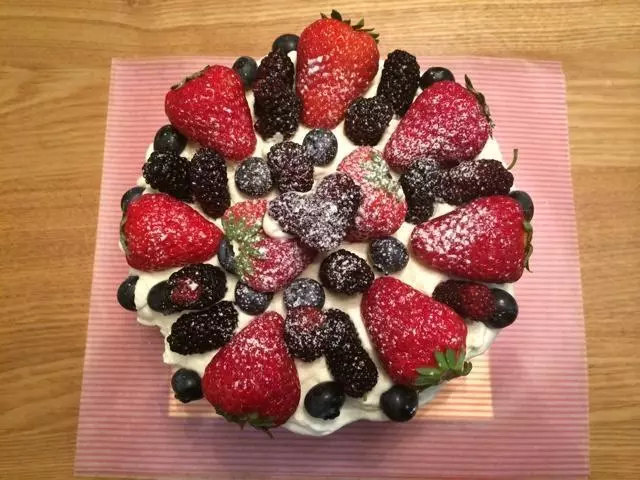
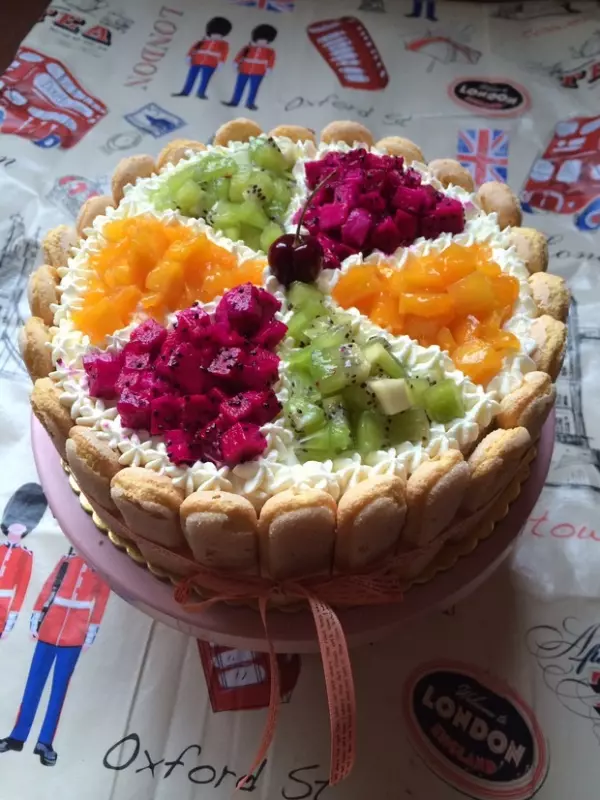
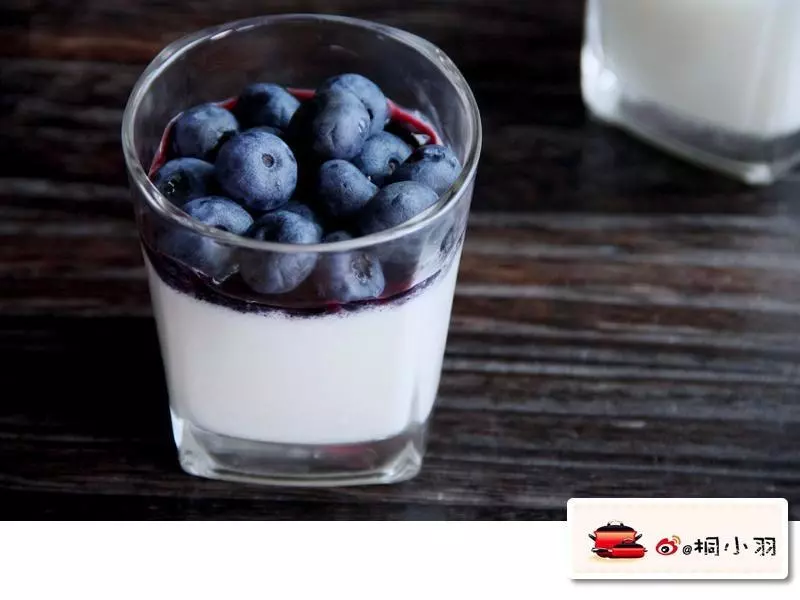
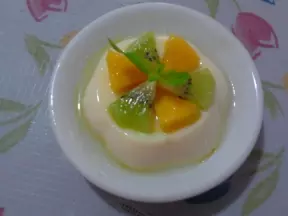
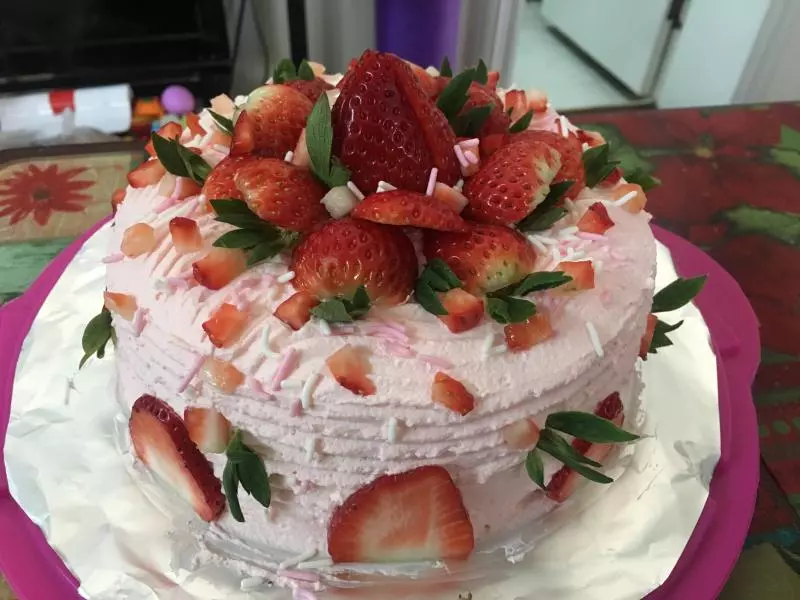
11奶油+水果~完成?