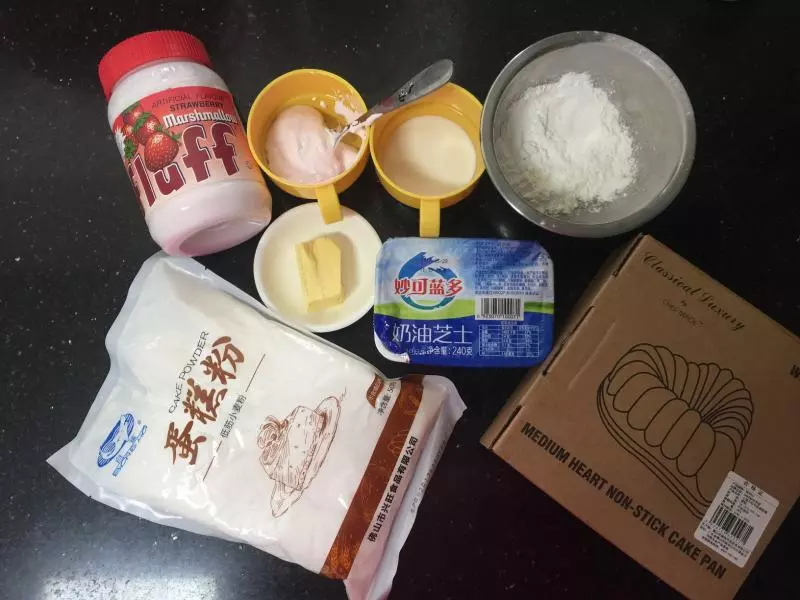
原料
奶油奶酪: 110克, 牛奶: 50克, 黃油: 25克, 雞蛋: 2個, 白鯊低筋麵粉: 15克, 玉米澱粉: 10克, Fluff 棉花糖: 70克
步驟
1準備好所有的材料
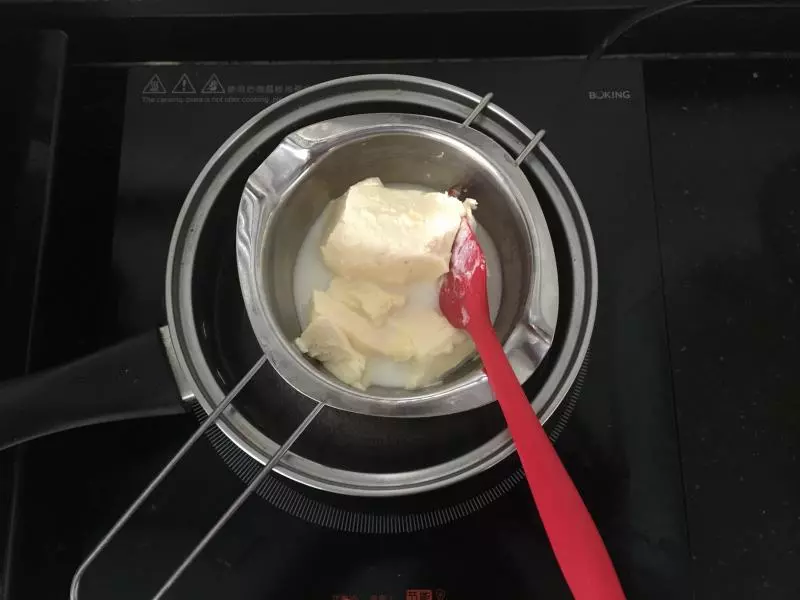
2奶油奶酪和牛奶倒入鍋中隔熱水攪拌
3攪拌至細膩順滑接著放入黃油
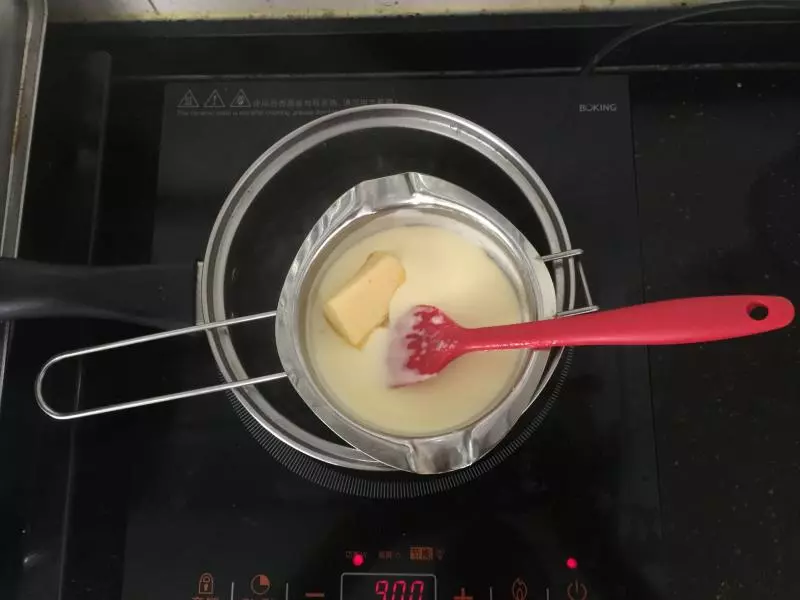
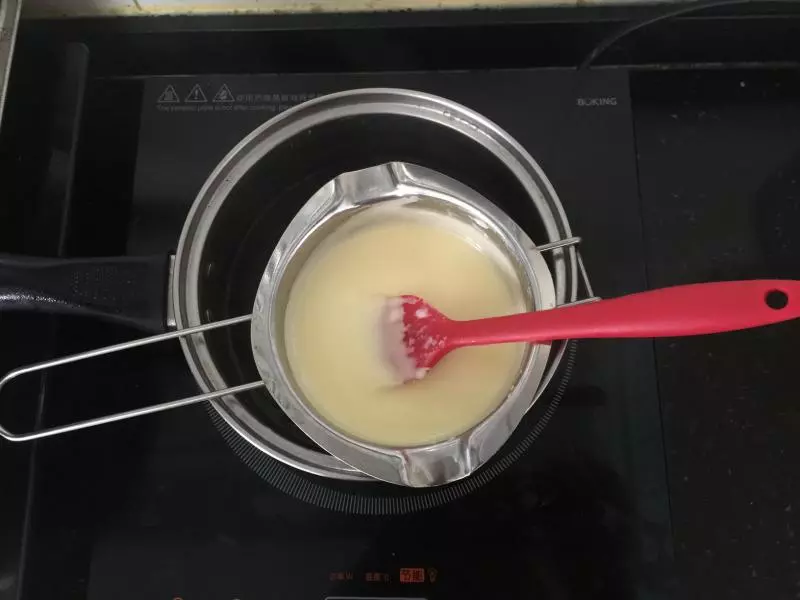
4攪拌成完全融化
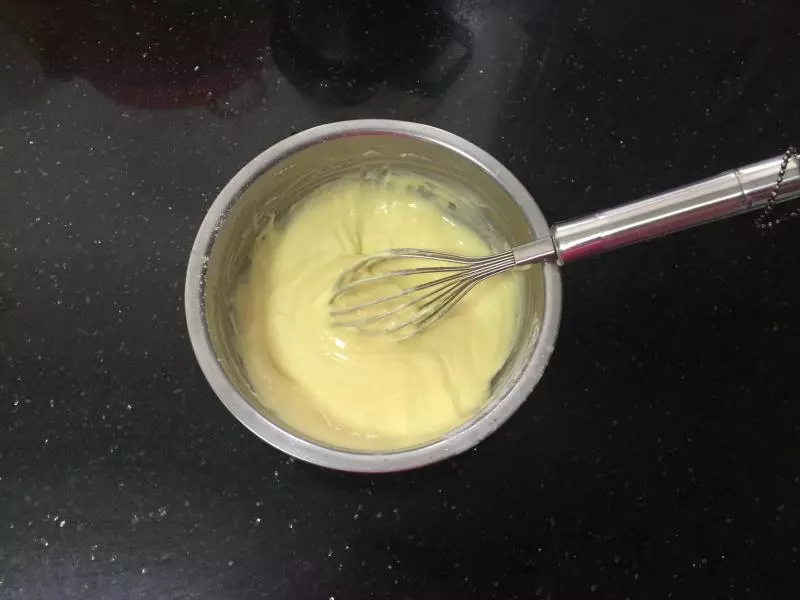
5待放至微熱時加入蛋黃
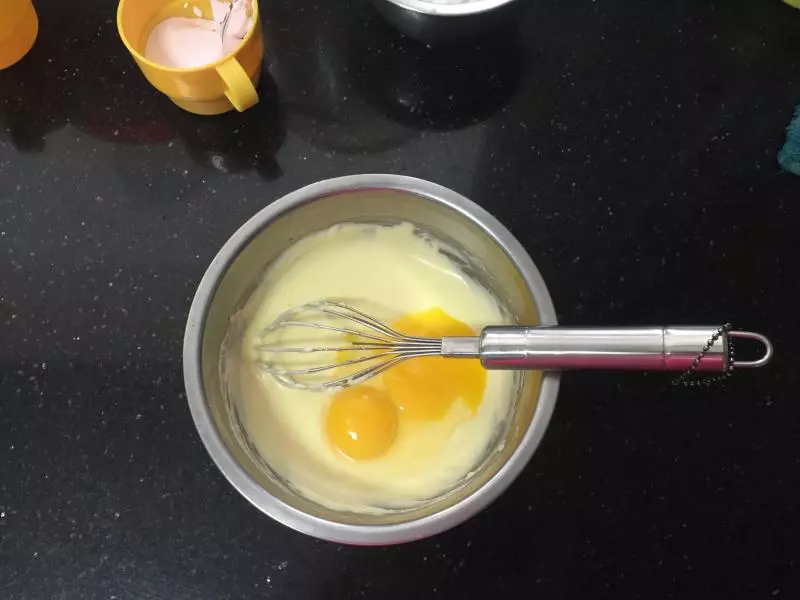
6z字形攪拌至順滑細膩,接著篩入粉類
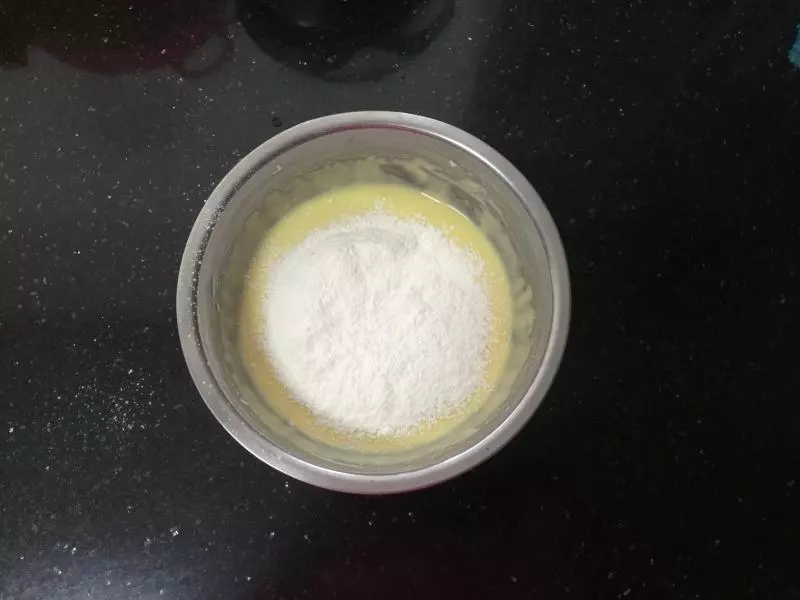
7z字形攪拌至無乾粉、無顆粒
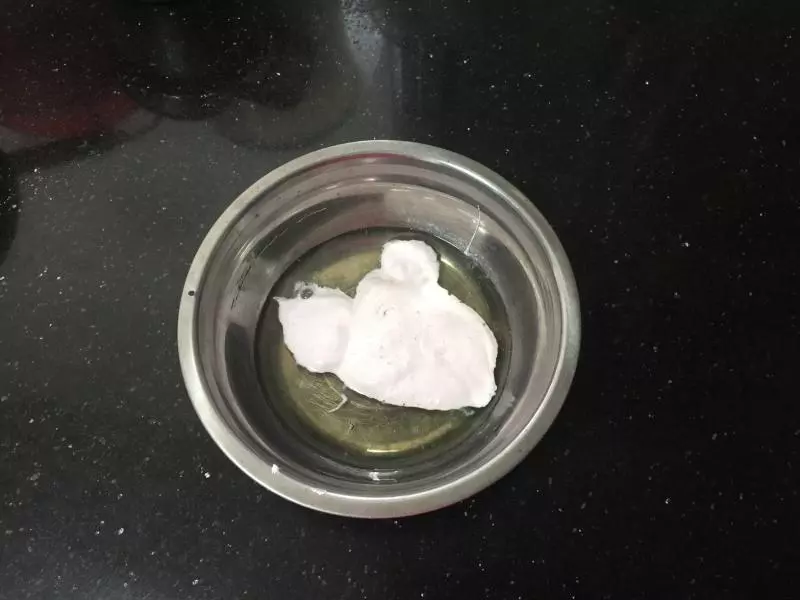
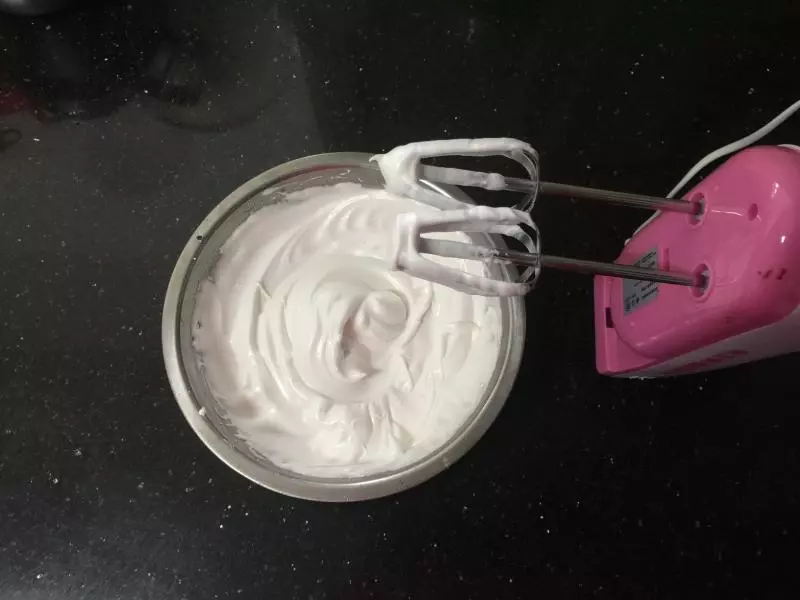
8蛋白倒入打蛋盆中,加入Fluff 棉花糖
9用電動打蛋器低速打至硬性發泡
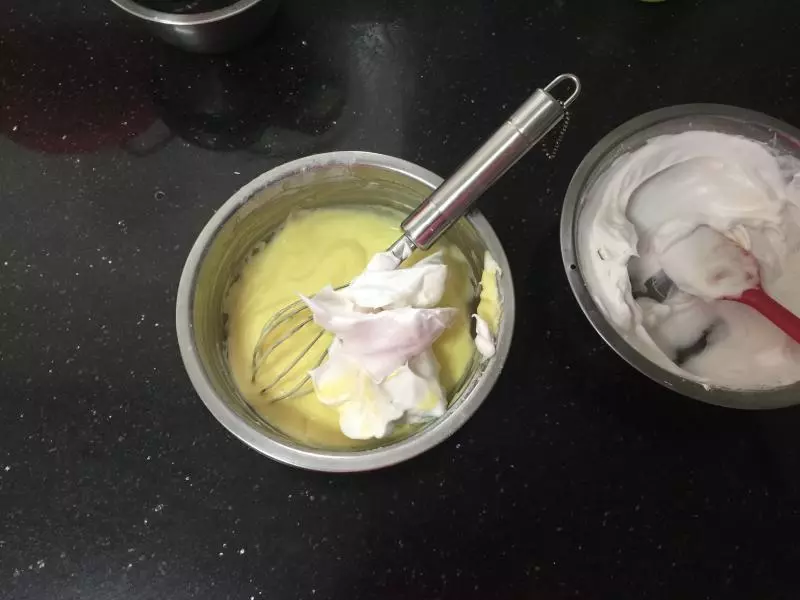
10取三分之一蛋白霜加入蛋黃奶酪糊中,切拌均勻
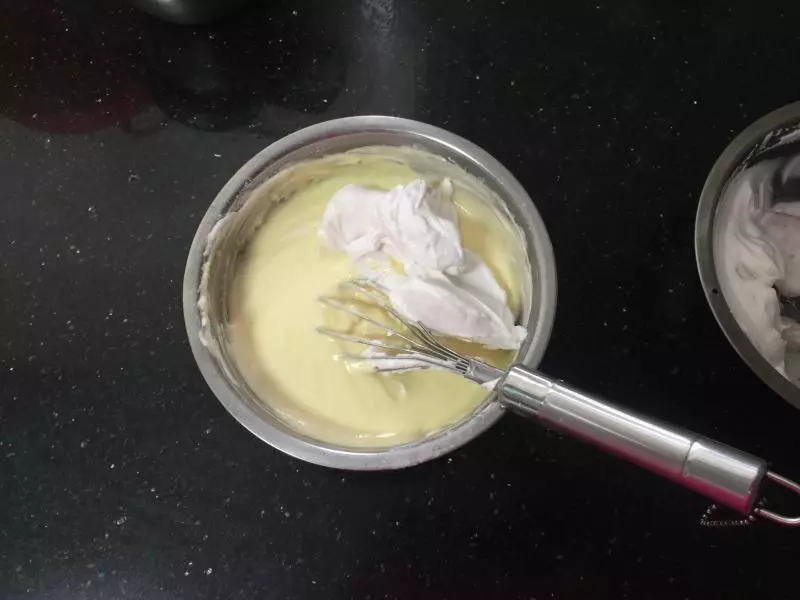
11再放入三分之一蛋白霜加入蛋黃奶酪糊中,切拌均勻
12然後再倒入剩餘的三分之一蛋白霜
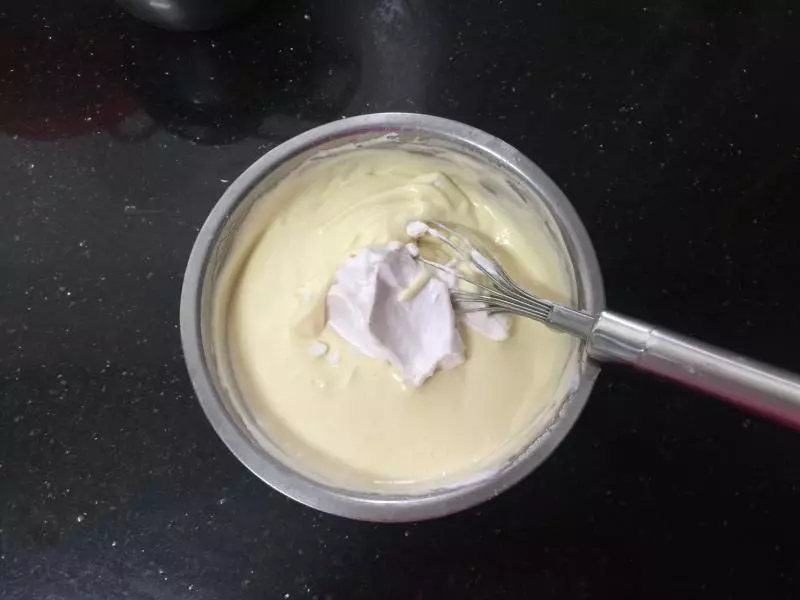
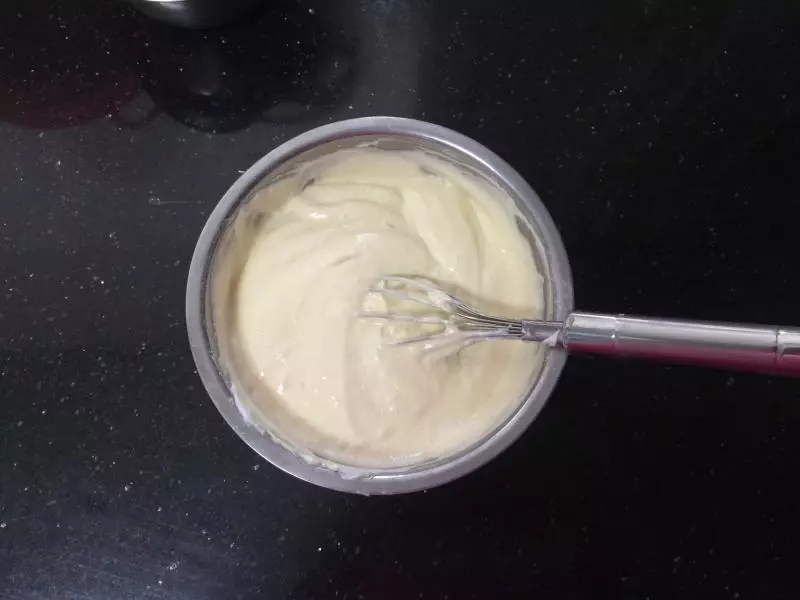
13切拌均勻
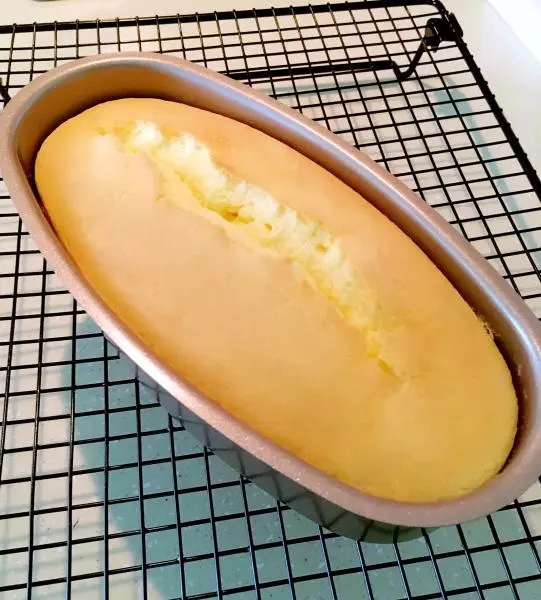
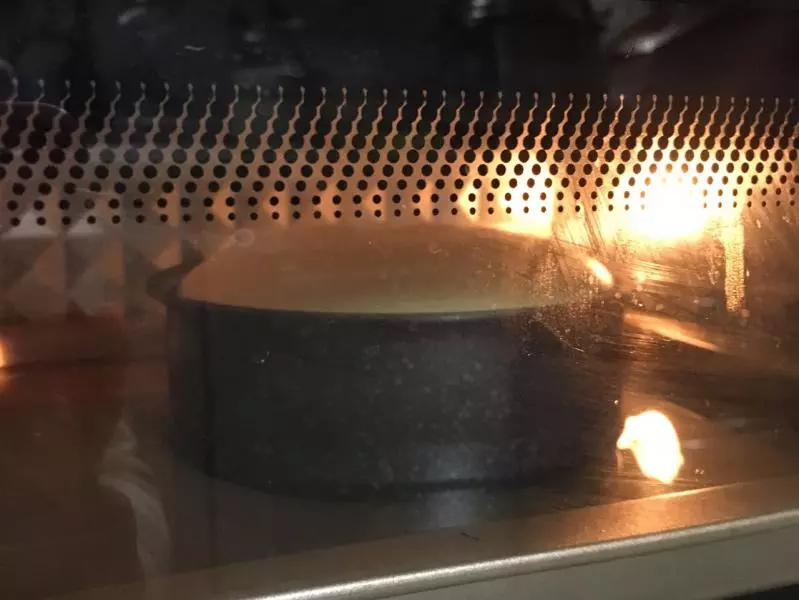
14倒入蛋糕模中,放入一個烤盤裡,烤盤裡注入三分之二的涼水
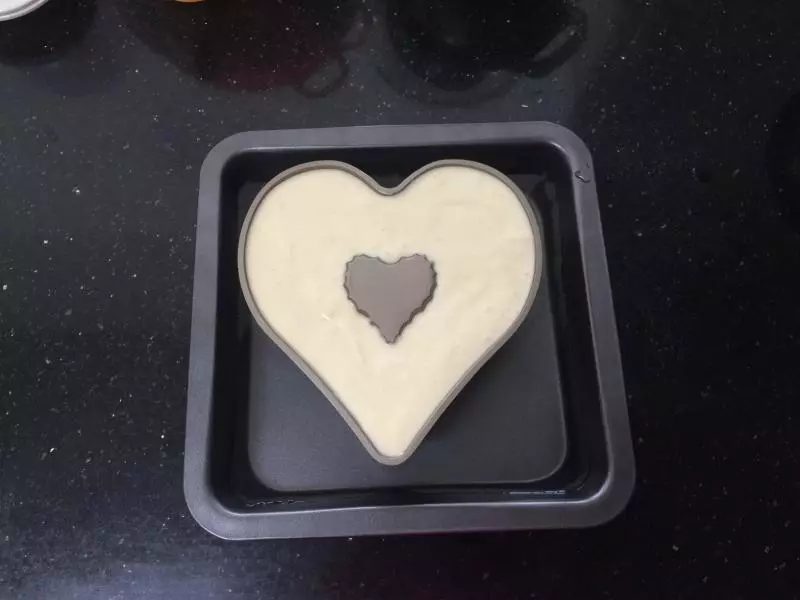
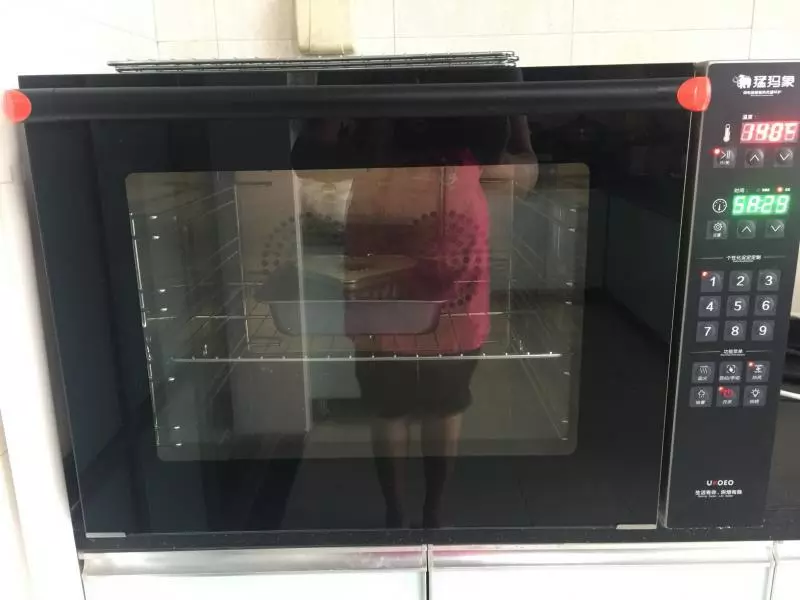
15將ukoeoE6050風爐烤箱設定溫度為140度、加熱時間為60分鐘,達到設定溫度後會有智能提示音,接下來放入烤盤於中下層進行烘烤,待聽到烘烤結束提示音後繼續燜40分鐘或1個小時左右再取出
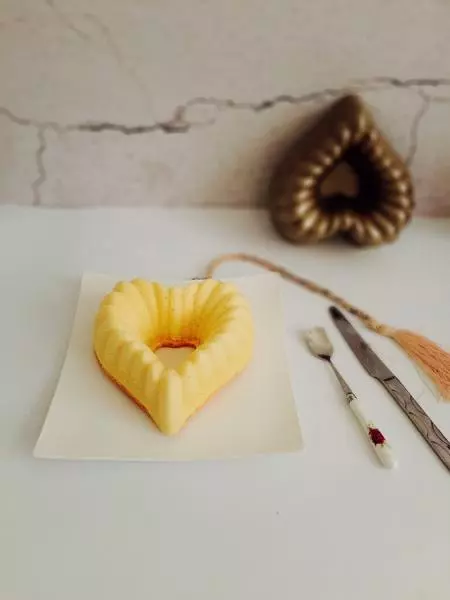
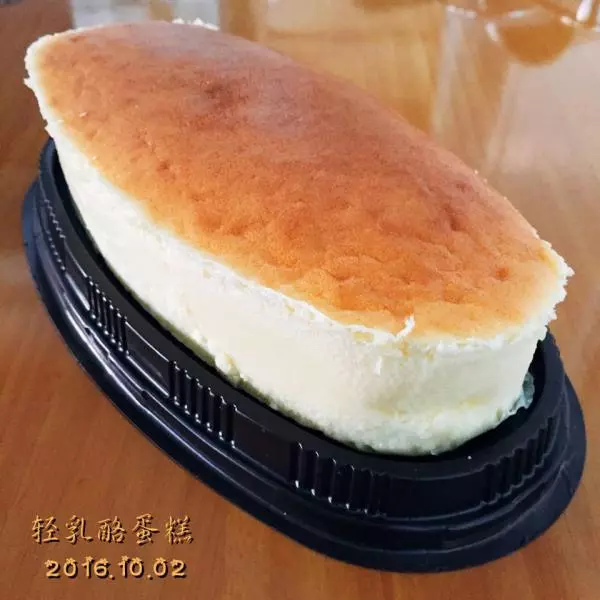
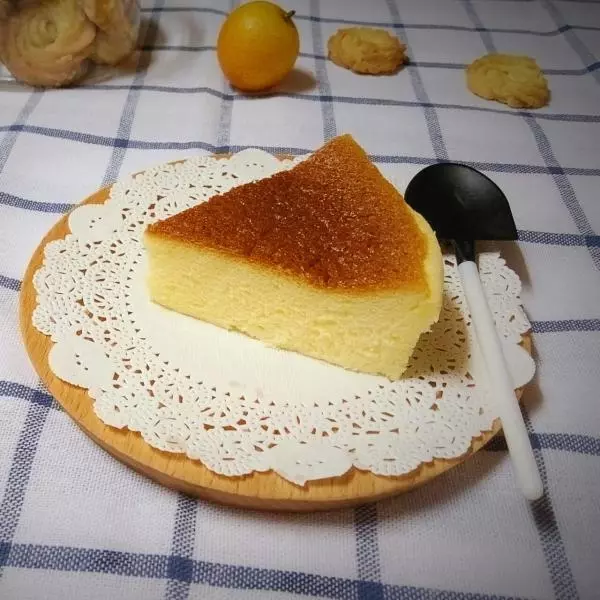
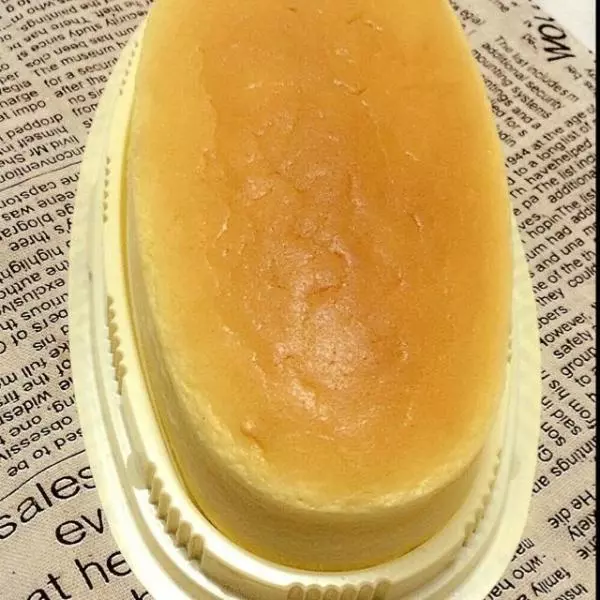
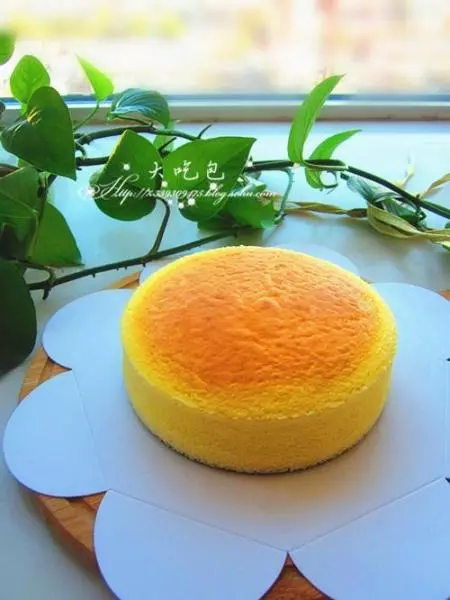
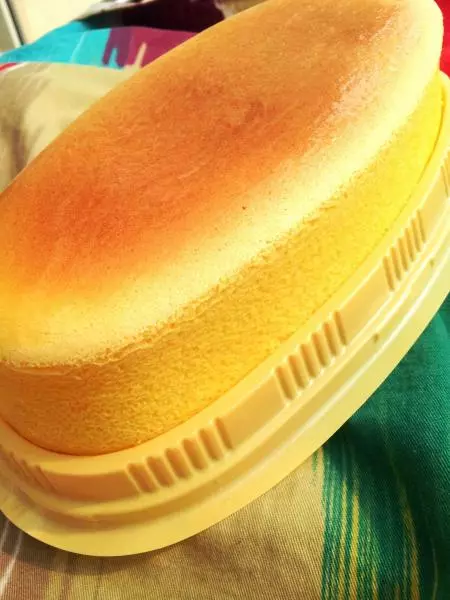
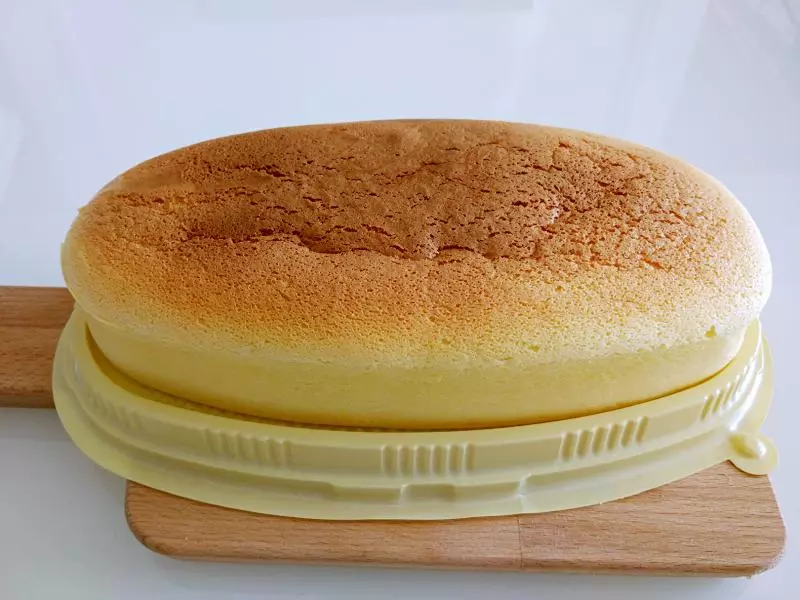
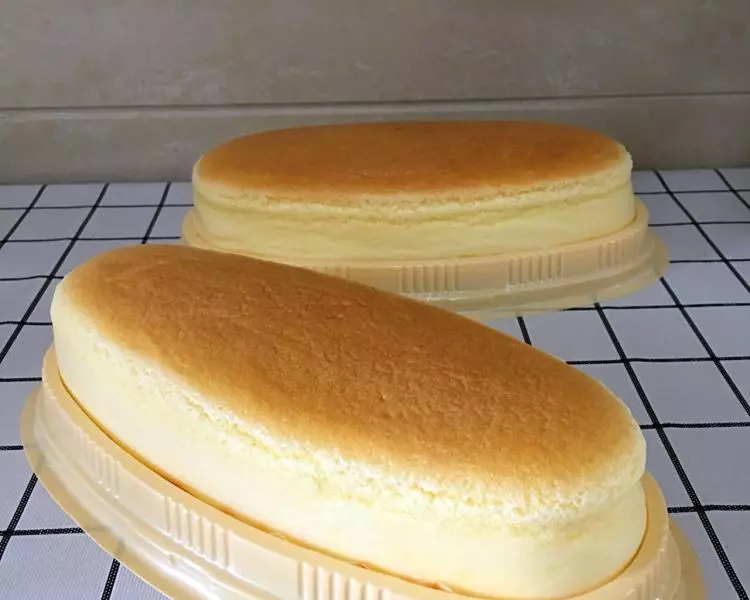
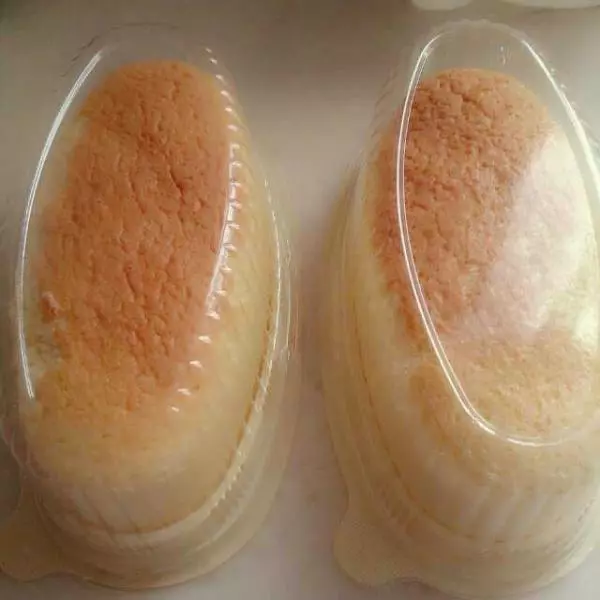
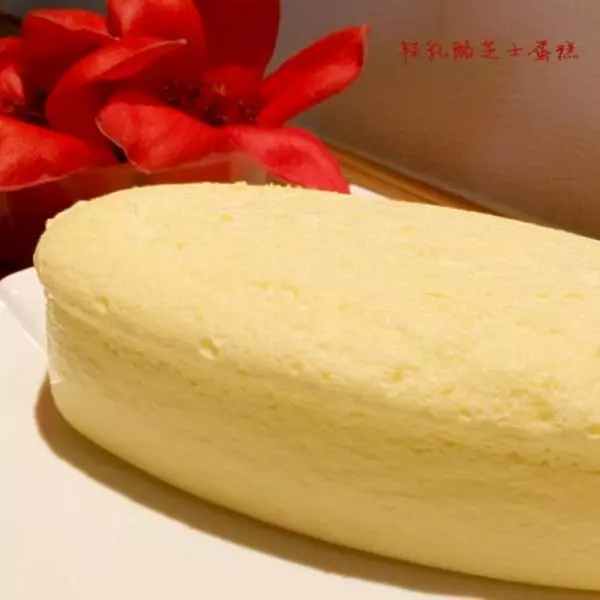
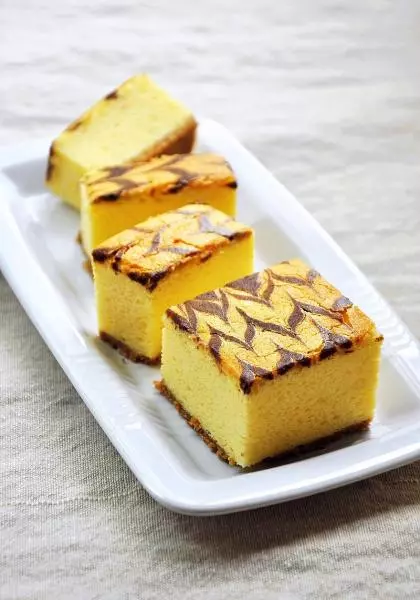
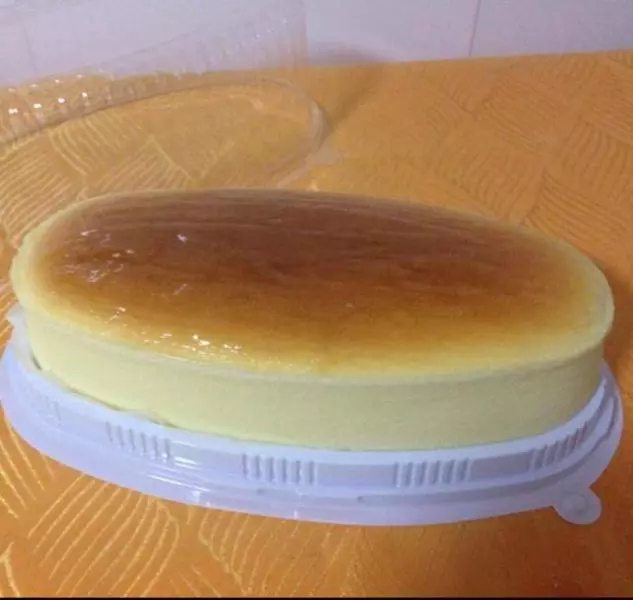
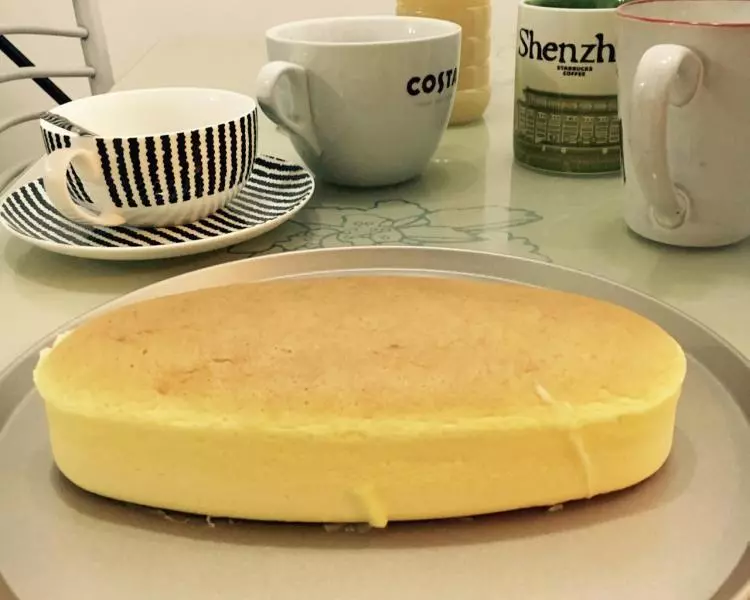
16成品展示
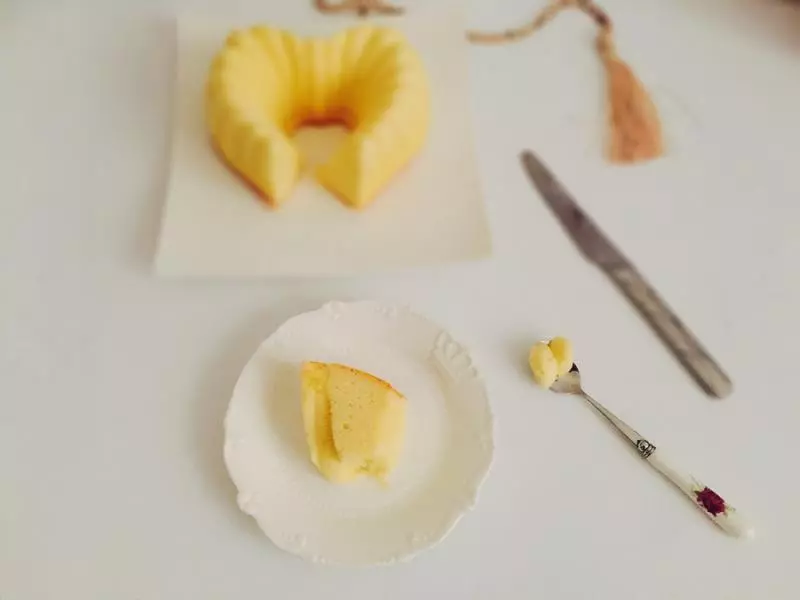
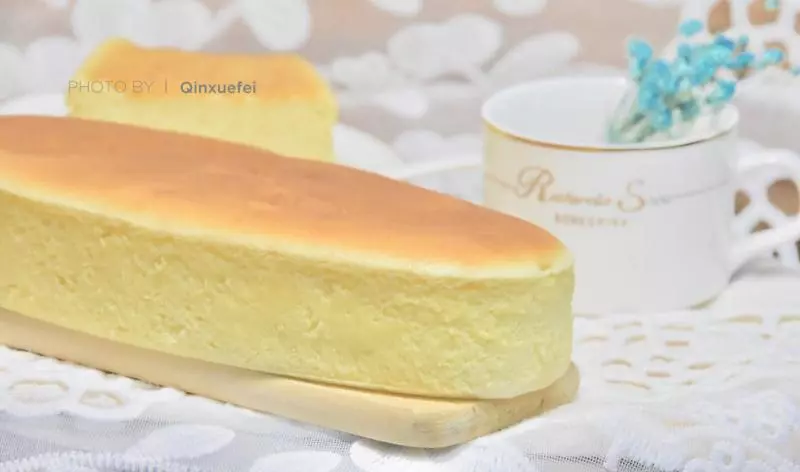
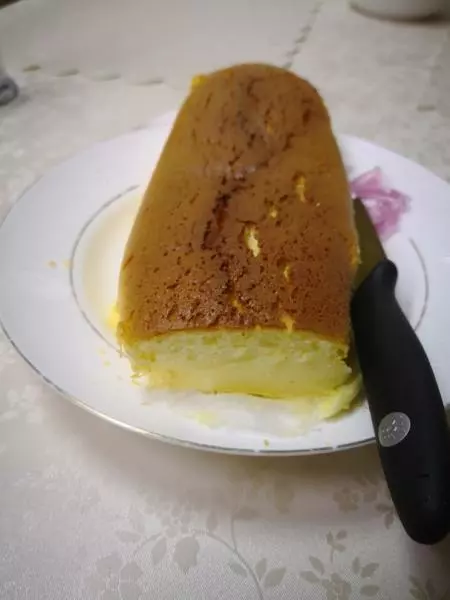
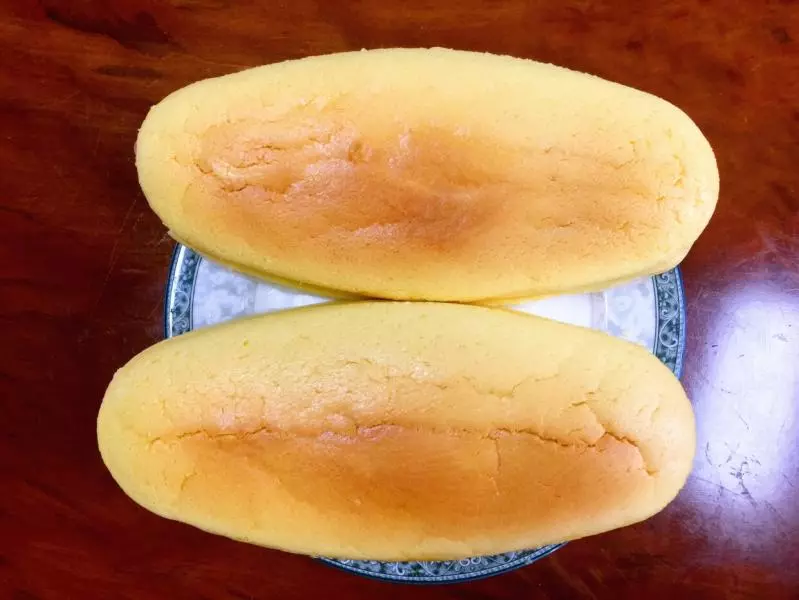
17成品展示
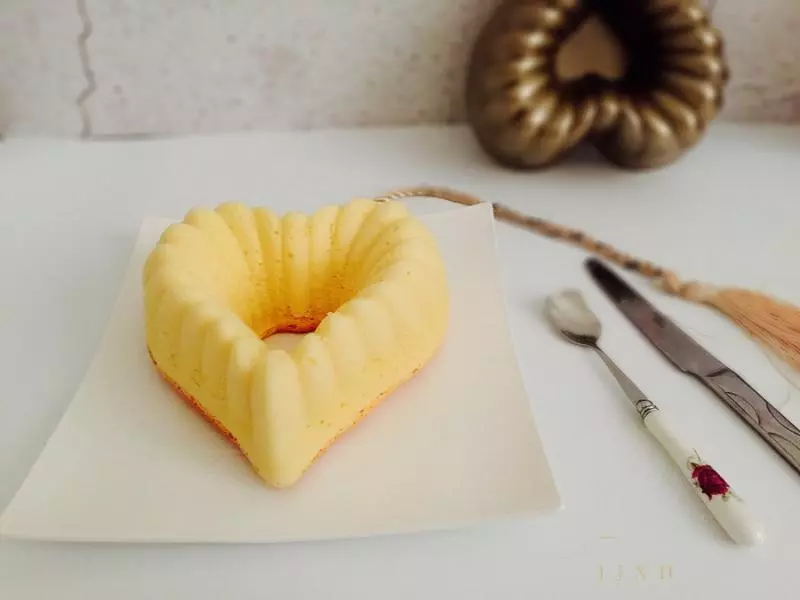
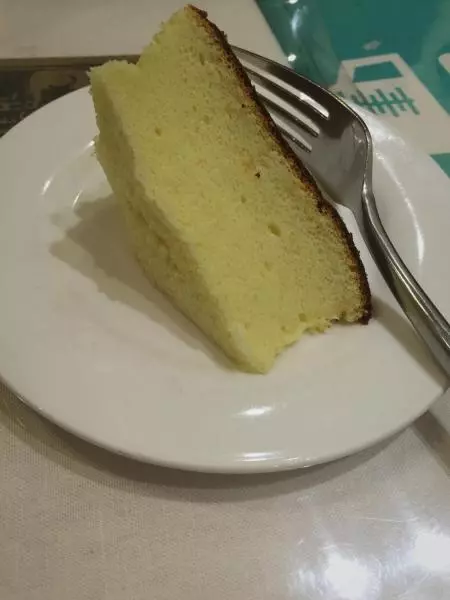
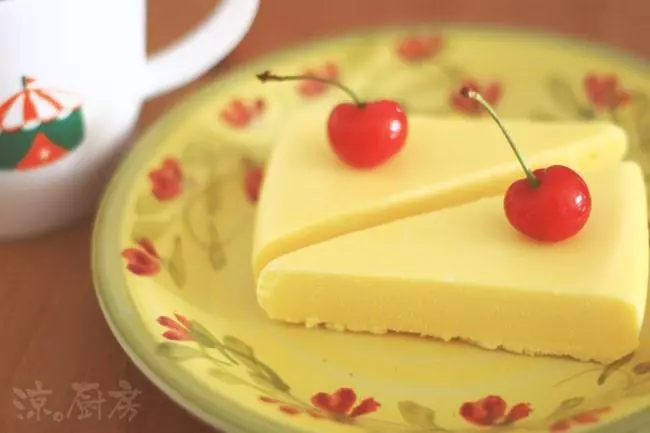
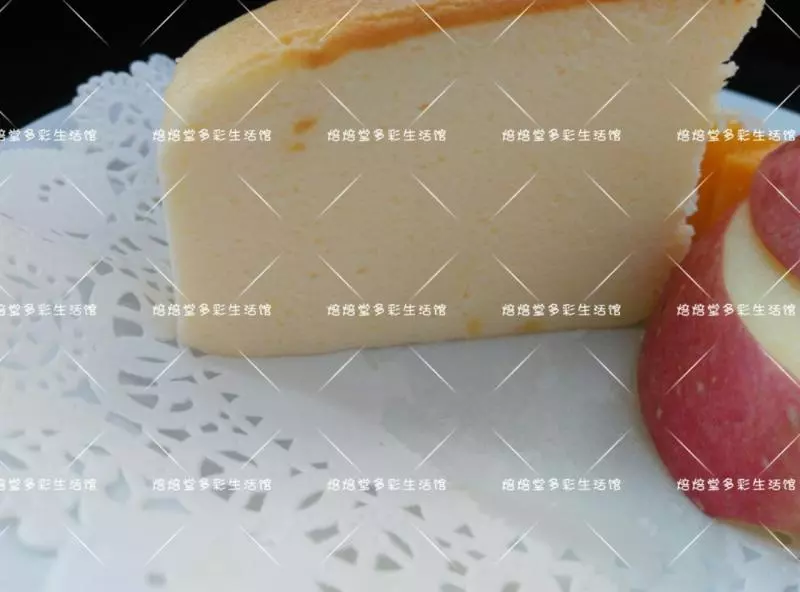
18成品展示