原料
糖霜:
步驟
1餅乾底的材料:黃油100g 糖粉50g 蛋液10g 煉乳15g 低筋麵粉200g 香草精 少許 鹽 少許
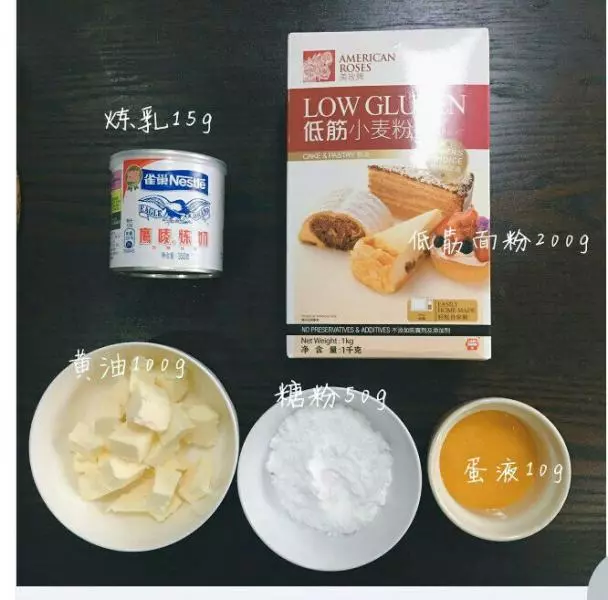
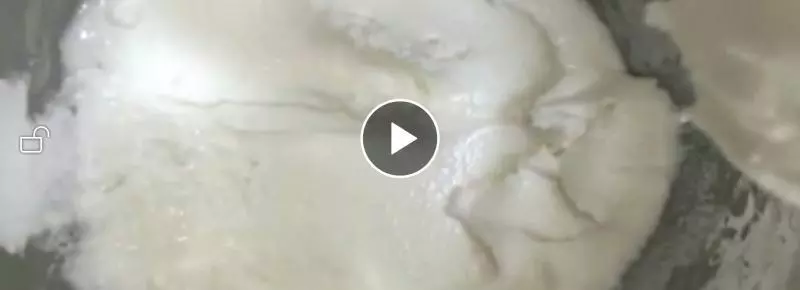
21、稱好的黃油提前室溫軟化。 2、加入糖粉、鹽、香草精,用打蛋器攪打均勻。 3、加入蛋液、煉乳,用打蛋器攪打均勻。 4、加入過篩的低筋麵粉,拌至無乾粉即可。
3,
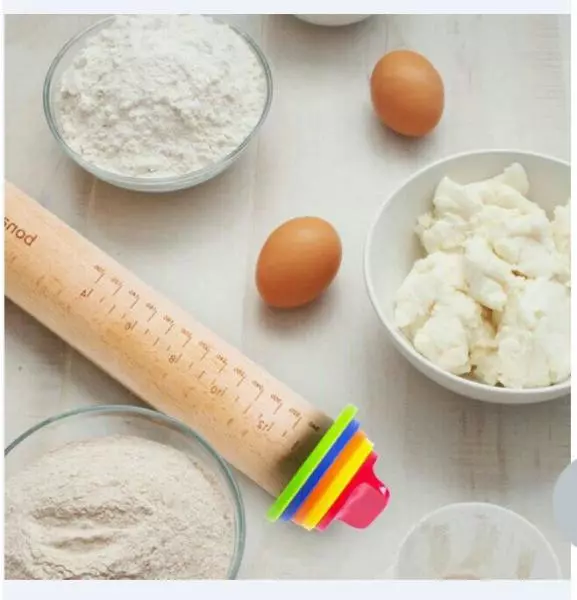
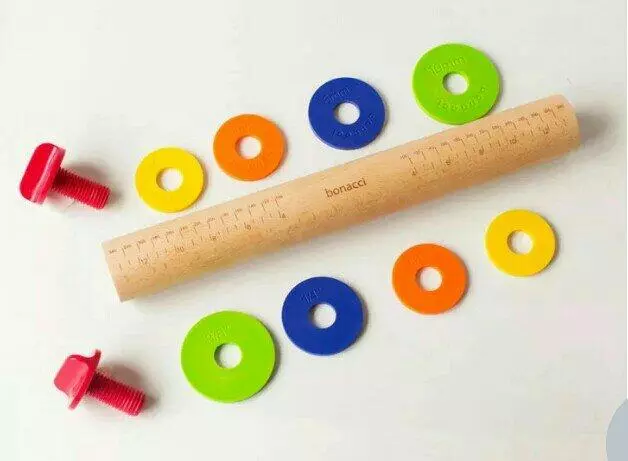
4帶刻度的擀麵杖

5同上
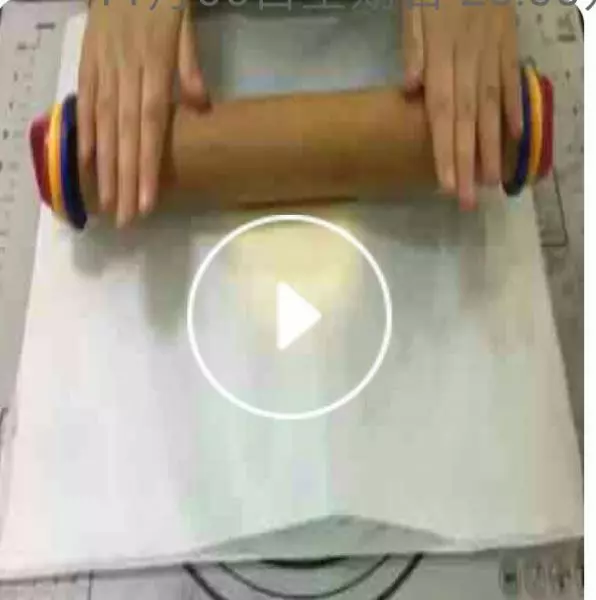
6放在油紙中間擀成薄片,用擀麵杖將麵糰擀平,厚度5-6mm,放入冰箱冷凍。(時間充裕冷藏也可)
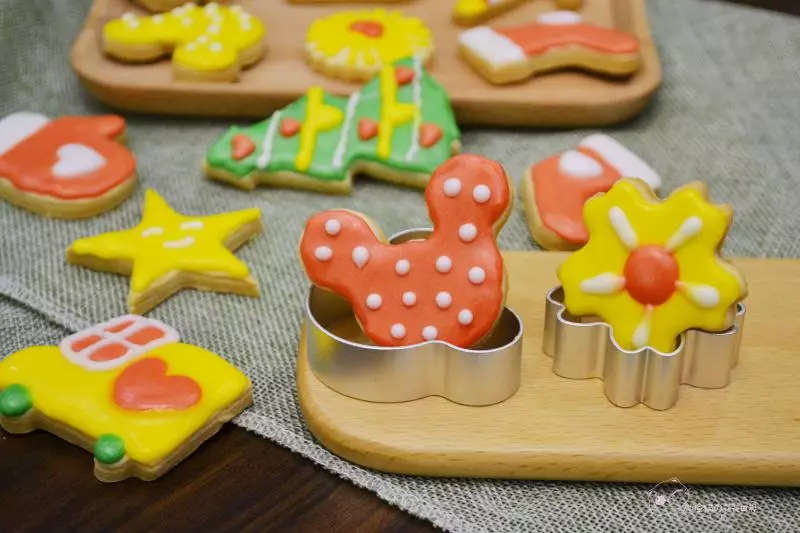
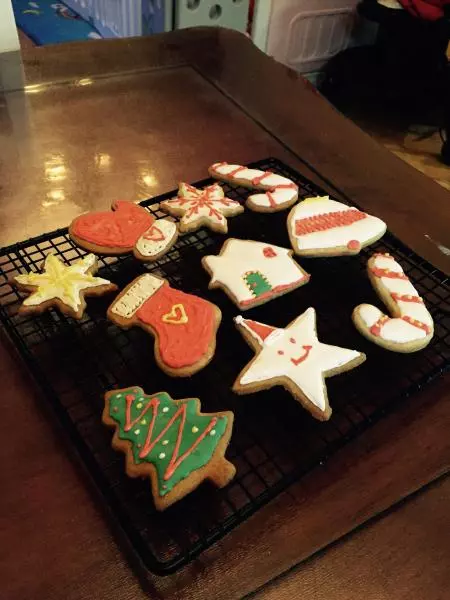
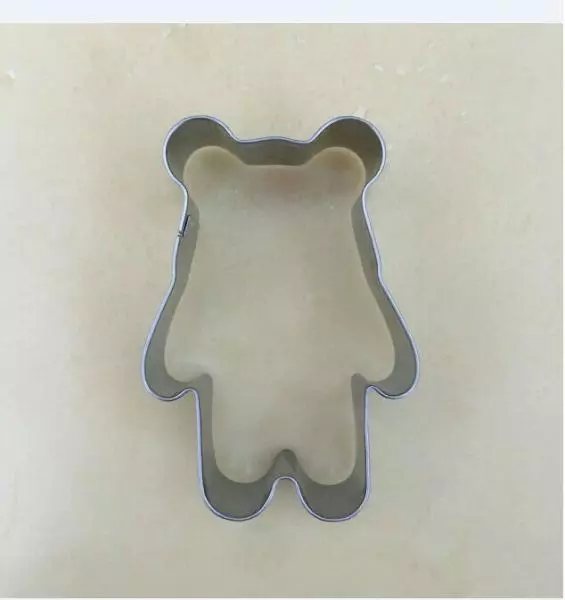
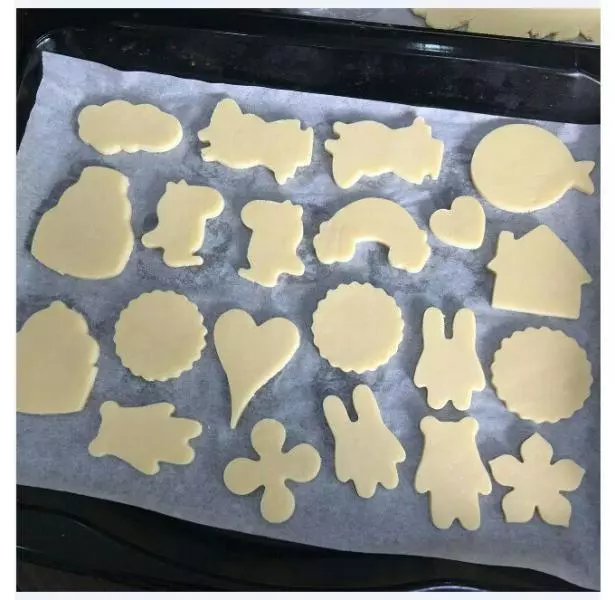
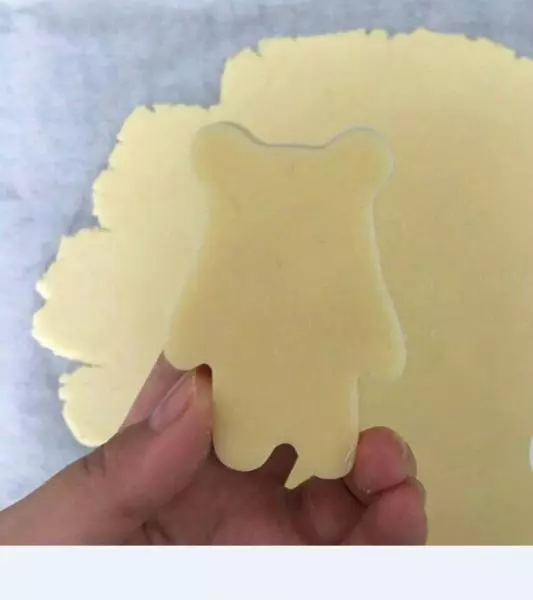
7然後將凍硬的麵糰取出,用餅乾切模切出自己喜歡的形狀,放入烤盤。

8然後將凍硬的麵糰取出,用餅乾切模切出自己喜歡的形狀,放入烤盤。
9,
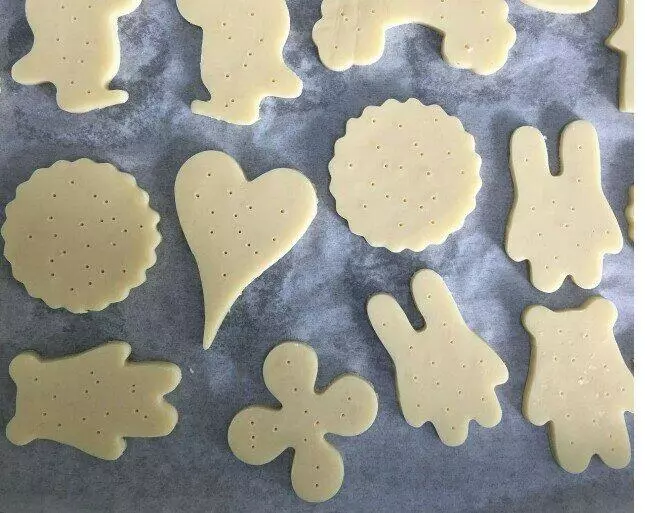
10扎點小孔,會更均勻的受熱
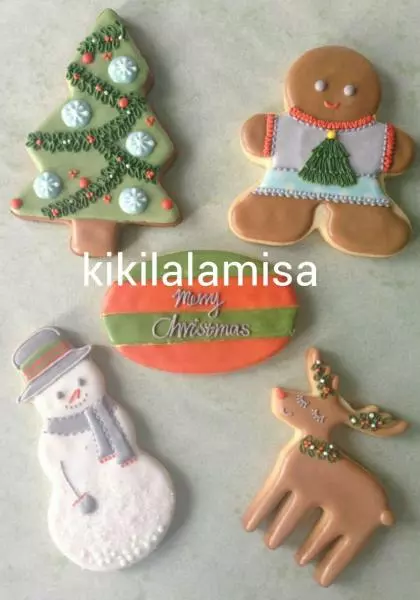
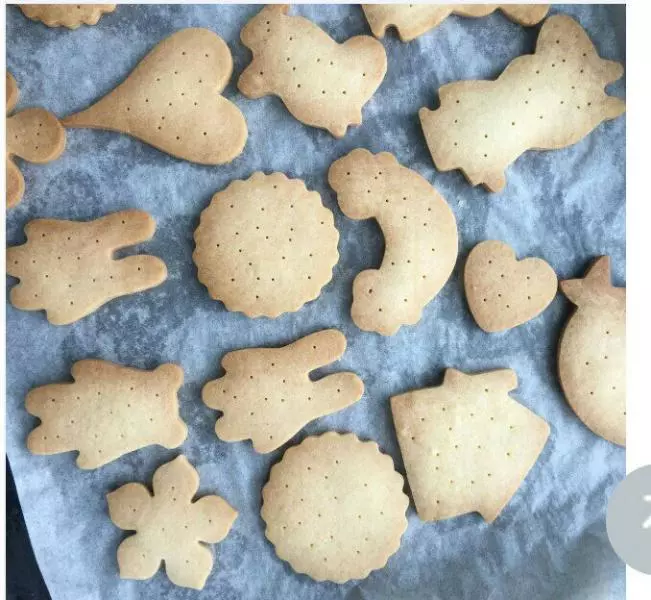
11放入烤箱,170度20分鐘左右,烤至餅乾邊緣上色即可。

12烤好的餅乾底一定要等它完全涼透以後才能畫上糖霜,時間充裕最好是隔日再用,避免返油。 餅乾底部分我們說到這裡,下面開始說糖霜部分。

13蛋白粉版 蛋白粉15g 溫水25g 糖粉150g 綿綿 嘉賓蛋清版 生蛋清30g 糖粉150g。以這個為基礎,糖粉不夠了可以再加

14糖霜的原材料中起到打發作用的就是蛋清和蛋白粉,但因為生蛋清會攜帶一些細菌,有的人也會對生雞蛋過敏,如果是自己在家練習可以考慮用生蛋清的配方。蛋白粉我用的是CK或者惠爾通 糖粉我用的是CH或者太古紅標。CH糖粉非常的細膩,使用起來不用過篩,價格略貴。性價比高一點可以選擇太古紅標,用之前過篩2次即可。
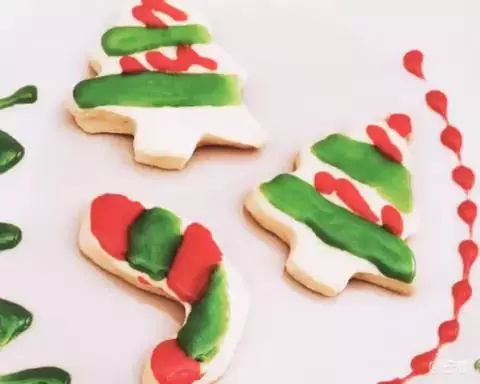
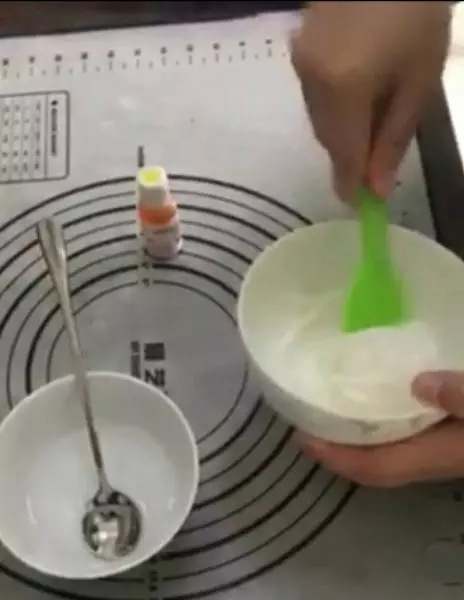
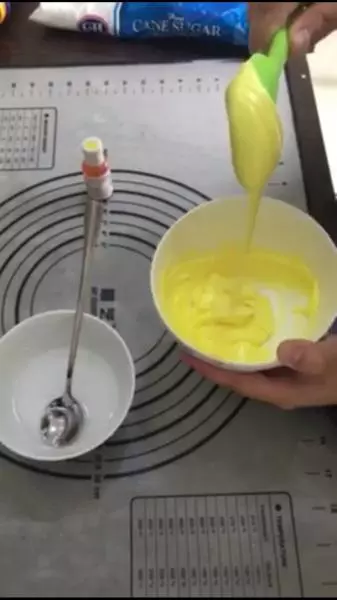
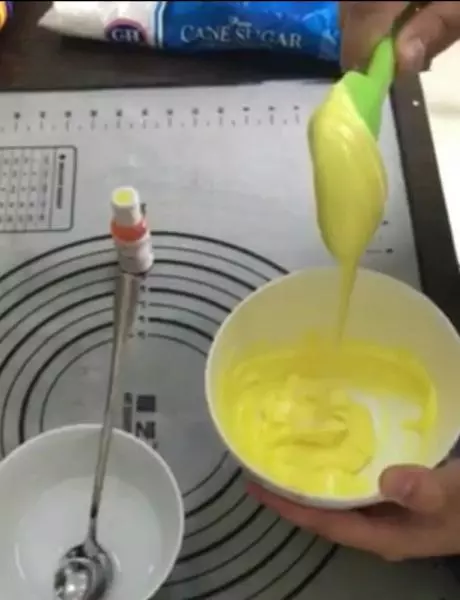
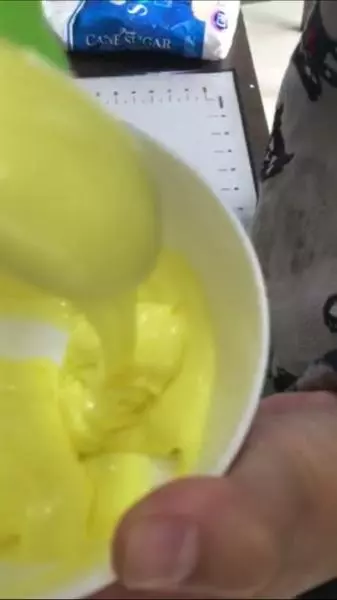
15糖霜的製作步驟: 1、將蛋白粉、糖粉、溫水(或蛋清+糖粉)放入打蛋盆中打至無乾粉,糖霜狀態呈尖峰狀。(CH糖粉不用過篩,太古紅標需提前過篩兩次) 2、取出部分糖霜,加入色素,調出你想要的顏色。慢慢加入水,調出10秒左右的鋪面糖霜。 3、在已烤好的餅乾底上畫出你想要的圖案。(濕畫法必須要用相同狀態的糖霜) 4、放入烘乾機中低溫烘6小時左右。

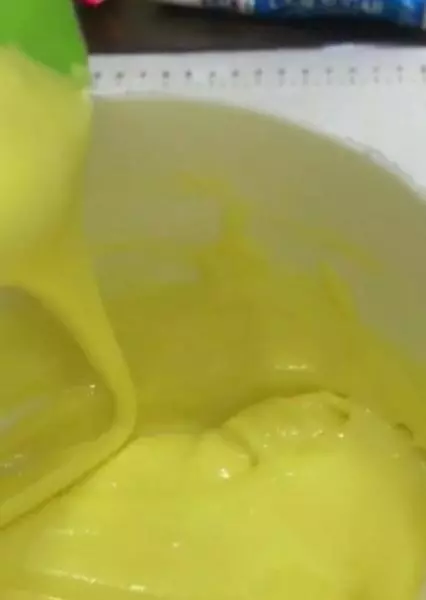
16要看天氣,天氣潮濕就多加糖粉,這個狀態就可以用來拉線用,今天講的是糖霜的濕畫法,就要加水調到鋪面的狀態八到十秒的糖霜,這個狀態就是基礎狀態,如果裱花葉子需要再硬一些
17鋪面都是八秒到十秒的糖霜,如果是大面積的就是五秒糖霜

18調
19加一滴顏色,色素CK或者惠爾通
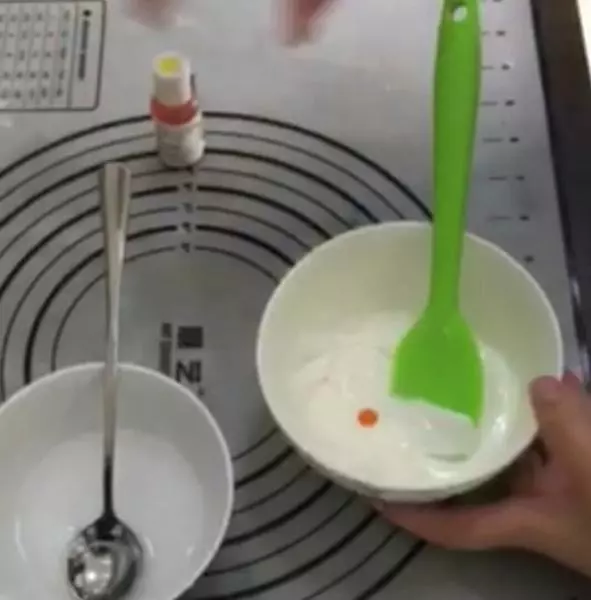
20調色
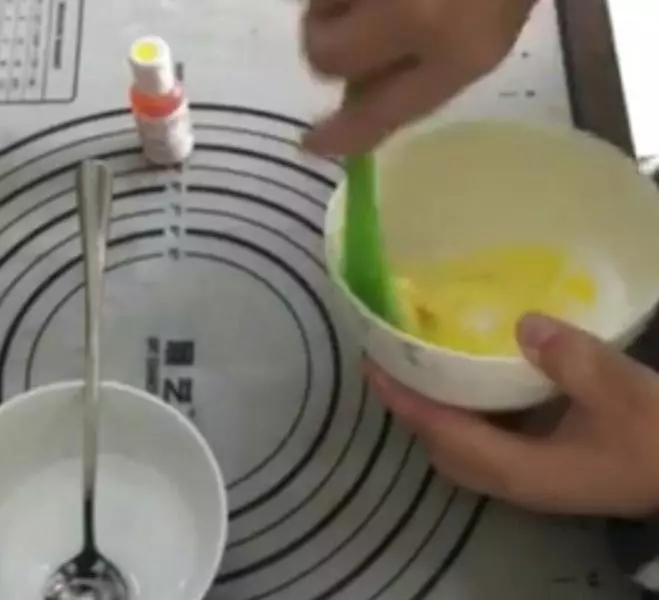
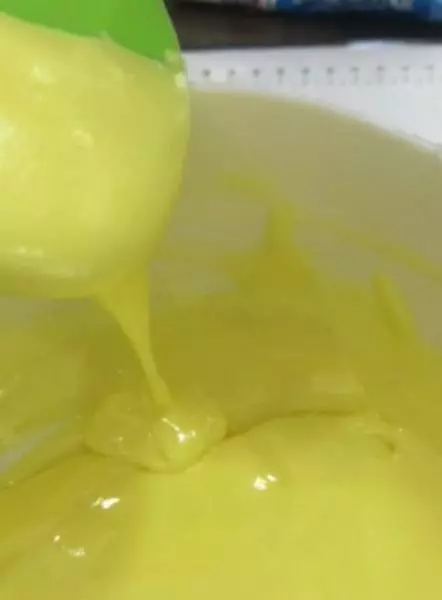
21加水
22看狀態
23同上
24再加水
25調
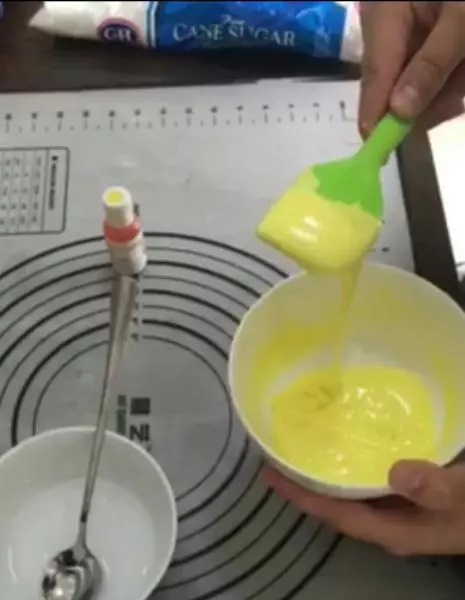
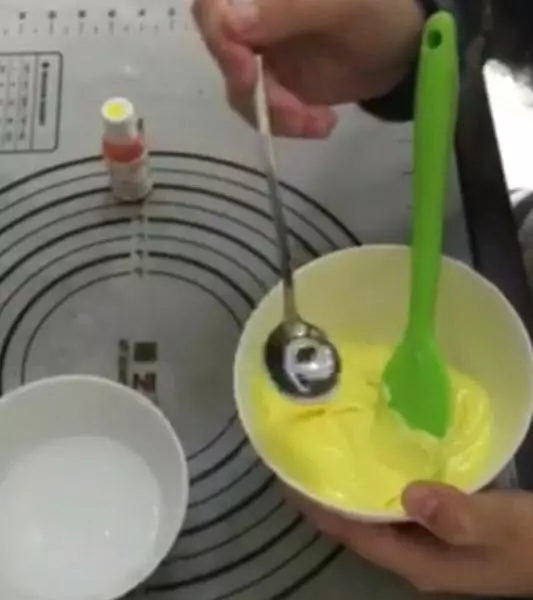
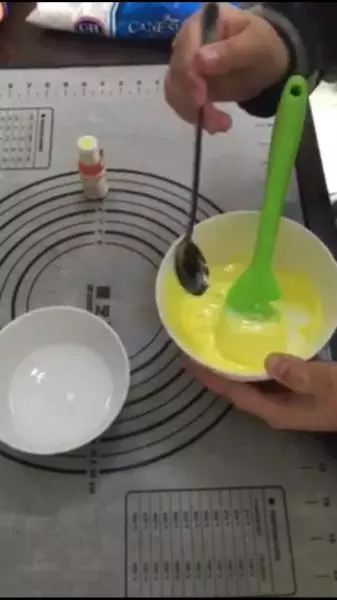
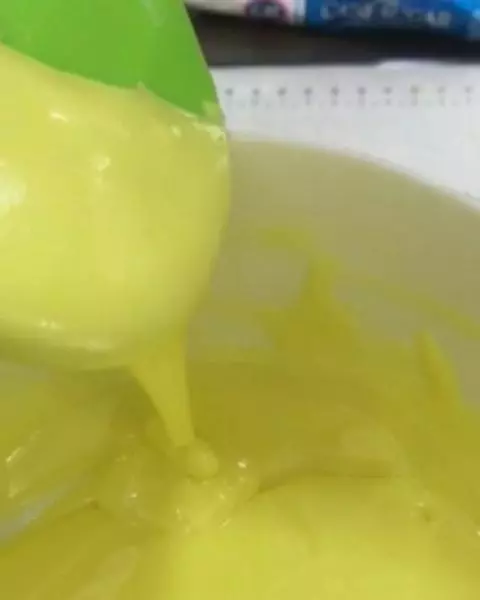
26橫著拉一條線,心裡數十個數,看痕跡消失沒有
27狀態
28狀態
29狀態
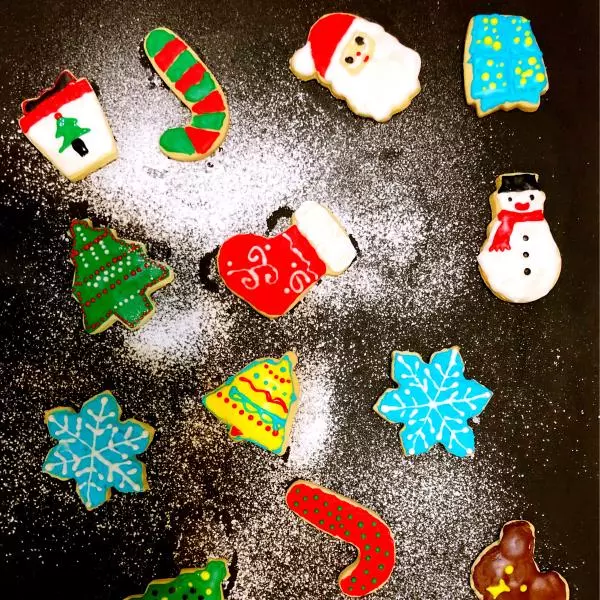
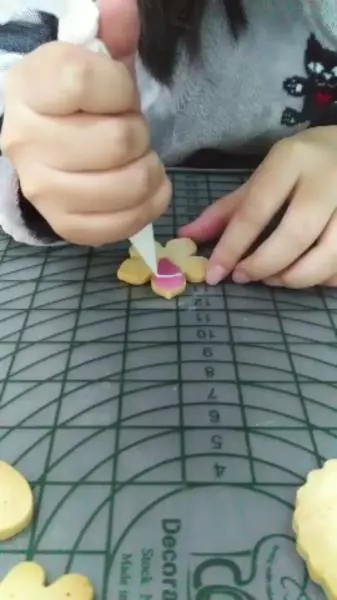
30顏色調好裝入裱花袋裡,我們就可以開始畫了
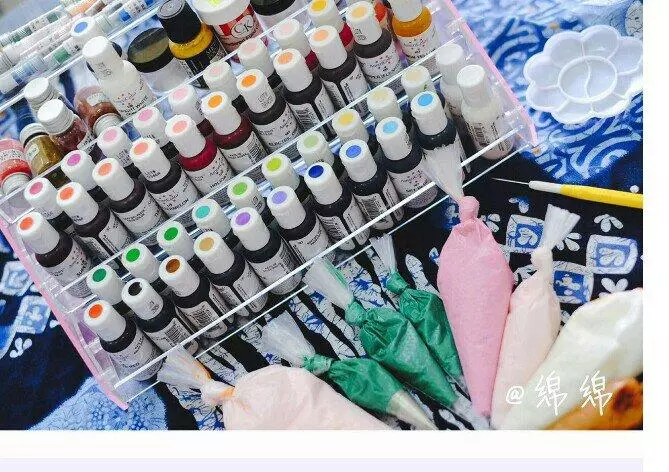
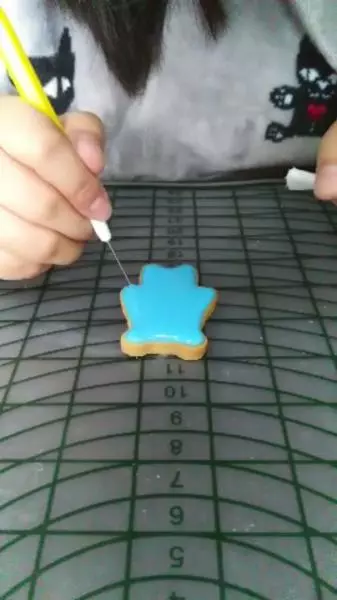
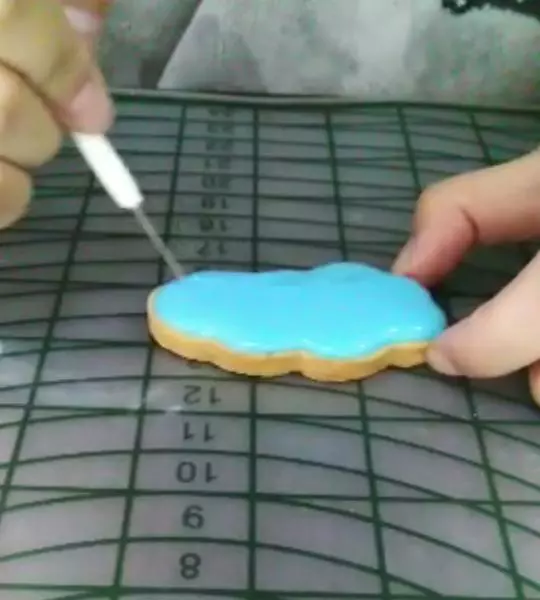
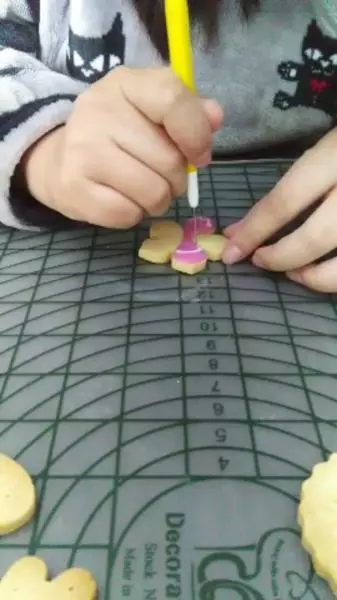
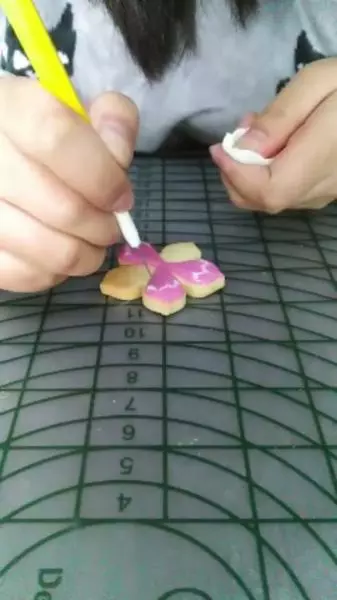
31左邊黃色的是排氣針,我今天會藉助它完成我們此次課程的作業。我用的是PME的,價格略貴,網上也有盜版的,幾塊錢一支。

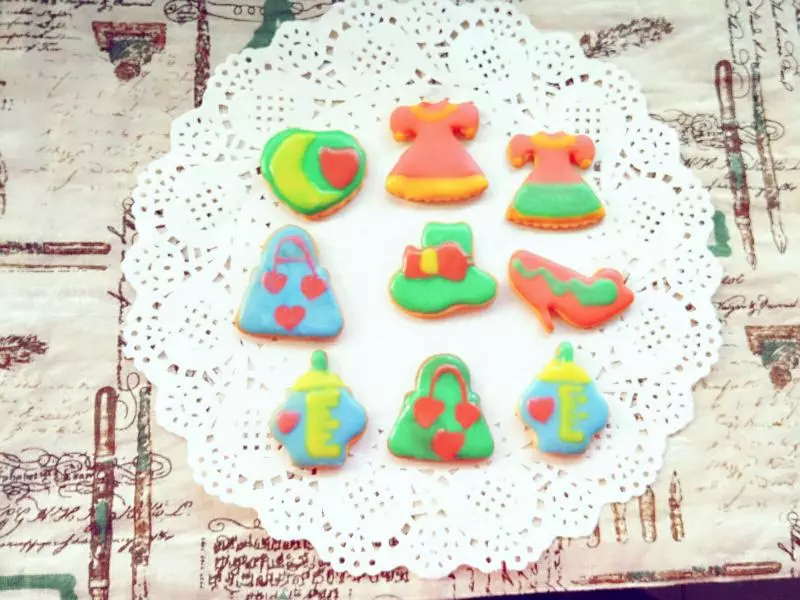
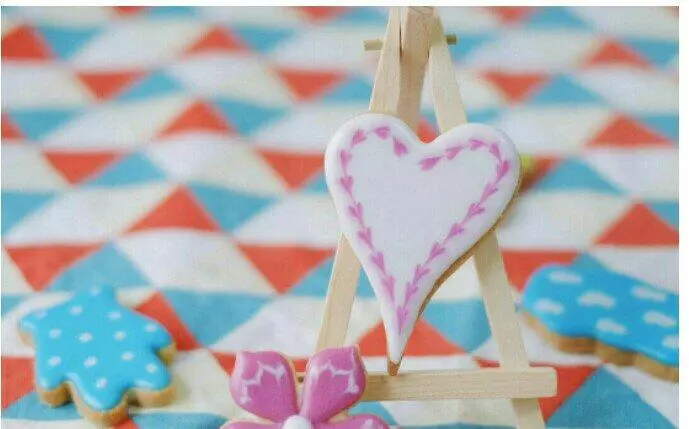
32首先我教大家做小桃心的這一塊。
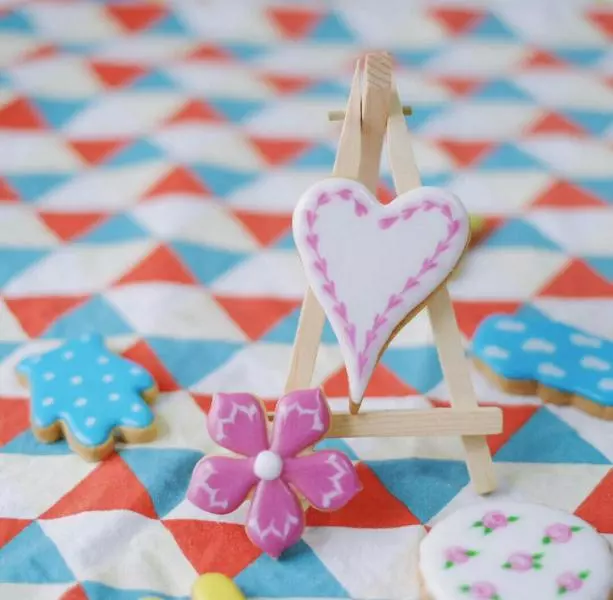
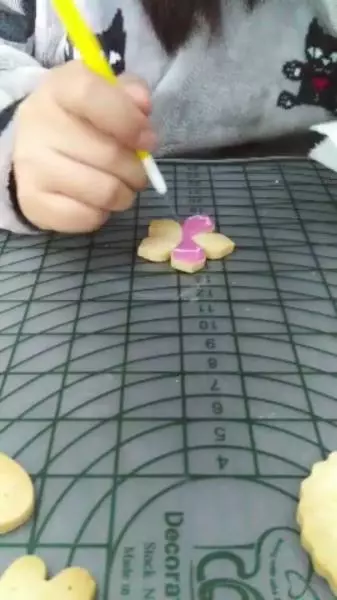
33用白色的糖霜先把底鋪一下,然後用粉色的點一圈,用排氣針拉一圈,就成了
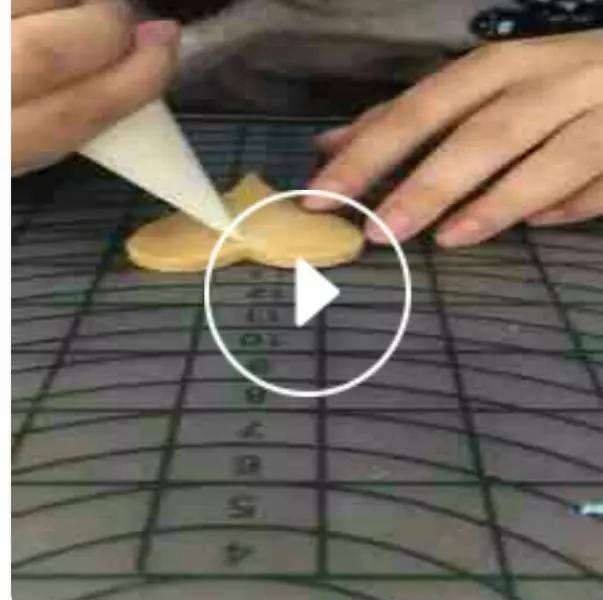
34輪廓
35輪廓
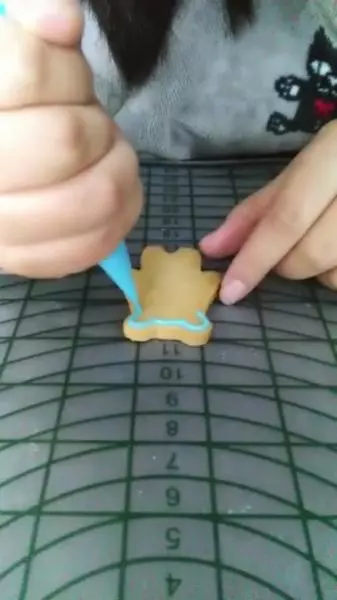
36輪廓
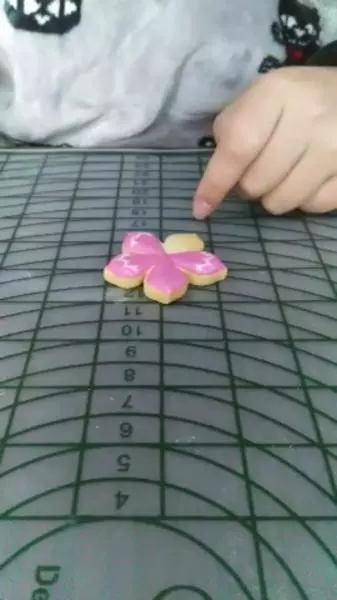
37輪廓完成
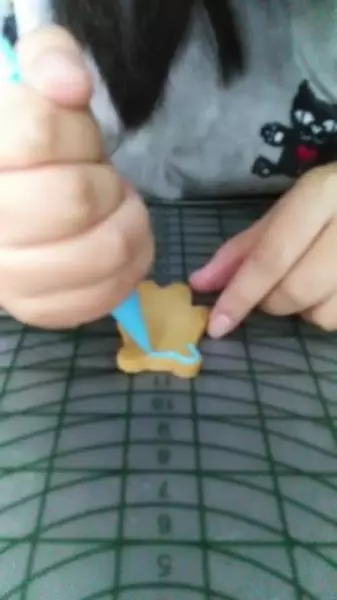
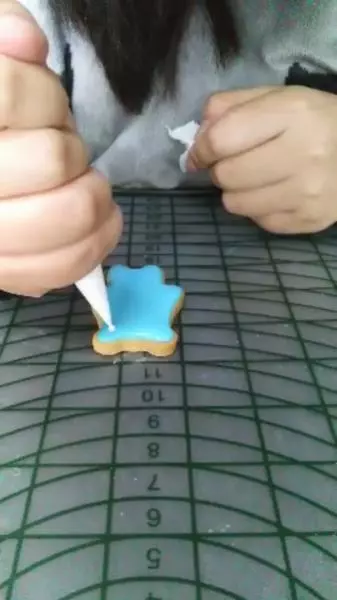
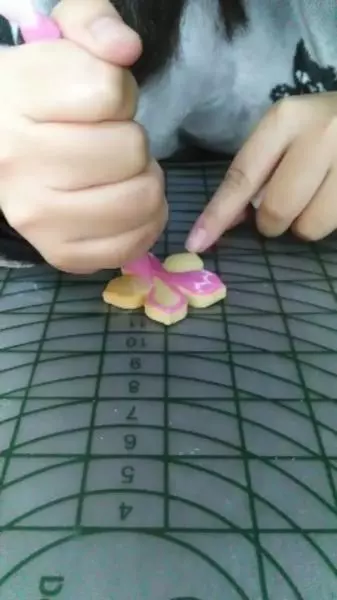
38填充
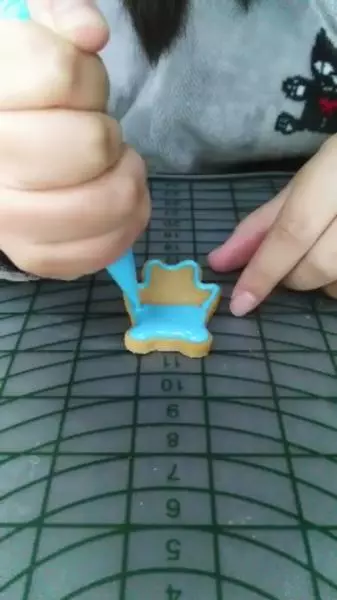
39鋪完

40修整
41修正
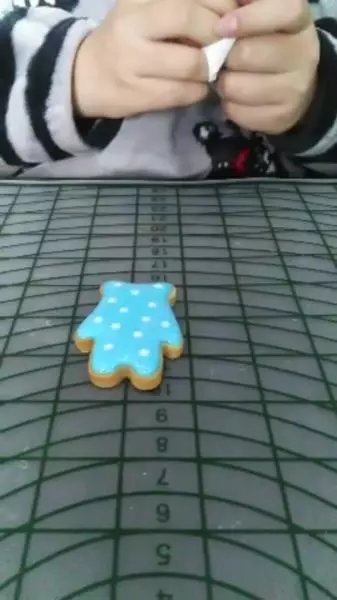
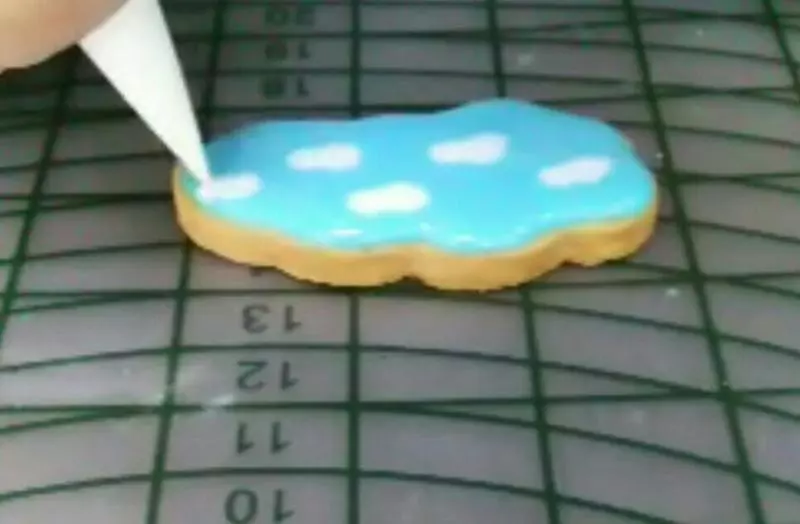
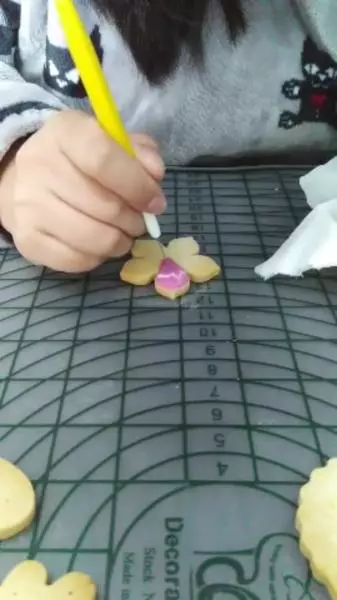
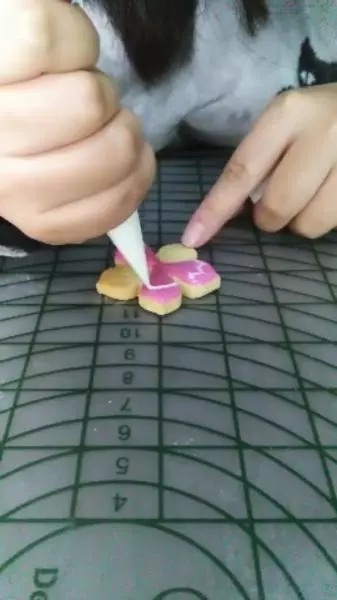
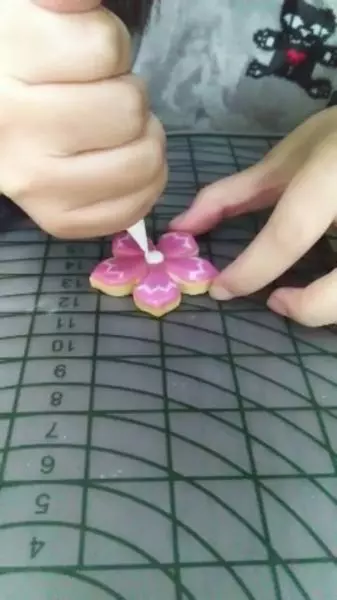
42白點
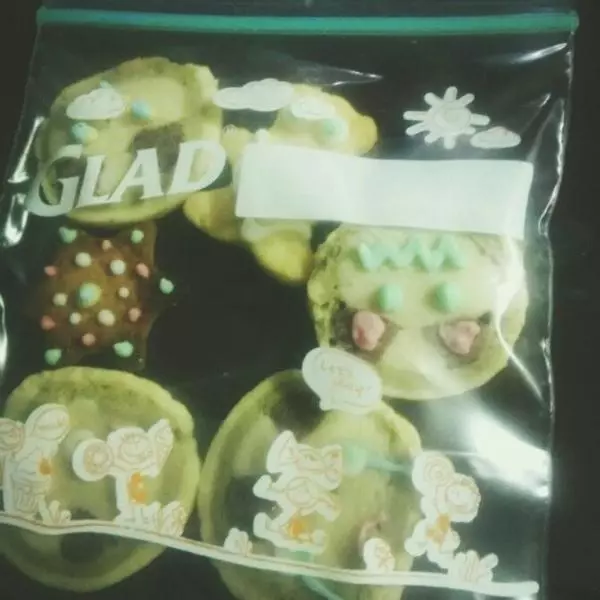
43白點
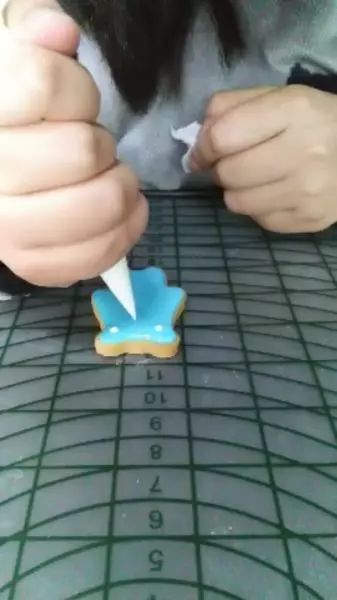
44畫白點

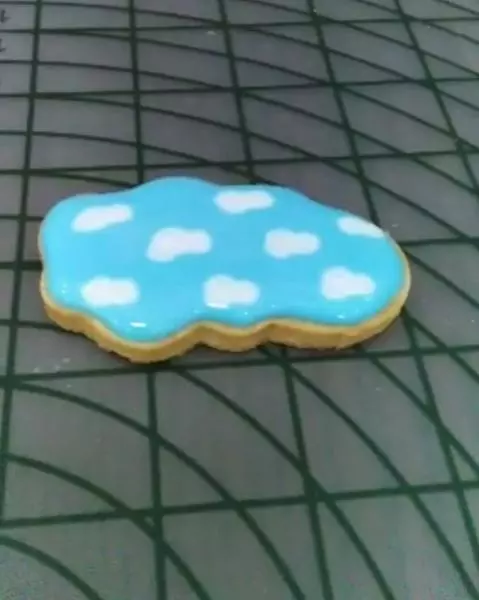
45畫好以後放烘乾箱烘乾6小時以上。綿 嘉賓如果沒有烘乾機,也可用烤箱熱風功能40度風乾。
46自然乾的話花的時間非常長,我們這邊要放一夜才能幹透
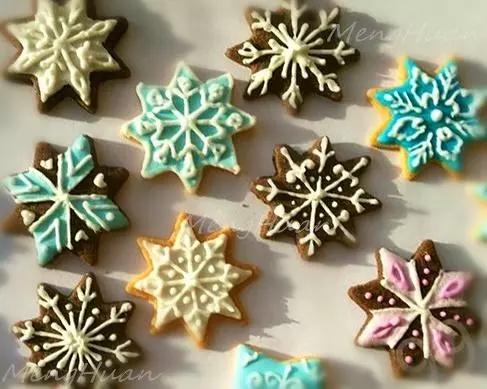
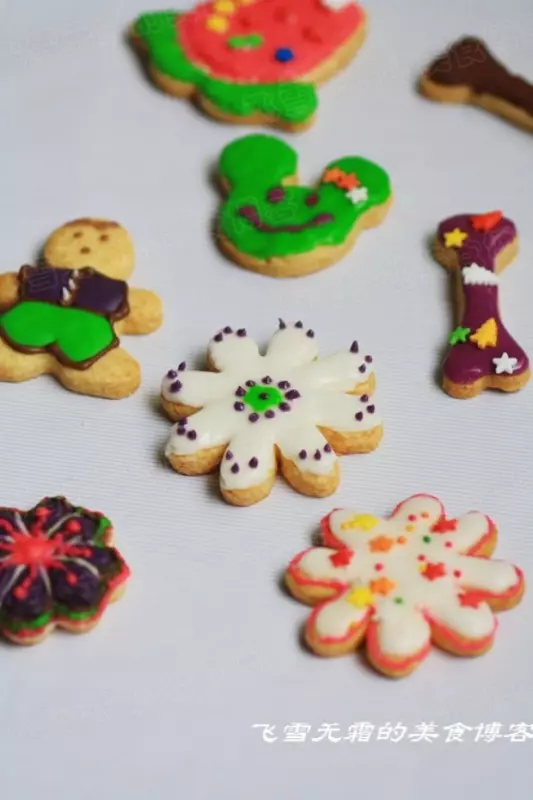
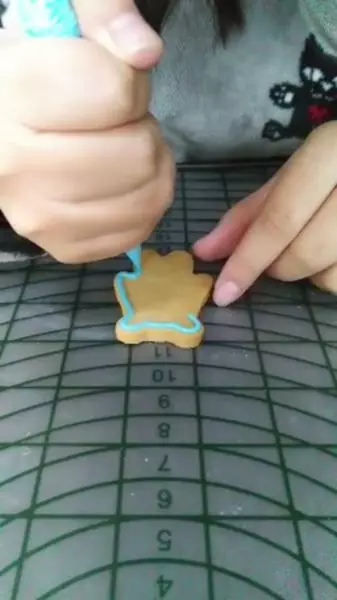
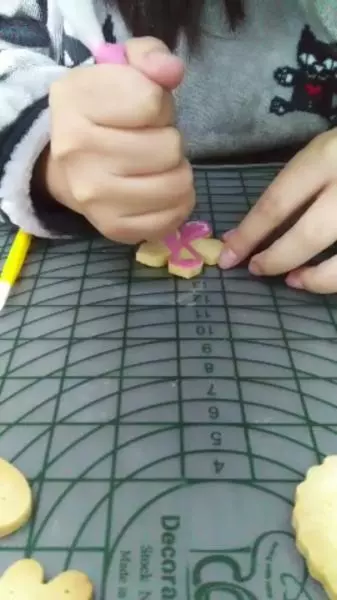
47畫輪廓
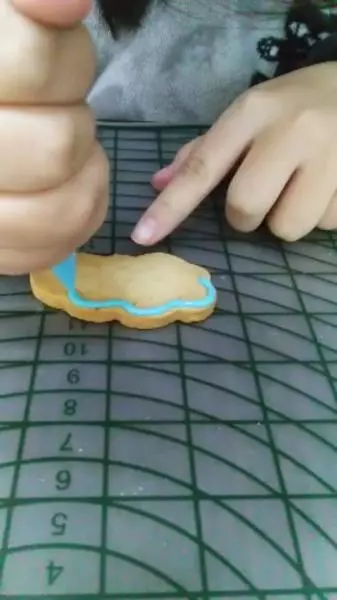
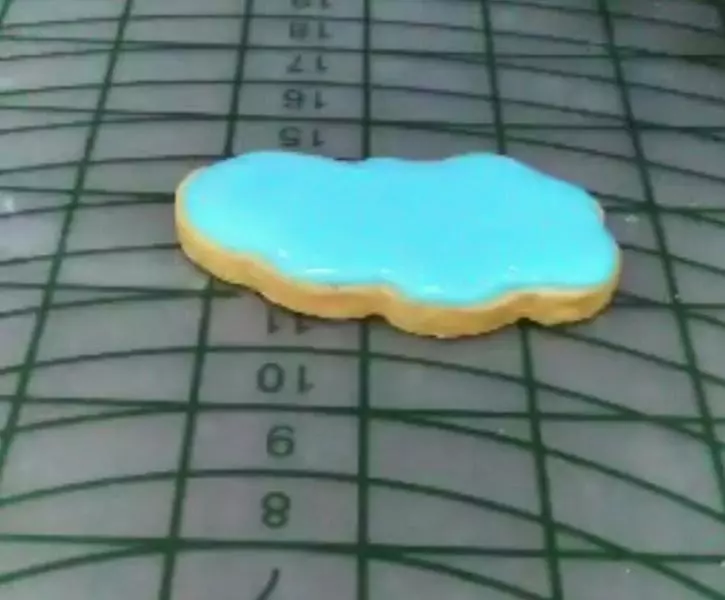
48畫輪廓
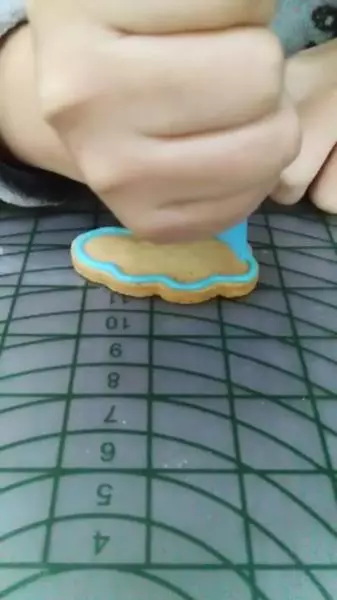
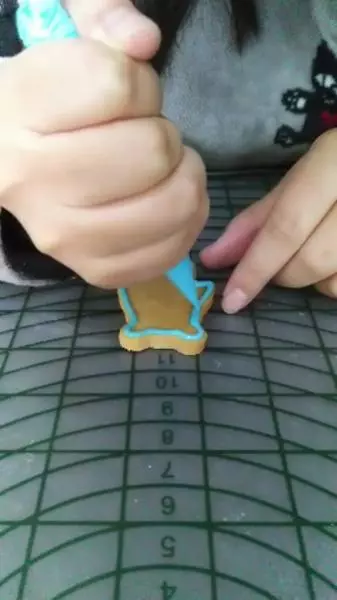
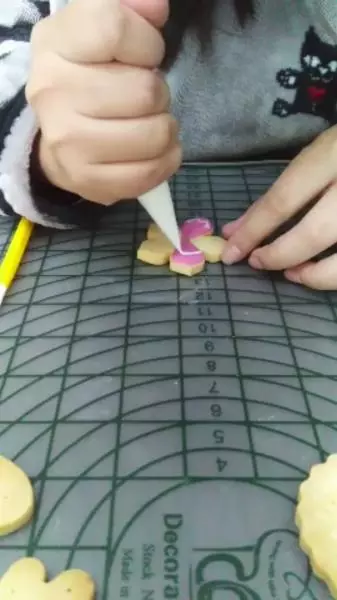
49鋪完
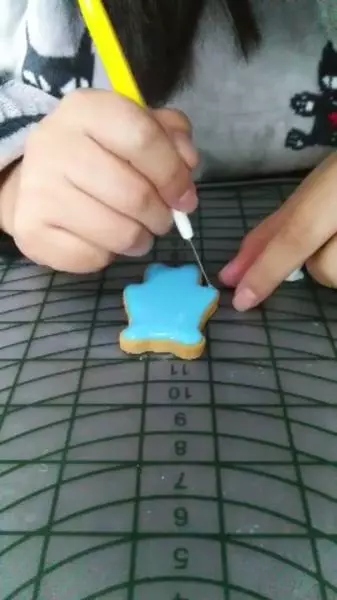
50用排氣針修正
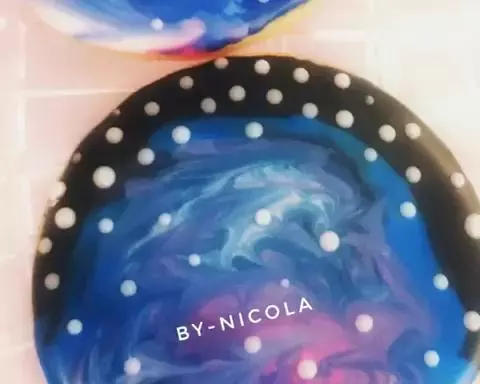
51白雲
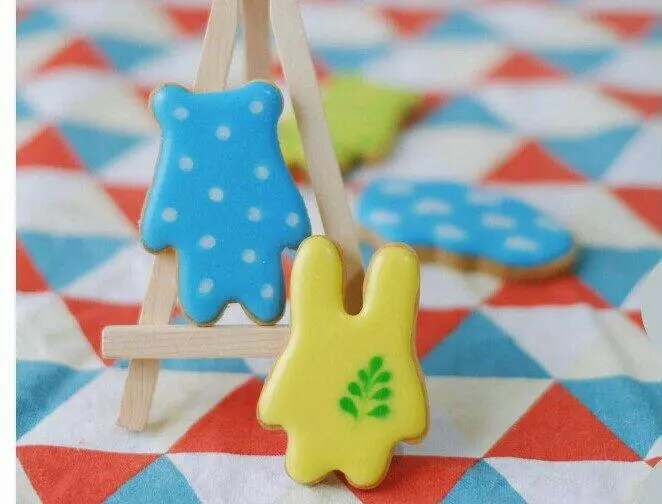
52完成
53,
54,
55,
56,
57,
58,
59,
60,
61,
62,
63,
小技巧
鋪面狀態8~10秒。170°烘烤。糖霜不可過度攪拌,如有氣泡可用排氣扎戳破。糖霜用不完,可以密封好,一個星期內都可以使用。冷凍十分鐘左右就可以了