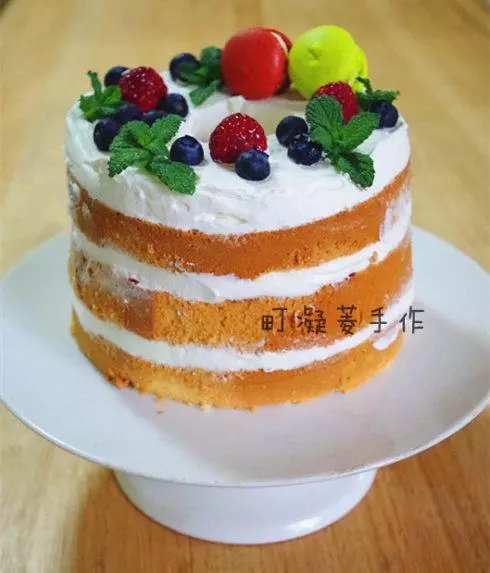
原料
雞蛋: 2隻, 細砂糖: 40g, 牛奶: 40g, 玉米油: 30g, 低筋麵粉: 50g, 檸檬汁: 5g
步驟
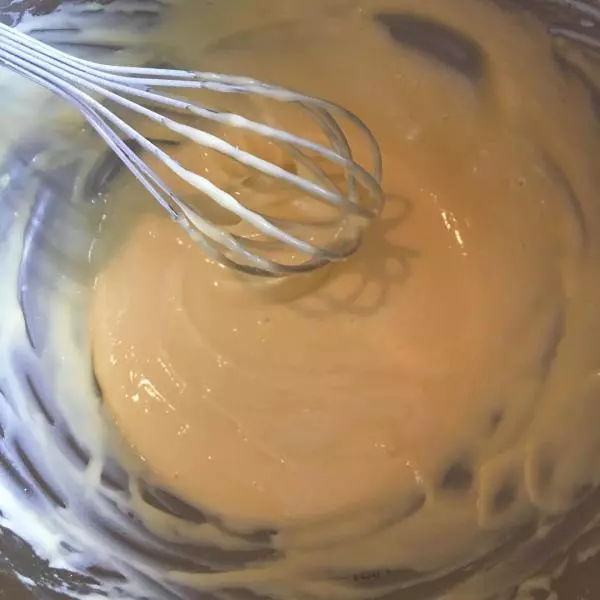
1蛋清分離,打蛋盆中加入蛋黃+牛奶+玉米油攪拌均勻後,篩入低筋麵粉,用手動打蛋器攪拌均勻至無顆粒順滑的狀態
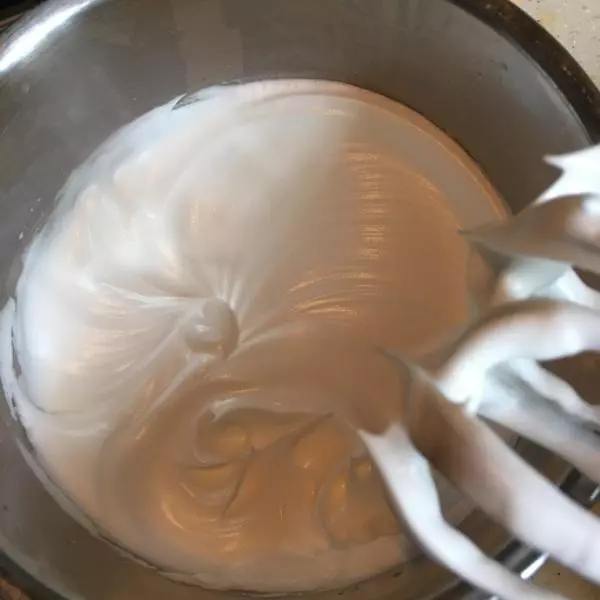
2蛋清加入檸檬汁後用電動打蛋器低速攪打至粗泡狀態加入1/3細砂糖,再開高速打至乳白大彎勾狀態加入剩下的1/2細砂糖,再轉低速打至出現紋路但不硬挺加入最後的細砂糖,至九分則停止打發。這時候蛋白的狀態是出現紋路且硬挺,有光澤感,提起打蛋器蛋白逞小尖角,打蛋盆倒扣蛋白不會倒出。⚠️注意蛋白不能打發太干,新手低速打比較保險。
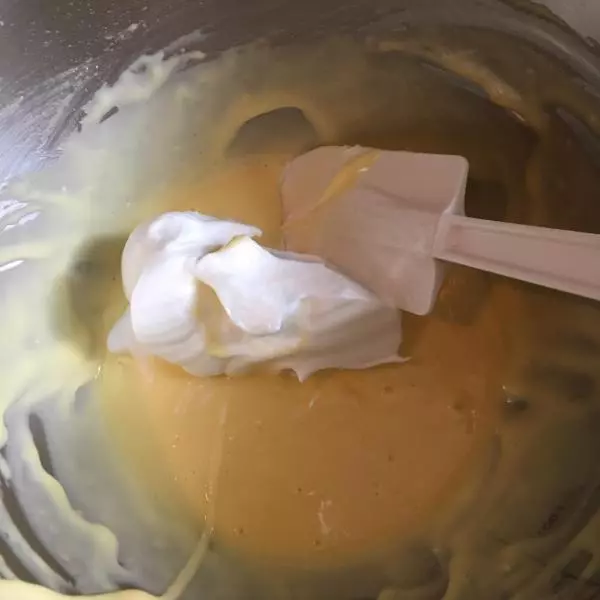
3取1/3蛋白加入蛋黃糊中 用上下翻拌的手法攪拌均勻
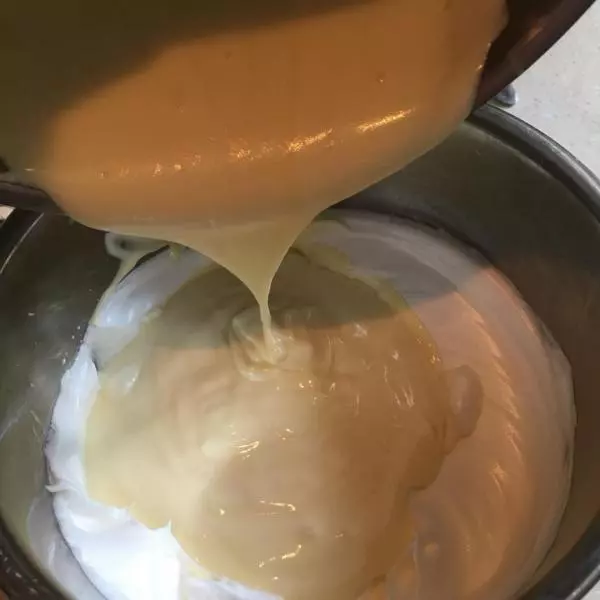
4再取剩下的1/2蛋白加入蛋黃糊,同樣用上下翻拌的手法攪拌均勻

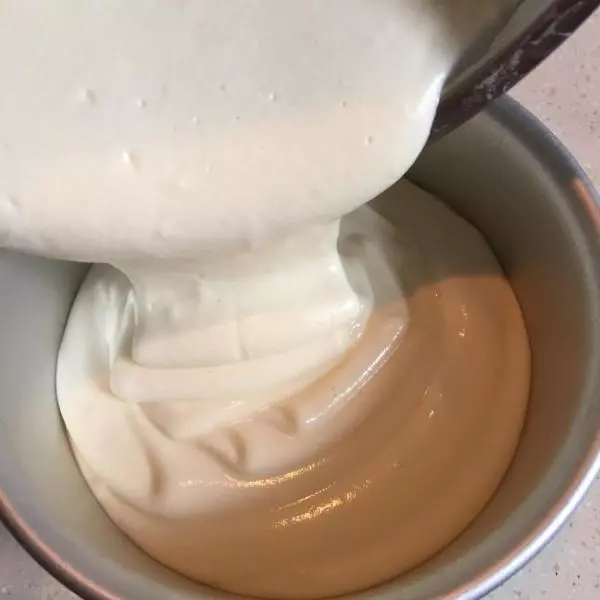
5最後把前兩次拌好的蛋糕糊倒回蛋白盆中,用和上面一樣的手法攪拌均勻
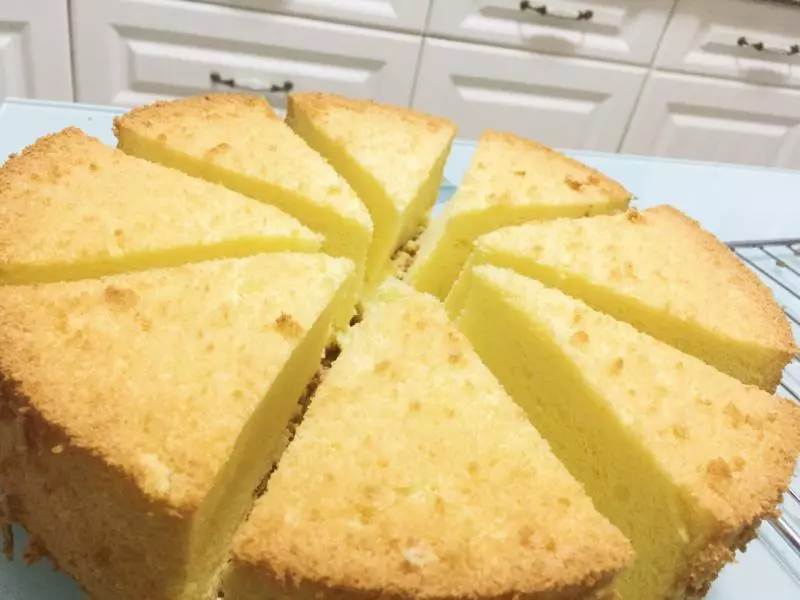
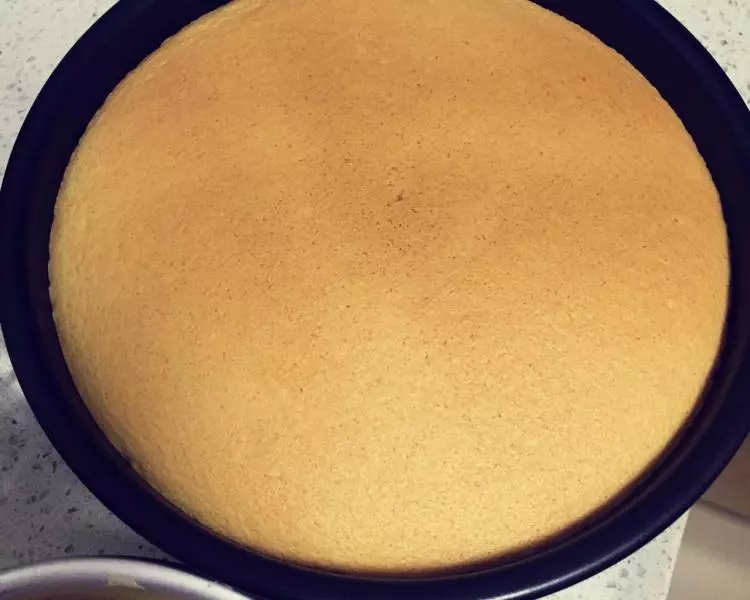
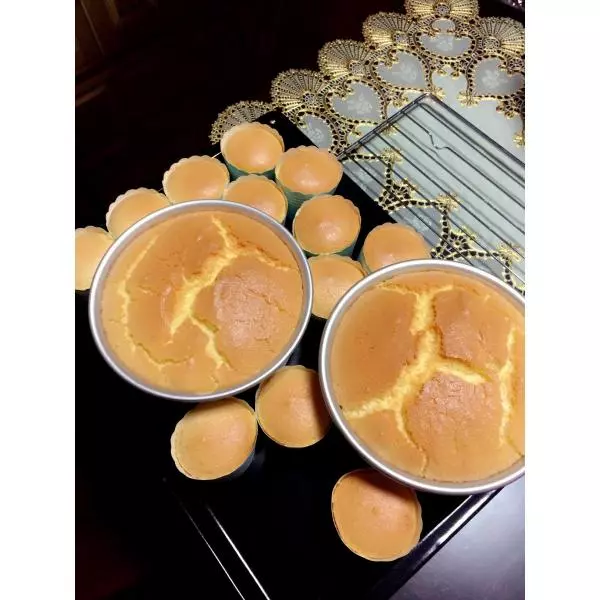
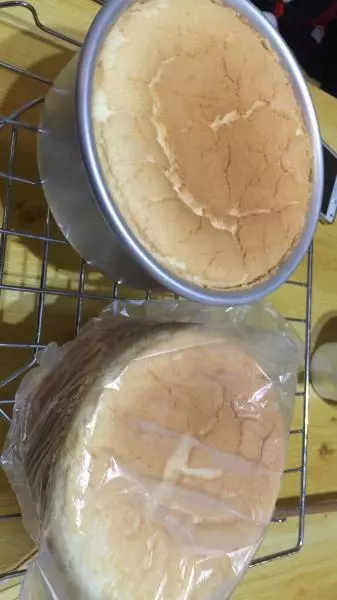
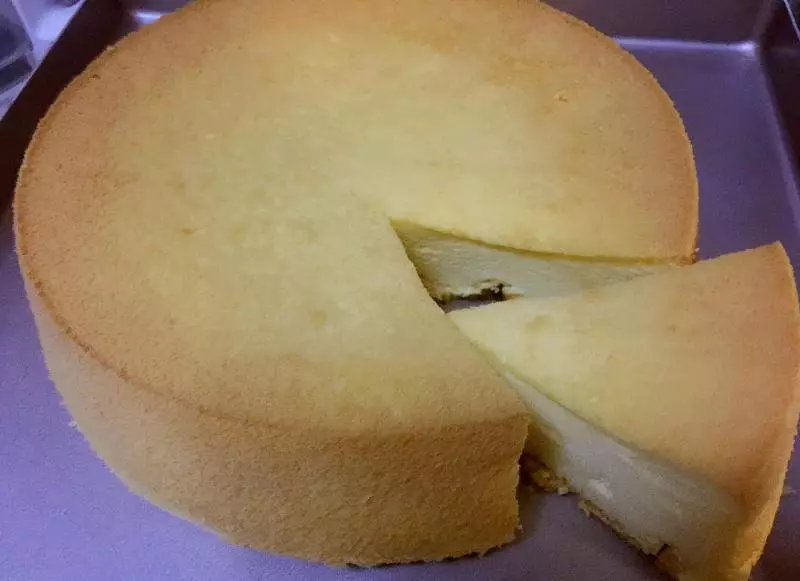
6將拌好的蛋糕糊倒入模具中,然後在離操作台20cm高處多次摔下,震出氣泡,這裡是為了讓組織更加細密。入烤箱150°c,55分鐘(因烤箱大小不同還需自行調節,這裡使用的是21L烤箱。)
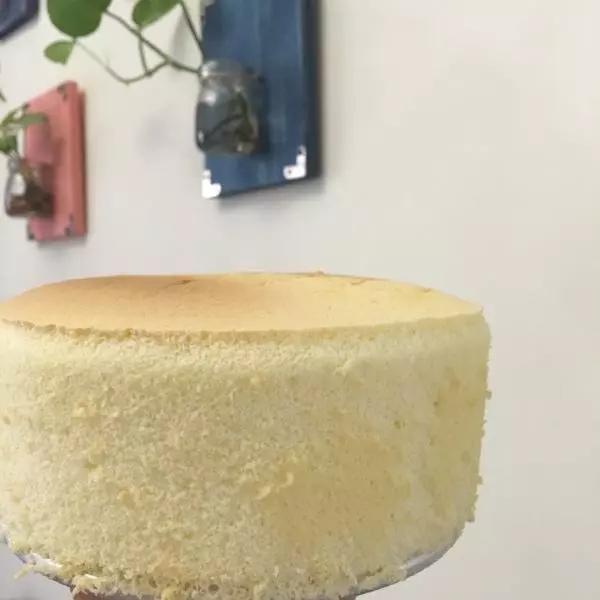
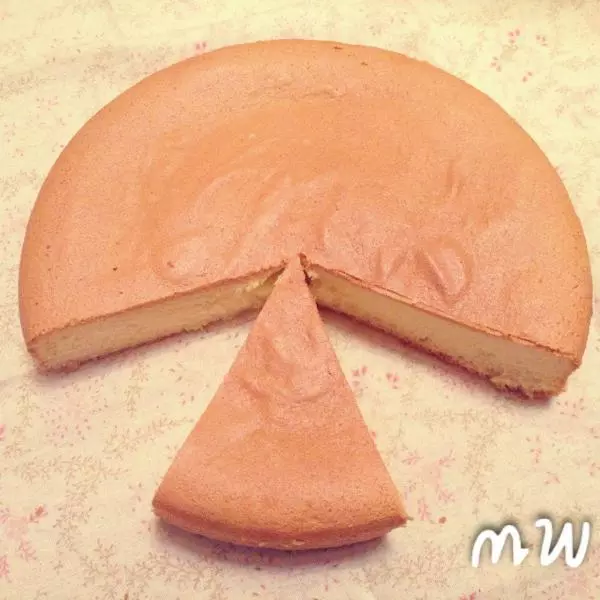
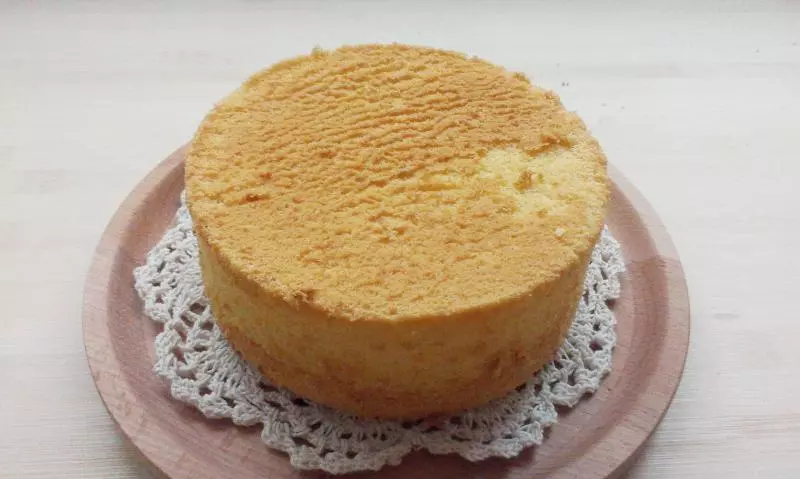
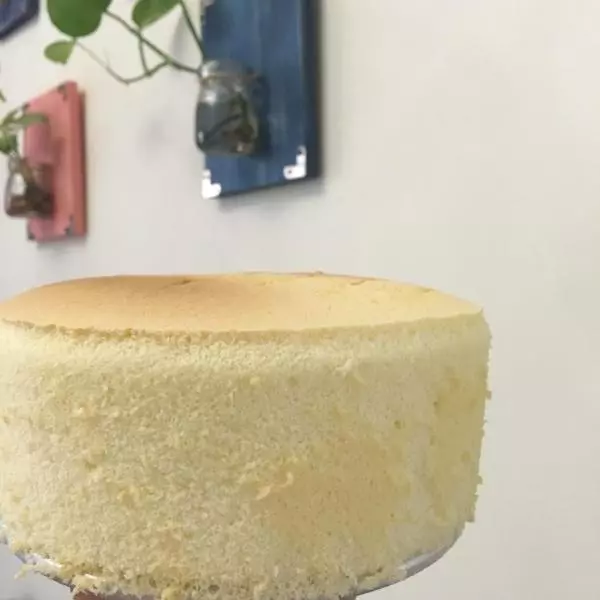
7烤好後在離操作台30cm高處摔下,方便脫模,然後倒扣於蛋糕架上放涼。