原料
桂圓乾: 20g, 泡打粉: 3g, 黃油: 40g, 牛奶: 20g, 雞蛋: 1個, 朗姆酒: 適量, 低筋麵粉: 150g, 細砂糖: 20g, 刷表面蛋黃液: 適量
步驟
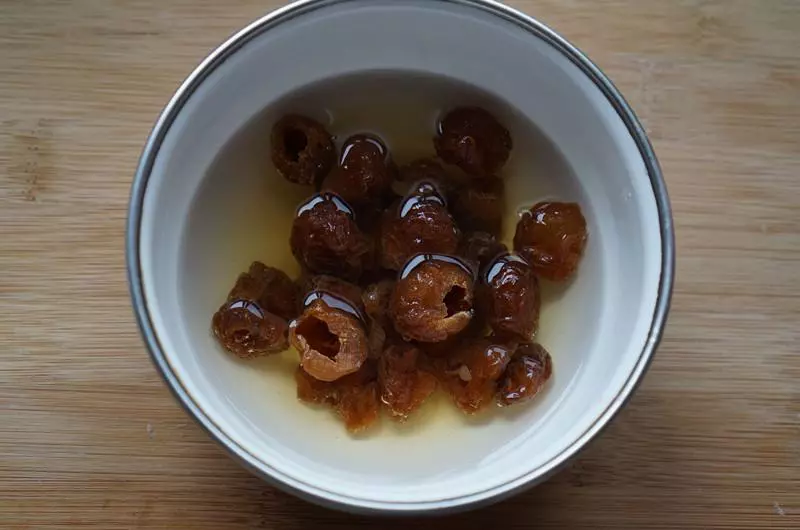
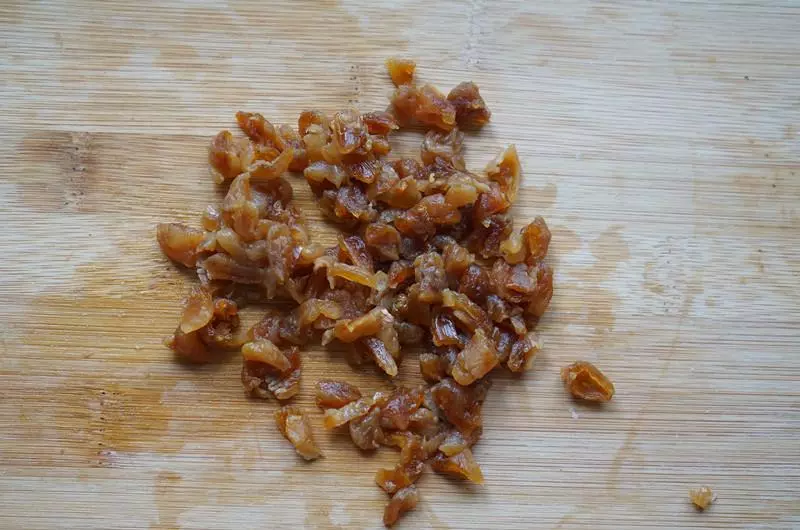
1桂圓乾用朗姆酒浸泡1小時以上;
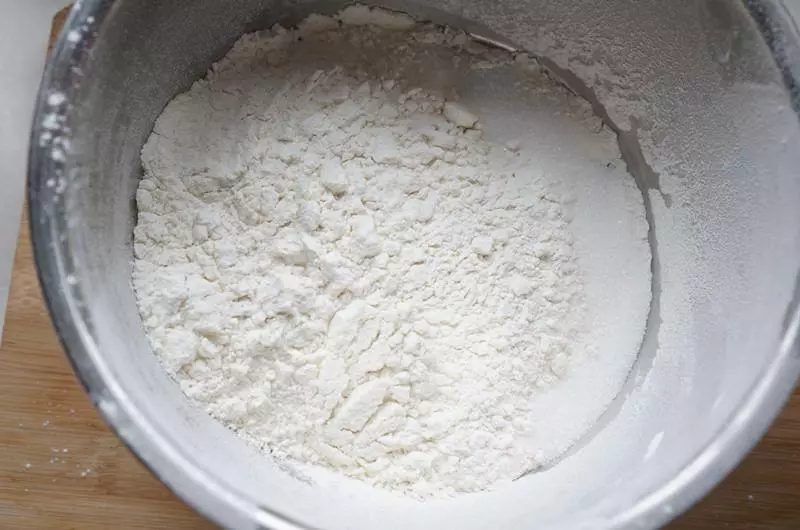
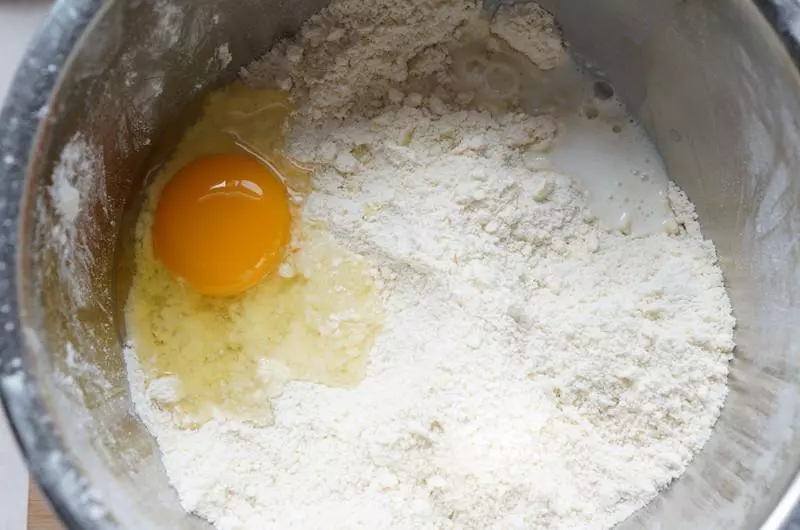
2低筋麵粉篩入盆中,加入細砂糖拌勻;
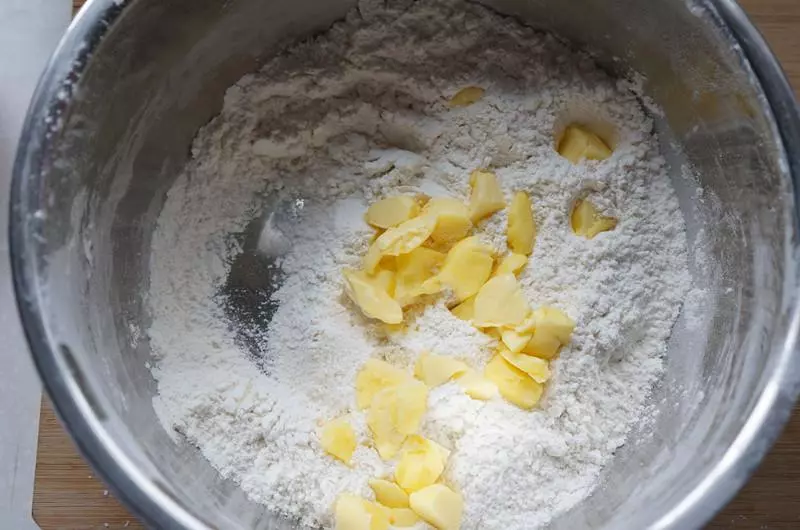
3加入軟化的黃油丁;
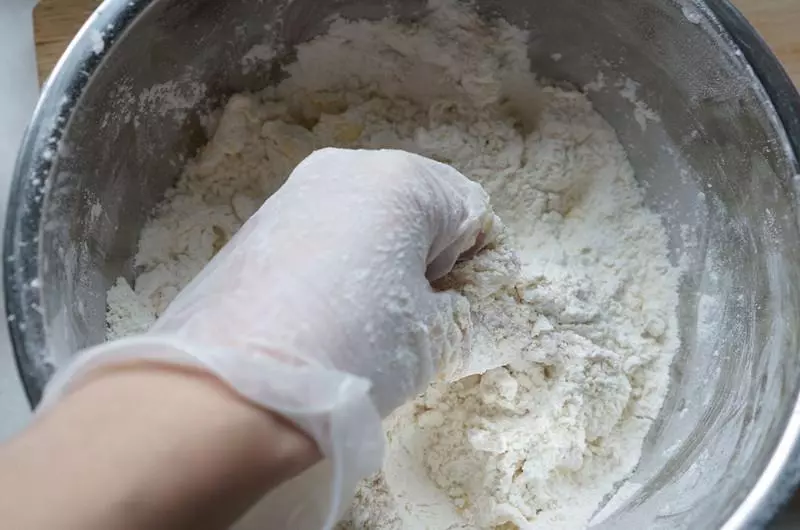
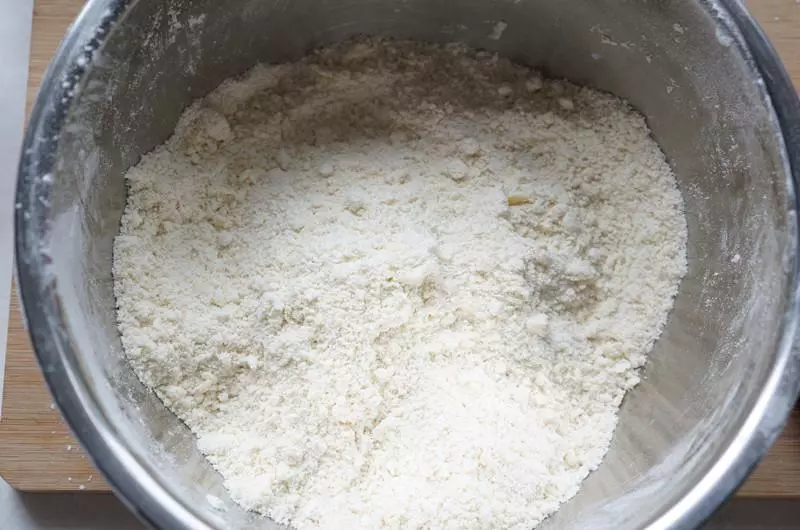
4帶上手套,揉成麵包糠狀;
5如圖;
6加入雞蛋和牛奶;
7抓揉成均勻的麵糰,不要過度揉搓;

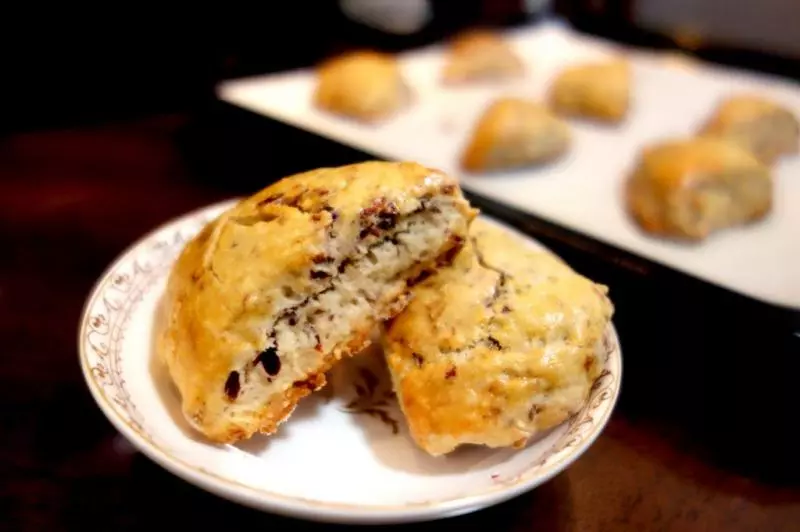
8把桂圓乾瀝干水分切成小丁;
9加入麵糰中;
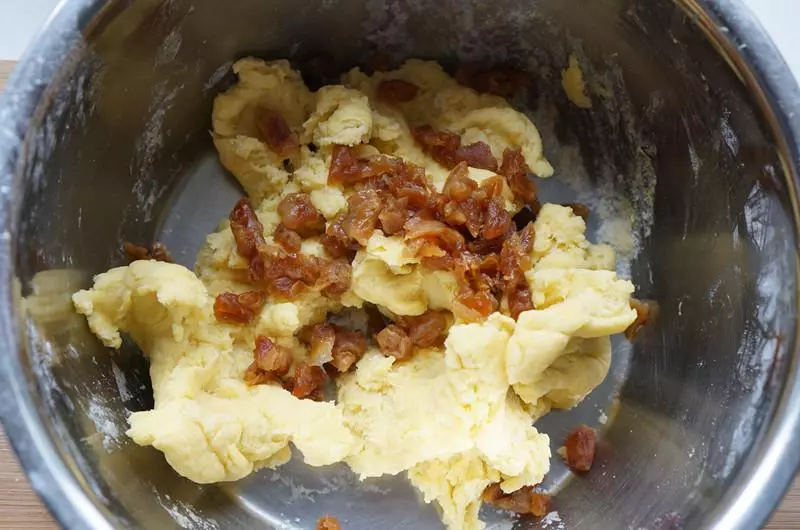
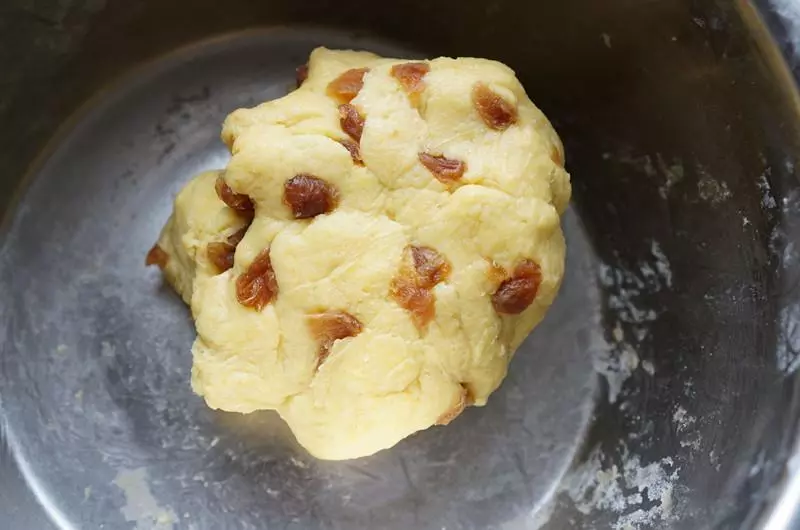
10繼續抓揉均勻;
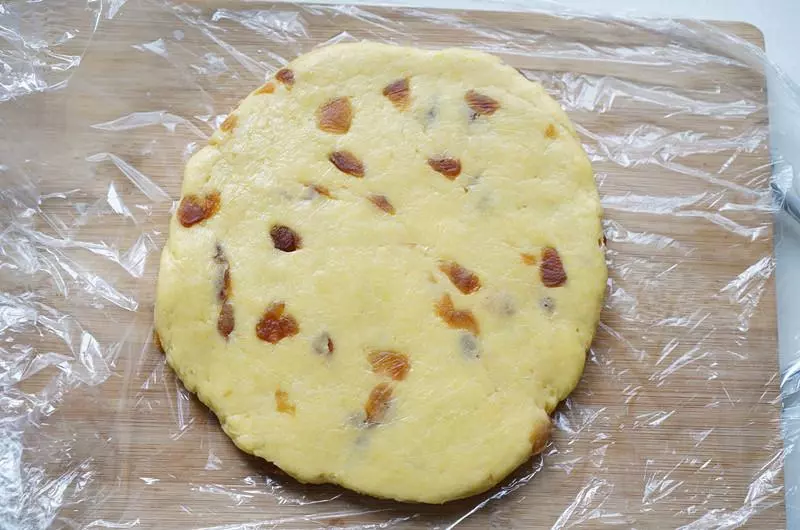
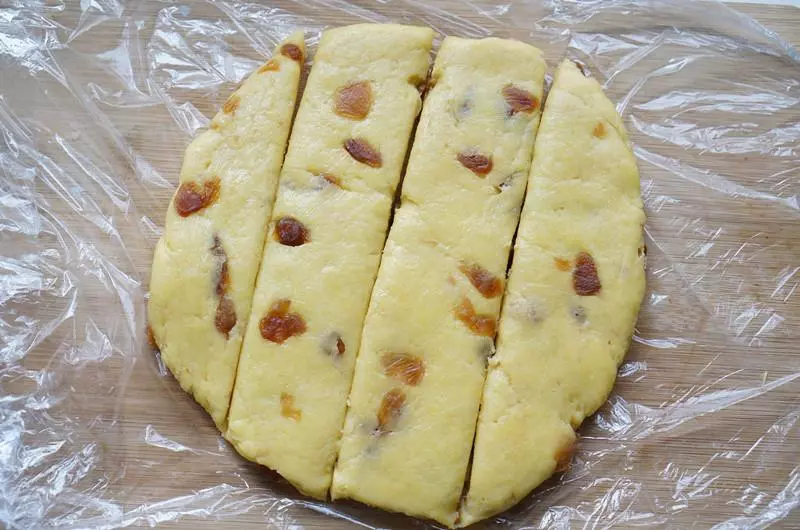
11把麵糰放在案板上擀成1厘米厚的面片;
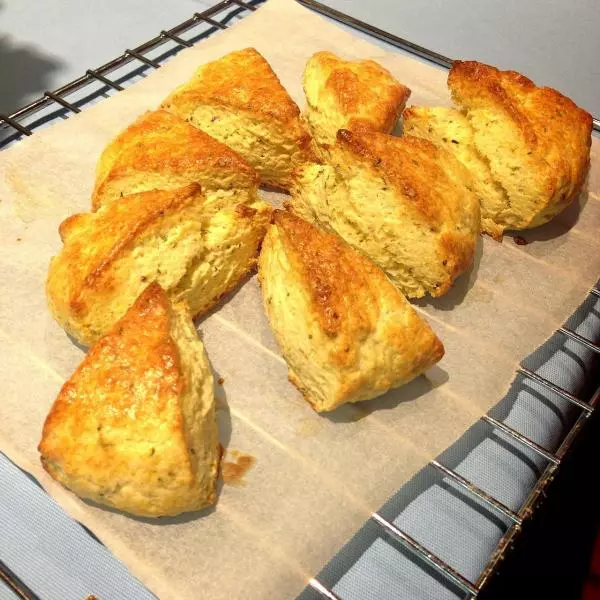
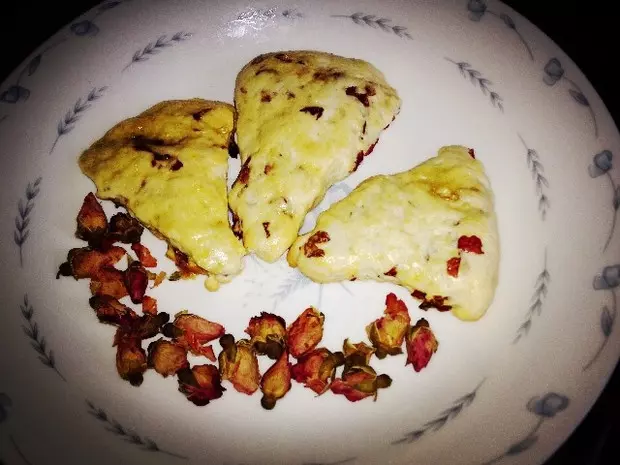
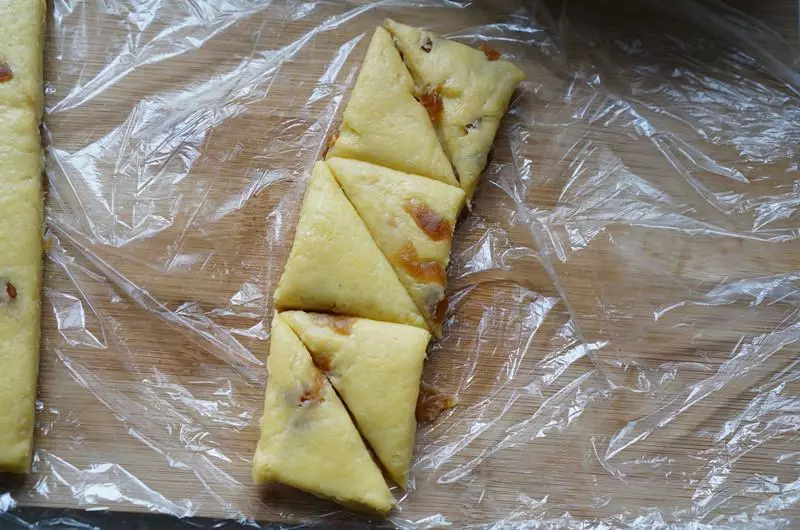
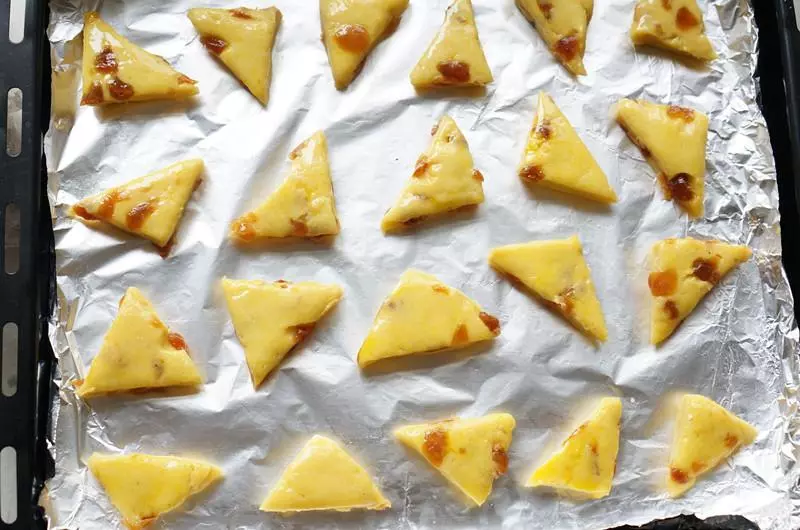
12然後用刀切成小三角狀;
13如圖;
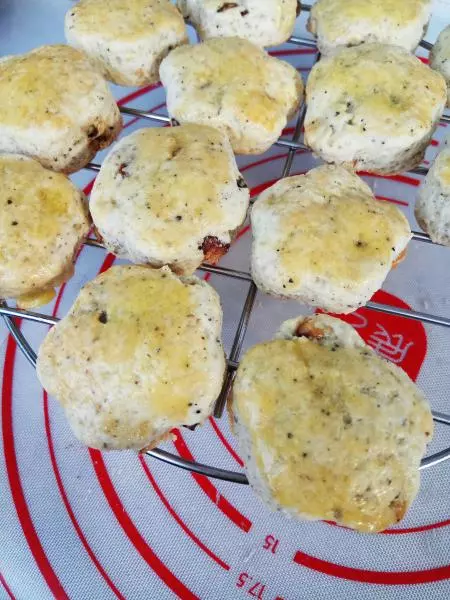
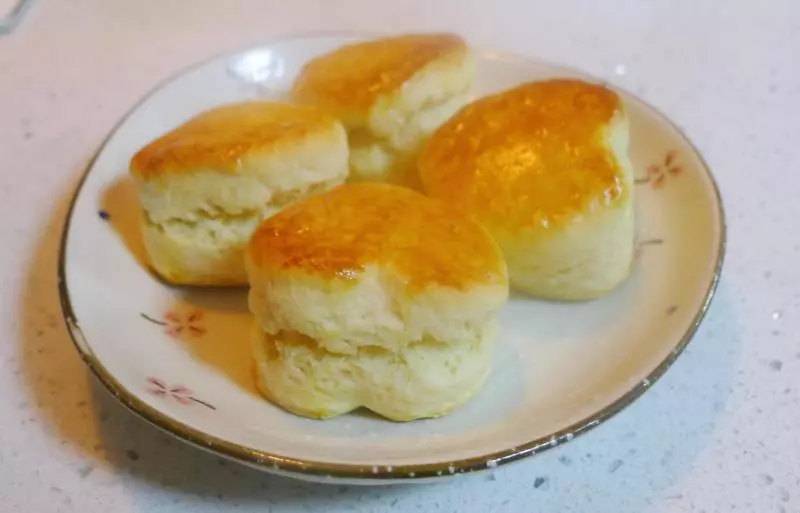
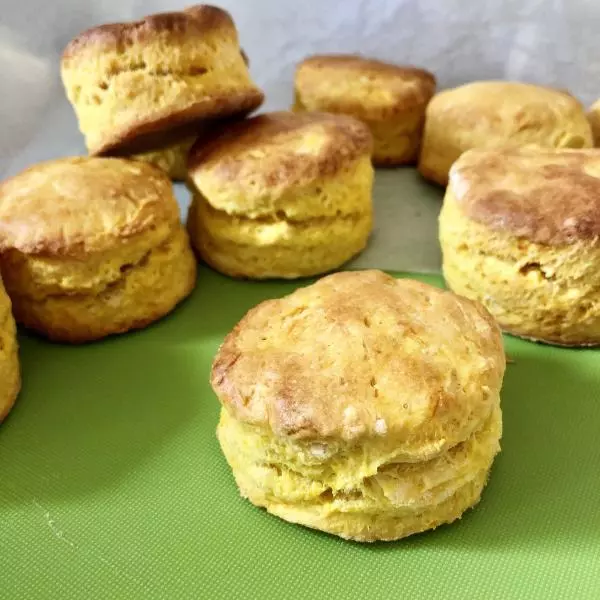
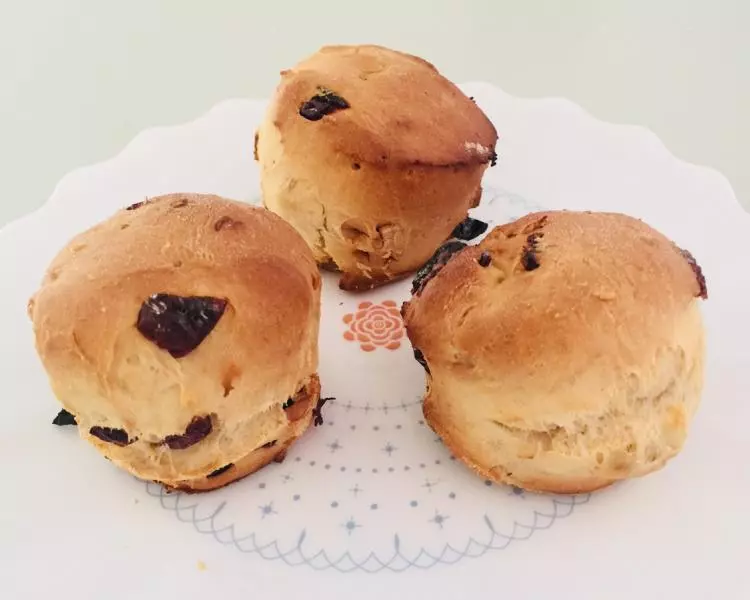
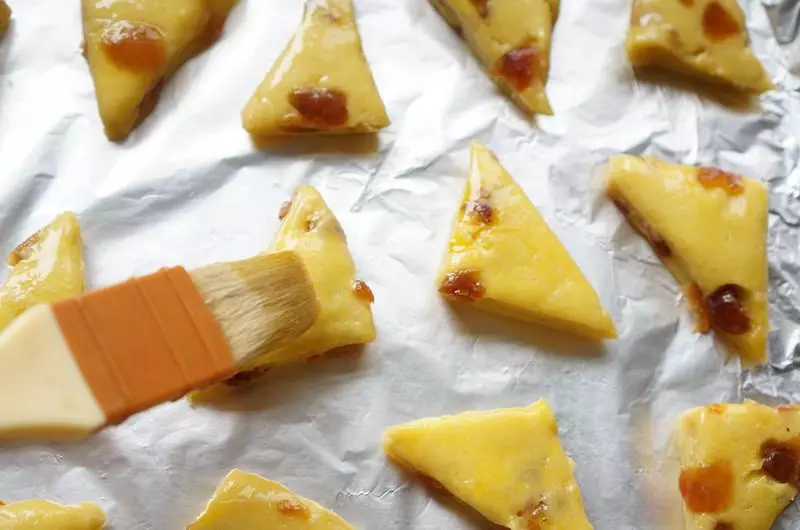
14擺入烤盤,表面刷一層蛋黃液;
15烤箱預熱180度,上下火全開,放在烤箱中層,大約烤20分鐘左右;
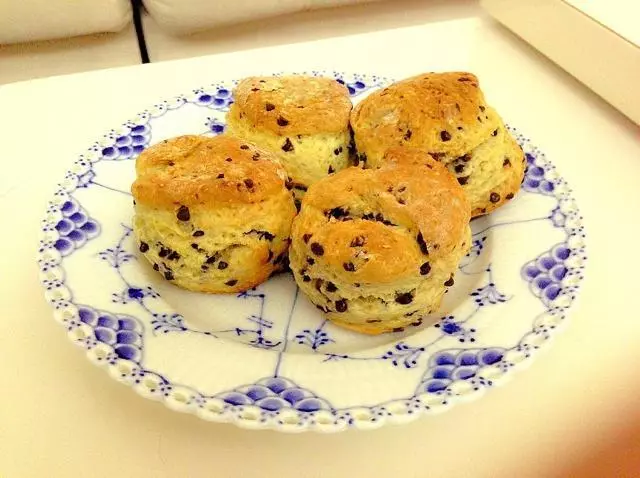
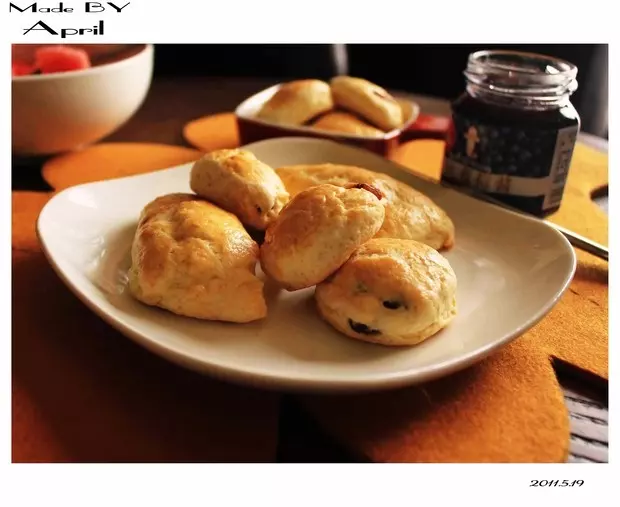
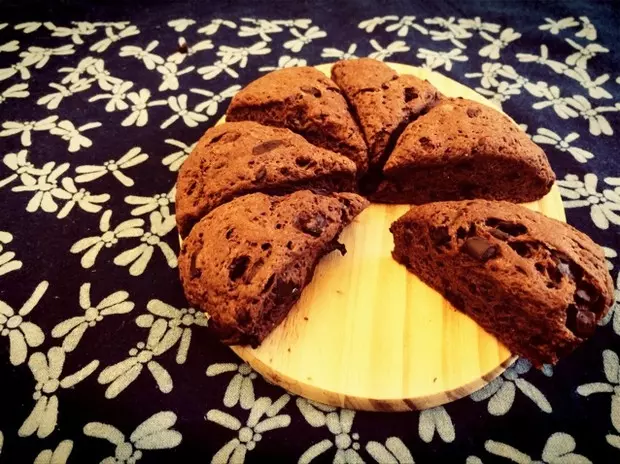
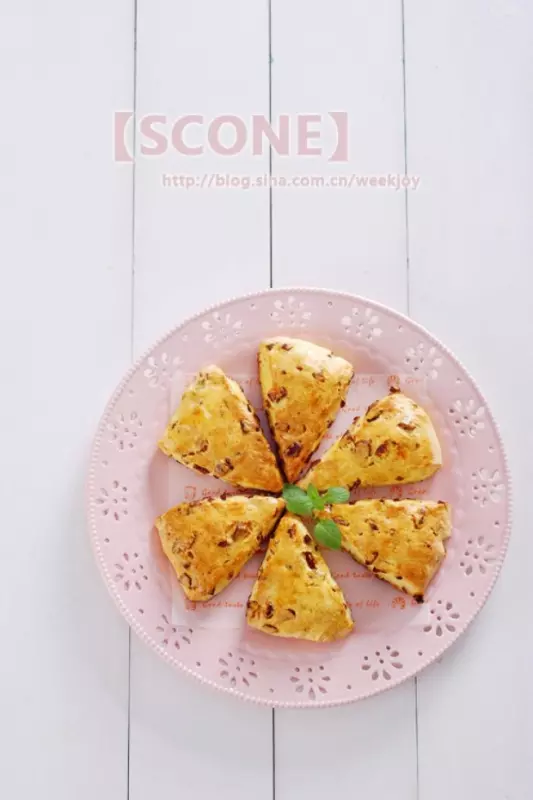
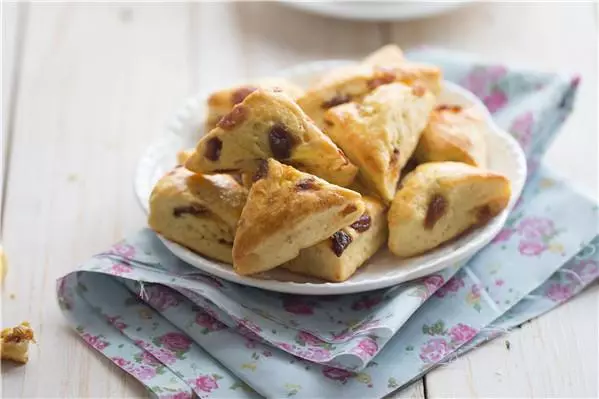
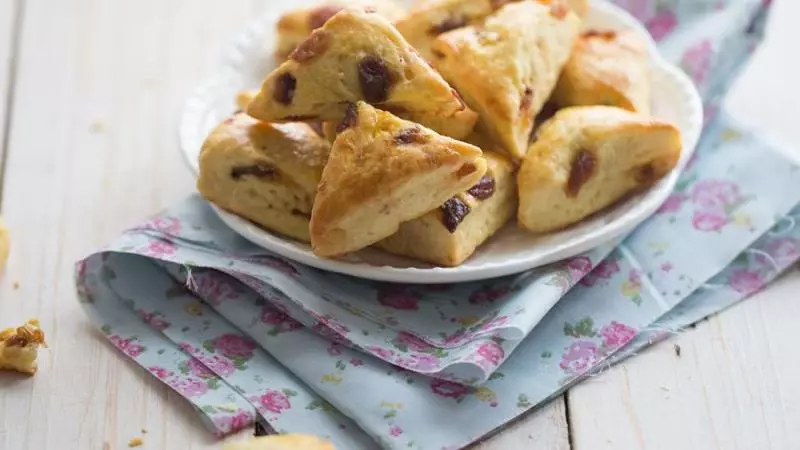
16完工撒花~❀
小技巧
1、 想讓表面更加金黃,可以在表面刷兩遍蛋黃液; 2、 桂圓乾也可以換成其他果乾。 ※更多烘焙請關注我的公眾號【馬琳的點心書】