原料
南瓜泥: 100g, 全麥餅: 40g, 低筋麵粉: 70g, 雞蛋: 1個, 牛奶: 30g, 玉米油: 30g, 白砂糖: 35g, 肉桂粉: 1/2tsp, 泡打粉: 1/2tsp, 奶油奶酪(topping): 50g, 無鹽黃油(topping): 30g, 南瓜泥(topping): 80g, 糖粉(topping): 40g
步驟
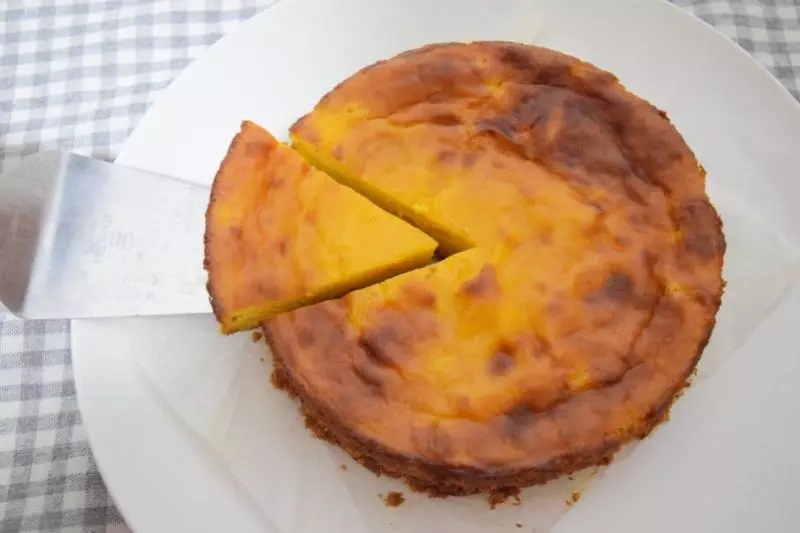
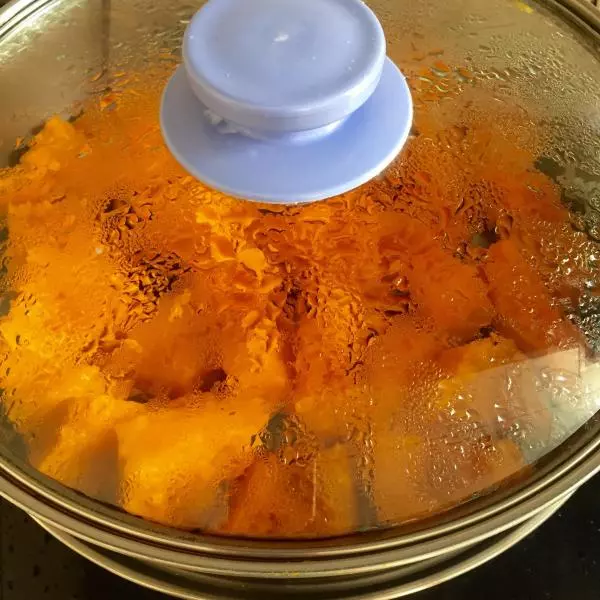
1南瓜洗乾淨切塊,放鍋里蒸15分鐘,或放微波爐加熱10分鐘,待南瓜變軟壓成泥
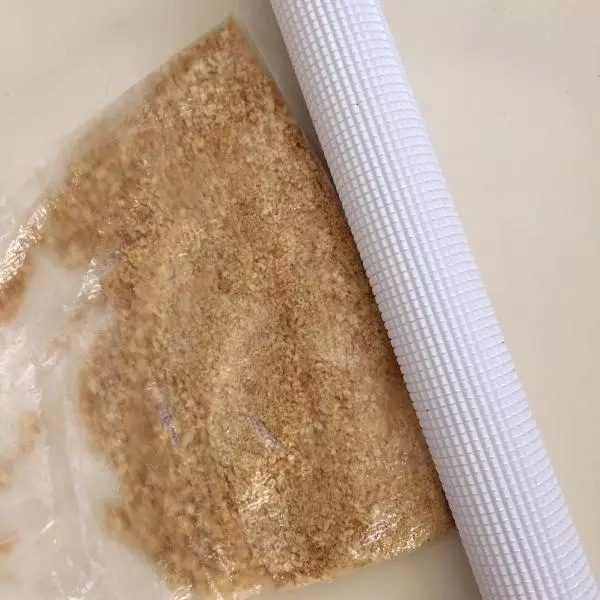
2消化餅用自己方便的方式碾碎備用,個人覺得用排氣棒很不錯
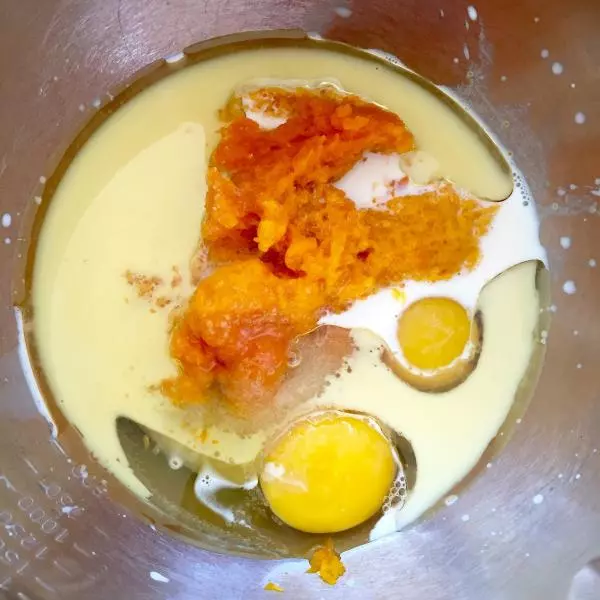
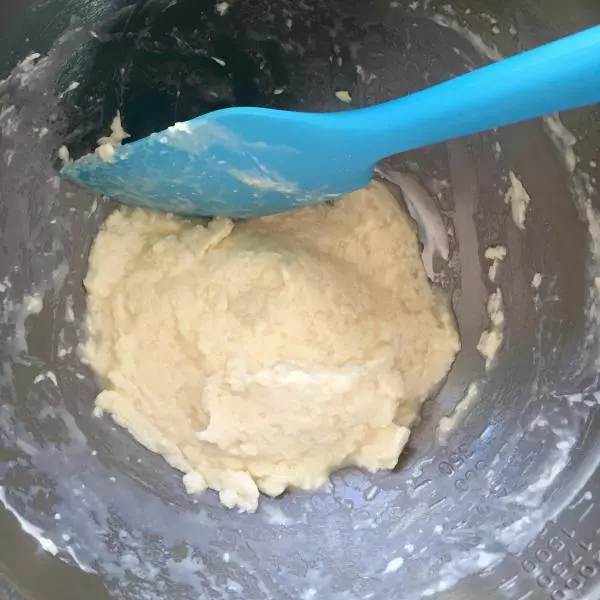
3在乾淨盤裡加入南瓜泥、雞蛋、白砂糖、牛奶和玉米油,用蛋抽攪拌均勻
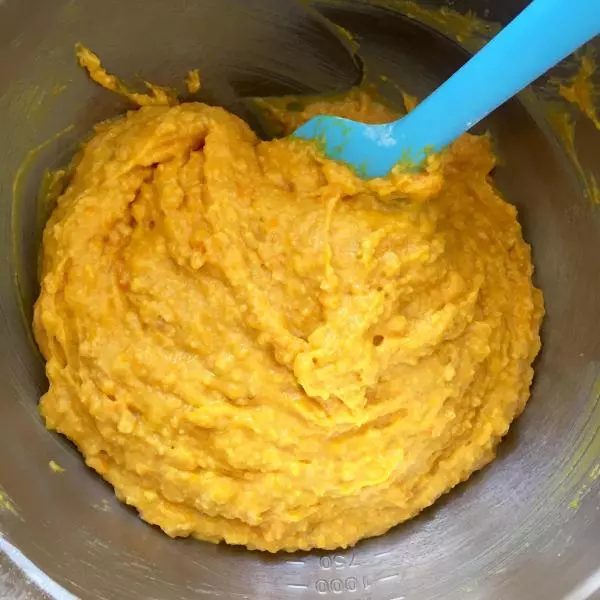
4再篩入低筋麵粉、泡打粉和肉桂粉,倒入全麥餅碎用刮刀拌勻
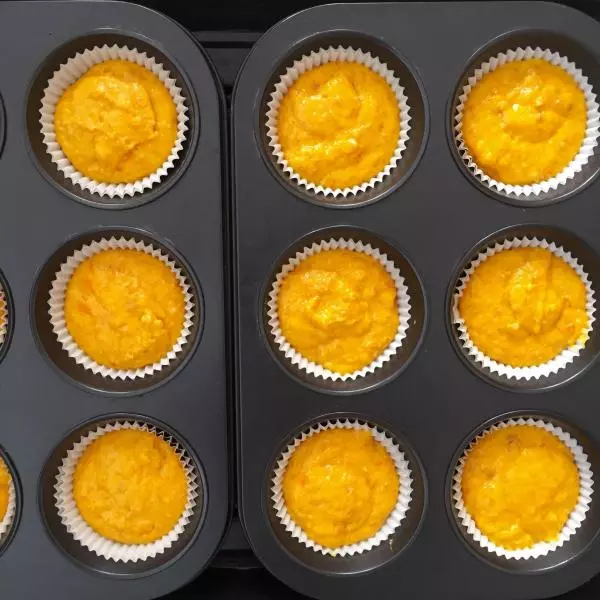
5直接用勺子裝入模具中,輕敲幾下震出大氣泡即可
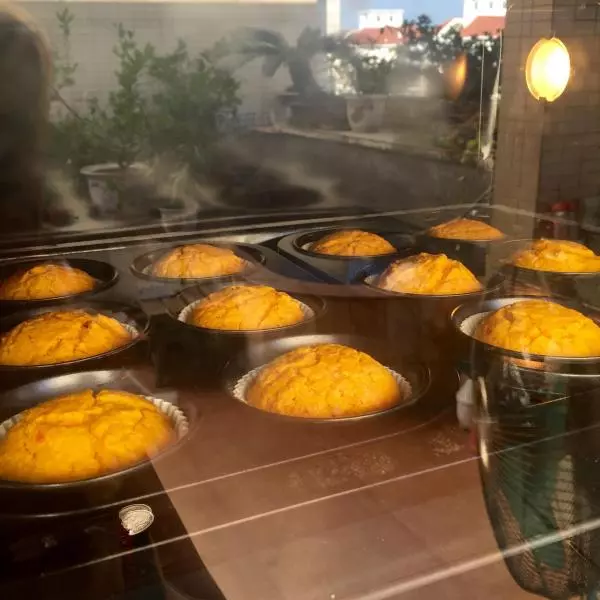
6烤箱預熱180度,中層烤25~30分鐘左右
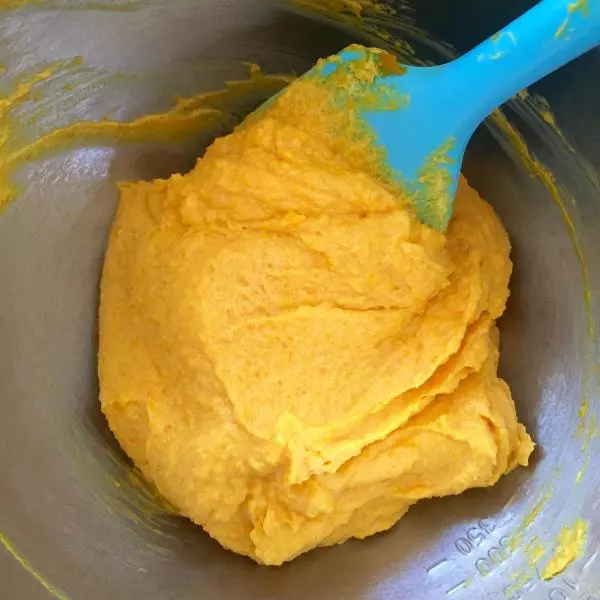
7烘烤過程中可製作topping,取乾淨無水無油盤,加入已經軟化的奶油奶酪和無鹽黃油,再倒入糖粉,用刮刀拌勻後用電動打蛋器打成半凝固奶油狀態
8南瓜泥用篩子濾一下再倒入,用刮刀拌勻
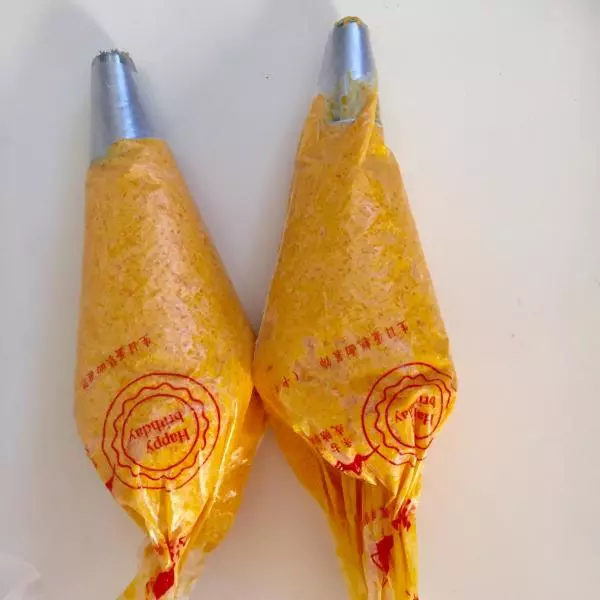
9此時蛋糕還沒烤好,可先裝入裱花袋放冰箱備用,待蛋糕冷卻後取出
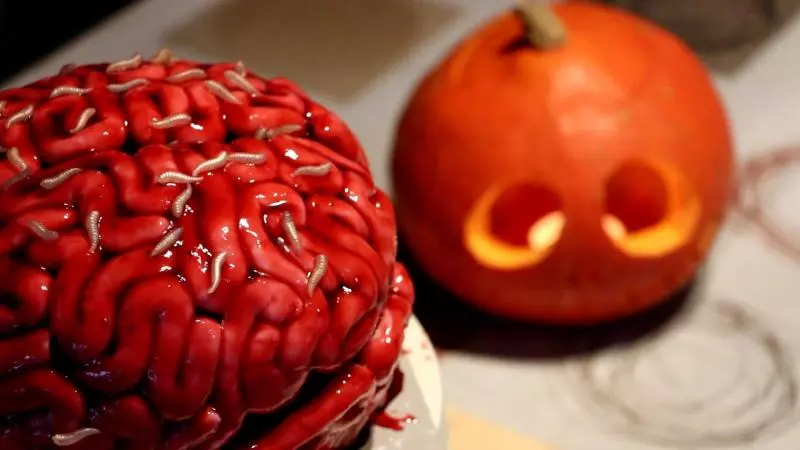
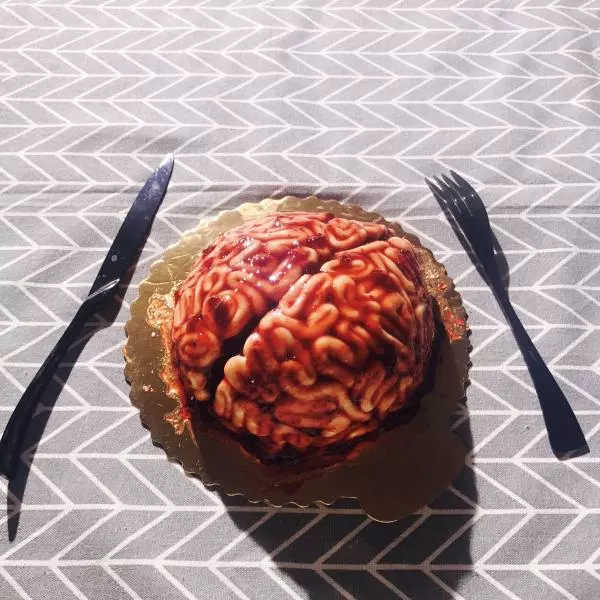
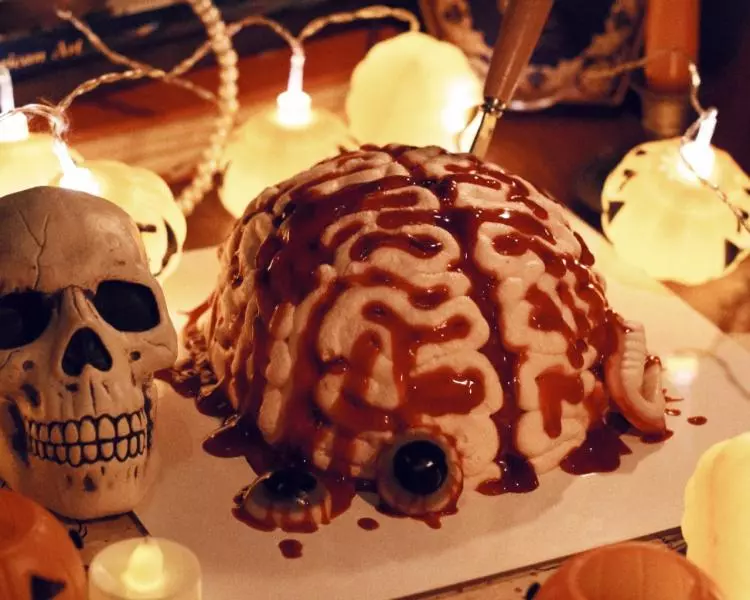
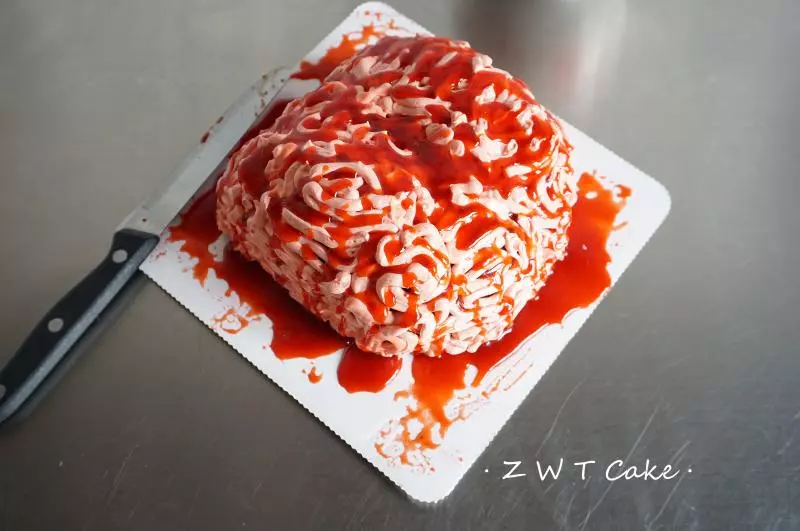
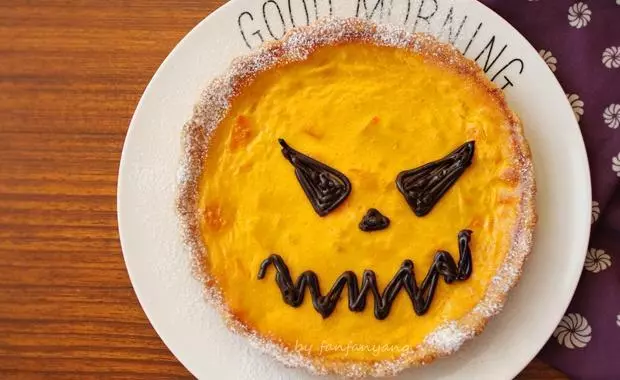
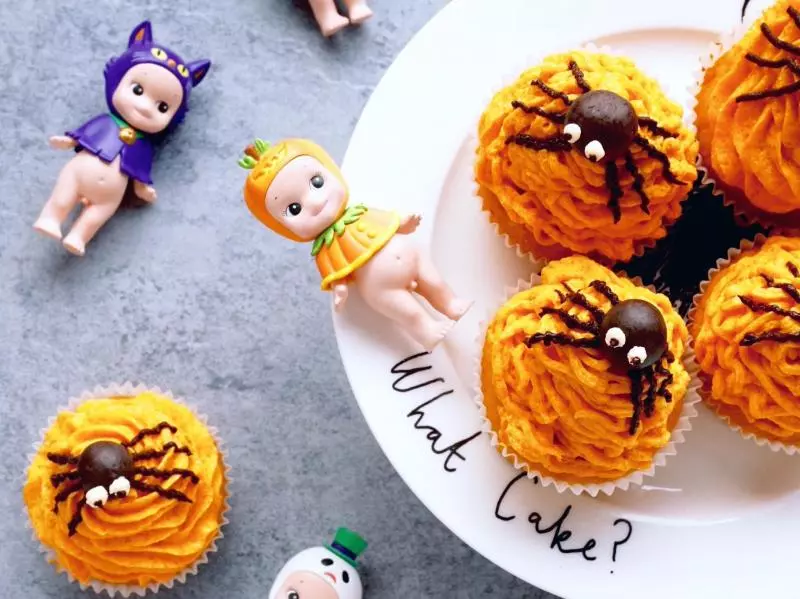
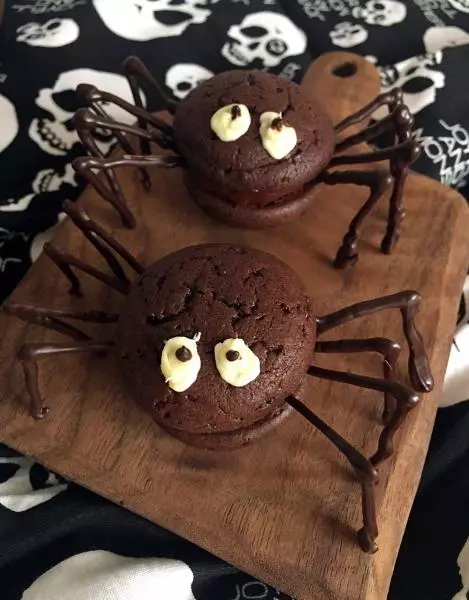
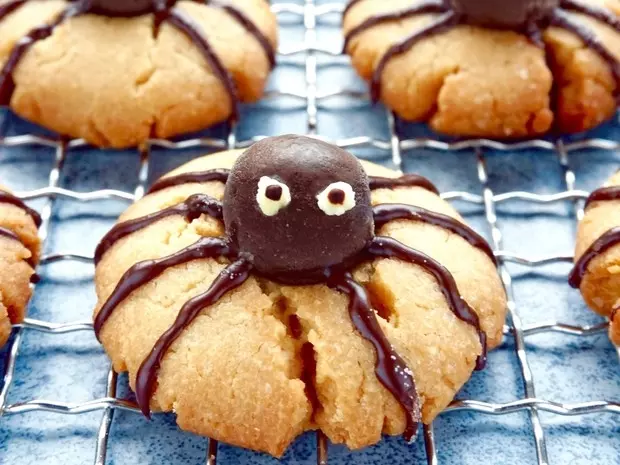
10最後裱在蛋糕上,把麥麗素放上去,直接把白巧克力丟到裱花袋裡隔水融掉,然後剪一個小口擠眼睛,同理黑巧克力也如此,擠好了腿再用牙籤沾剩下的巧克力點眼睛

小技巧
最後裱蛋糕建議用蒙布朗花嘴,這樣擠出來會像蜘蛛絲,哈哈哈


![[萬聖節]南瓜杯子蛋糕](/images/node/24/241616.webp?1638104719)