原料
椰漿: 100ml, 牛奶: 180ml, 淡奶油: 80ml, 白砂糖: 適量, 涼白開: 適量, 蜂蜜: 適量, 芒果: 3個, 玉米澱粉: 適量
步驟
1再榨汁機中放入一個切丁的芒果,加入蜂蜜和涼白開。自己有芒果醬的親,直接跳到步驟4吧
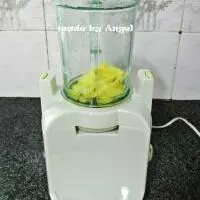
2榨!榨!榨!

3榨好後倒入容器中

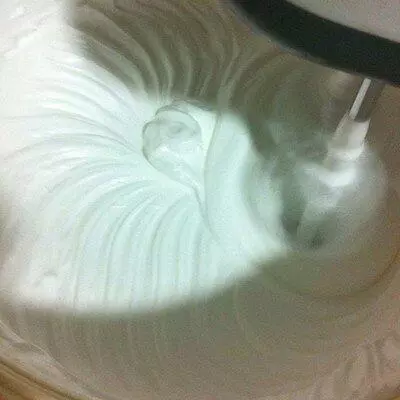
4加糖打發淡奶油
5在澱粉中倒入椰漿和牛奶。
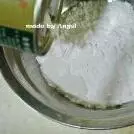
6攪拌均勻無顆粒後過篩,這個還沒過篩呢
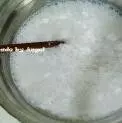
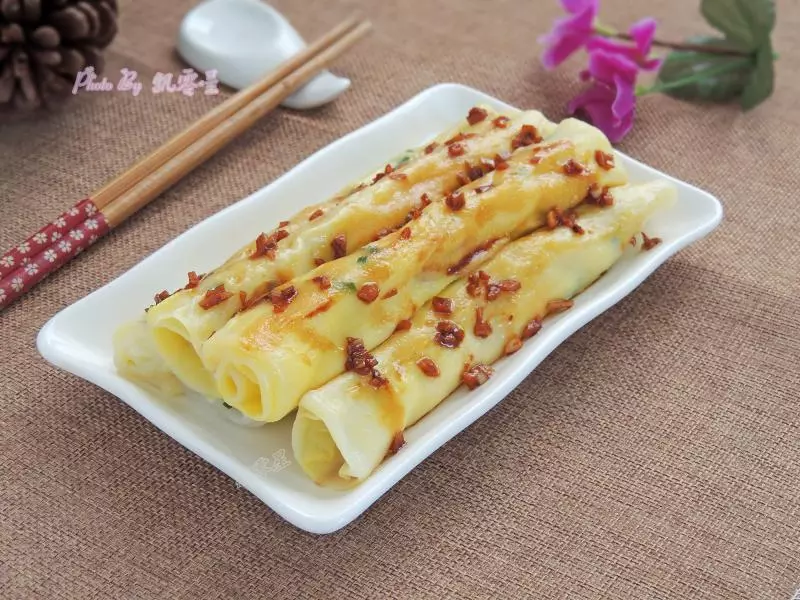
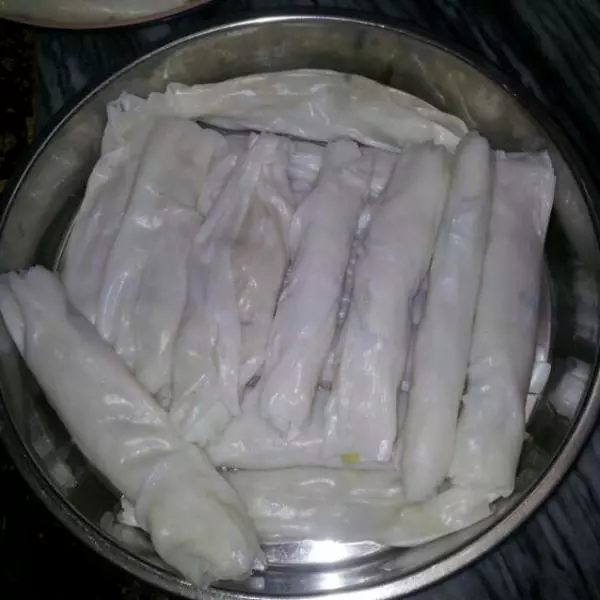
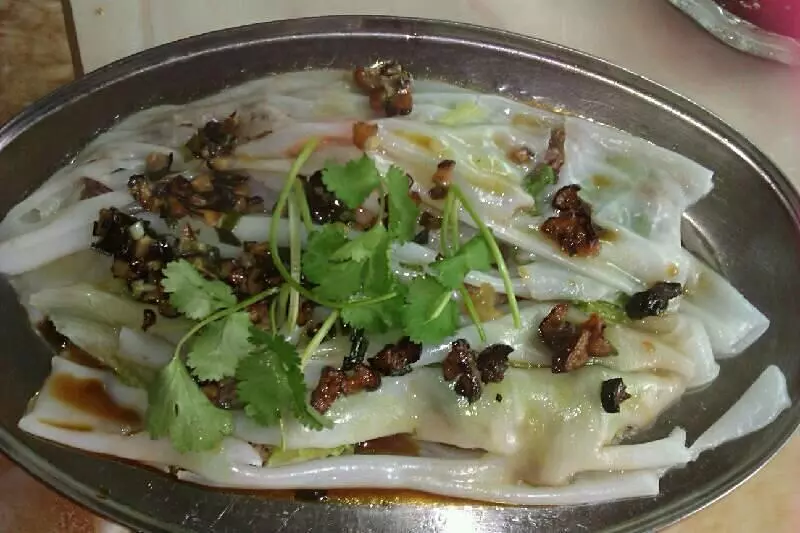
7在容器中倒入步驟6,記住,只能倒一個底,厚度最多5毫米。

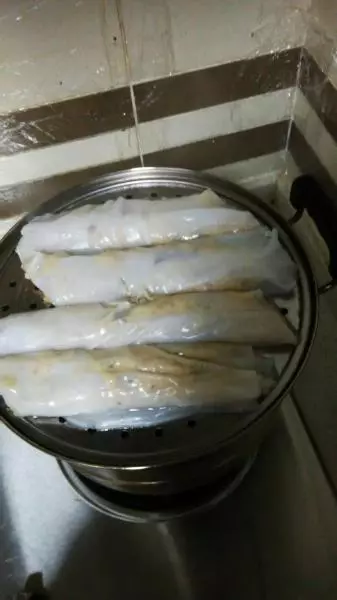
8上鍋蒸至凝結,大概3分鐘左右吧。把剩下的用相同的做法做起來。。。

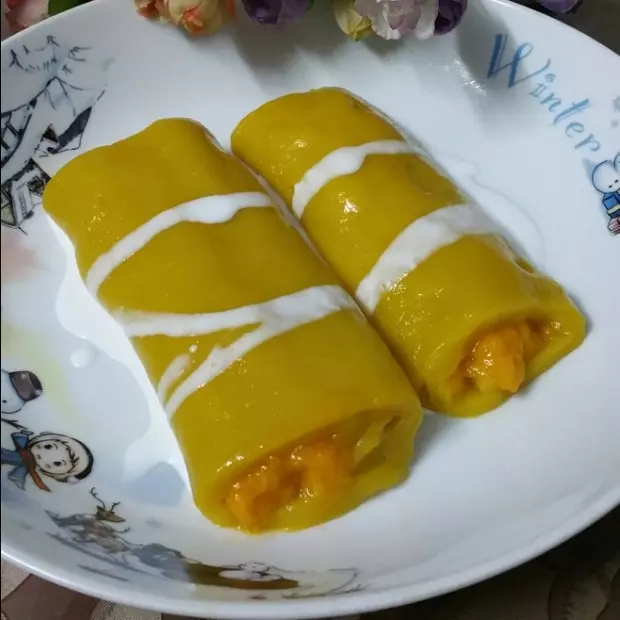
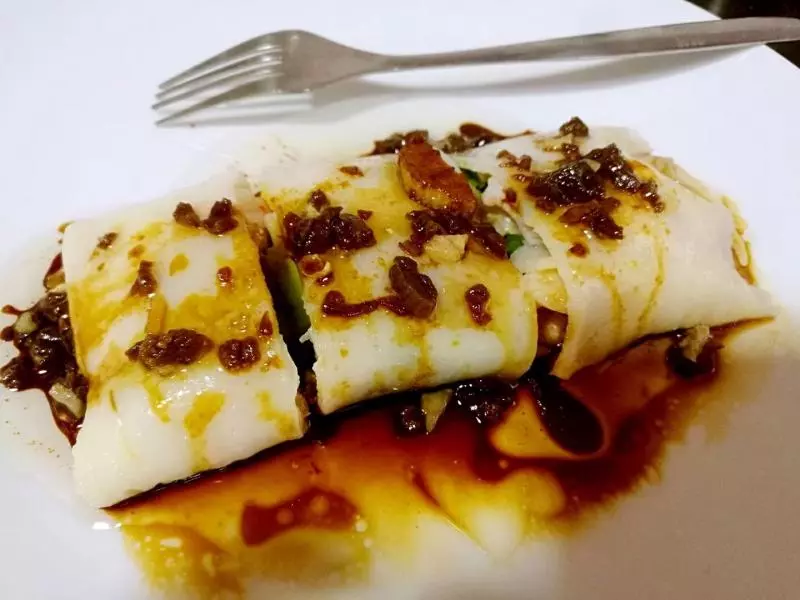
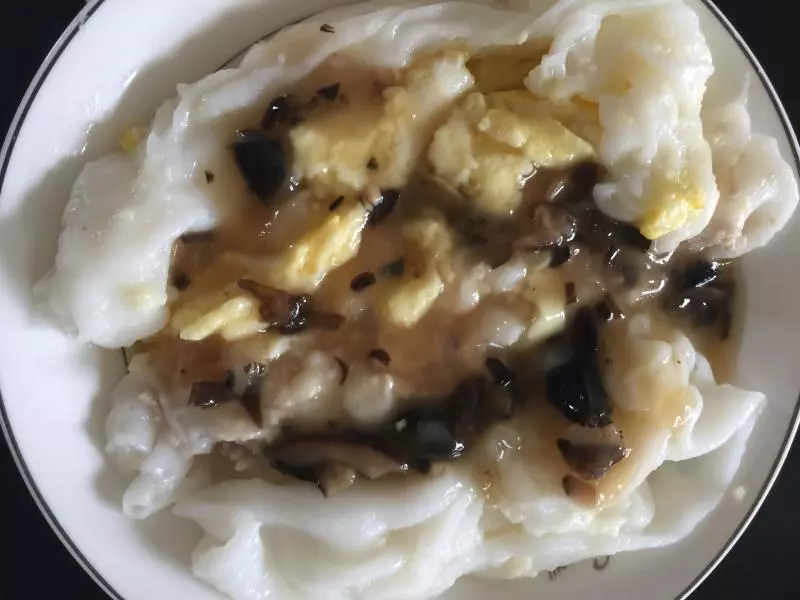
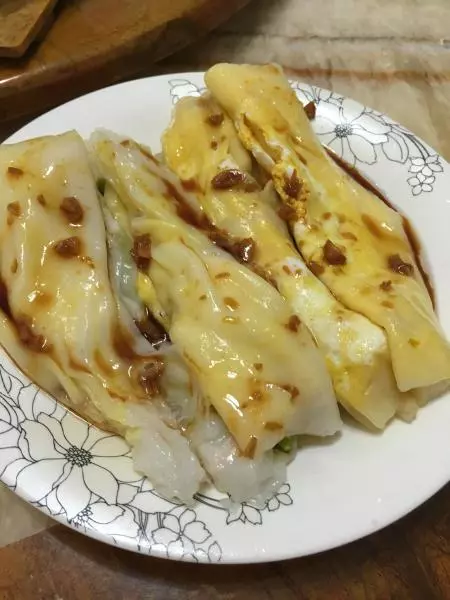
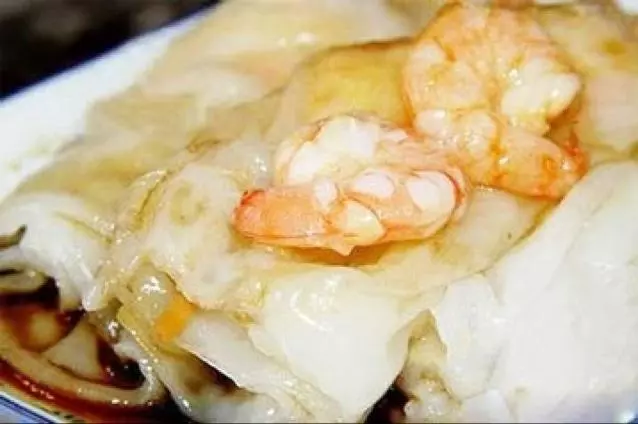
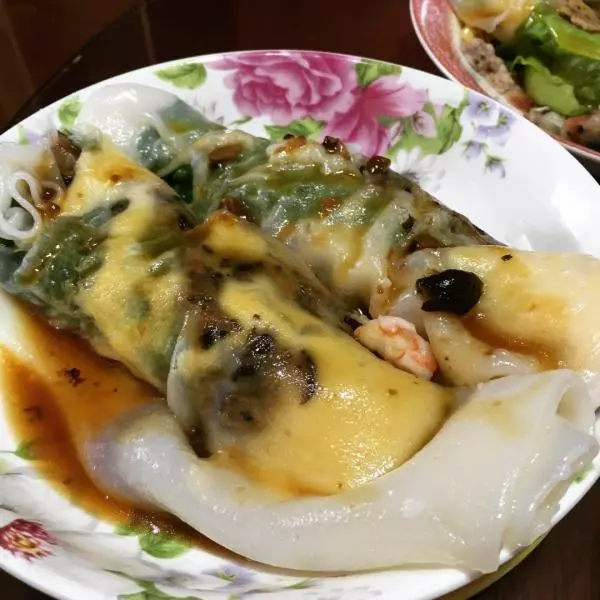
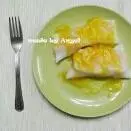
9蒸好的腸粉皮切成兩個半圓。各自在中間擺上幾個事先切好的兩個芒果。是切塊的哦,不是丁,不能太小塊。擺上的芒果和芒果的間隙要塗抹一層淡奶油連接。然後包上。

10淋上芒果醬,美美的,咬一口~
小技巧
那個牛奶做的皮如果不急著用的話,要放入鋪有油紙的烤盤上,類似烤盤的容器也可以。平鋪在上面。然後再裹上保鮮膜,放入冰箱冷藏。