简介
终于吃上煎饼果子了,街边摊不敢吃,现在算是自制出来了。发现准备工作不少,搅和面糊、炒大酱(不习惯吃生的),切葱花、烤芝麻、炸油条。煎好煎饼抹上大酱夹上油条,别说,还真是那个味。以后想吃的时候可以随时吃到咯~您是想多加蛋还是夹油条、薄脆,都随意!老公还豪迈地说,“可以煎饼夹一切!”
原料
绿豆面 100克, 白面 50克, 鸡蛋 3个, 葱花, 黑芝麻, 大酱, 豆腐乳, 辣酱, 油条
步骤
1先准备面糊:绿豆面白面3:2或2:1我都试过均可。面:水比例为1:2,一定调到稀溜溜的,摊饼时才容易摊开摊薄,面糊早点准备泡开更好。准备煎饼其它配料:切葱花、烤芝麻、炸油条(或薄脆)。准备鸡蛋。
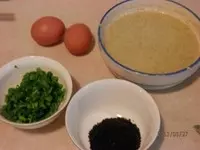
2准备调味酱:大酱(我习惯用油炒一下,不习惯吃生的)、酱豆腐、辣酱(我家的是韩式辣酱)

3舀几勺面糊到饼铛,用宽板(我用的切面铲)边转边把多余的面糊赶到边上去。注意不要前后左右赶面糊,饼容易出漏洞。如果面糊舀少了,不用担心,可以再舀几勺补救,不影响。
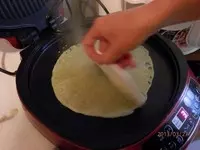
4煎饼成型后,打鸡蛋,等鸡蛋收干时,撒葱花撒黑芝麻,稍后翻个。注意观察饼要已完全成型并脱离饼铛,否则翻个时容易把饼撕破

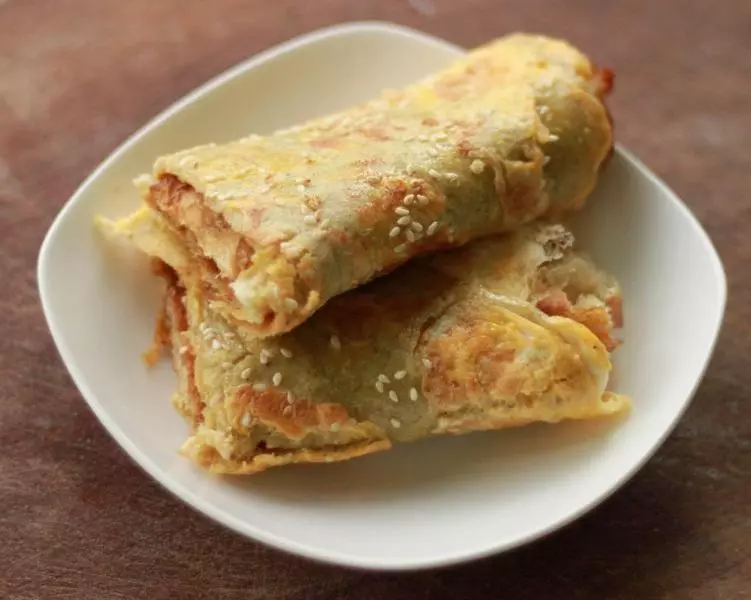
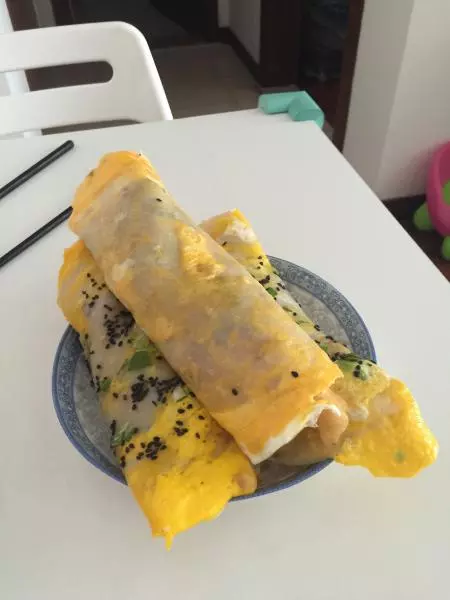
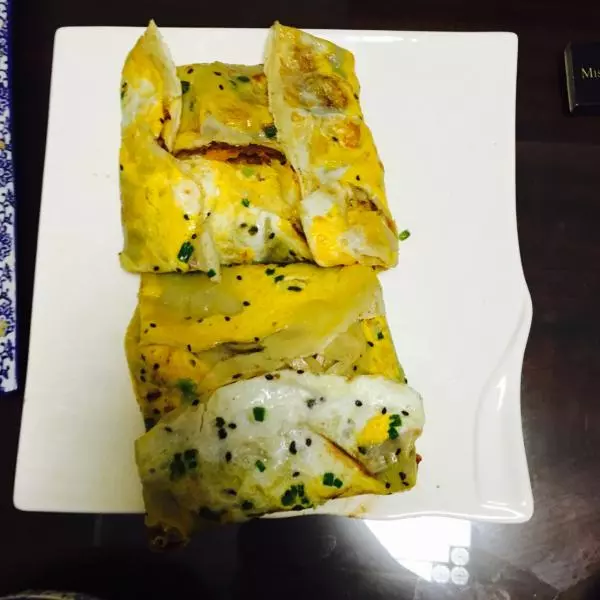
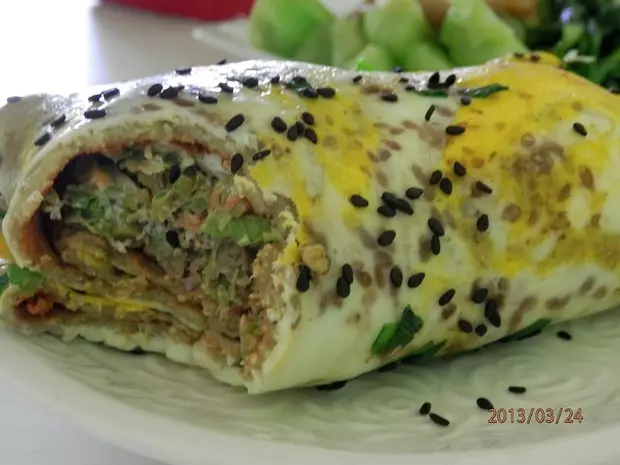
5抹大酱、豆腐乳、韩式辣酱

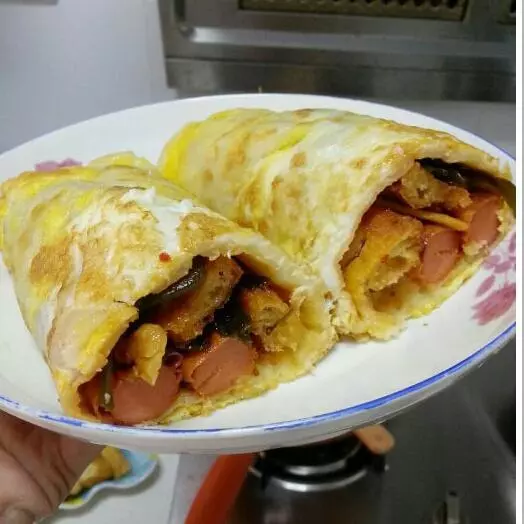
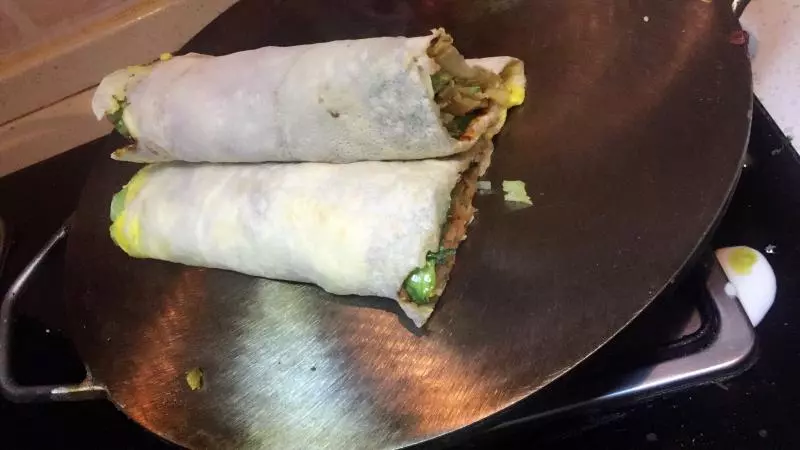
6放油条(或薄脆)(或一切)

7整理成型,包成小包裹样。开吃!