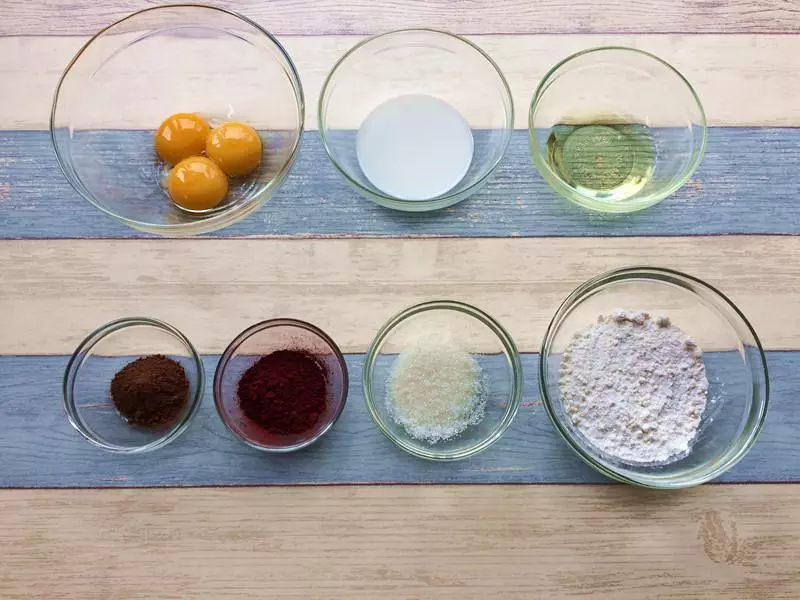
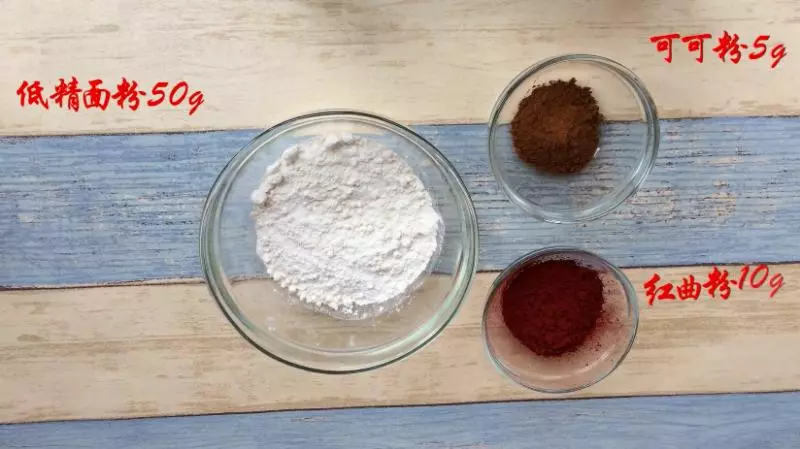
原料
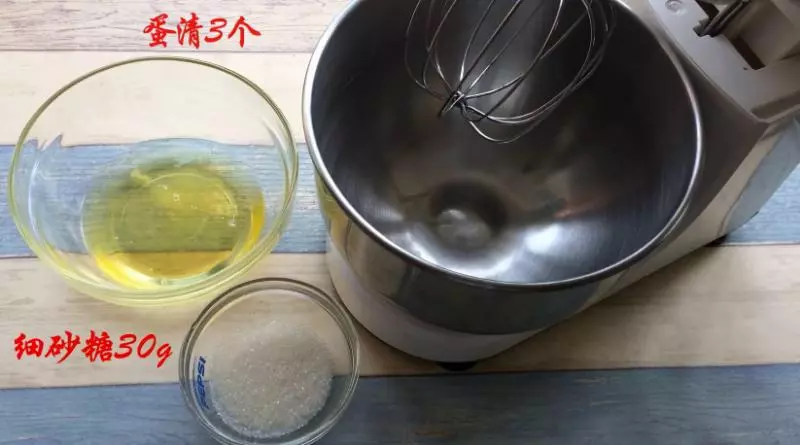
蛋黄: 3个, 细砂糖: 20g, 牛奶: 35g, 玉米油: 30g, 红曲粉: 10g, 可可粉: 5g, 低筋面粉: 50g, 蛋清: 3个, 细砂糖: 30g
步骤
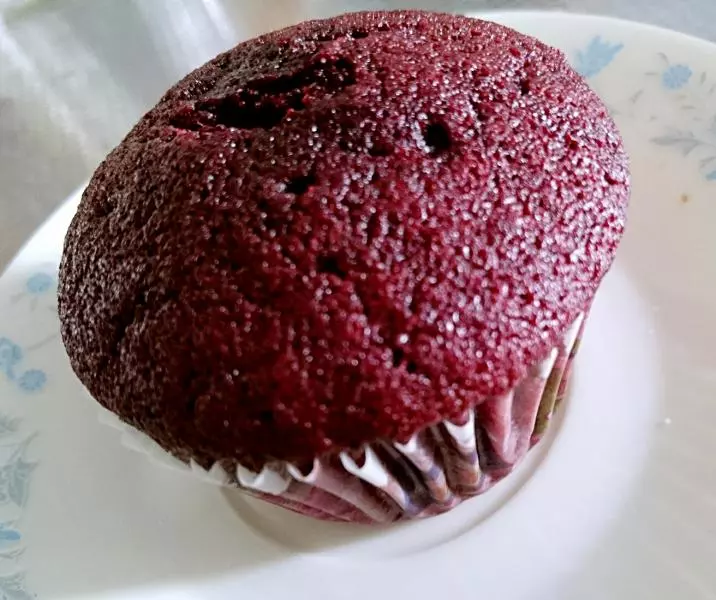
1用料可以制作一个六寸的红丝绒蛋糕,提前准备好所有食材,烤箱预热160°C,上下火 (这是蛋黄面糊的食材,蛋白霜的忘记拍了)
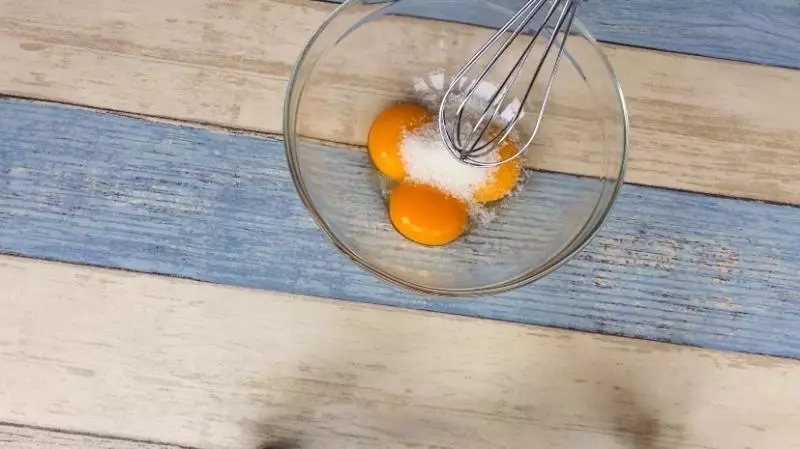
2将20g细砂糖加入蛋黄中,搅拌均匀
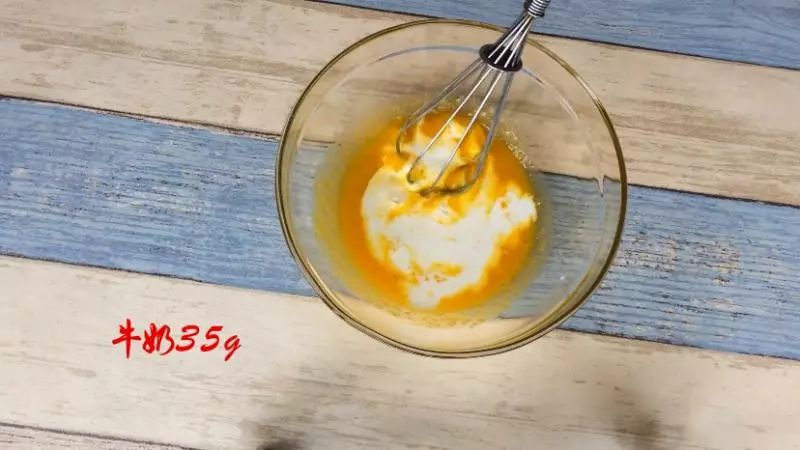
3加入牛奶,搅拌均匀
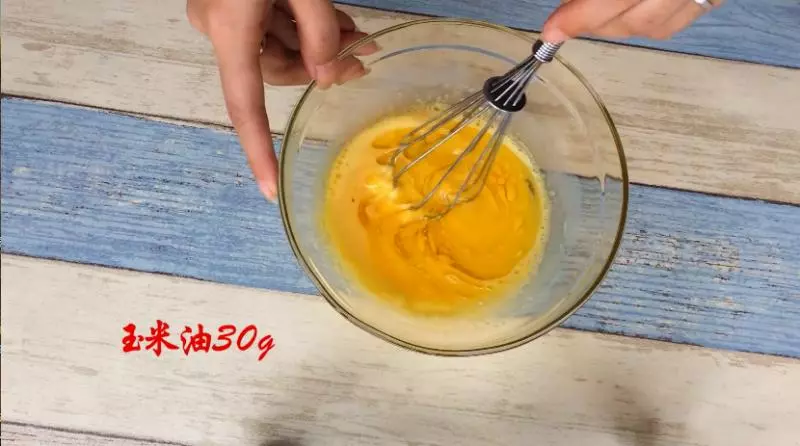
4加入玉米油,搅拌均匀
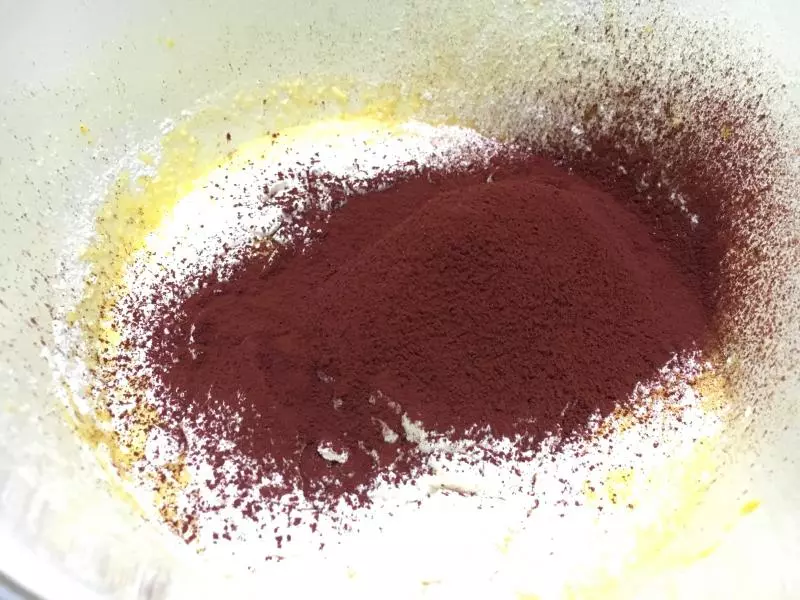
5将低筋面粉,可可粉,红曲粉称好
6混合
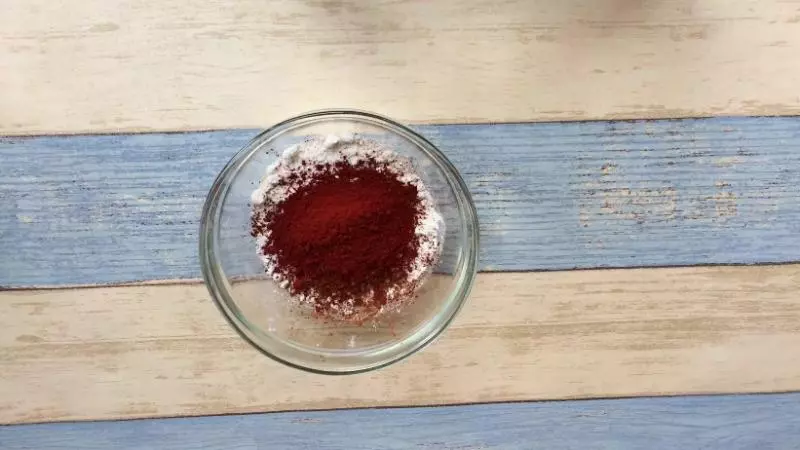
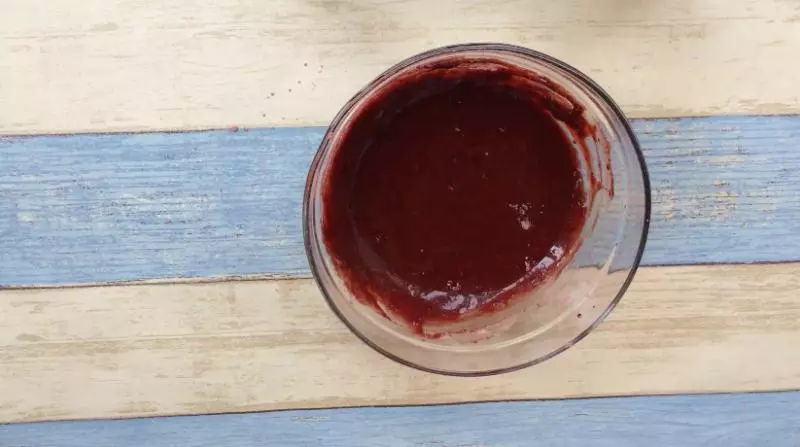
7搅拌均匀

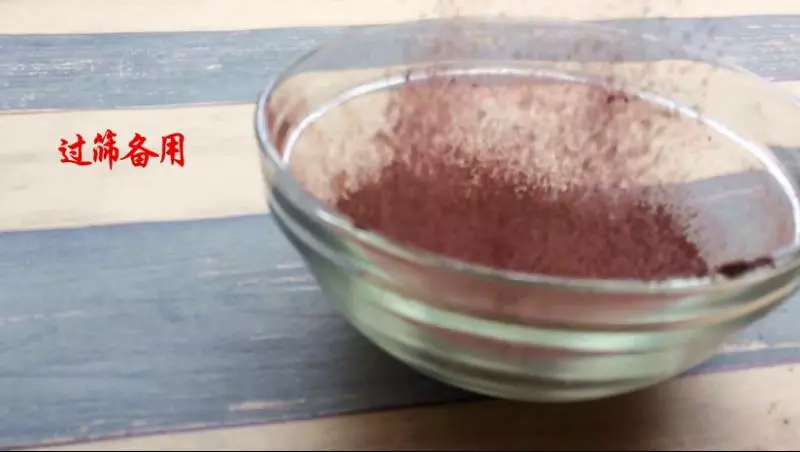
8过筛备用
9分2~3次,将过筛的粉类,加入蛋黄液
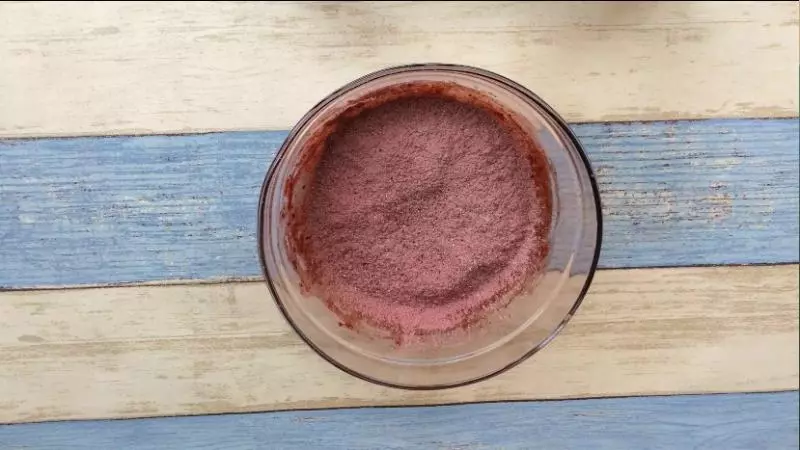
10搅拌均匀 (动作尽量轻一点,以免面糊起筋)
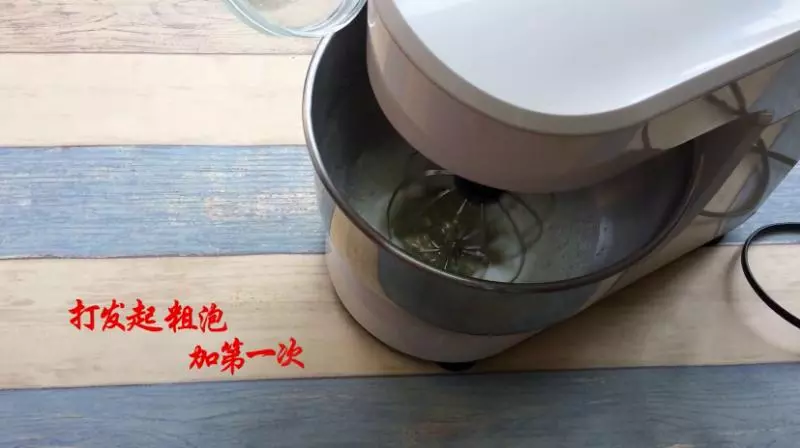
11接下来打发蛋白,分三次加入细砂糖
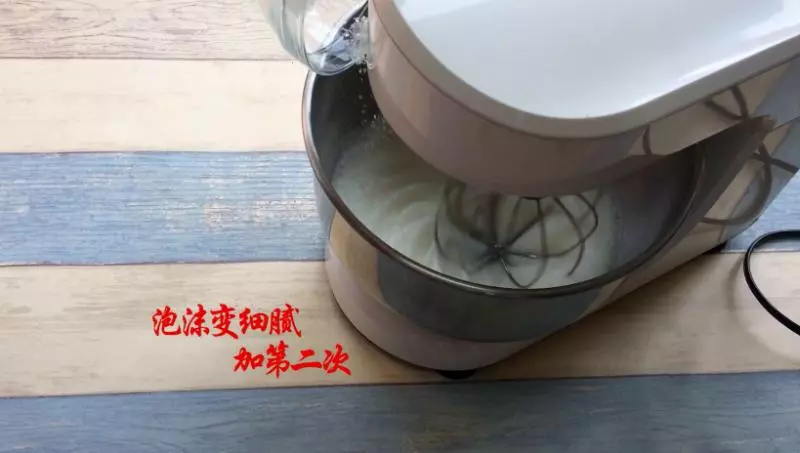
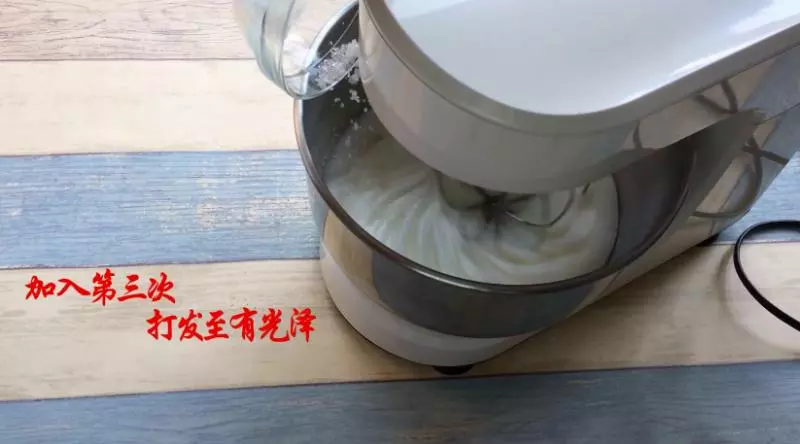
12打发至出现粗泡,加入第一次细砂糖
13泡沫开始变细腻,加入第二次细砂糖
14第二次细砂糖搅拌均匀后,就可以加入第三次细砂糖,继续打发至蛋白细腻有光泽
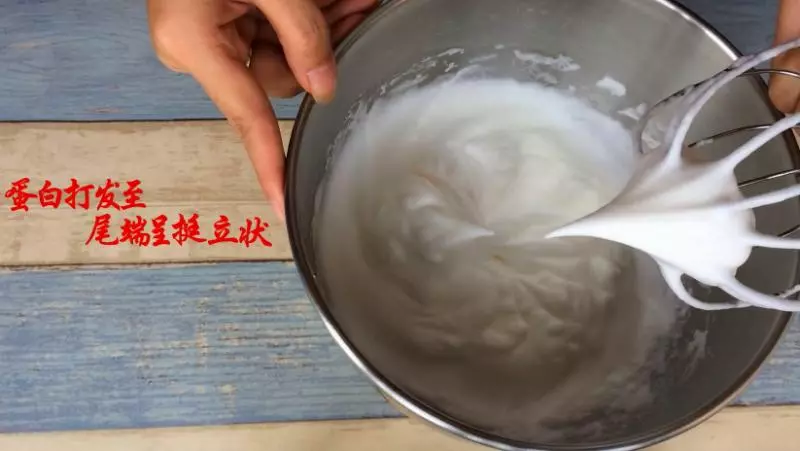
15蛋白最终的状态,提起打蛋器,尾端呈挺立状
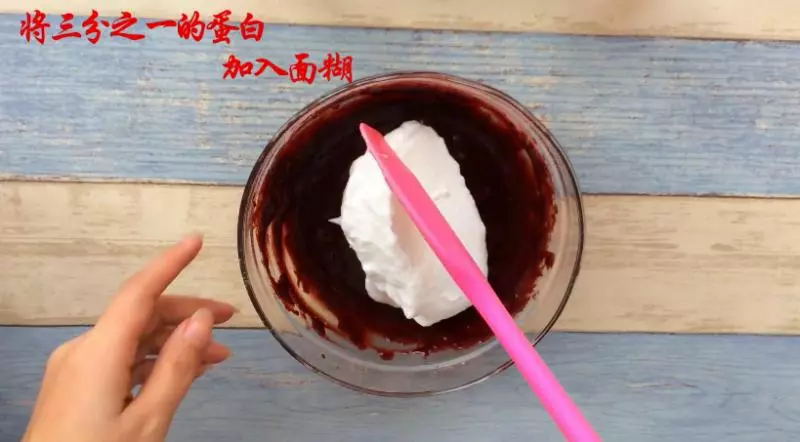
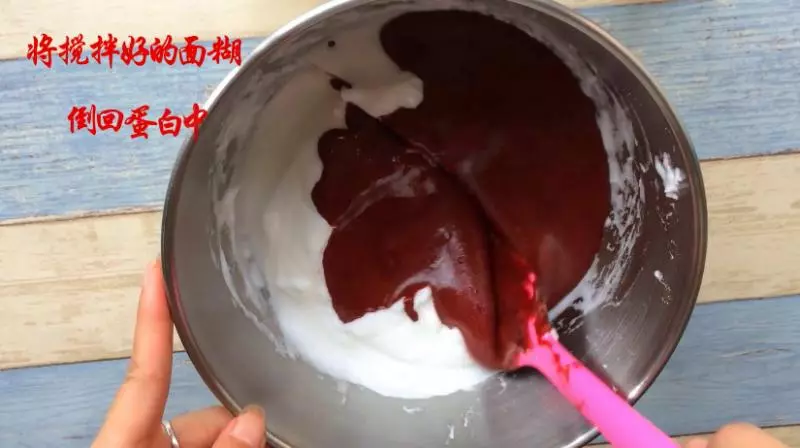
16将三分之一的蛋白,加入事先搅拌好的蛋黄面糊里
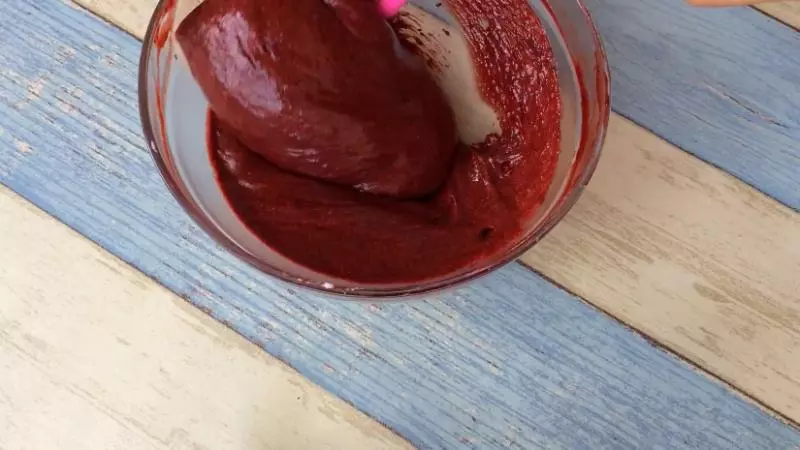
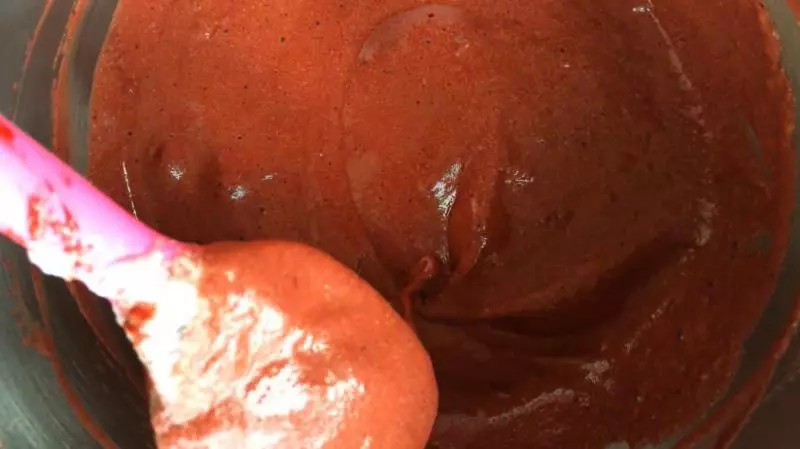
17利用翻拌的手法,将面糊搅拌均匀
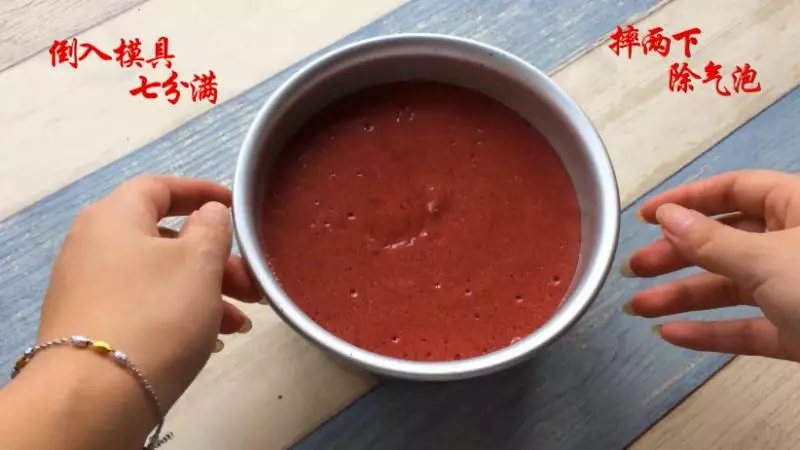
18搅拌好的面糊,倒回剩余的蛋白里
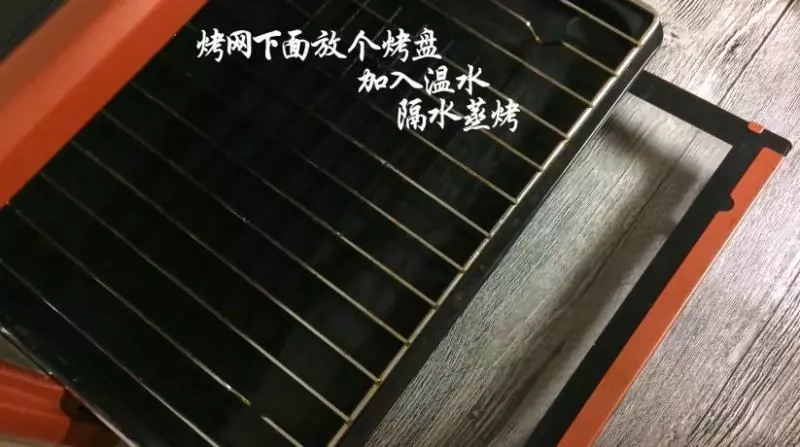
19同样使用翻拌手法混合,混合好的面糊,比较细腻,有光泽,提起面糊,面糊是会滴落的,但是会出现纹路,慢慢消失
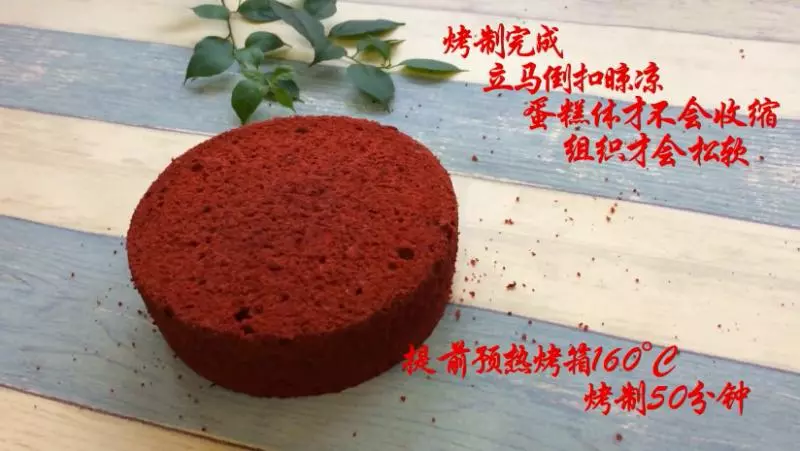
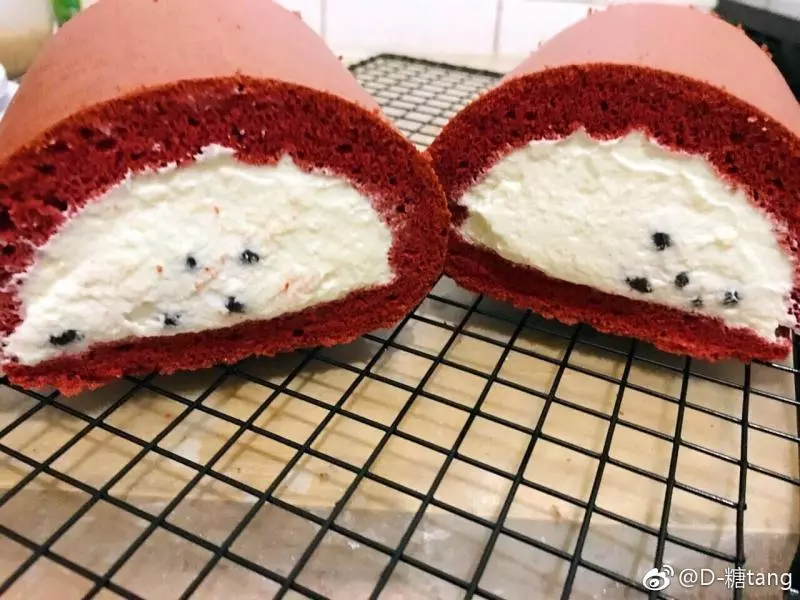
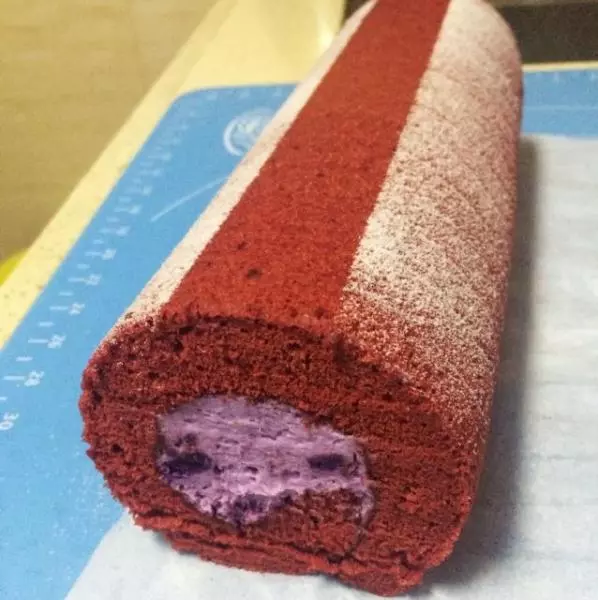
20将面糊倒入模具类,摔两下,震出气泡
21烤网下放置一个烤盘,加入温水,利用这个方法烤制,160°C,上下火,50分钟左右
22烤制出炉之后,立马倒扣,彻底晾凉之后再脱模,这样才不会收腰,不会塌陷