原料
八寸戚风蛋糕: , 鸡蛋: 4只(每只65左右), 细砂糖: 90克, 牛奶: 80克, 玉米油: 60克, 低筋面粉: 100克, 柠檬汁: 数滴(没有可以不加), 芒果酸奶慕斯层: , 酸奶: 200克, 芒果: 300克, 淡奶油: 500克, 糖粉: 70克, 吉利丁片: 20克, 冰水: 适量, 装饰夹层: , 芒果块: 适量, 芒果镜面: , 芒果: 200克, 凉白开: 200~350克, 吉利丁: 10克, 冰水: 适量
步骤
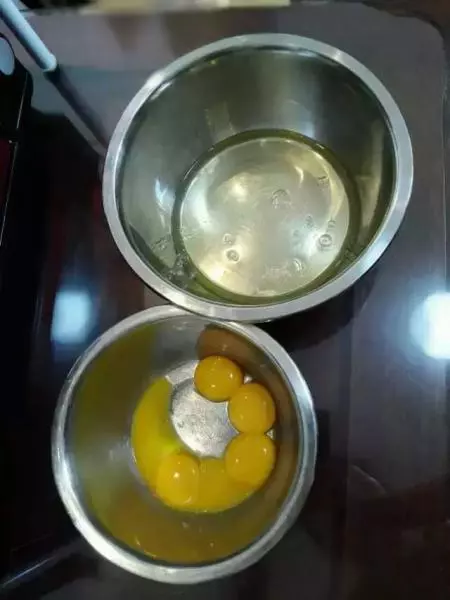
1准备材料,将蛋清、蛋黄分开
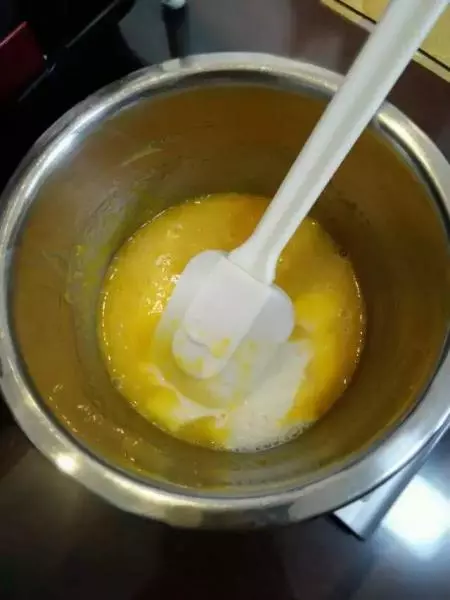
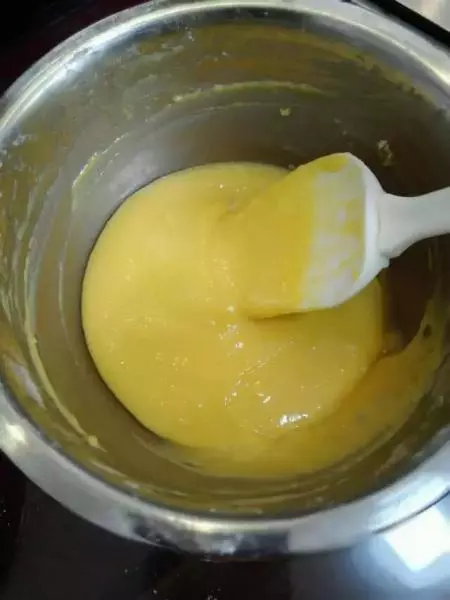
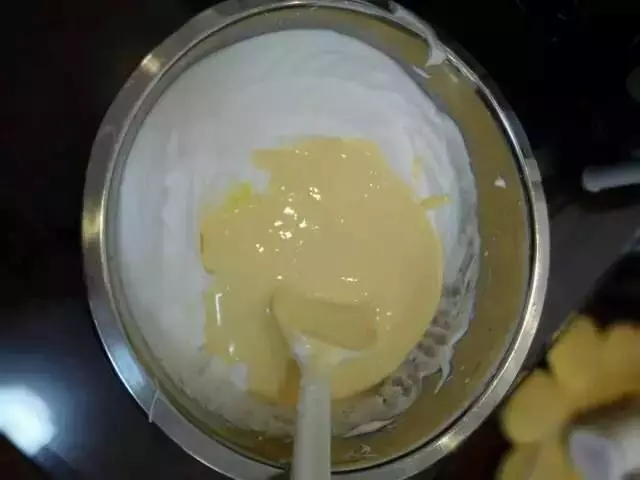
2加入牛奶、玉米油搅拌均匀
3然后筛入低筋面粉,用“Z”字形搅拌均匀,呈无颗粒状态
4混合后的蛋黄面糊状态
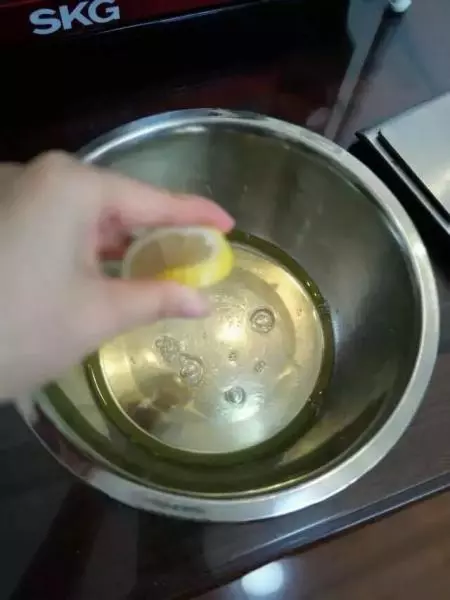
5蛋清中加几滴柠檬汁,没有可以不加。(注意:盛放蛋清的盘一定要无水无油无蛋黄。)
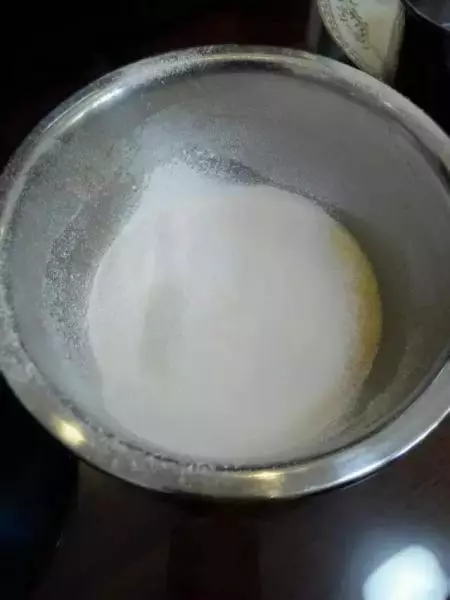
6用电动打蛋器打至粗鱼眼泡,加第一次糖,打至泡沫细腻,加第二次,再打至稍稠即湿性发泡状态,可拉出大弯勾加第三次糖,最后打至干性发泡状态,提起打蛋器头呈坚挺小三角就可以了。
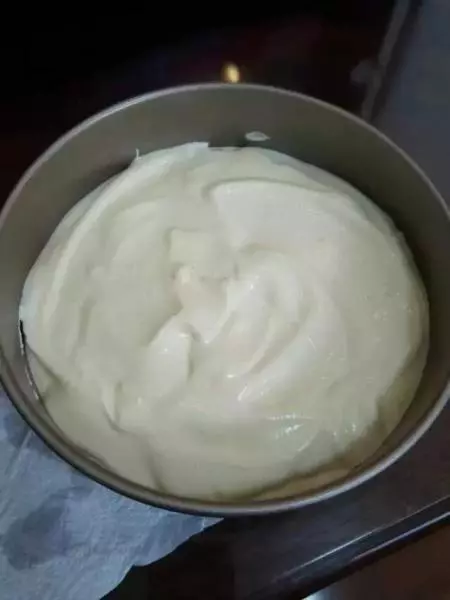
7取三分之一蛋白至蛋黄糊里面,用刮刀翻拌,同样的不要画圈,要从底部往上翻拌,翻拌均匀,要快速,把拌好的面糊全部倒入蛋白里面,翻拌均匀
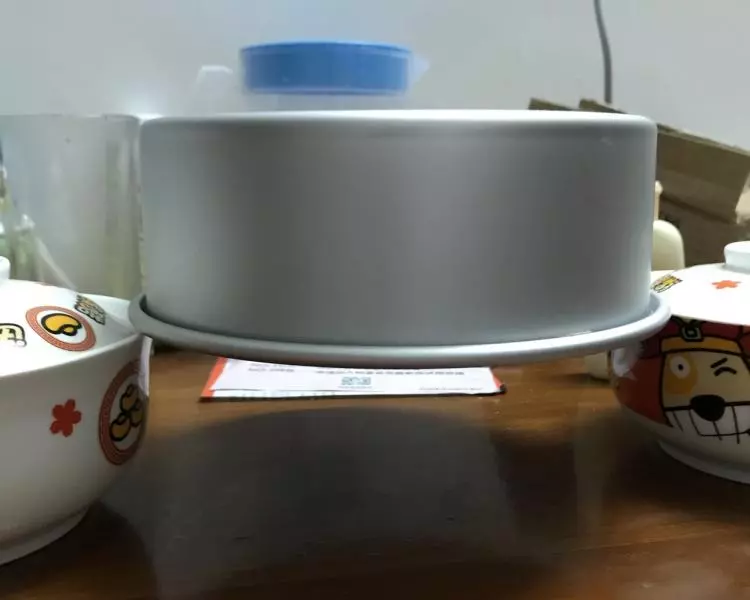
8倒入8寸模具中,下面放个软垫,震几下,震出大气泡,表面用刮刀抹平
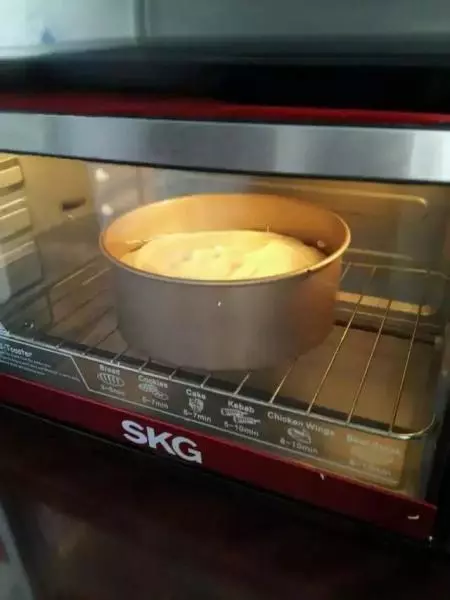
9烤箱预热145度上下火,放入下层,145度烤70分钟(各位要根据状态来调整时间,因为每个人烤箱不一样的,不要说糊了还按这个时间来,所以各位要盯着点,我是根据自己烤箱调整成这样的)
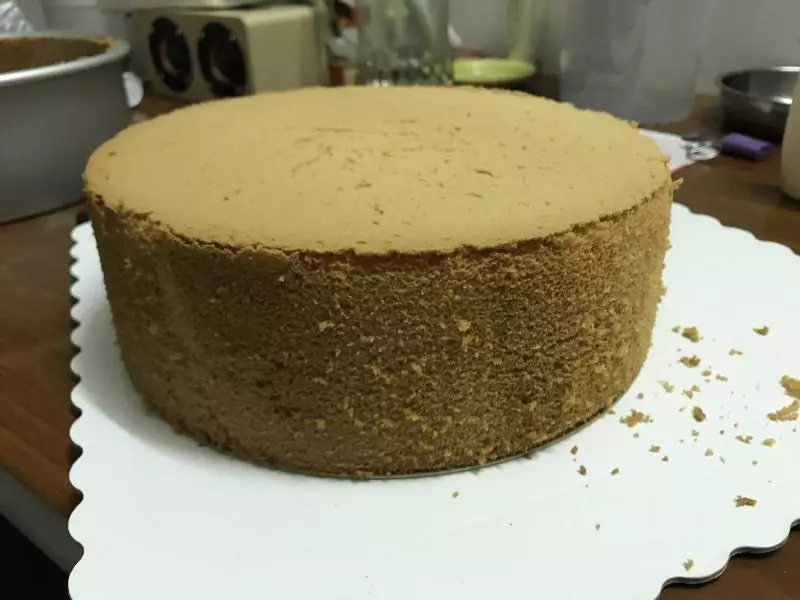
10烤完出来有点开裂,不过没关系,好吃重要!!
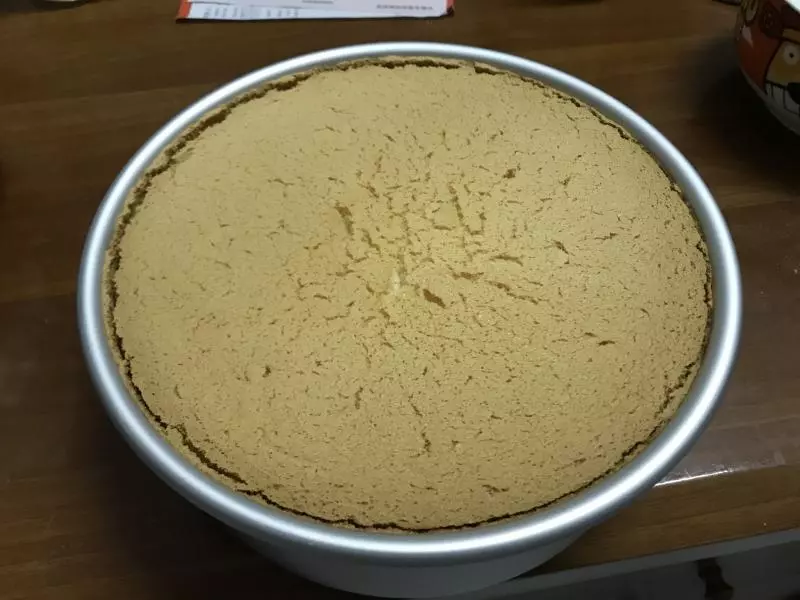
11出来震几下,把热气震出去,马上倒扣。
12完全冷却后的样子。很漂亮,没有腰塌。这个挺成功的,自我感觉良好了???
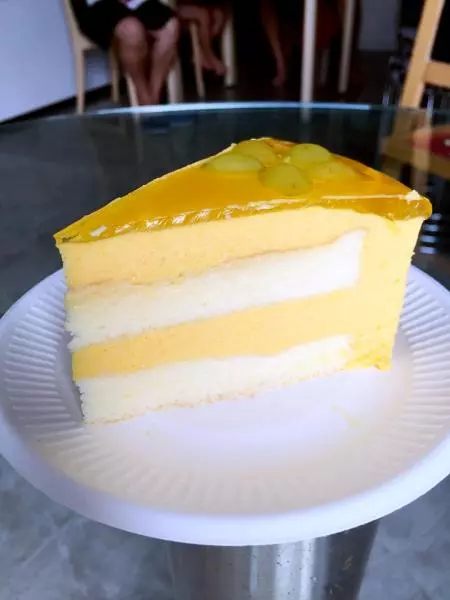
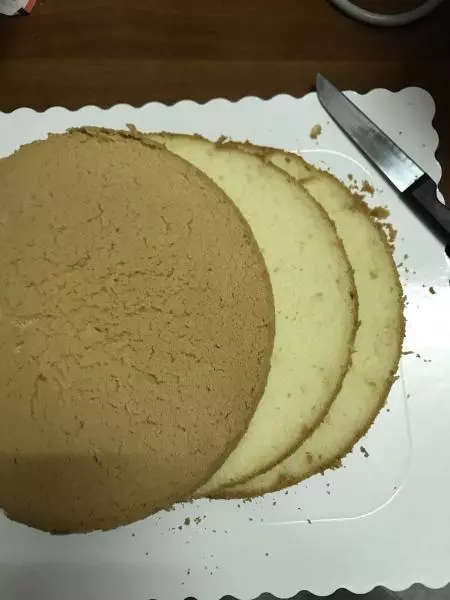
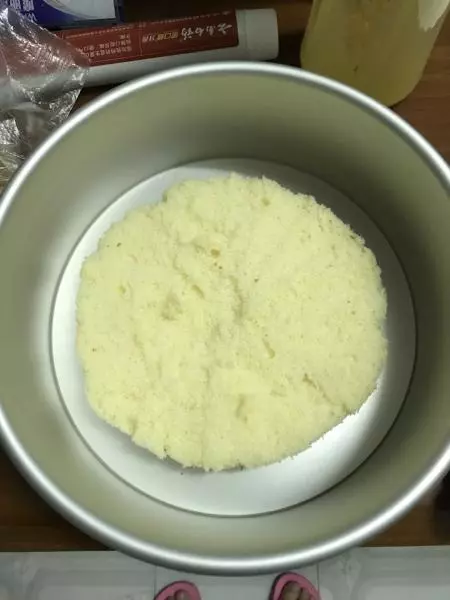
13将蛋糕平均切成三片,取两片备用(把其中的两片切小点,比八寸模稍微小一圈)
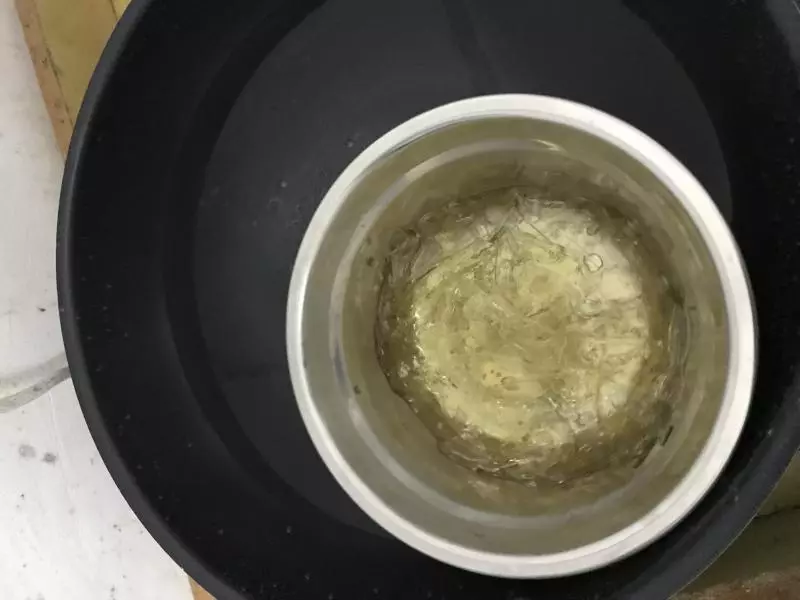
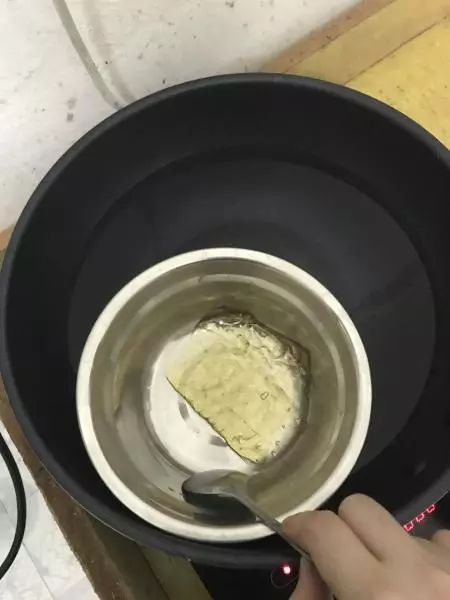
14吉利丁片用冰水泡软。
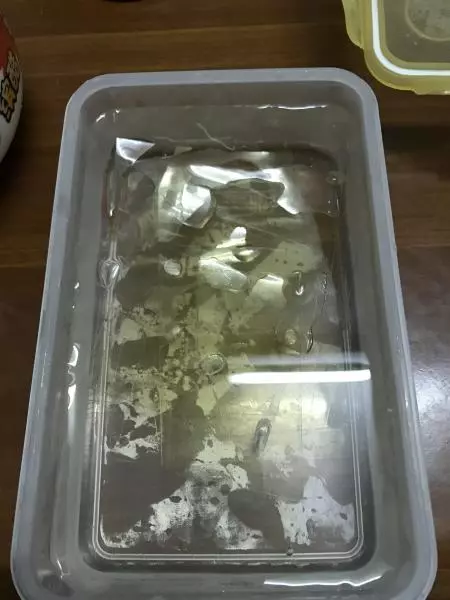
15把软化的吉利丁片捞出,隔热水融化,完全融化后,放凉备用。
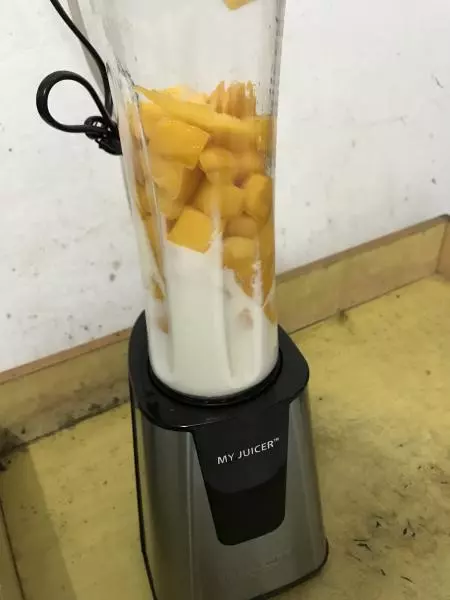
16酸奶、芒果全部放进料理机打成泥状。
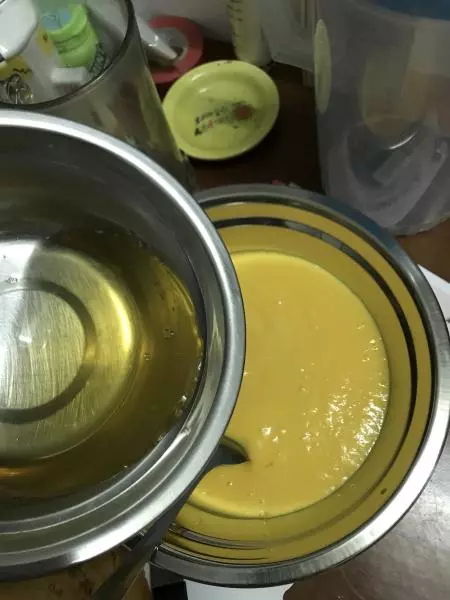
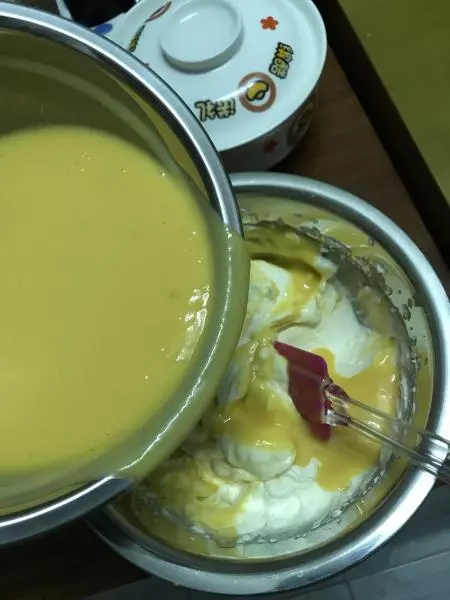
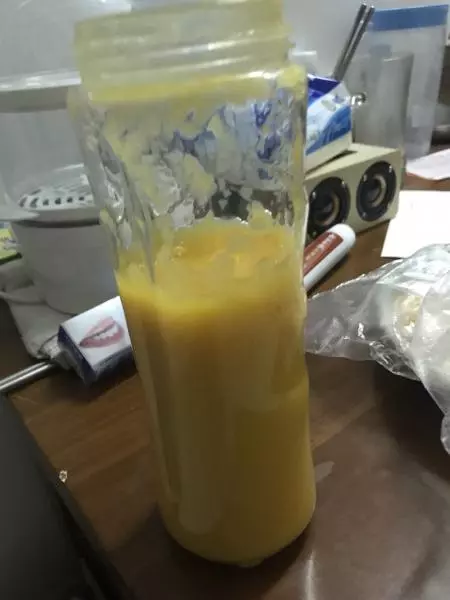
17把吉利丁液体倒进酸奶芒果液中,搅拌均匀。
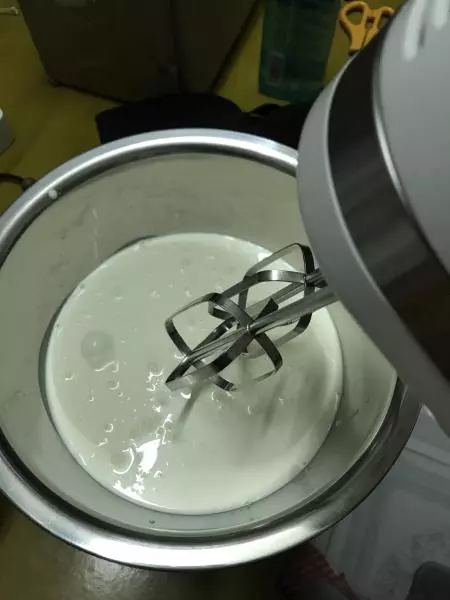
18淡奶油加入糖粉,打发至七分状态(出现纹路但还是流动的)
19把酸奶芒果液分三次加入淡奶油中,搅拌均匀,变成酸奶芒果慕斯液~
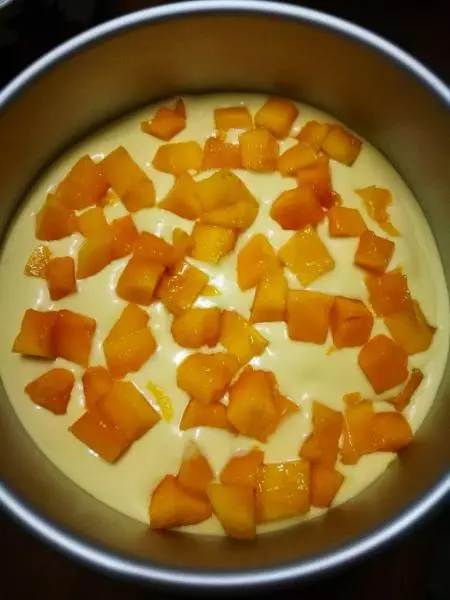
20把其中一片的蛋糕片放进八寸模中
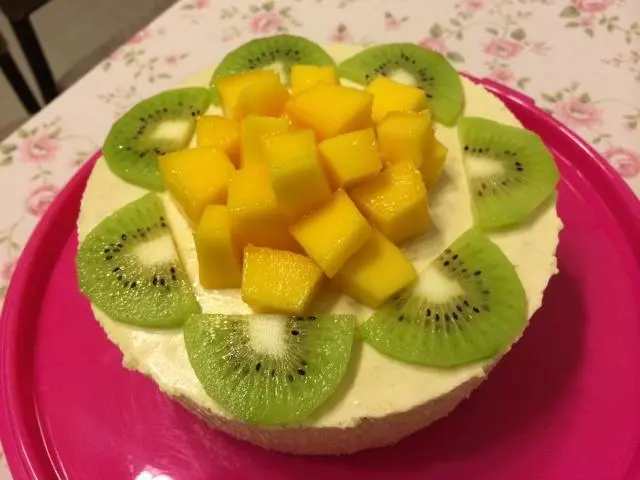
21倒入适量的慕斯液并加入适量的芒果块
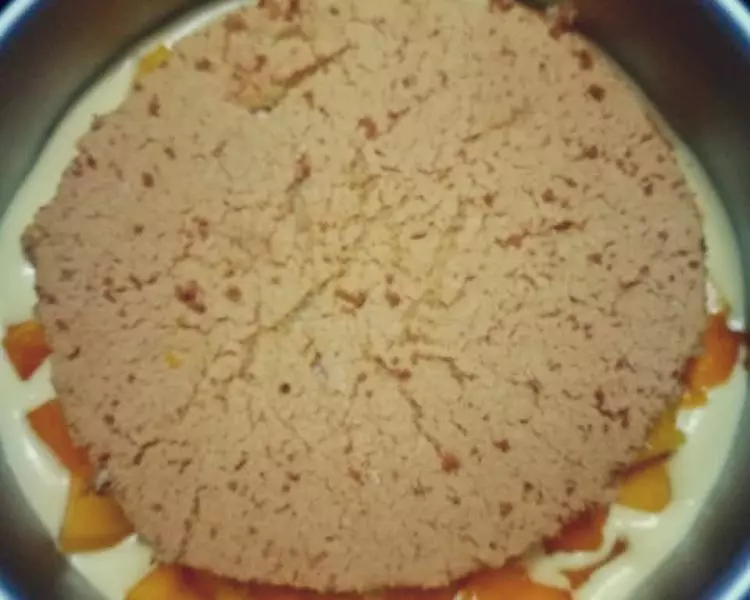
22然后再放一片蛋糕片,再倒入慕斯液盖住蛋糕片
23最后放冰箱保鲜层冷藏四小时以上,最好是过夜啦。。
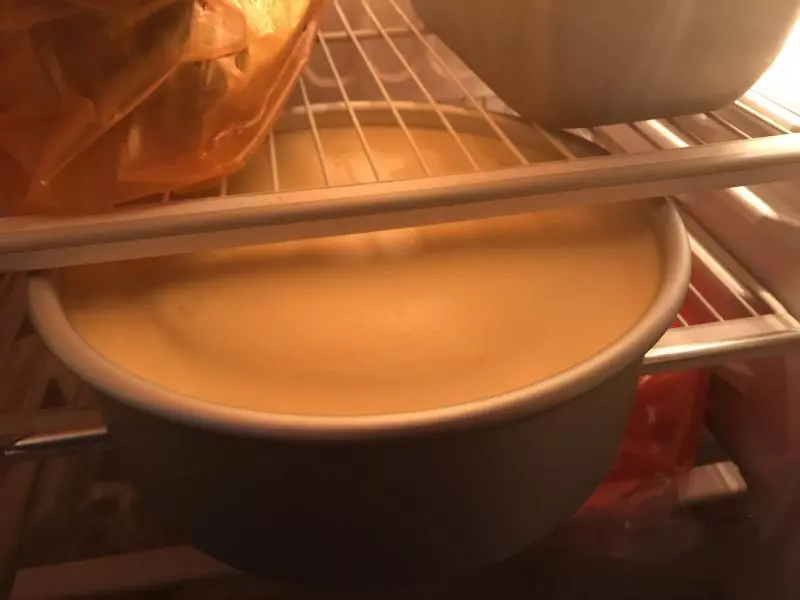
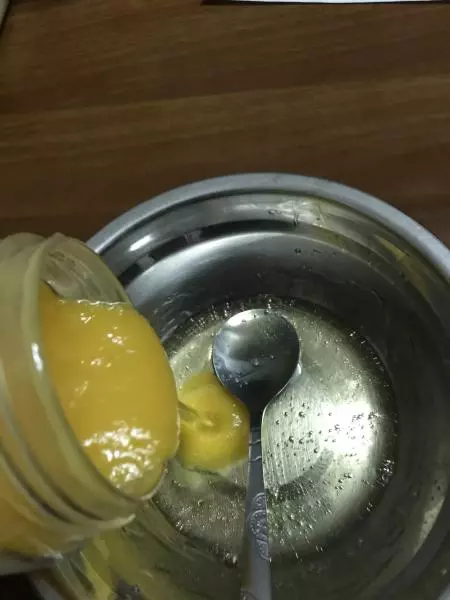
24在蛋糕冷藏两小时,我们可以开始做镜面啦!!!!两片吉利丁片用冰水泡软,捞起,隔热水融化后,放凉备用。
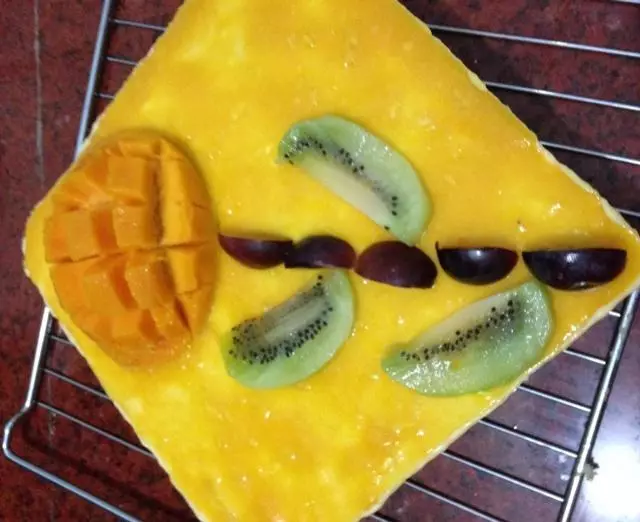
25芒果肉和凉白开一起放进料理机做成芒果汁。
26把芒果汁和吉利丁加在一起搅拌均匀~
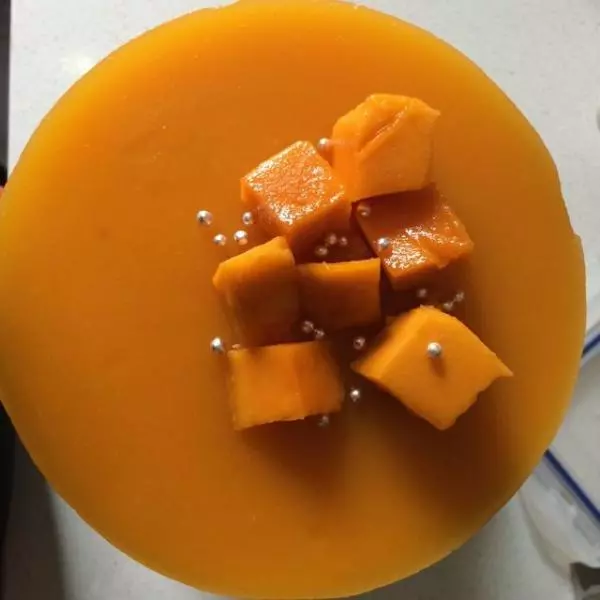
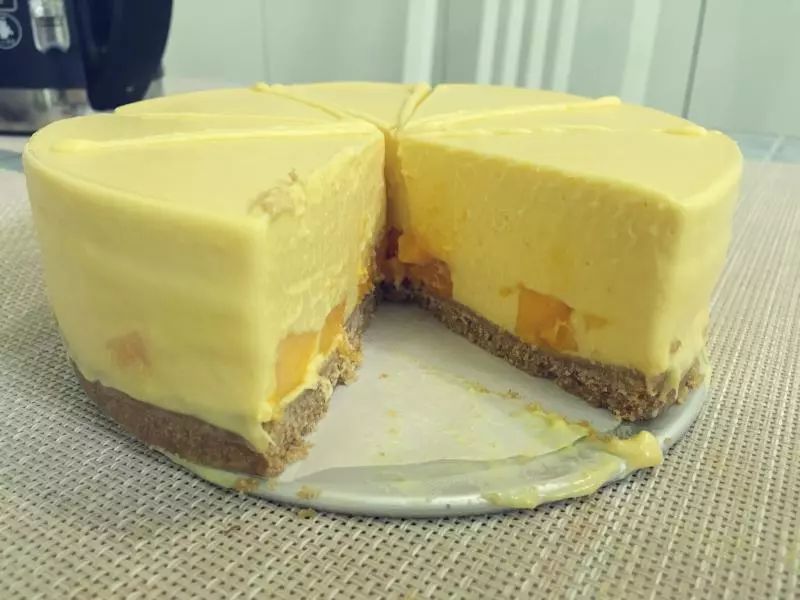
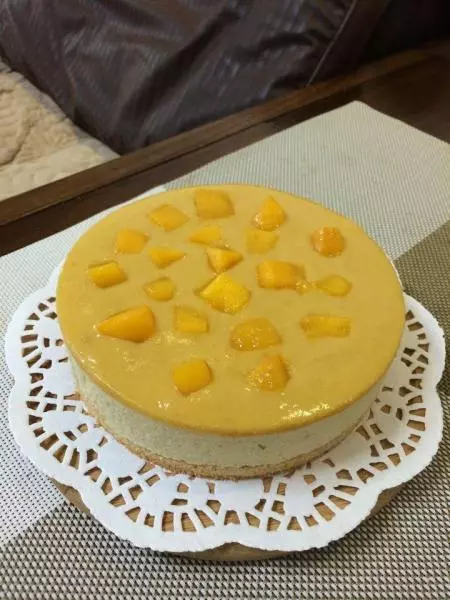
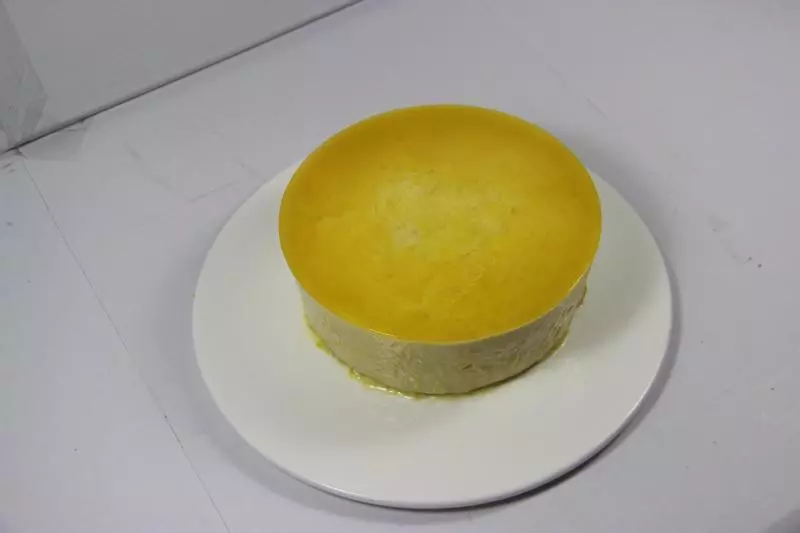
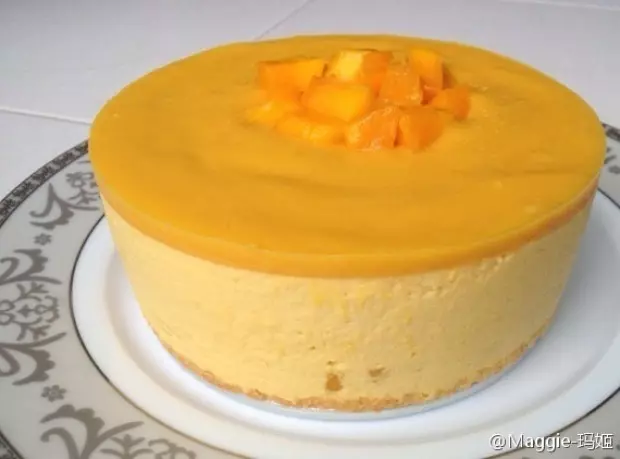
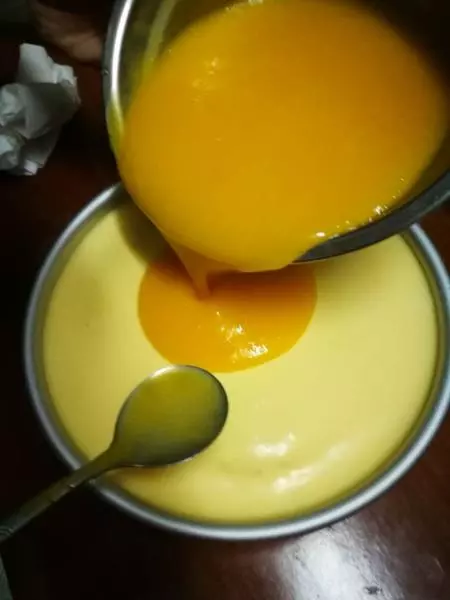
27把混合好的芒果镜面液倒在半成品的慕斯蛋糕上啦~
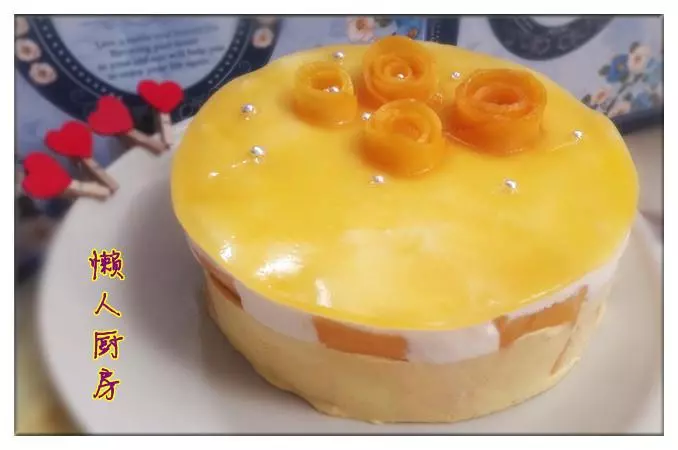
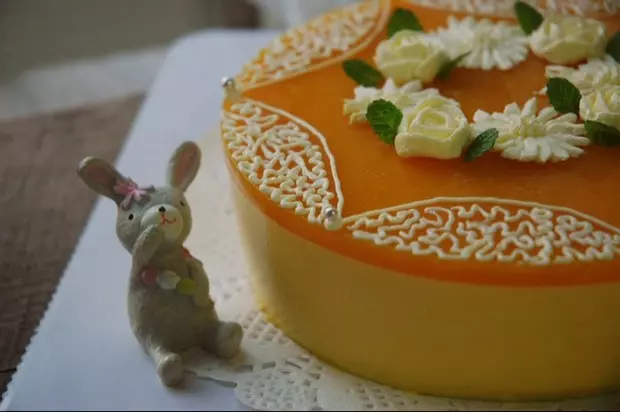
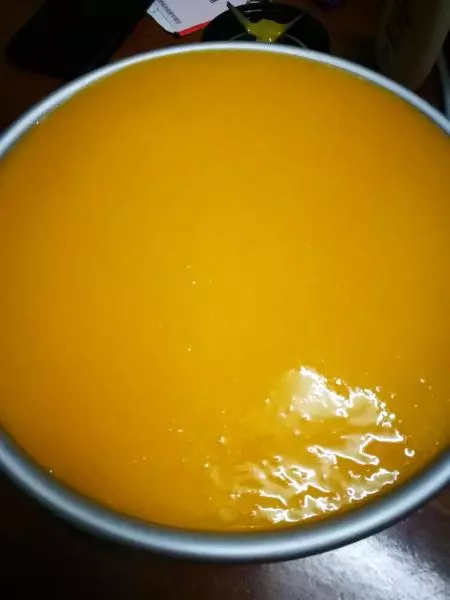
28最后成这样,继续放进冰箱保鲜层冷藏两小时以上~~接着就是等~等~等~让我们一起期待最后成品!!觉得自己做蛋糕的乐趣,就在于等的这个过程了~
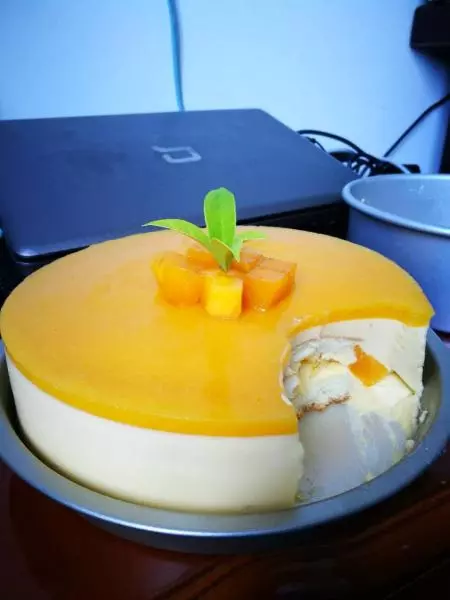
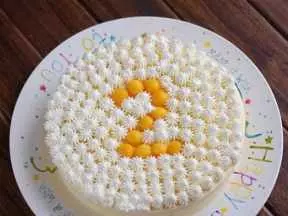
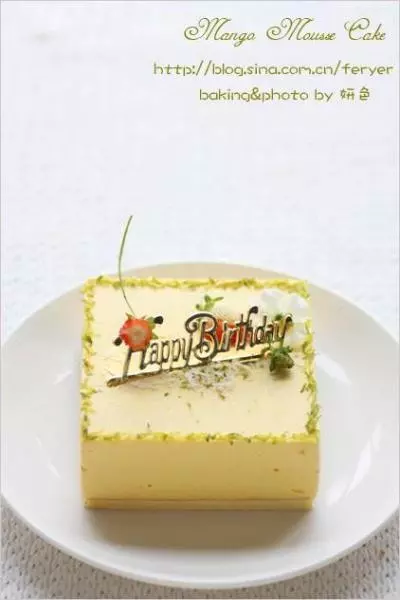
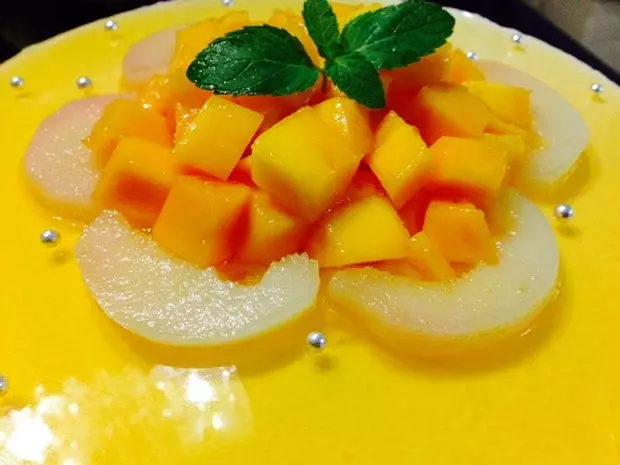
29第二天拿出来的样子。用电吹风对着周边吹几秒,脱模

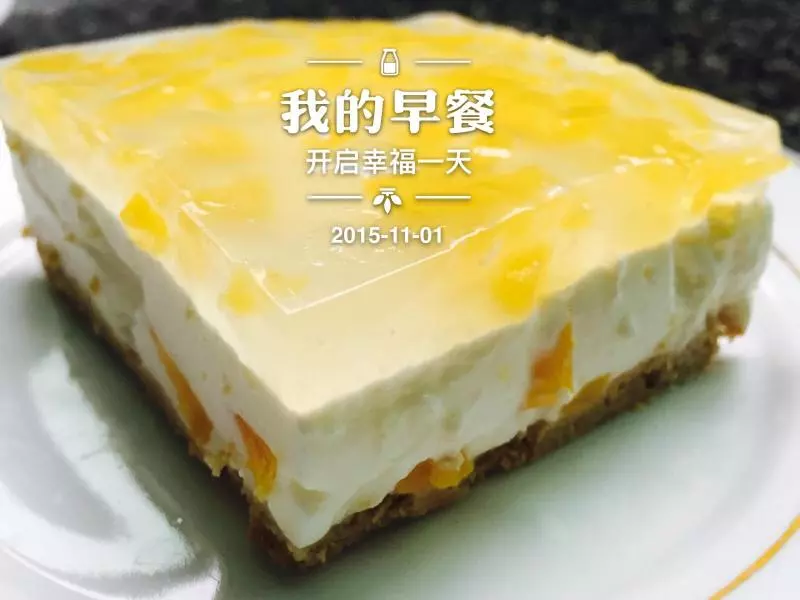
30脱模完成!!!好漂亮!!!

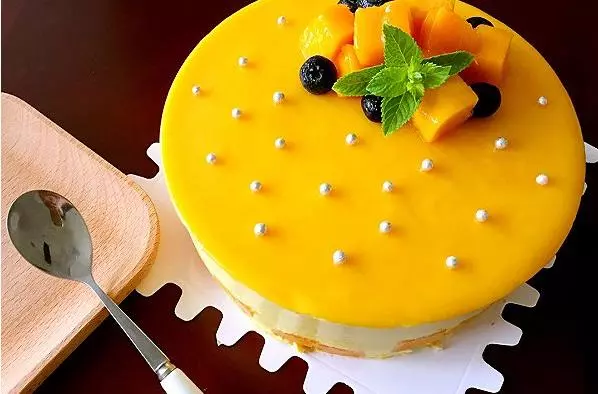
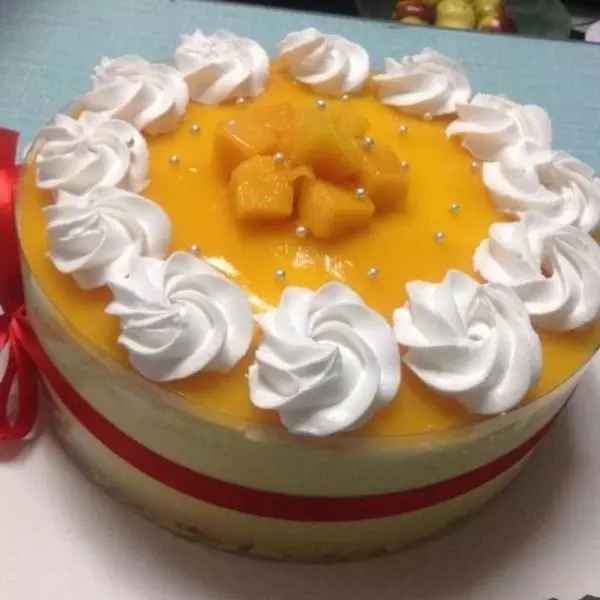
31做了个小装饰了
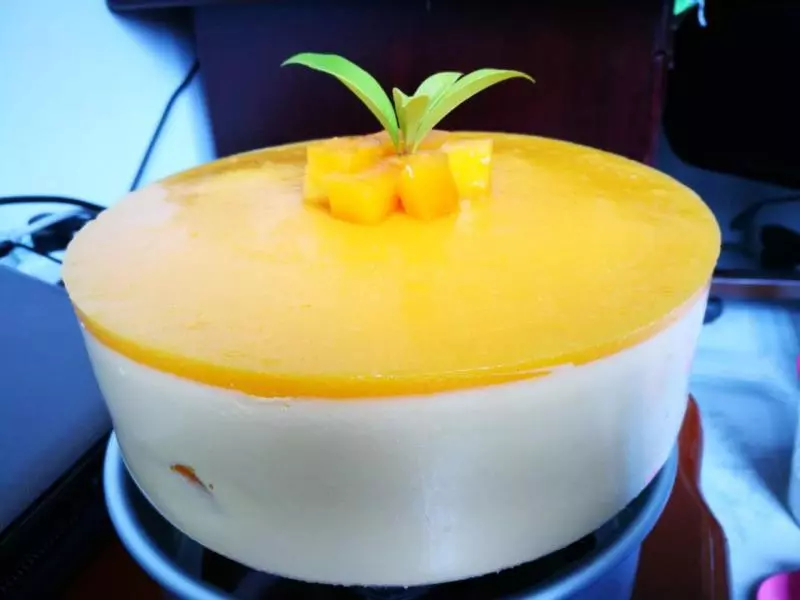
32直接开吃!!!!我不喜欢太甜,所以这个配方做出来没有很甜,可是芒果味很浓郁,好吃!喜甜的朋友可以适量增加糖的用量