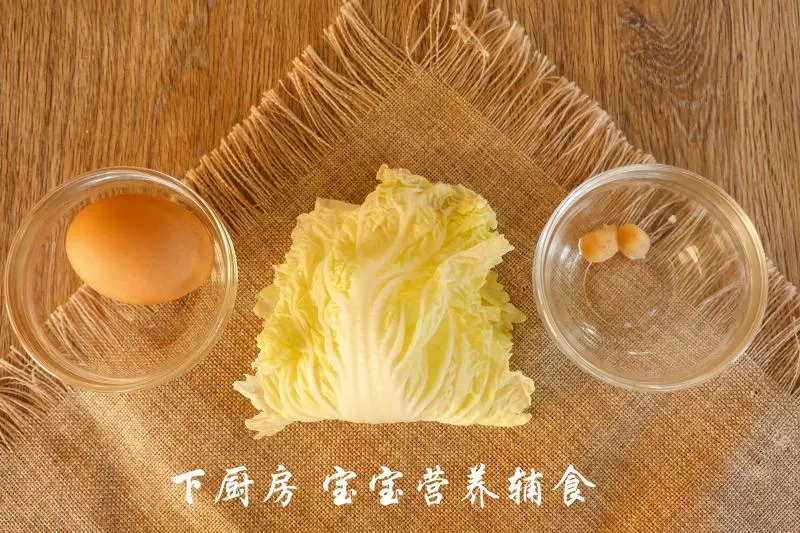
原料
鸡蛋: 1个, 干贝: 2粒, 大白菜: 1片
步骤
1准备食材:鸡蛋1个,大白菜1片,干贝2个。 PS:干贝是扇贝丁的干制品,平时要在冰箱冷冻保存,每次吃的时候取出2-4颗加到辅食中。
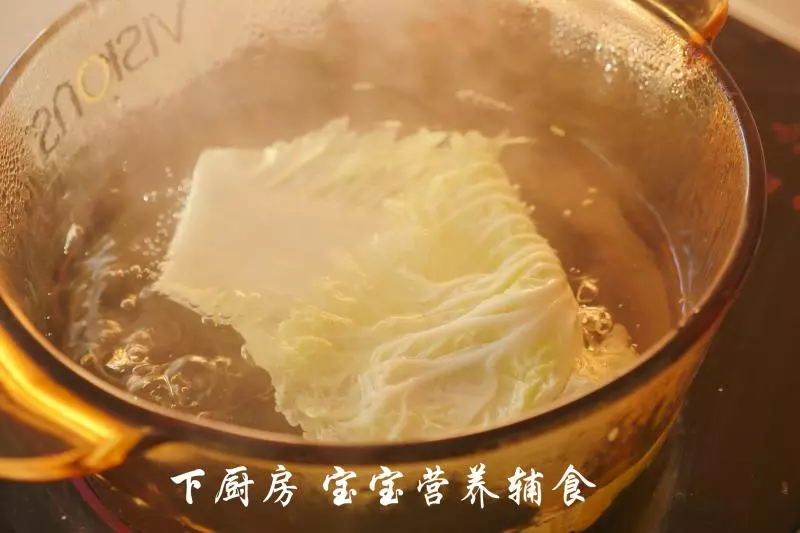
2水烧开后,把大白菜叶放入锅中,用开水焯一下。时间不必太长,焯30秒左右就差不多啦。
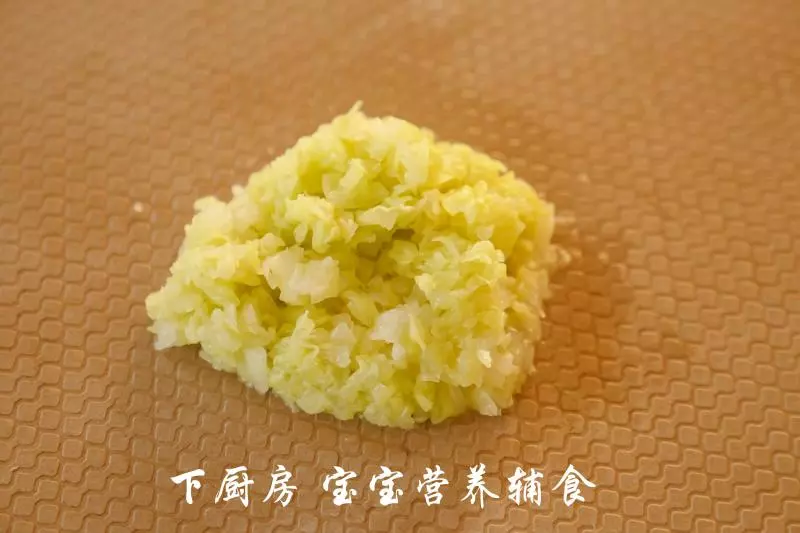
3焯好之后,把大白菜捞出来,用刀把白菜叶切得碎碎的。
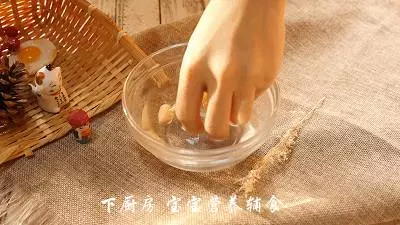
4先来把干贝用清水清洗干净,用手来回搓一下。
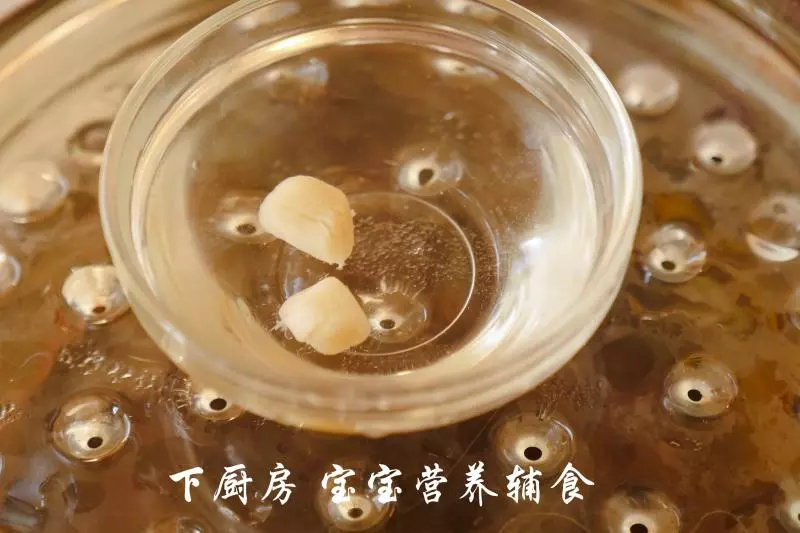
5因为忘记提前泡发干贝啦,所以就得用快速泡发法把干贝泡发。先把洗干净的干贝重新放在干净的清水中,放入蒸锅蒸30分钟。
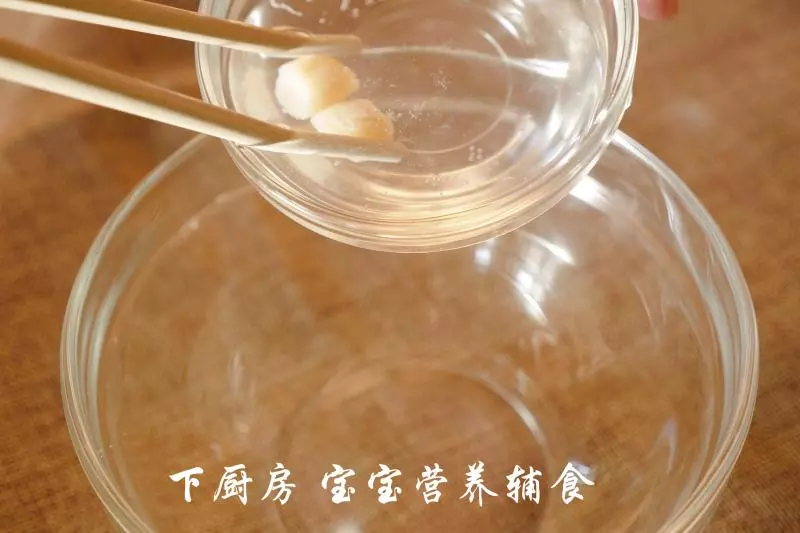
6把干贝水倒入大碗中备用。因为干贝已经提前清洗干净,所以泡发的水也是干净哒,还带着干贝的鲜味,别浪费喽~~
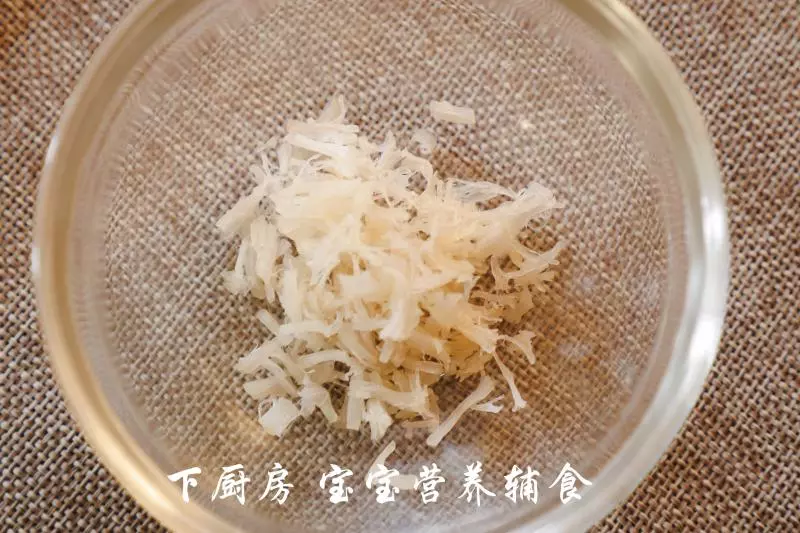
7剩下的干贝稍微放凉,用手撕得碎碎的。

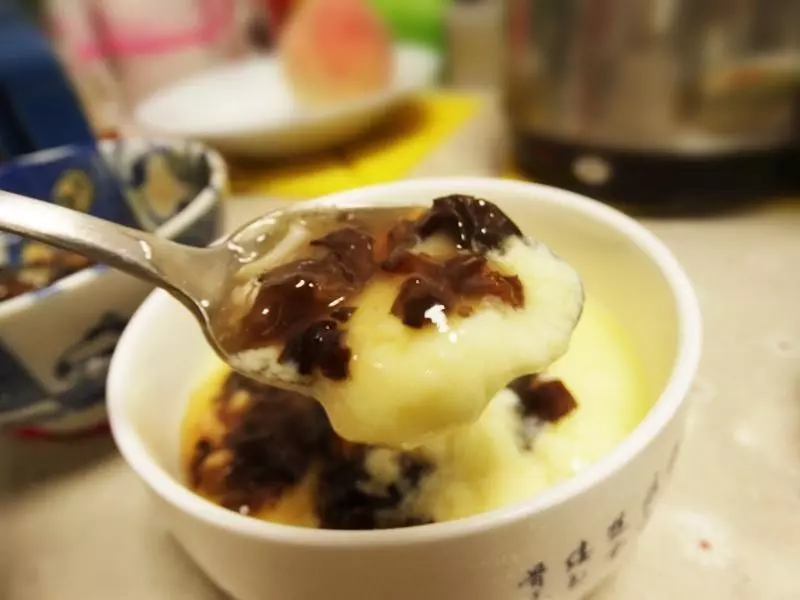
8看!这就是撕碎的干贝碎了。这里来画一下重点啦,18个月以上的宝宝应该已经可以嚼动干贝碎,撕到这个程度就差不多了。但10-18个月的宝宝咀嚼能力还在锻炼中,那这一步还需要再用刀把干贝碎剁得碎一些。
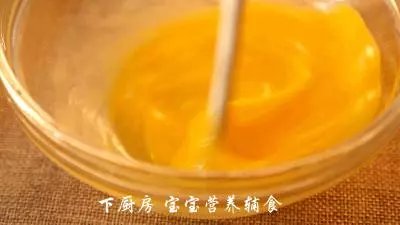
9将鸡蛋用筷子搅拌均匀。
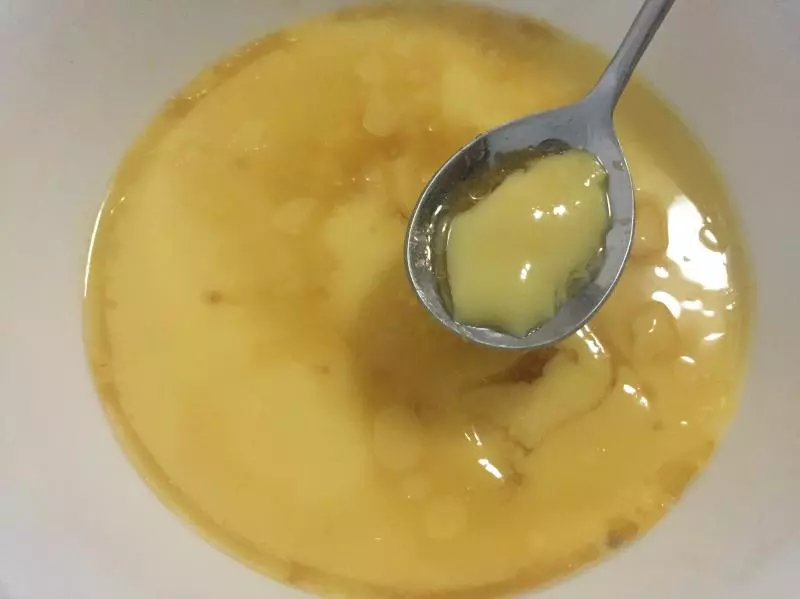
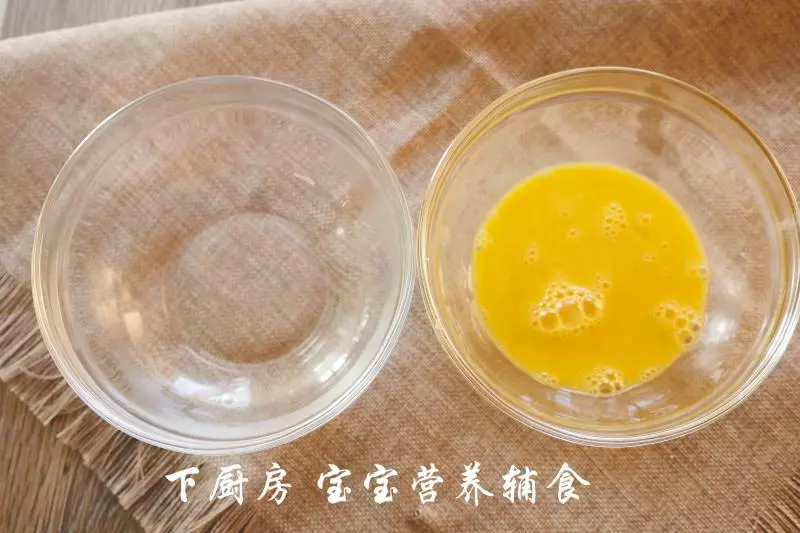
10把干贝水和鸡蛋液准备好。 PS:我称了一下蛋液的重量大概是60g,用到的干贝水大概是72g,要是你干贝水剩得比较少,你可以额外再加点清水在里面补充。
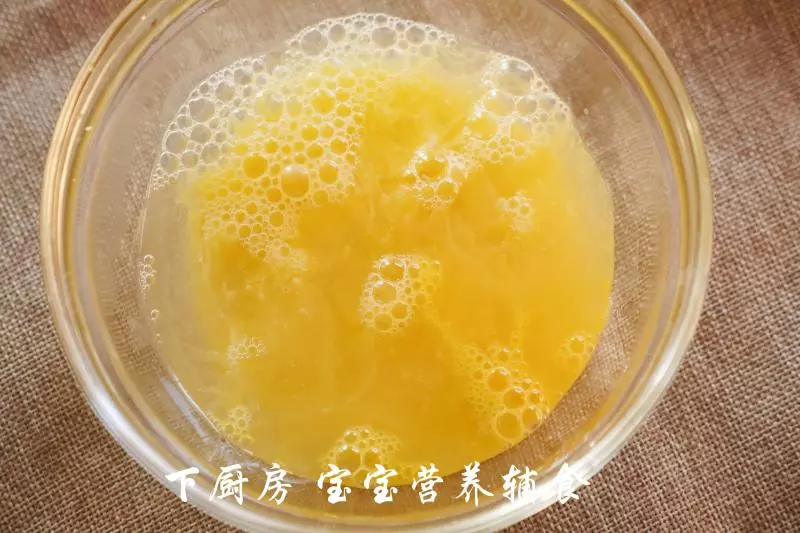
11把他们混合在一起,用筷子搅拌均匀。
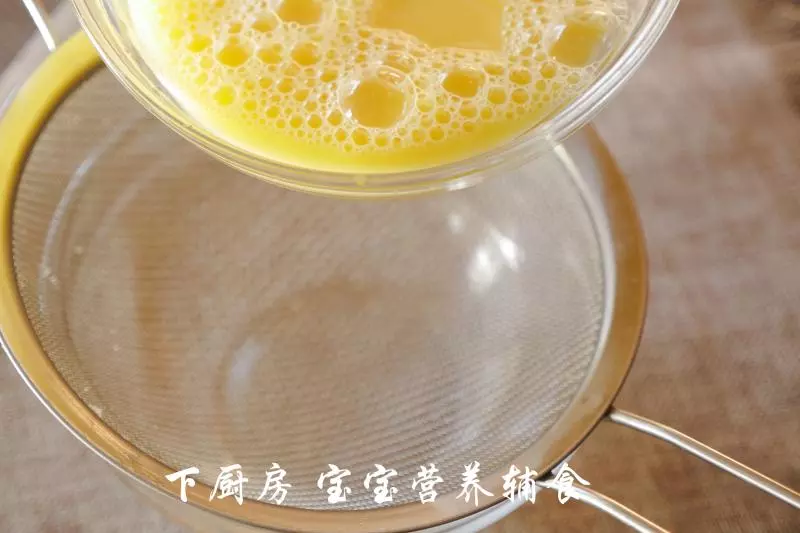
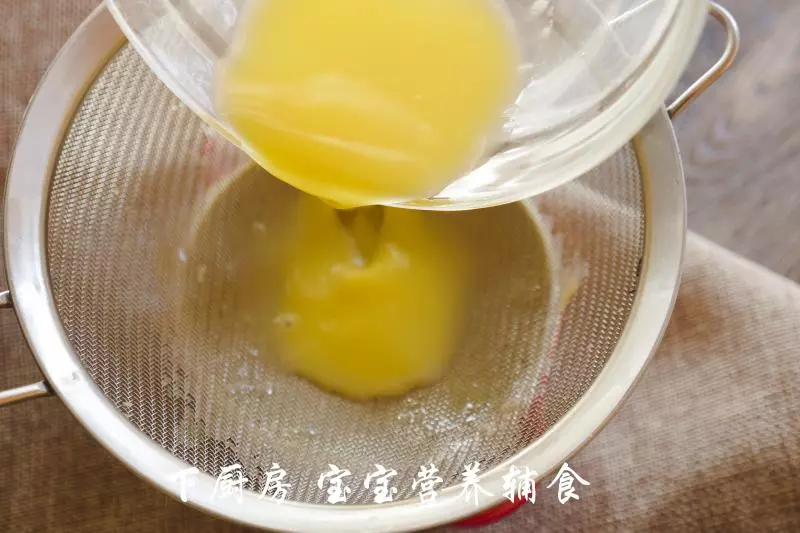
12为了去除蛋液中的大气泡,搅拌好的蛋液还需要再用筛网过滤两次哦。
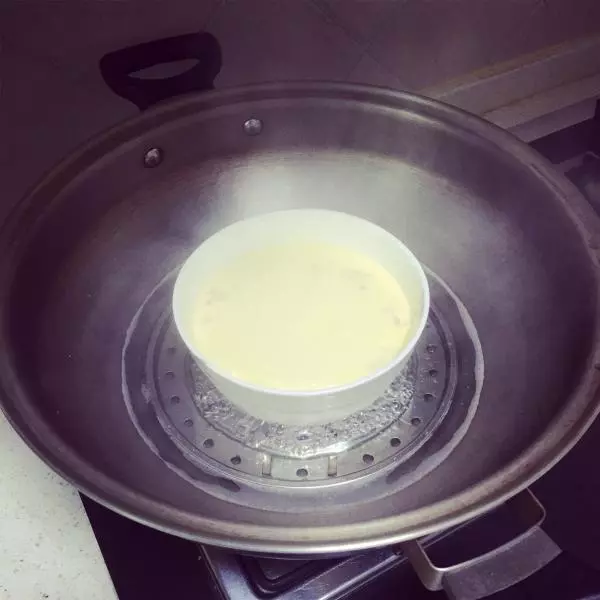
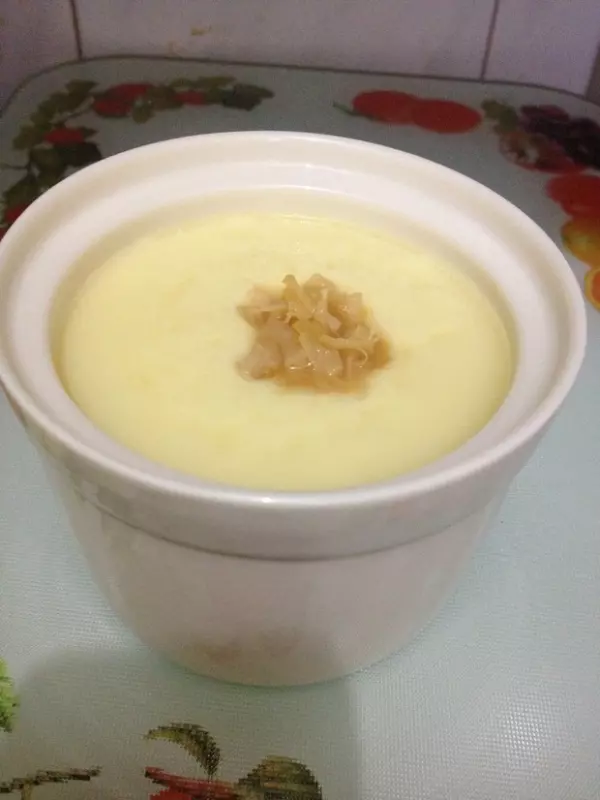
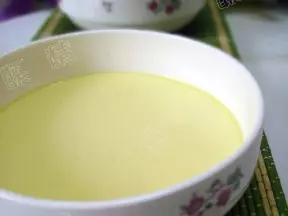
13最后一次,把蛋羹直接倒入蒸碗中即可。
14把蛋羹放上蒸锅,先蒸5分钟。 PS:先把蛋羹蒸一会,这样蛋液能有微微的凝固感,这样再加入干贝碎和白菜碎就不会沉底了!

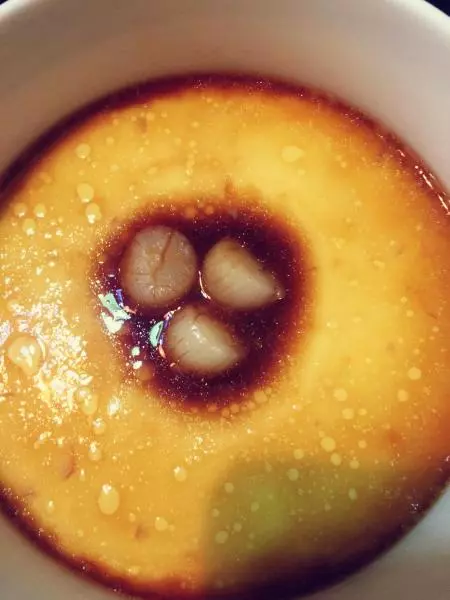
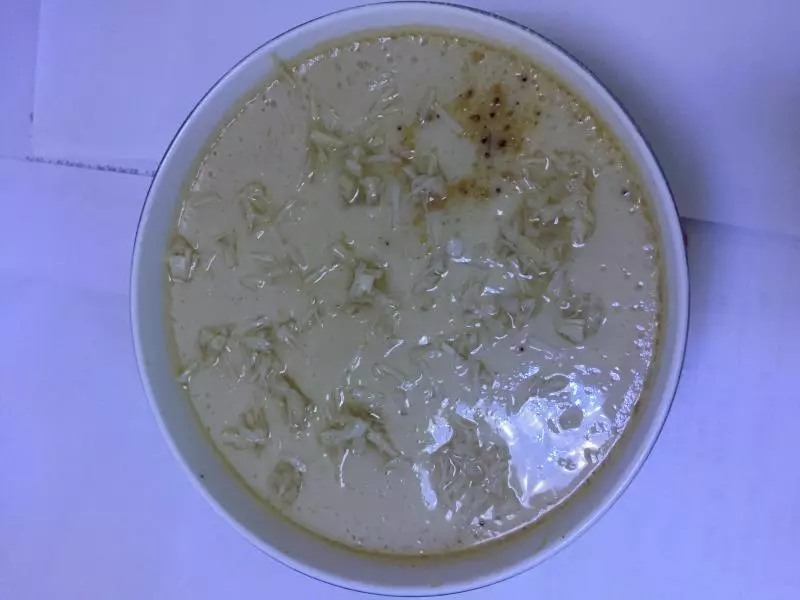
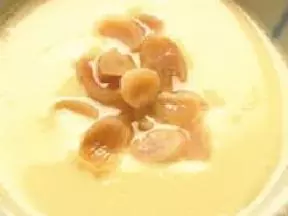
15这个时候开一次盖子把干贝碎倒入蛋羹中。
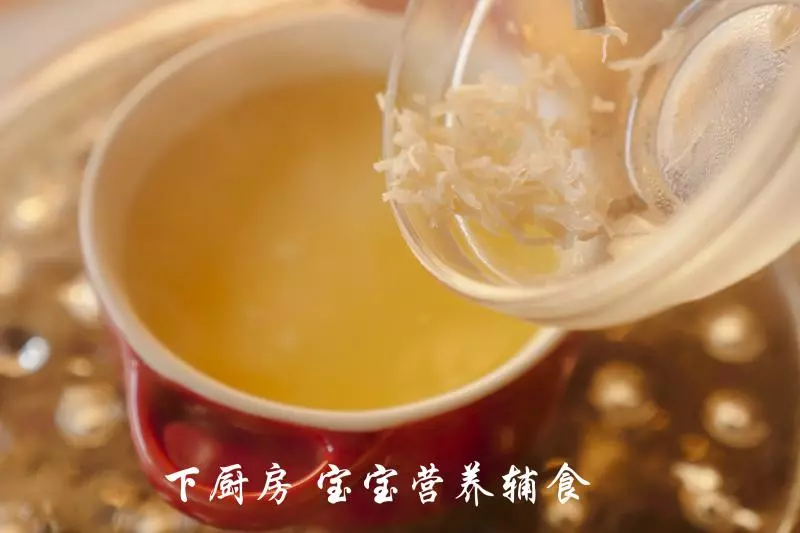
16再将白菜碎也加入蛋液里。

17用筷子轻轻搅拌一下。

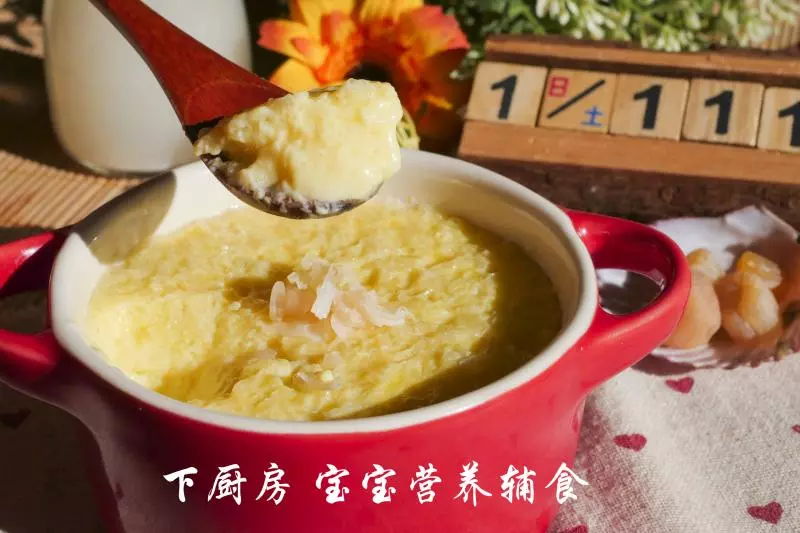
18盖上锅盖,再蒸7分钟,把蛋羹蒸熟即可。 PS:加在一起我一共蒸了12分钟,但这个蒸制的时间可不是固定的哦,姐妹们需要根据火候的大小再进行一下调整。最好是在蛋液凝固后就给取出,时间长了蛋羹会容易蒸过火哈。

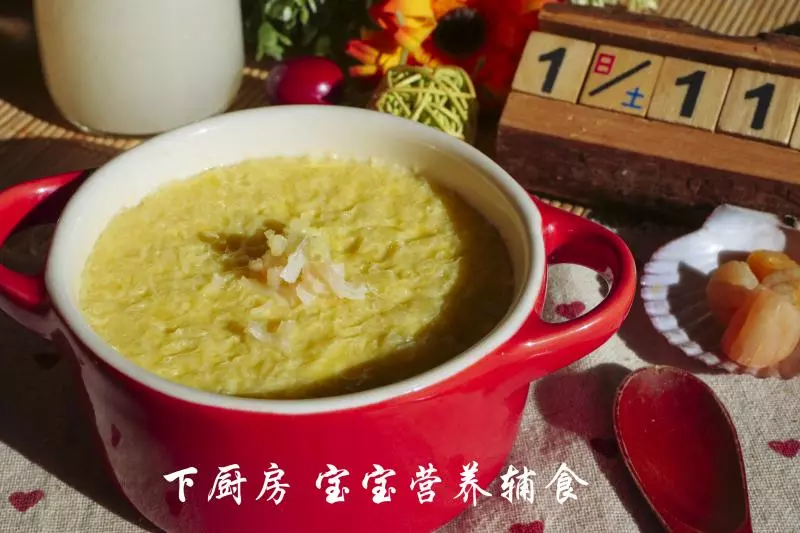
19这次做的蛋羹的鲜味,真的是超乎想象,姐妹们赶紧试试呀!
小技巧
我称了一下蛋液的重量大概是60g,用到的干贝水大概是72g,要是你干贝水剩得比较少,你可以额外再加点清水在里面补充。