原料
面粉: 500克, 盐: 2克, 糖: 5克, 酵母: 3克, 温水: 260克, 泡面搭档香肠: 一根, 葱花: 适量, 油: 适量(抹上面皮上), 盐: 2克(撒在面皮上)
步骤
1把称好的面粉,酵母,盐,糖放进厨师机容器里,(酵母和糖分开放)。
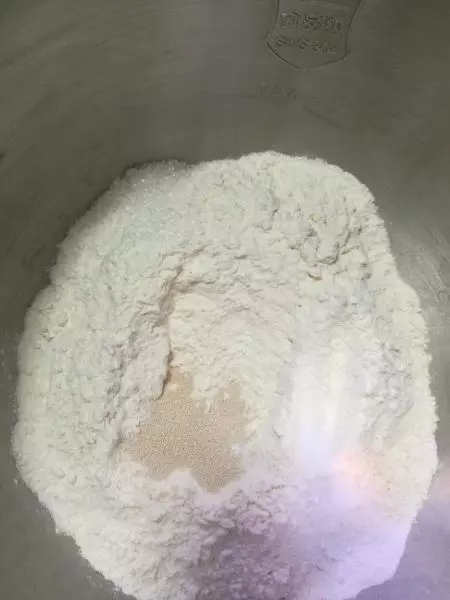
2260克的温水,主要还是看面粉的吸收程度。

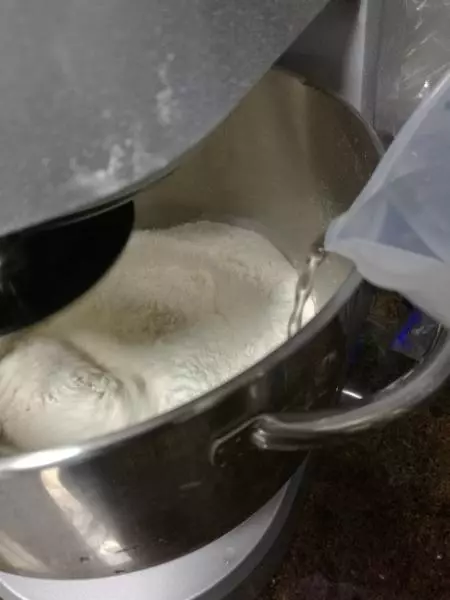
3厨师机开1档,温水缓缓地倒入。 没有厨师机的话就用手来和面哦。◕‿◕。
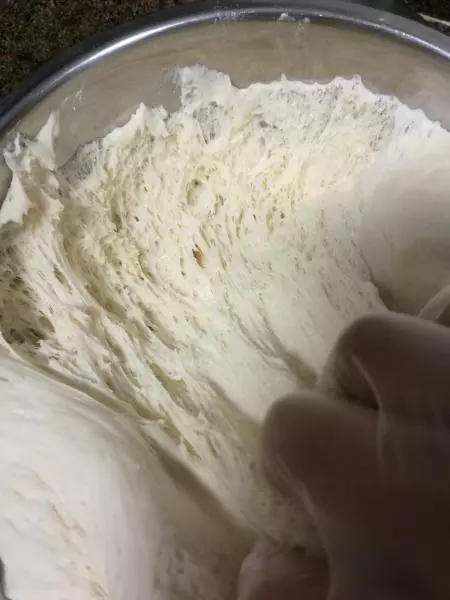
4揉成光滑的面团后,盖上保鲜膜,室温发酵1---1.5小时至两倍大,冬天时间再延长些。这一步非常关键,所以一定要把面发好哦。

5利用面团发酵的时间把葱花和火腿肠准备好,火腿肠切丁,葱切成细葱花。

6面团有没有发好,可以扒开面团看看,有蜂窝组织状就是发好了╮ (. ❛ ᴗ ❛.) ╭
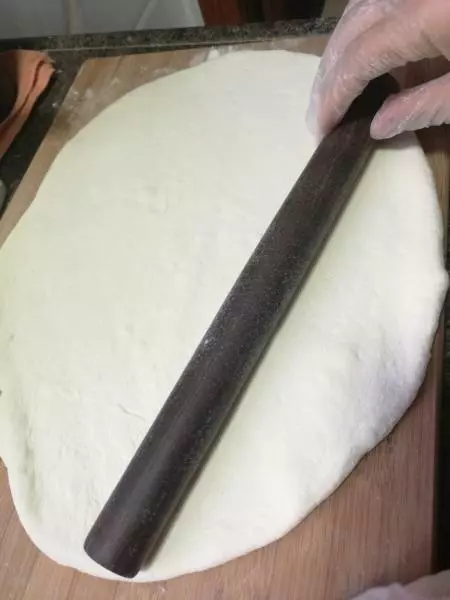
7发酵好的面团重新放到厨师机里开3/4档进行排气两分钟(此步骤忘了拍照) 没有厨师机的话就用手揉来排气。 案板撒一层薄干面粉,然后取一半的面团用擀面杖擀开,撒上干面粉防粘。
8把油倒在面皮上,用油刷抹均匀。

9取盐。
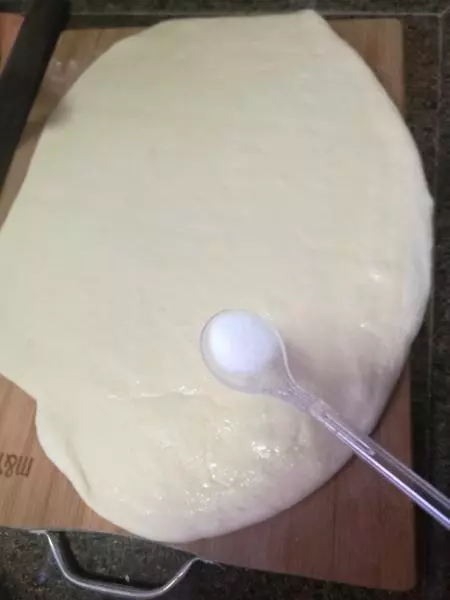
10用手把盐均匀的撒在上面。

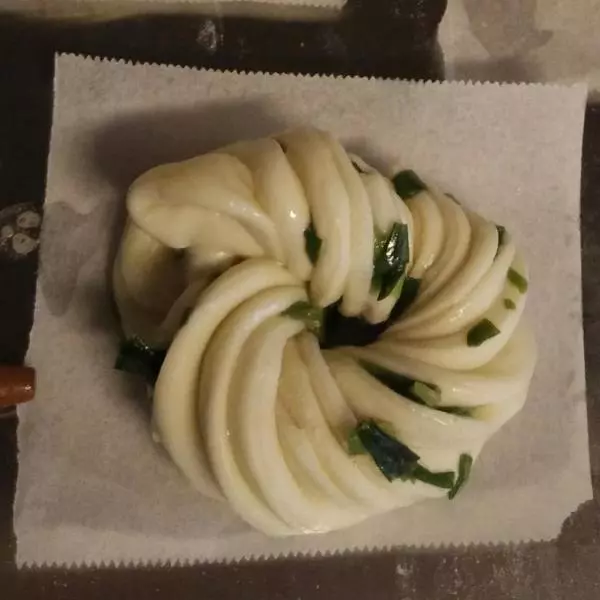
11葱花和火腿肠丁也撒上 然后把面皮卷起

12分成均匀的小个

13用一根筷子从中间往里压下去

14手捏着两端,拉一点长。

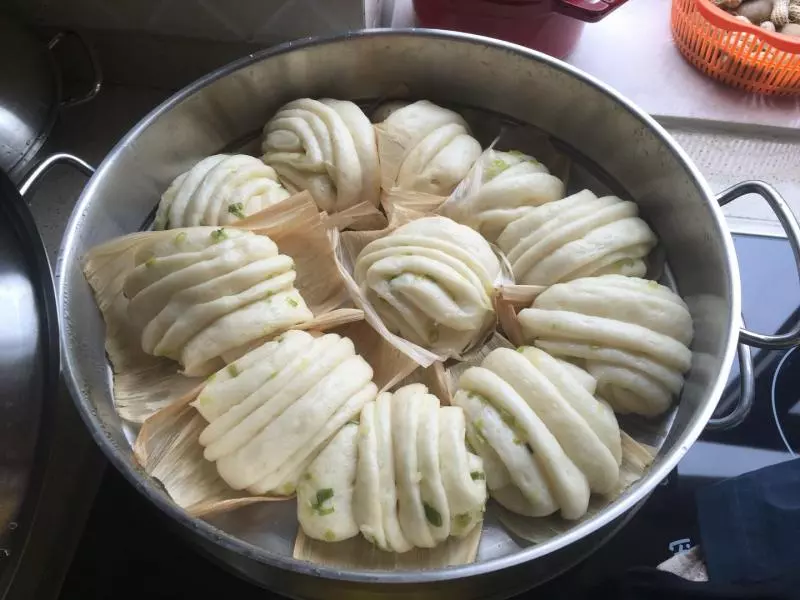
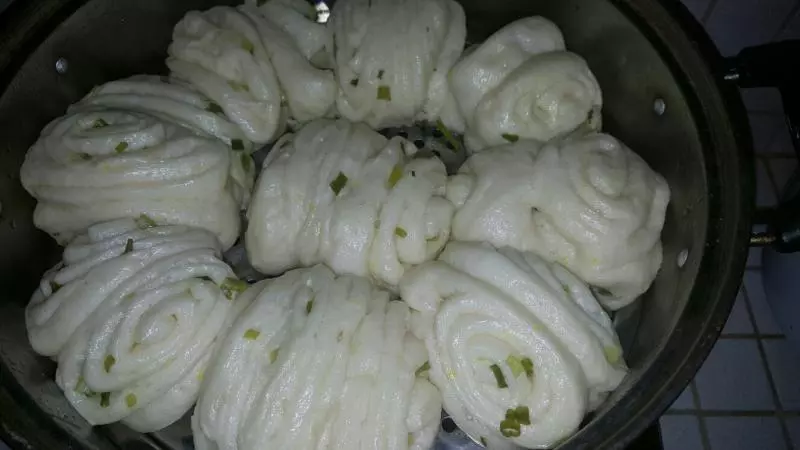
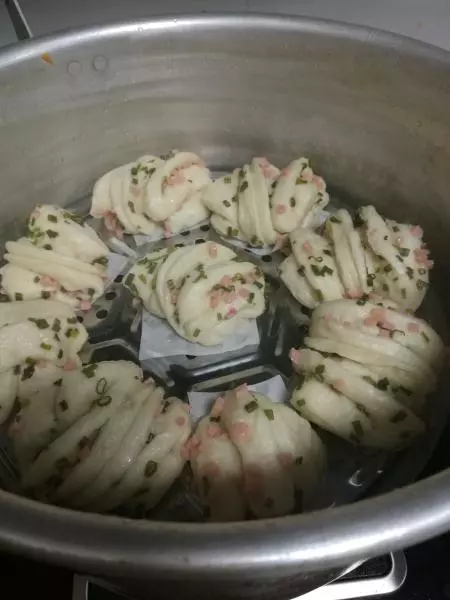
15绕一圈,两端朝下捏紧。

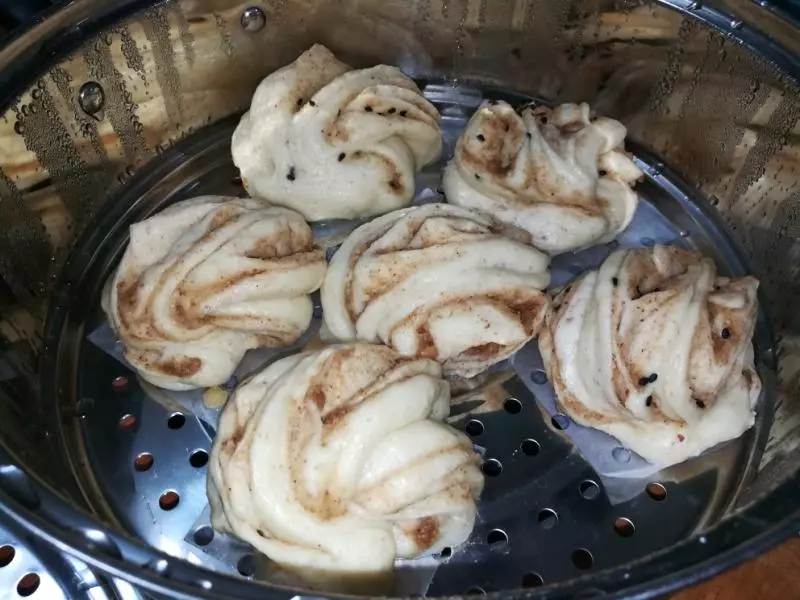
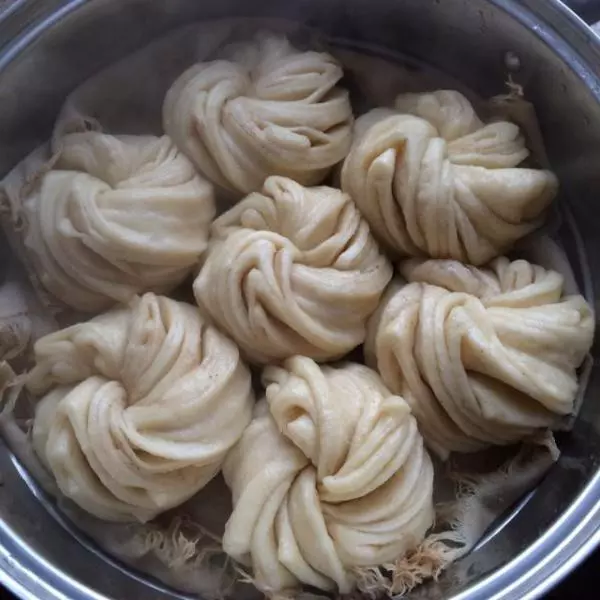
16垫上油纸

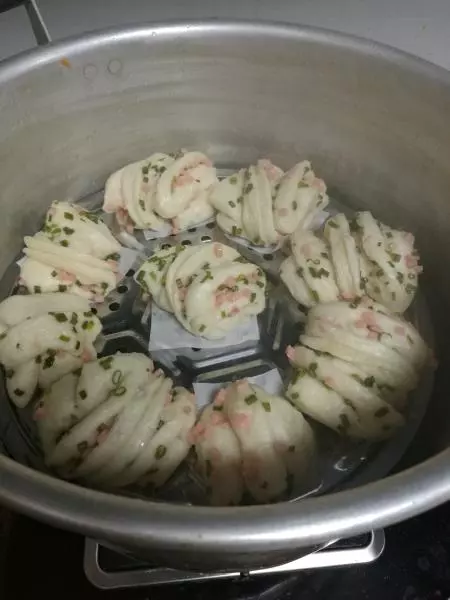
17锅中底部放入凉水,把花卷摆好。盖上锅盖让其醒发二十分钟,之后开大火蒸。

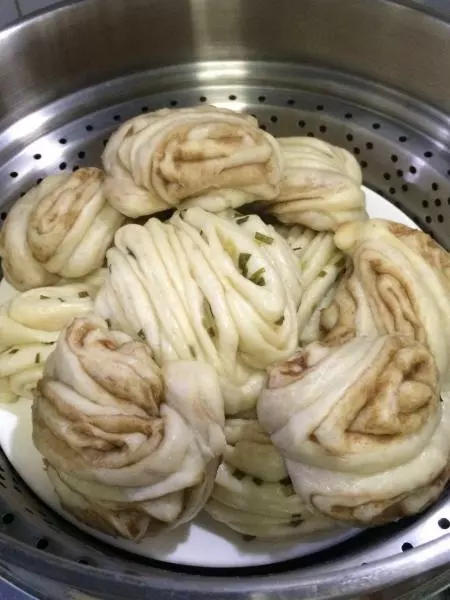
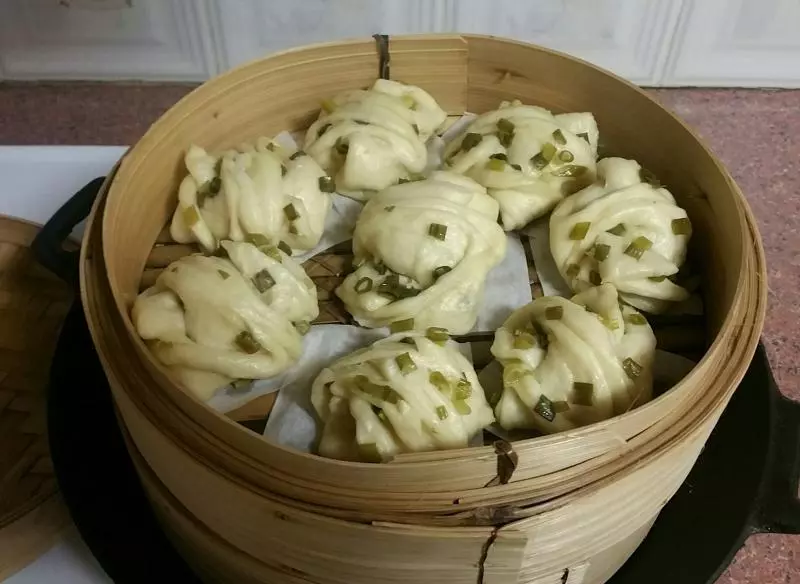
18蒸十五分钟后关火,先别急着开盖,让其焖三到五分钟再开盖。 当当当当,美味的花卷就做好啦,开吃咯~