原料
1⃣️鸡蛋: 一个, 2⃣️牛奶: 100g, 3⃣️盐: 2克, 4⃣️奶粉: 40克, 5⃣️白糖: 50克, 6⃣️高粉: 300克, 7⃣️酵母: 5克, 8⃣️汤种: 60, 9⃣️黄油: 20克
步骤
11⃣️到8⃣️按步骤加入面包机,揉面至拓展状态。加入黄油 再次启动揉面功能(我揉了40分钟)。
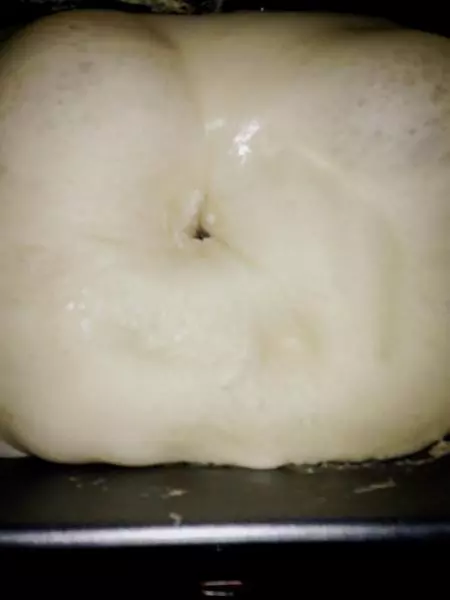
2发好的面 中间手指插进去不回弹,说明发好了。
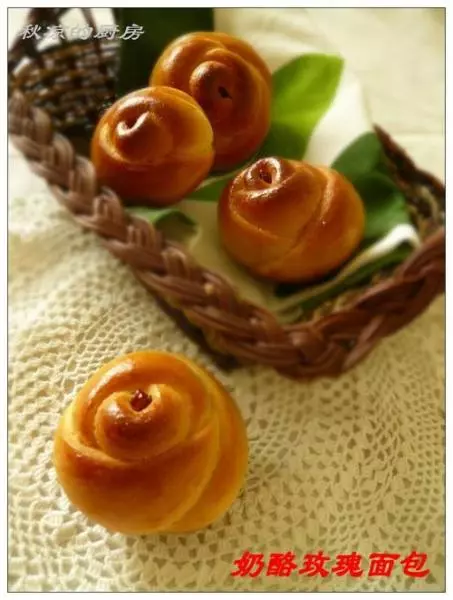
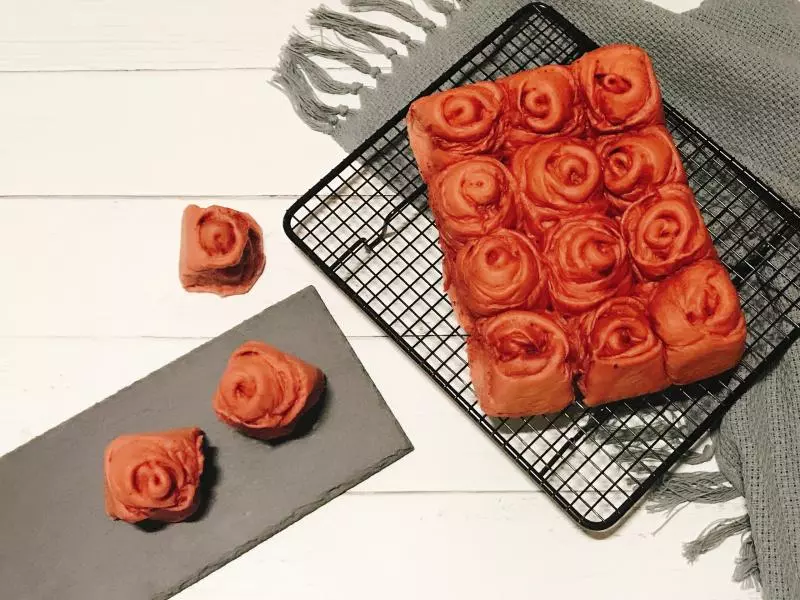
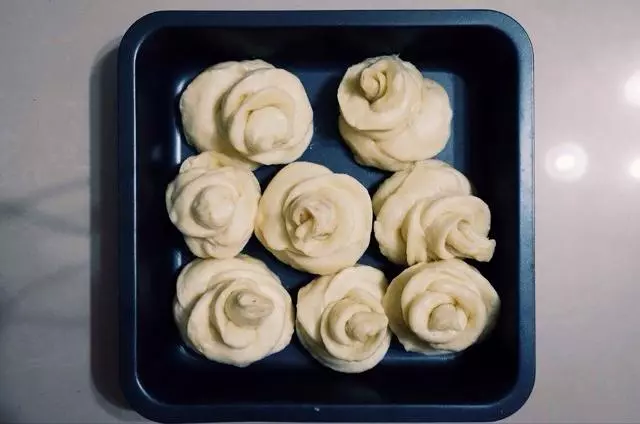
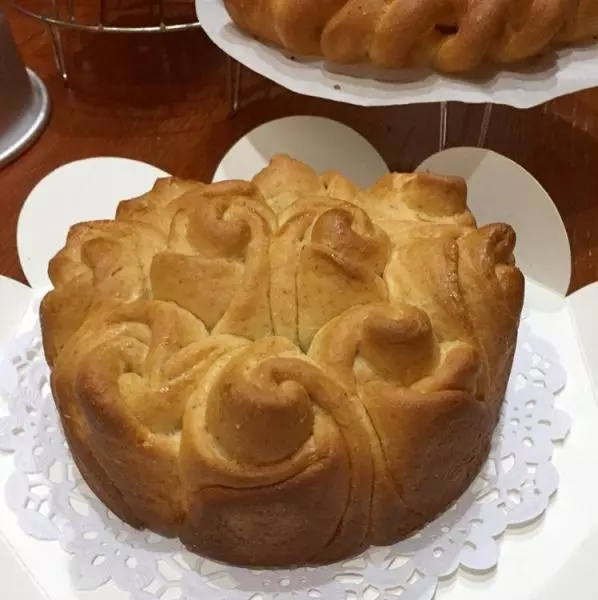
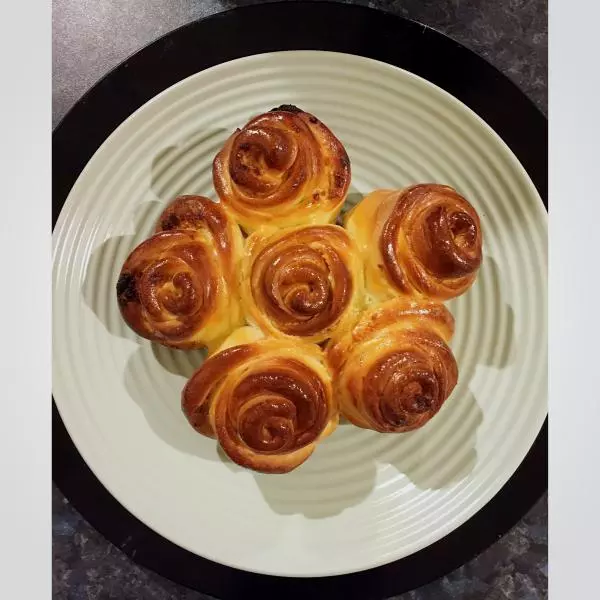
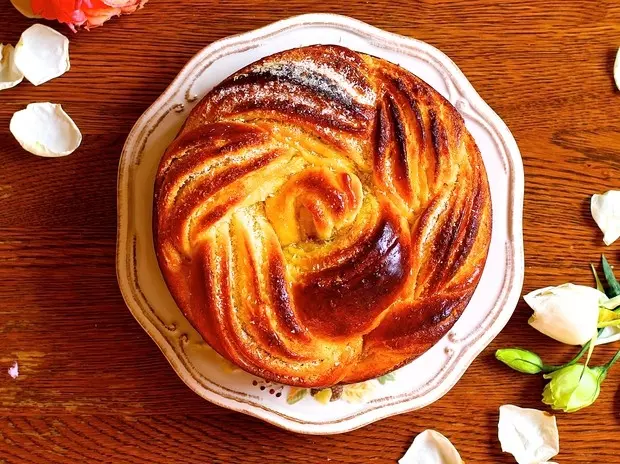
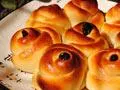
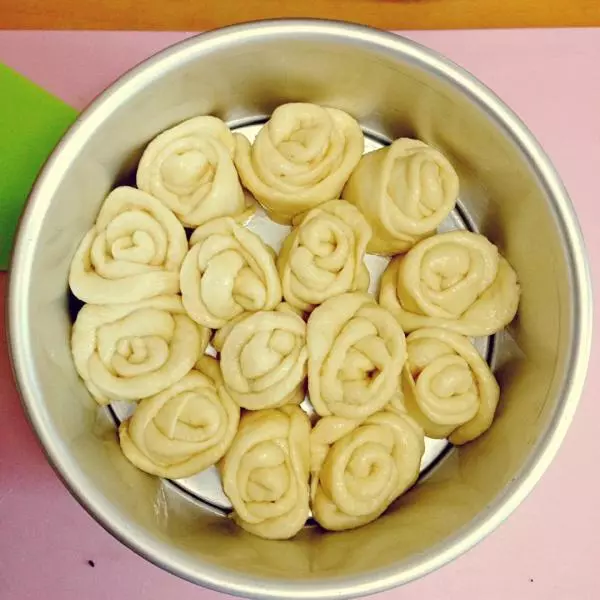
3面团排气,滚圆,分成35个小团,醒发15分钟。擀成饼 分别叠加,中间切开成玫瑰花状摆入八寸模具。
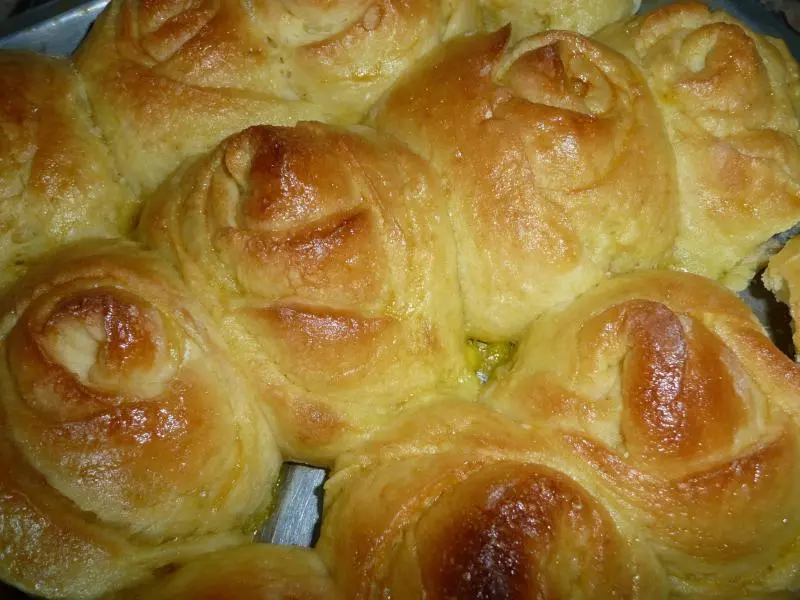
4放入烤箱二次发酵至2到2.5倍大,取出刷上全蛋液。
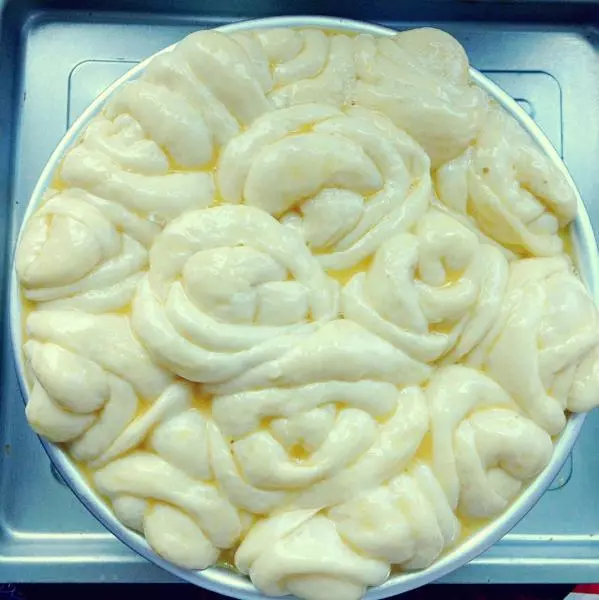
5发大啦? 再接再厉!

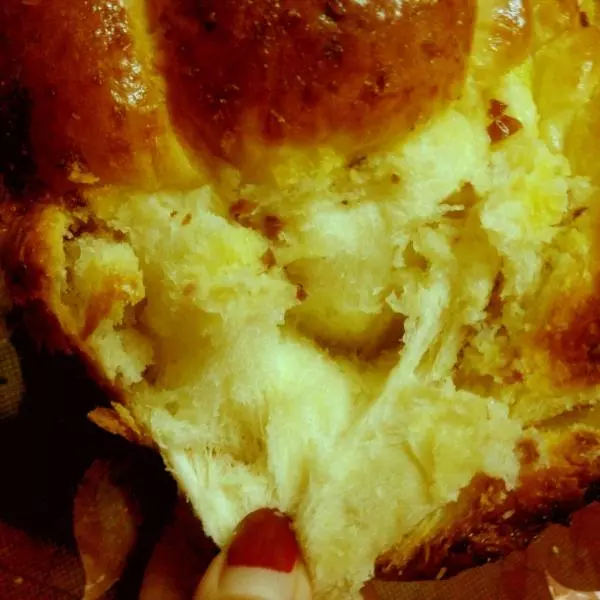
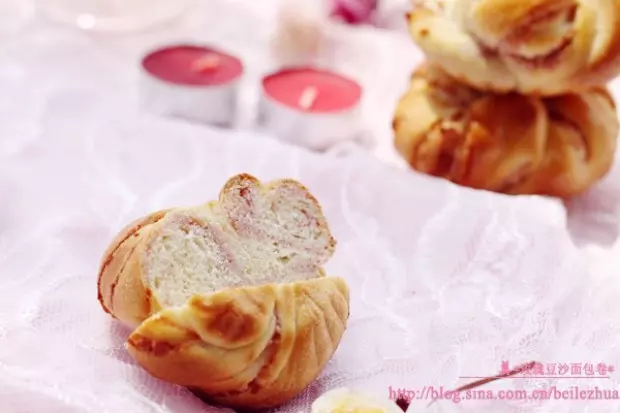
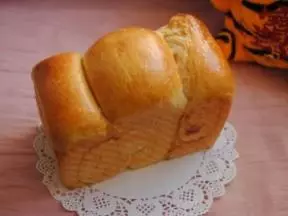
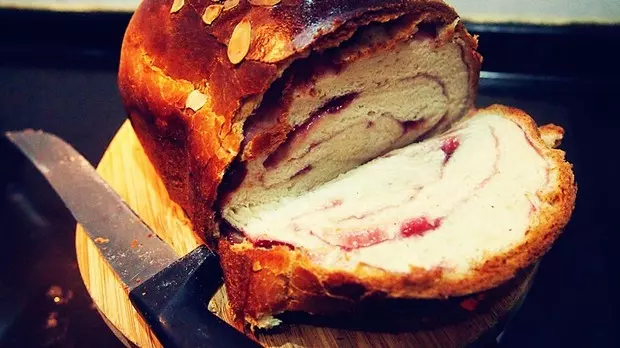
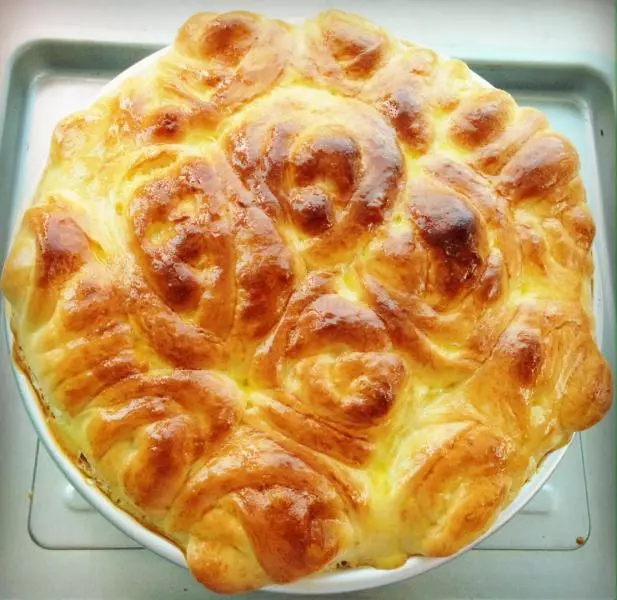
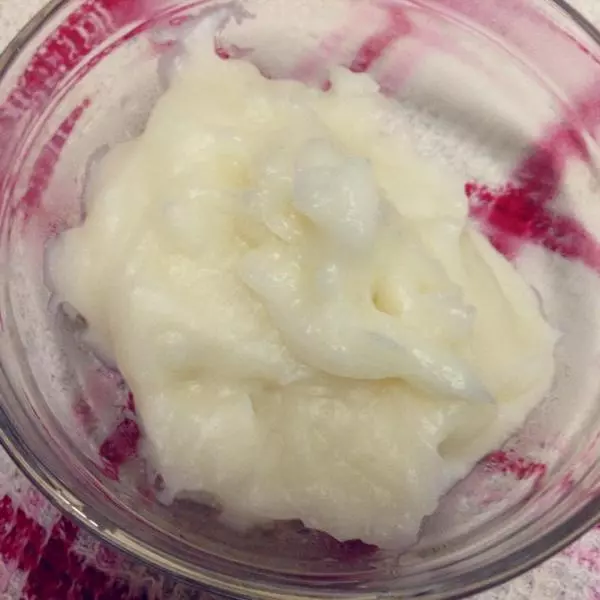
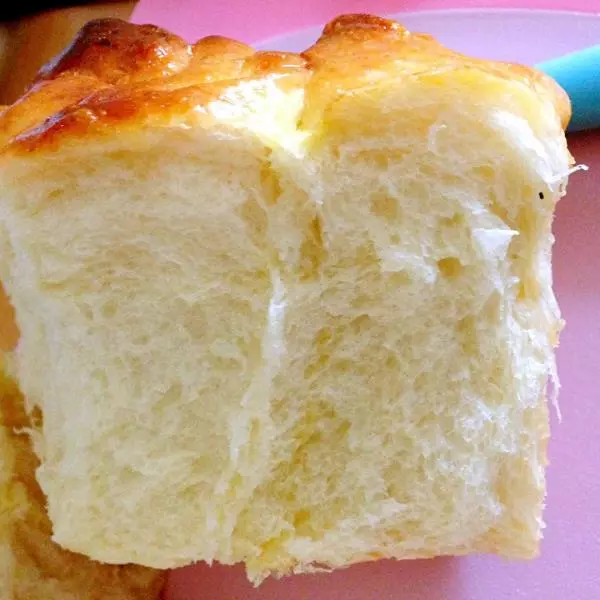
6拉丝效果棒棒哒 ~
小技巧
注意烘烤时间哦???