原料
鸡蛋: 2个, 低筋面粉: 60g, 白糖: 10g, 黄油: 40g, 牛奶: 50g, 清水: 50g, 盐: 2g, 奶油馅: 适量, 糖粉: 适量, 草莓: 适量
步骤
1锅中倒入牛奶和清水
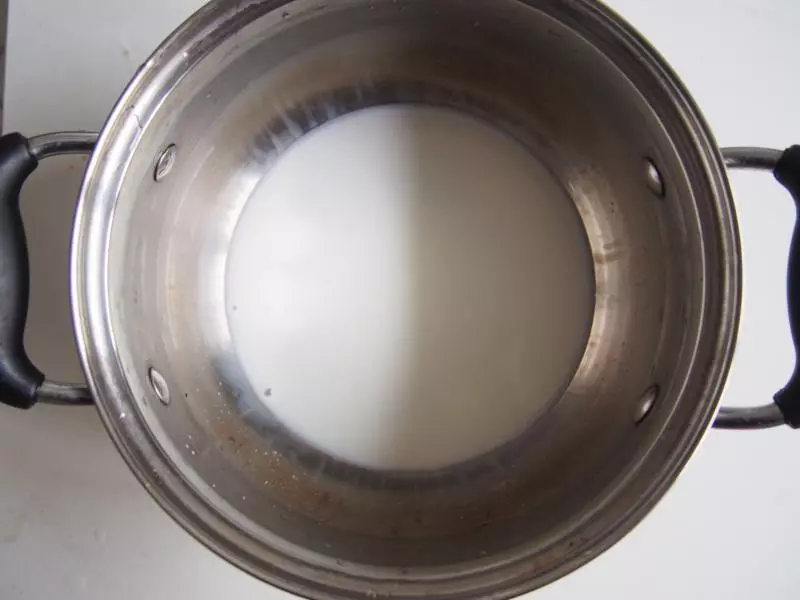
2加入黄油,加热至沸腾,边加热边搅拌至充分混合

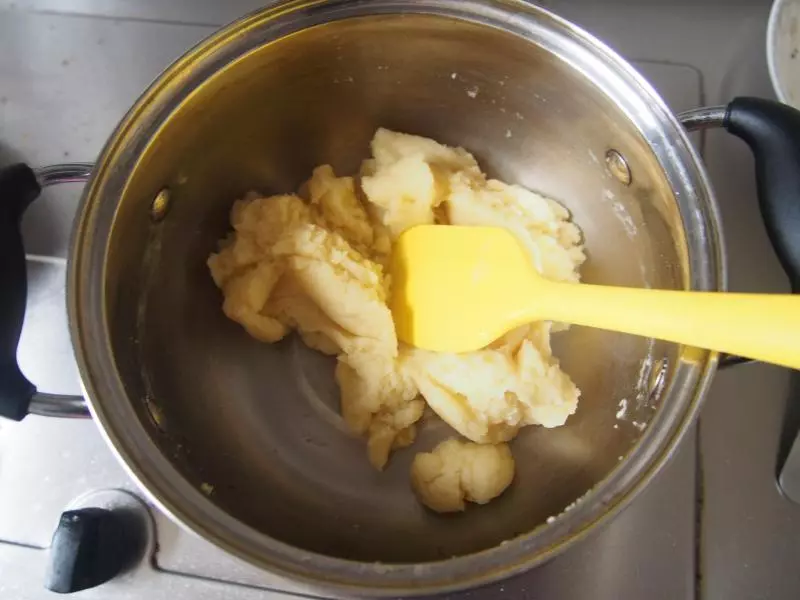
3倒入面粉,转小火,快速搅拌至不粘锅的状态后取下,将面糊铺开散热至60度左右
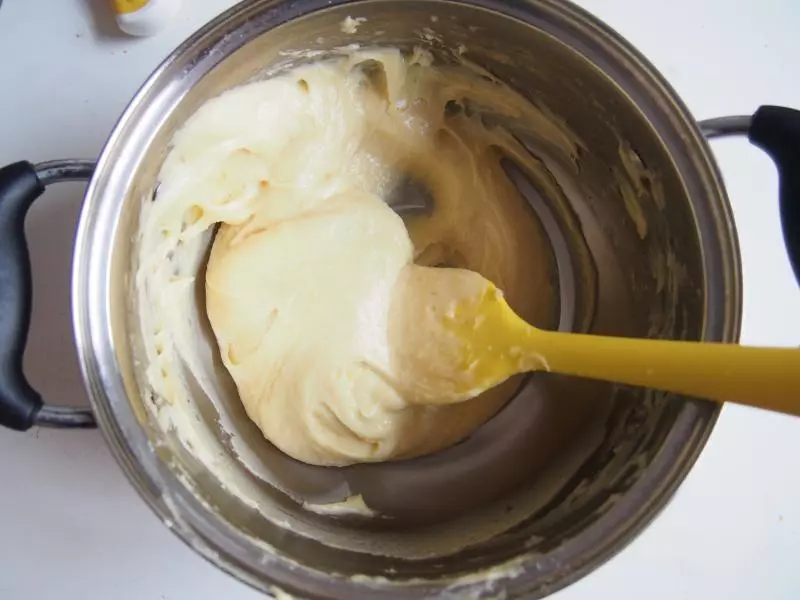
4每次加入一个鸡蛋,搅拌至充分吸收

5搅拌至顺滑状态,用筷子挑起呈倒三角,尖角底部约4厘米就可以了
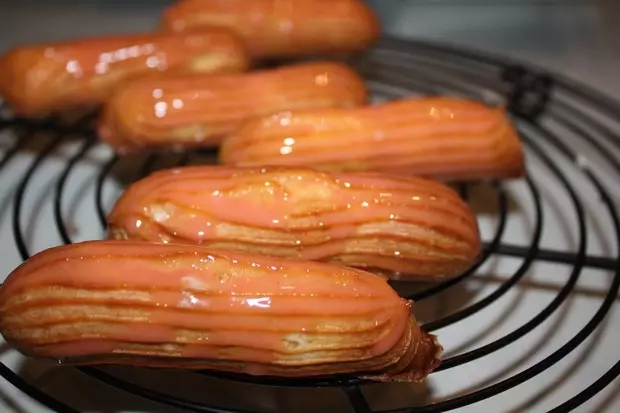
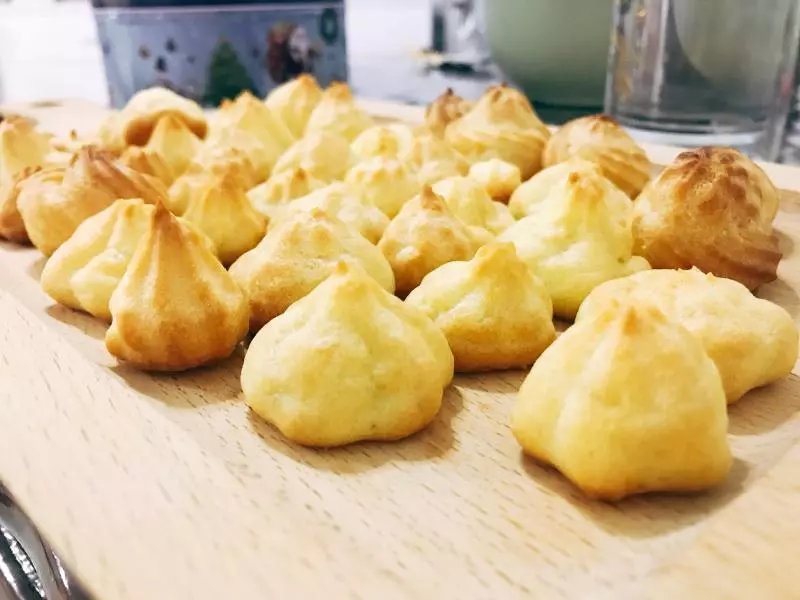
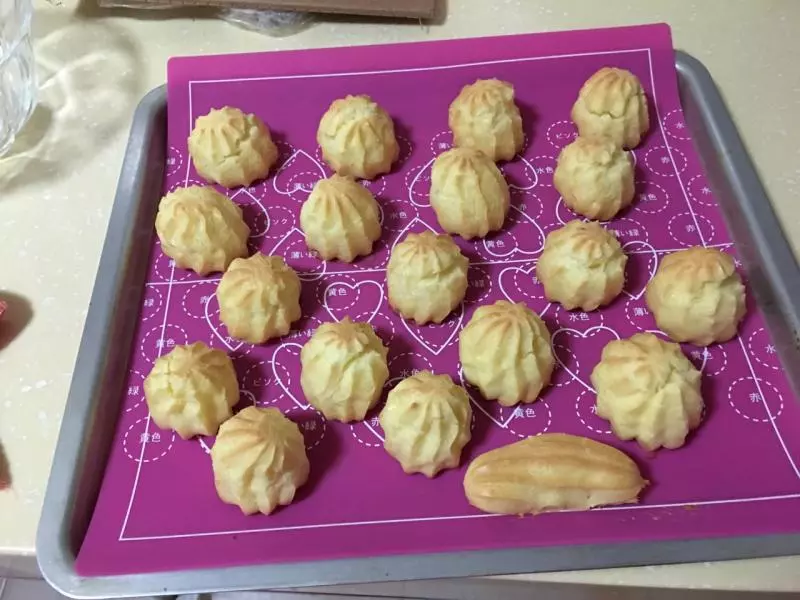
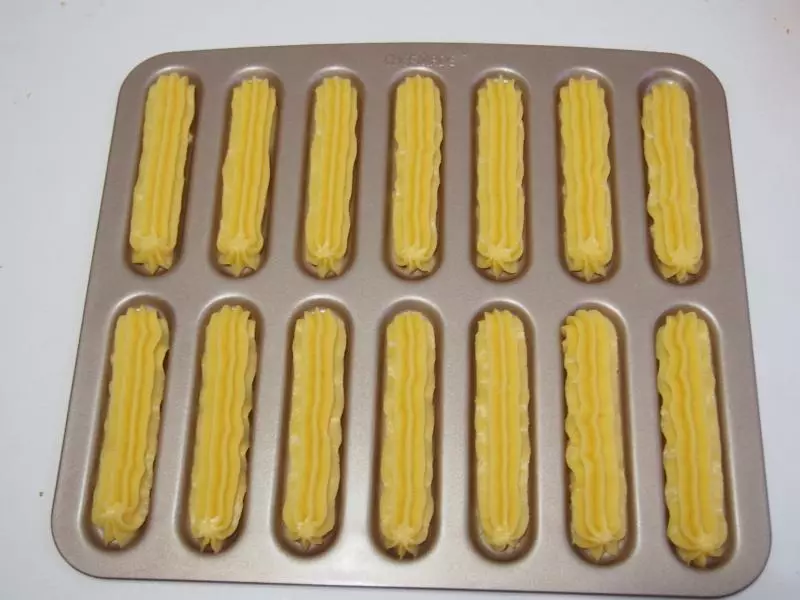
6将面糊放入裱花袋中,挤到模具上
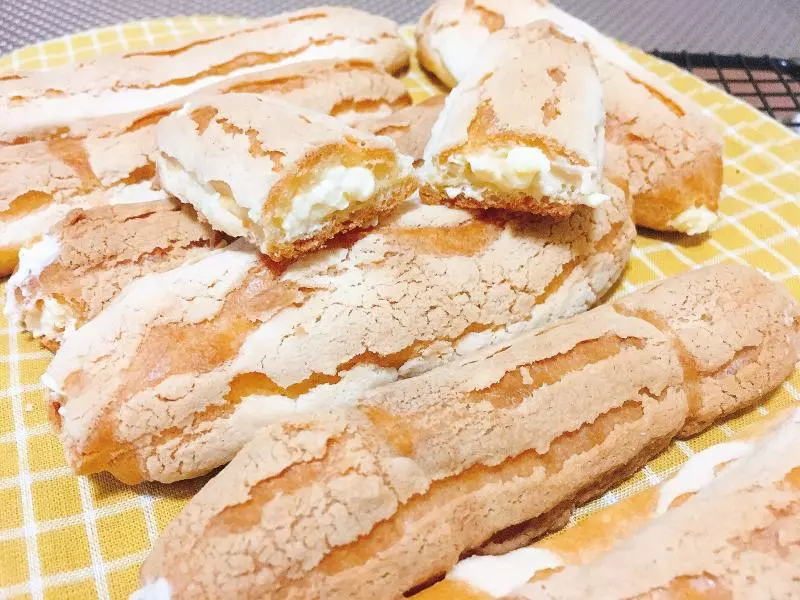
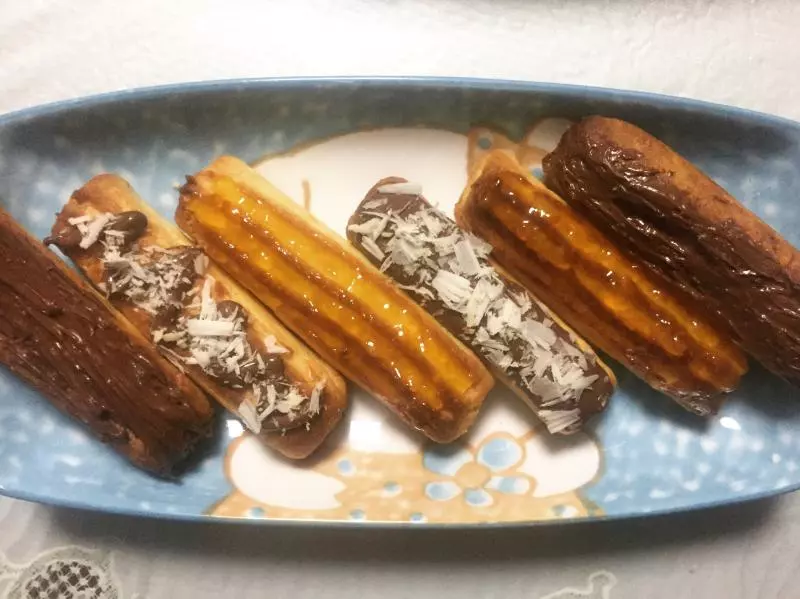
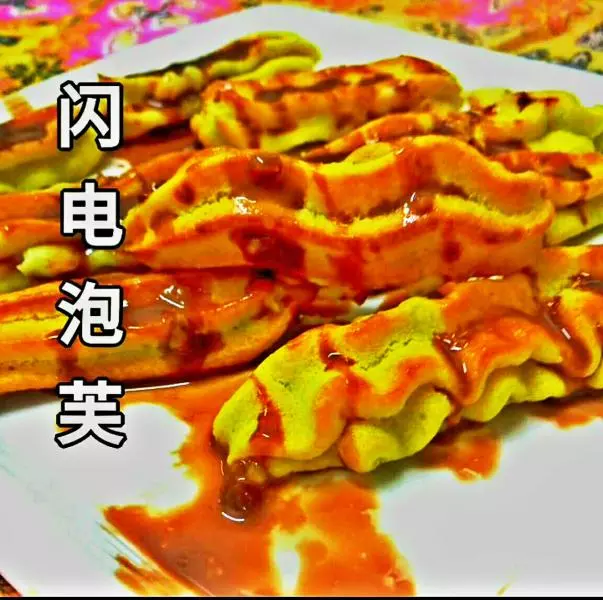
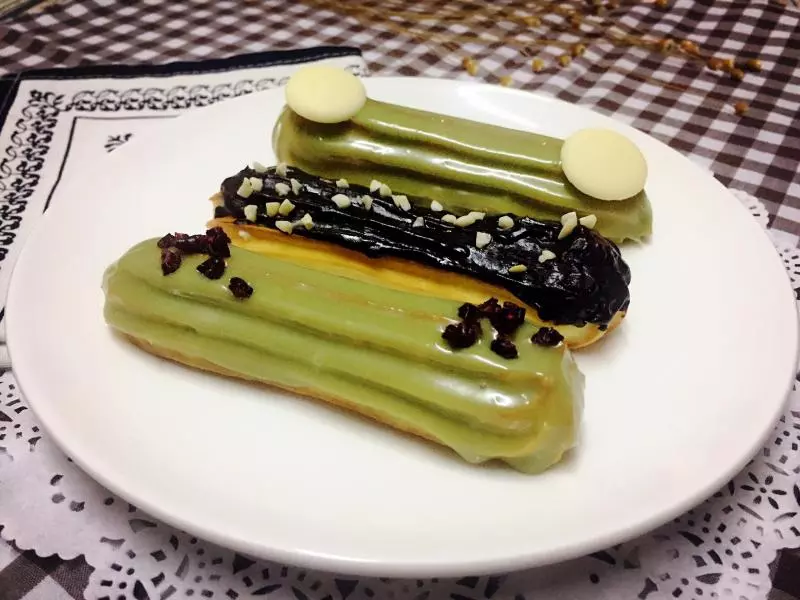
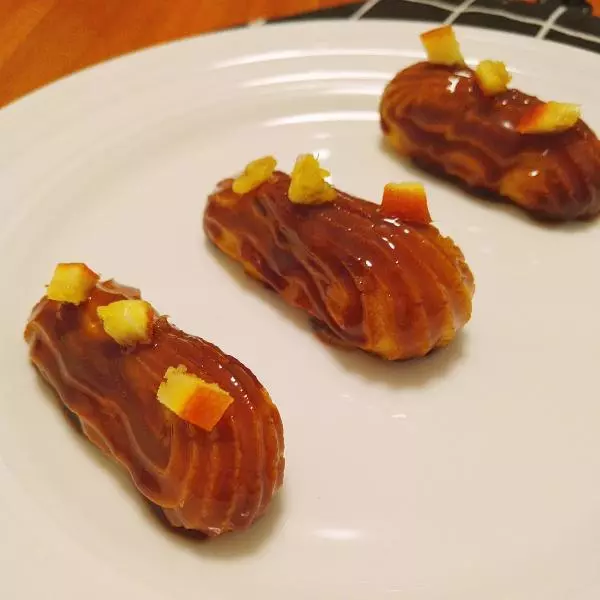
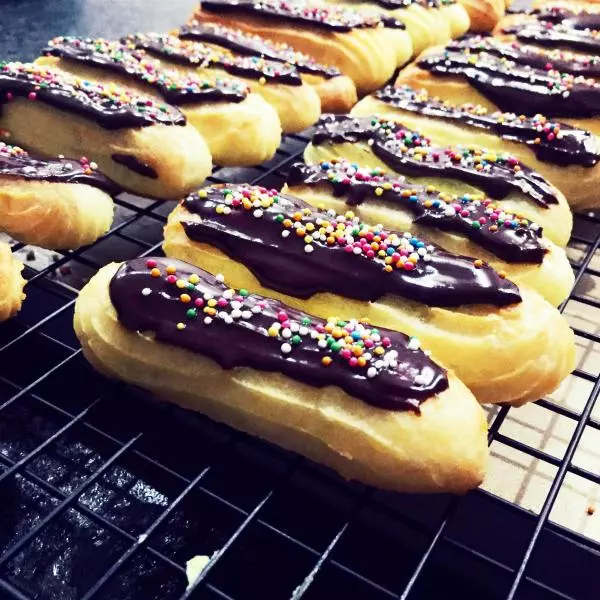
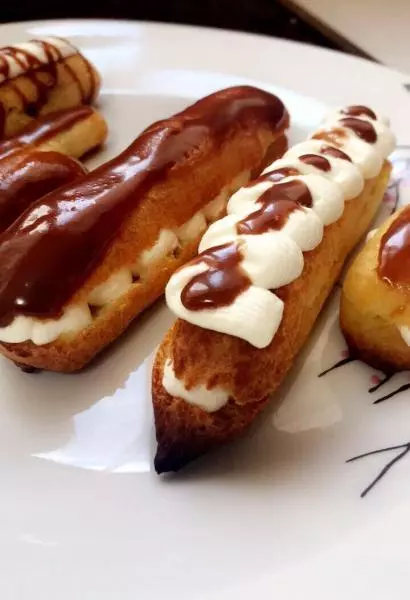
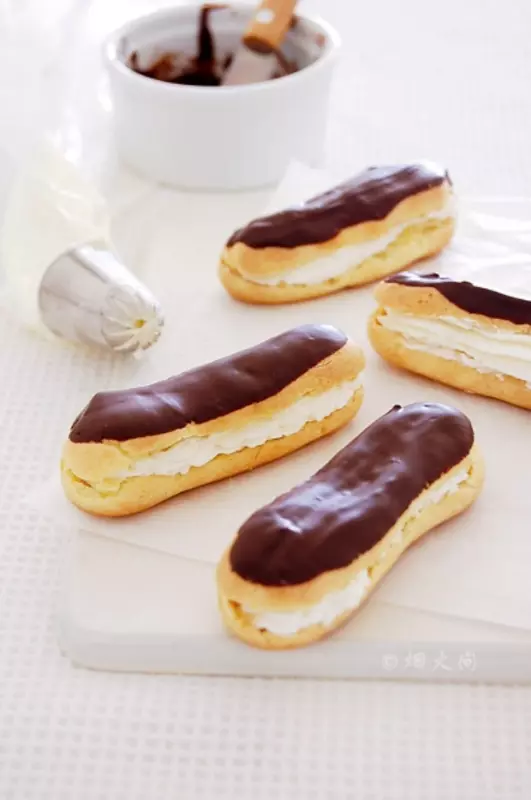
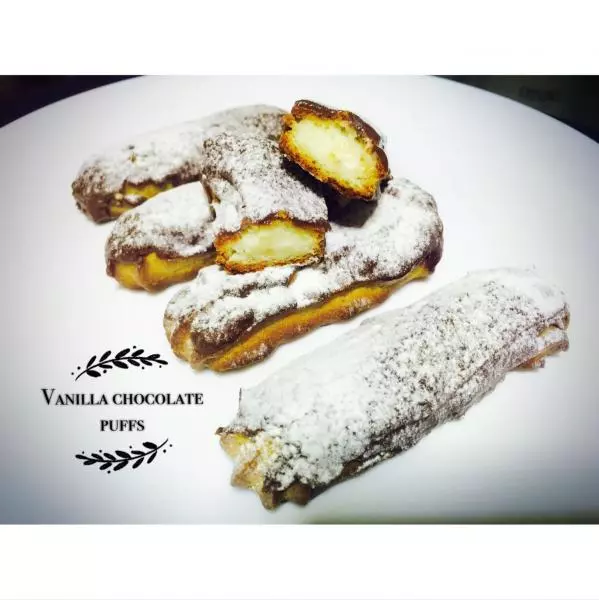
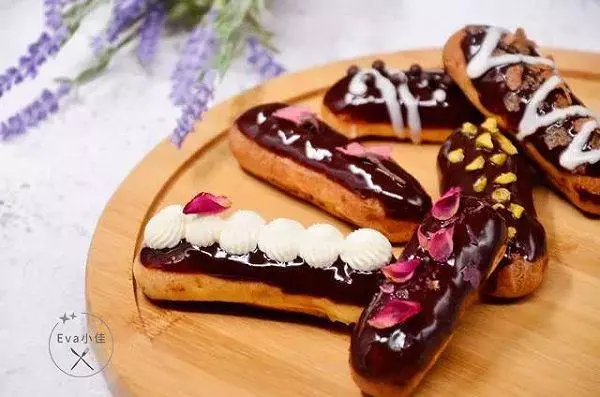
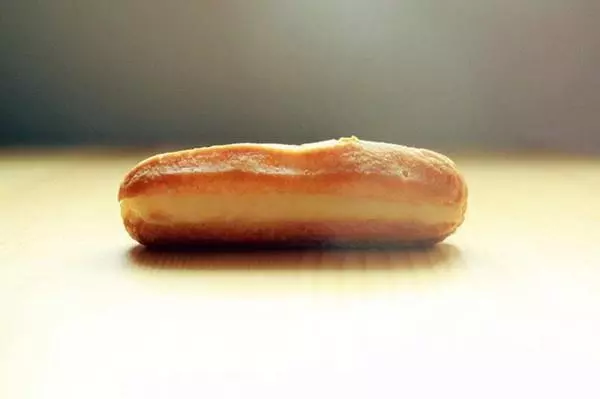
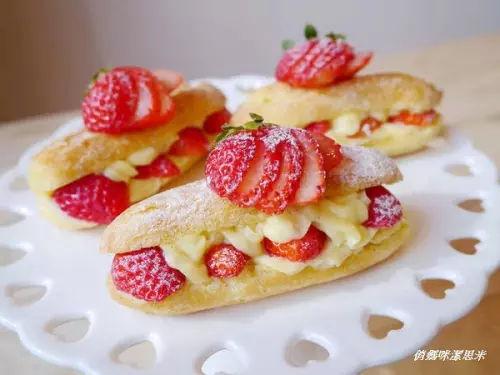
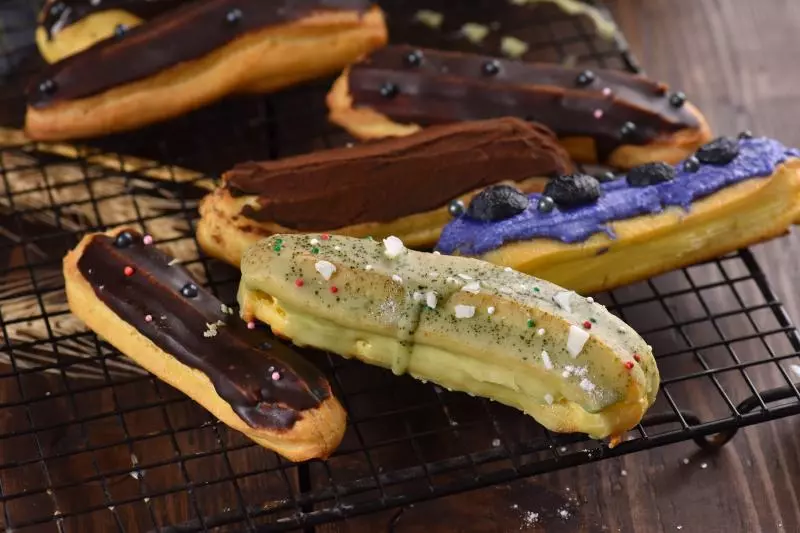
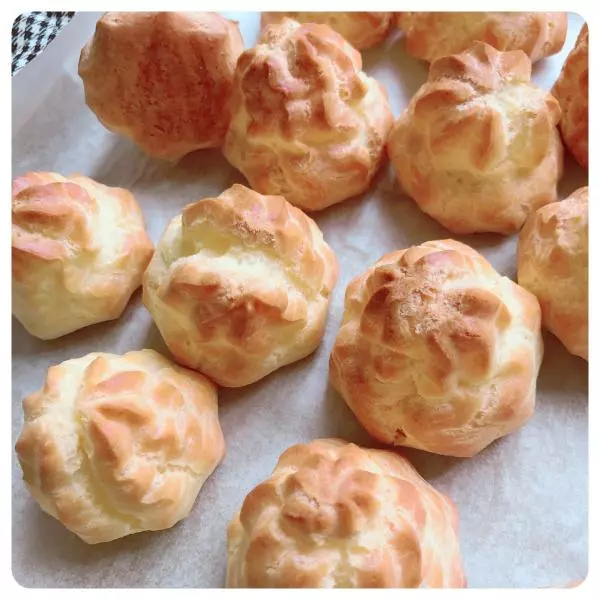
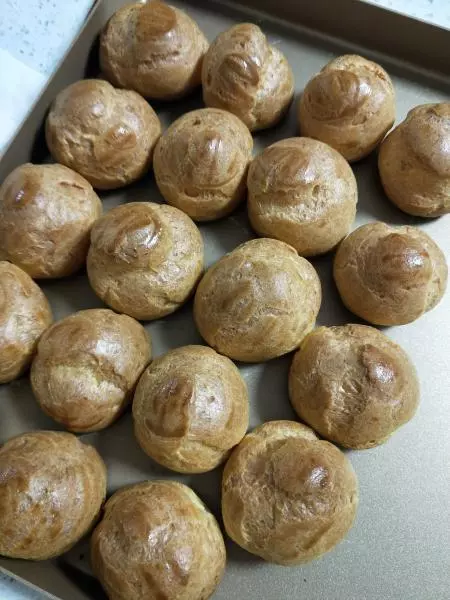
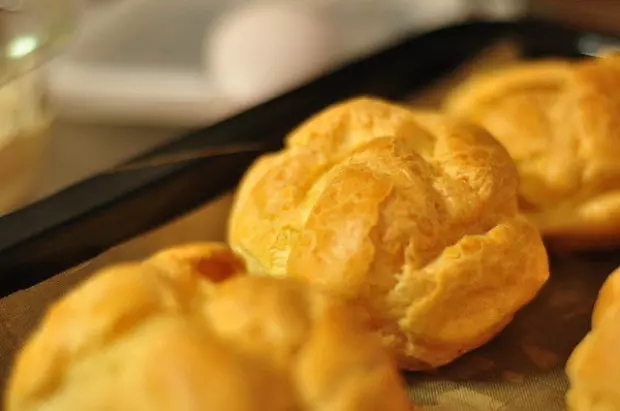
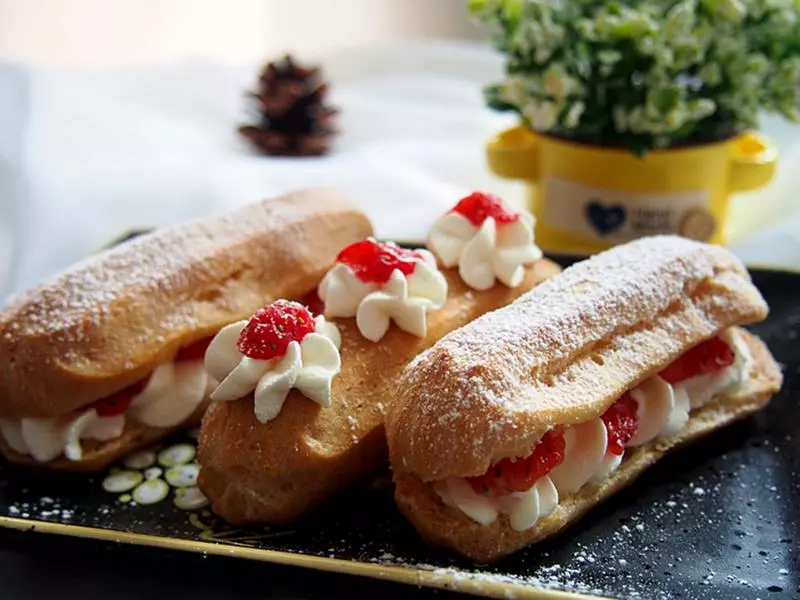
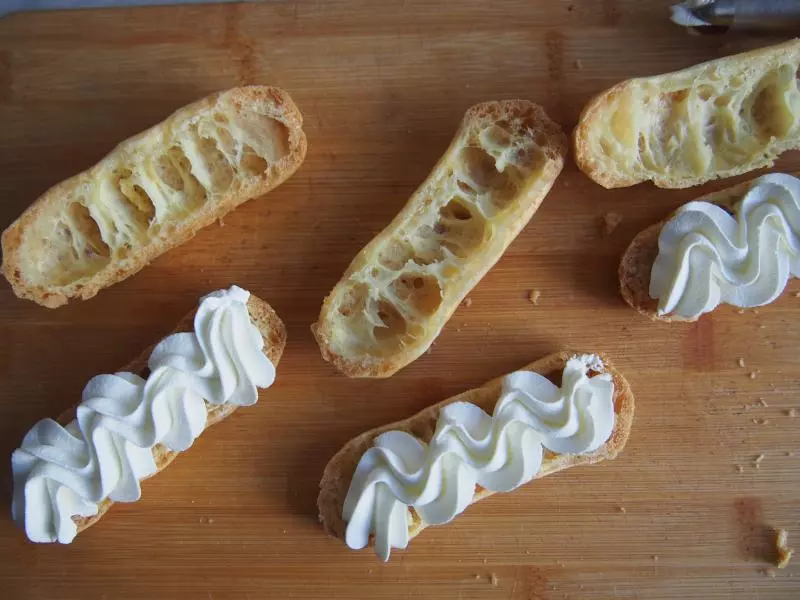
7烤箱预热至200度,中层上下火,30分钟左右熟透即可,烤好的泡芙切成两半,中间挤上淡奶油,表面可以按照自己的喜好进行装饰
小技巧
1、面糊中的鸡蛋不要一次性加入,要根据面糊的状态进行调整,以刮刀挑起面糊呈倒三角状,尖角底部约4厘米为宜; 2、烘烤的时间和温度要根据自己烤箱的脾气进行调整,不要一成不变哦~ 3、烘烤过程中不要打开烤箱门,否则会塌陷的哦~