原料
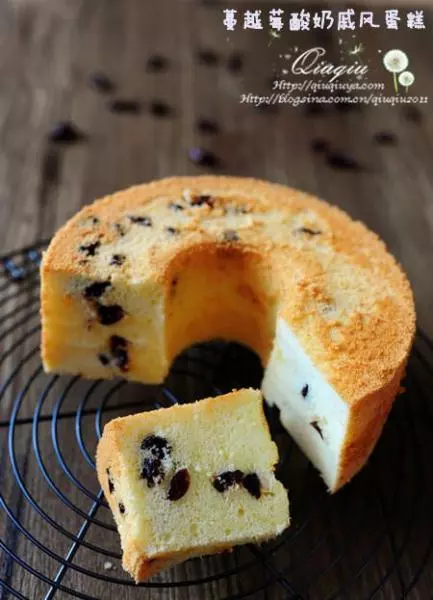
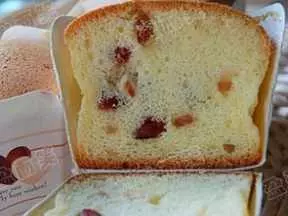
蛋黄糊:: , 蛋黄: 5个, 牛奶: 65克, 色拉油: 50克, 低粉: 85克, 蛋白霜:: , 蛋白: 5个, 细砂糖: 85克, 柠檬汁: 几滴, 蔓越莓干: 50克
步骤
1分离蛋黄蛋白至无油无水的打蛋盆中,蛋白先放到冰箱冷冻室备用

2加入玉米油,用手动打蛋器搅拌至完全融合
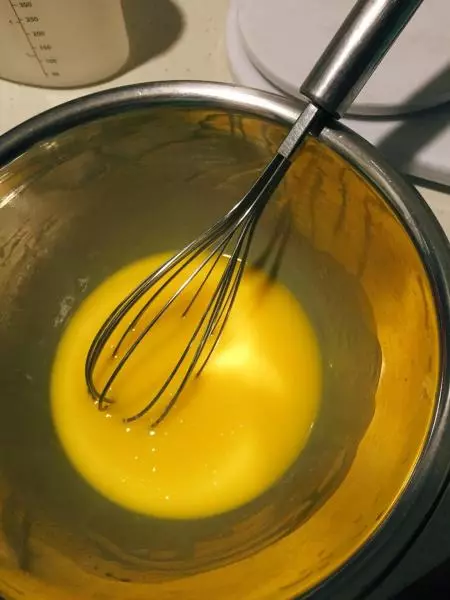
3加入牛奶,搅打到完全融合。根据面粉的吸水情况调整牛奶的量,我用的面粉较吸水,所以加到了65克

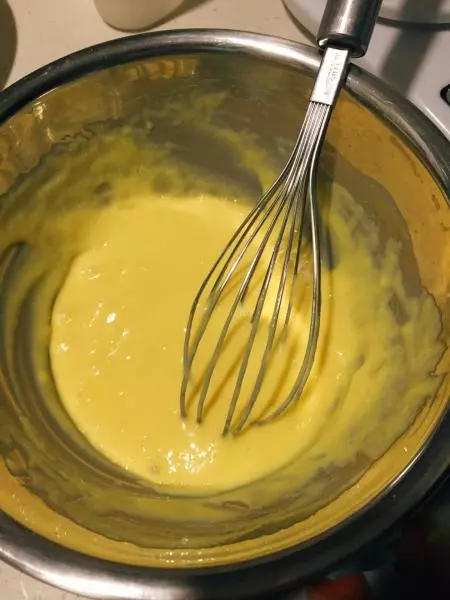
4筛入低粉并搅拌至顺滑无面粉颗粒为止
5将蛋白从冷冻室取出,加几滴柠檬汁,打到粗泡时加入1/3的细砂糖
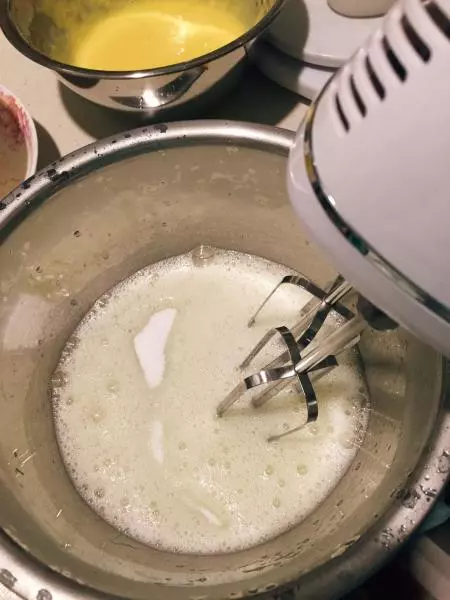
6将剩余的细砂糖分2次加入蛋白霜中,打蛋器由中速转到高速打发蛋白
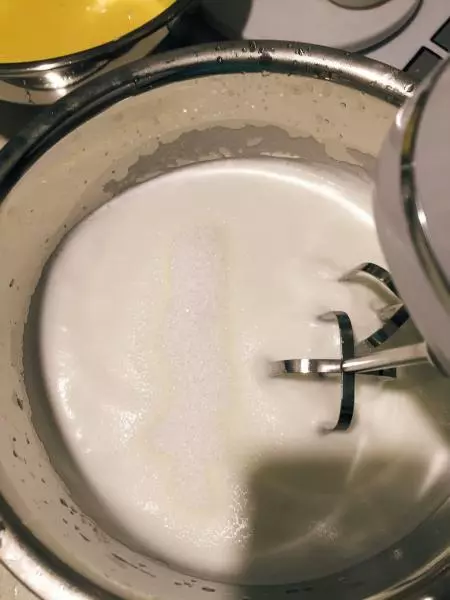
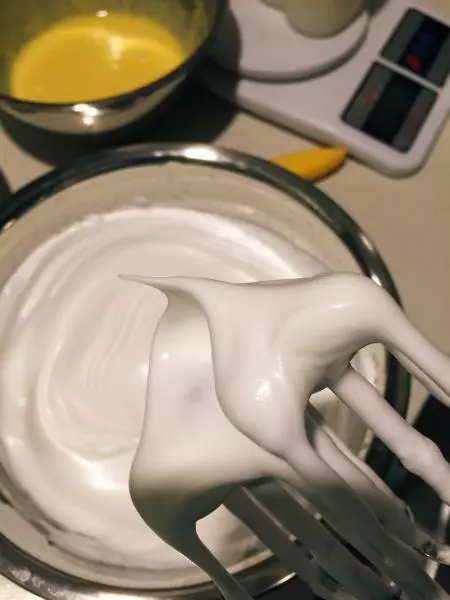
7打好的蛋白霜细腻光滑,轻轻提起打蛋器有直立的尖角
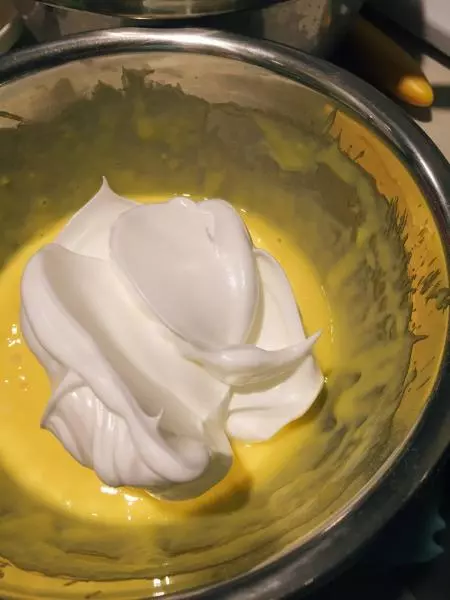
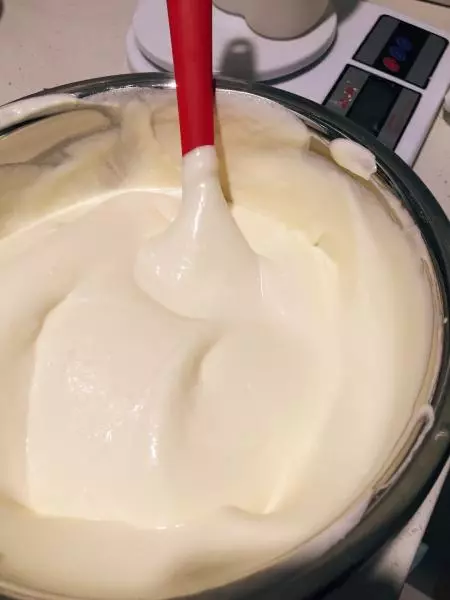
8将1/3的蛋白霜加入到蛋黄糊中,翻拌均匀
9再将蛋黄糊倒入到剩余的蛋白霜中,充分得翻拌均匀
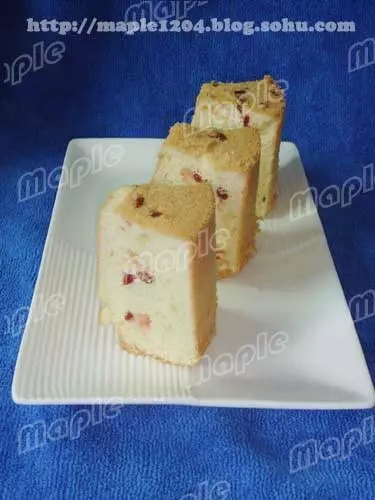
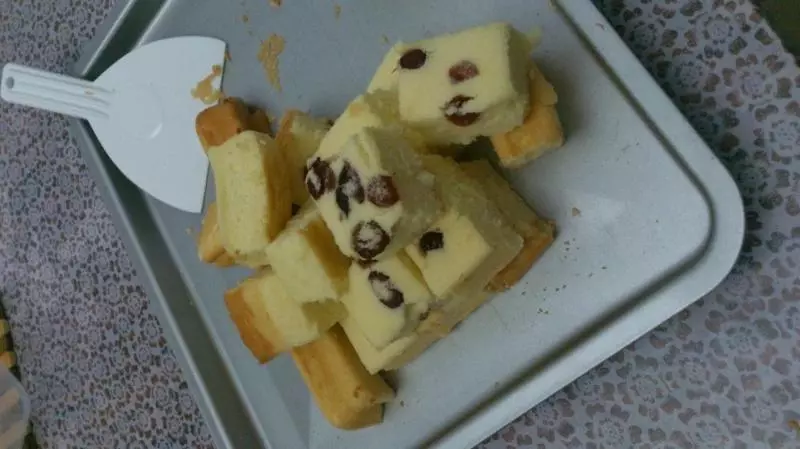
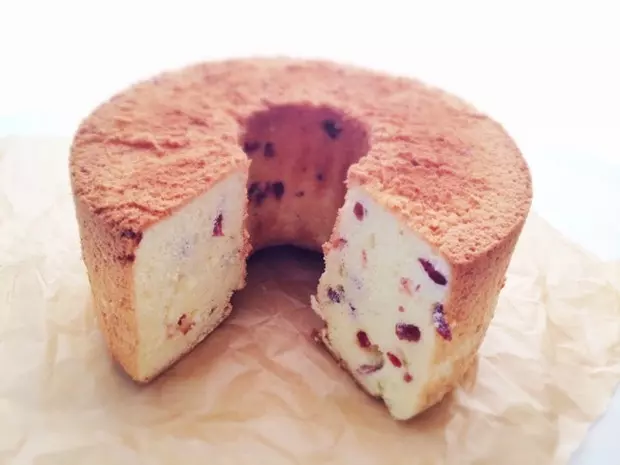
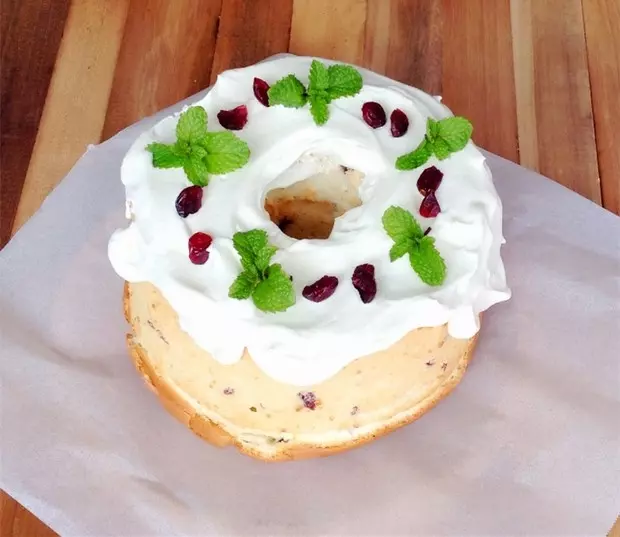
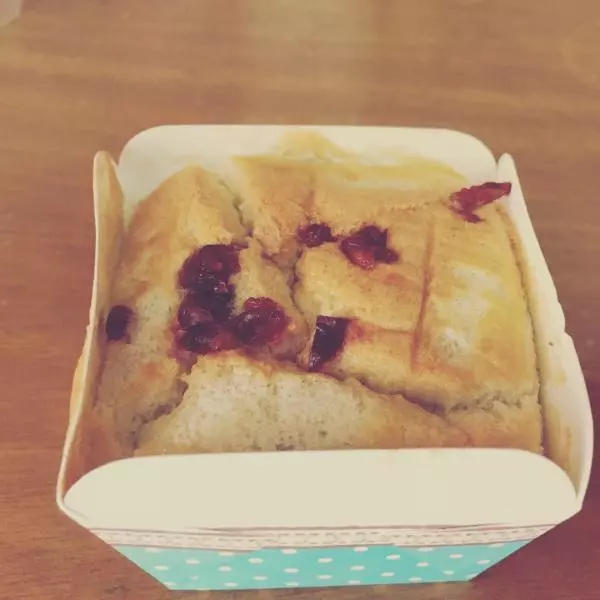
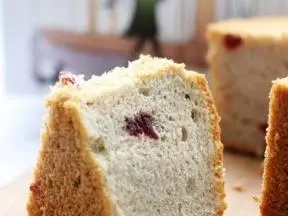
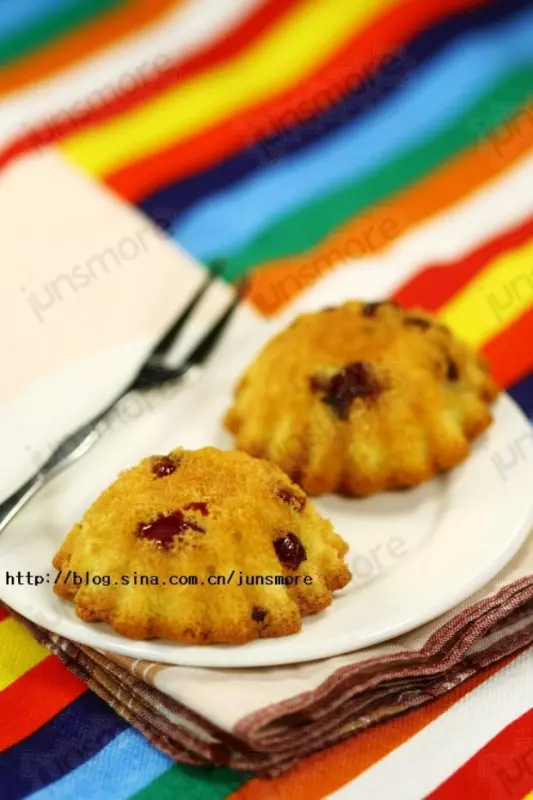
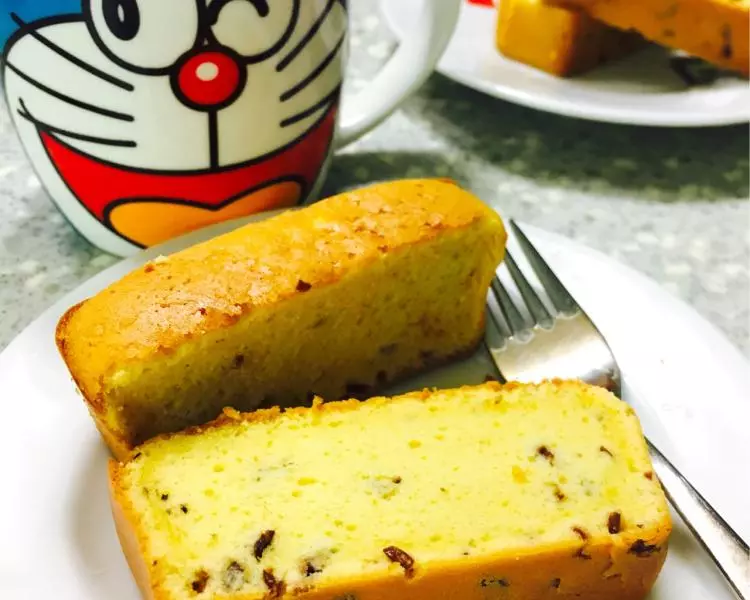
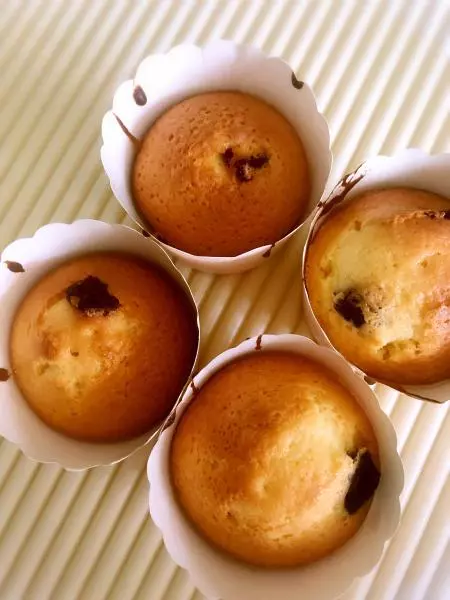
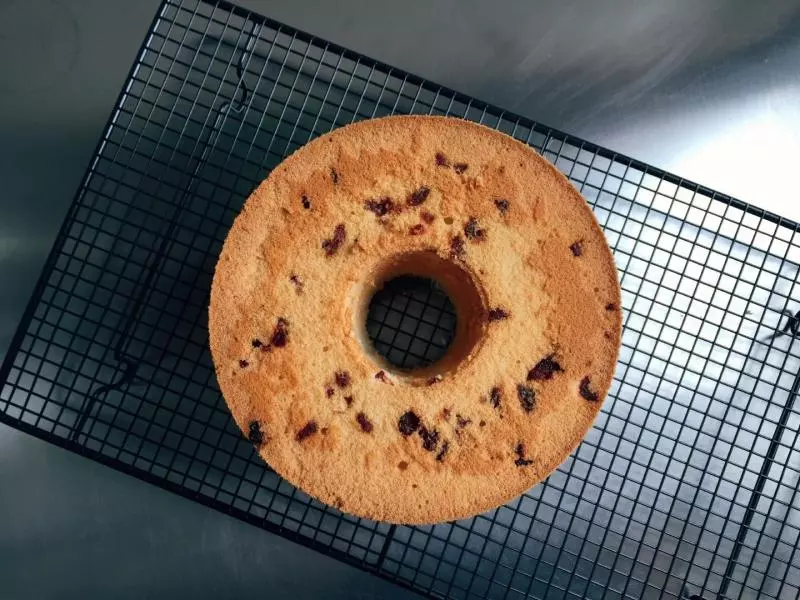
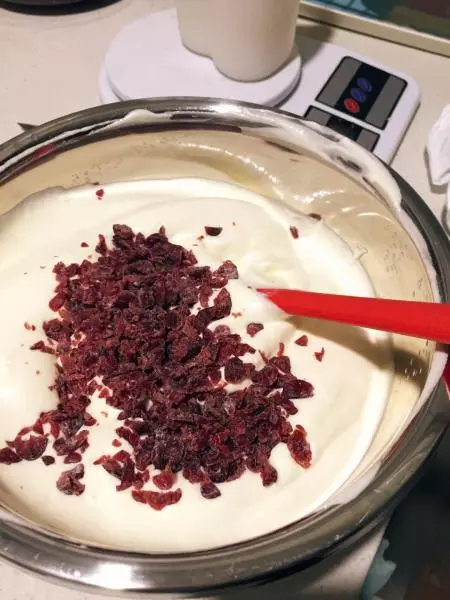
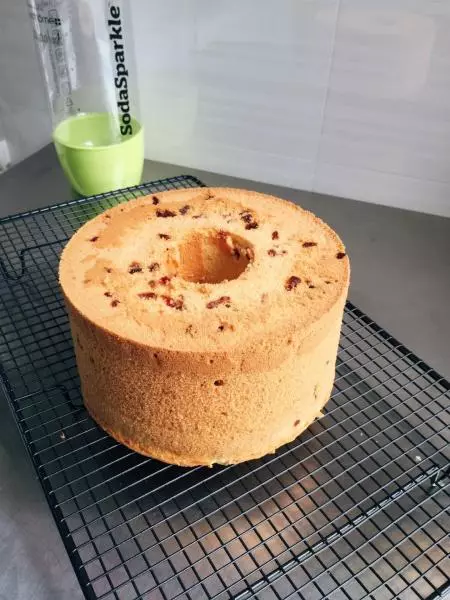
10放入事先准备好的切碎的蔓越莓,稍微翻拌几下(蔓越莓切碎,撒一些低粉拌匀,以防沉底)
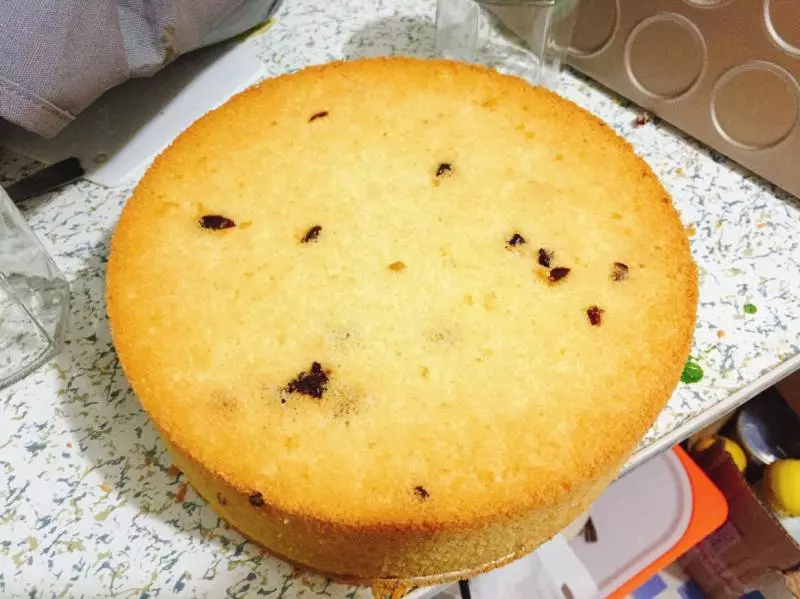
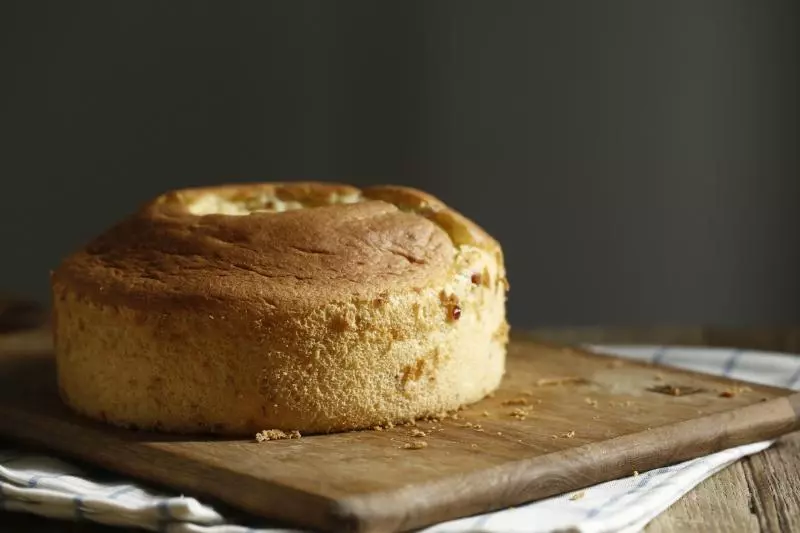
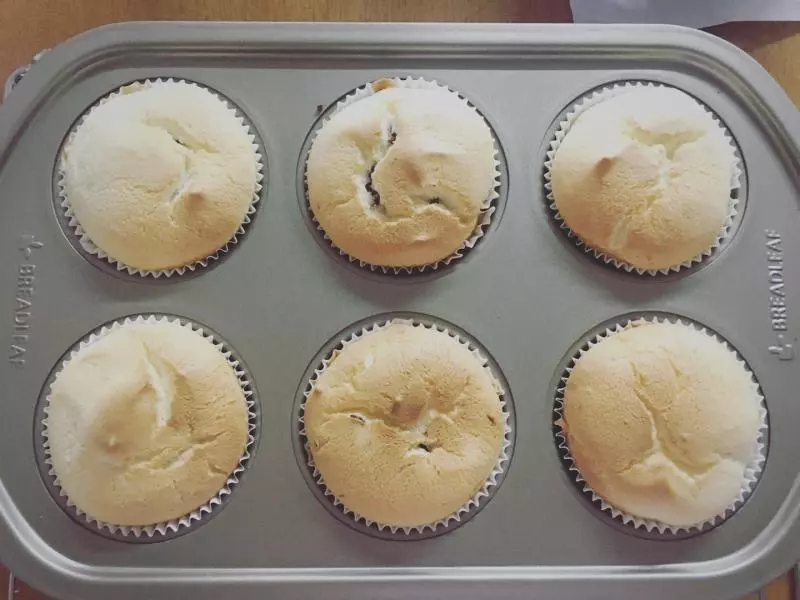
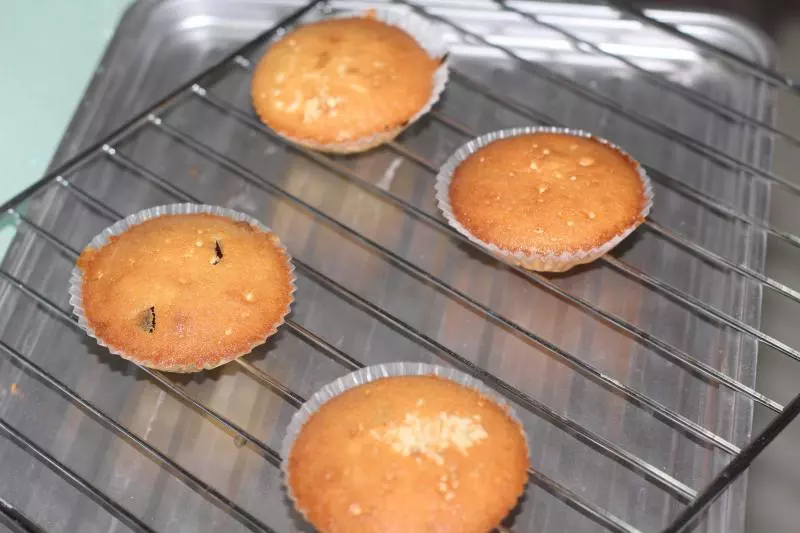
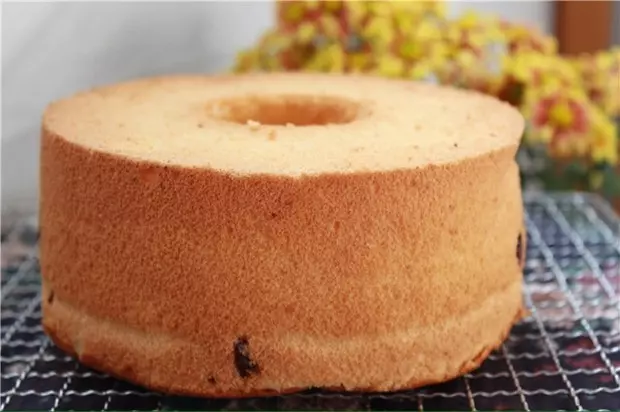
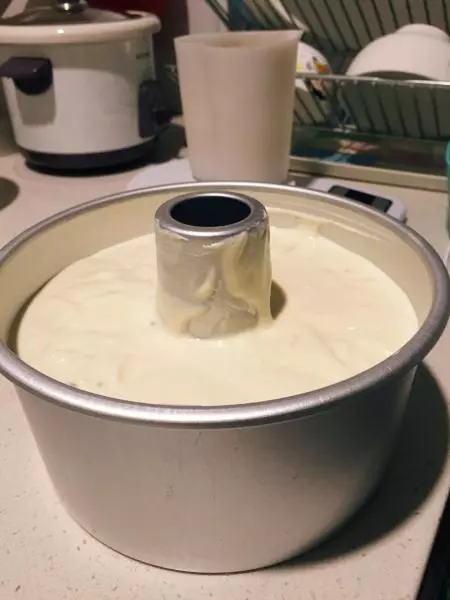
11倒入中空模具中,轻震几下
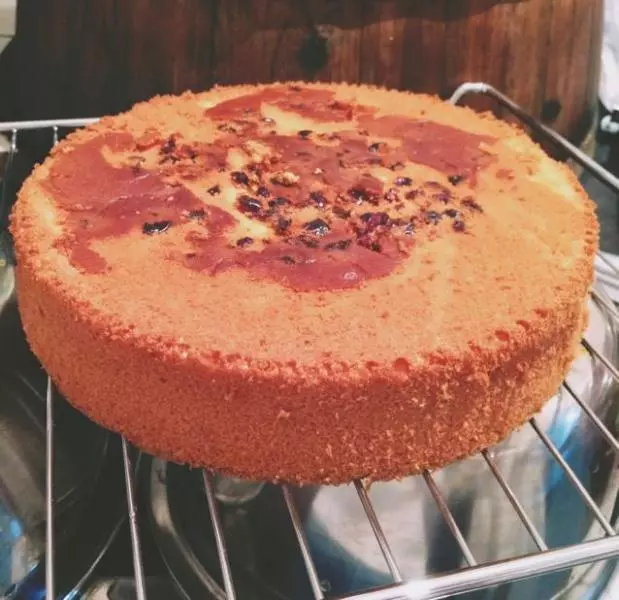
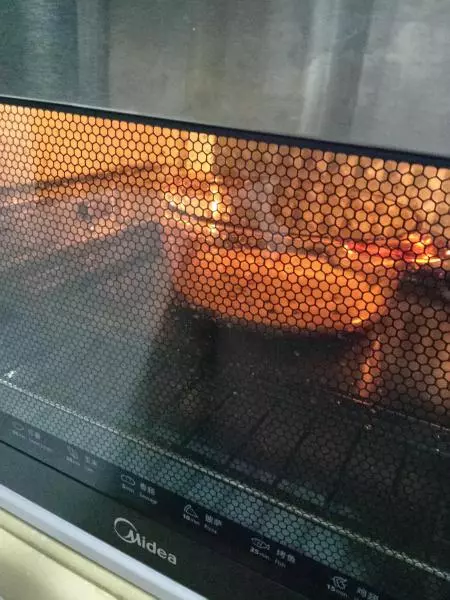
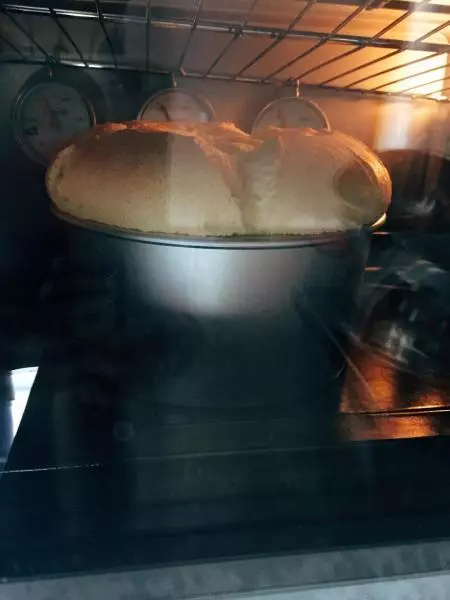
12放入预热好的烤箱,170度,中下层,45分钟左右
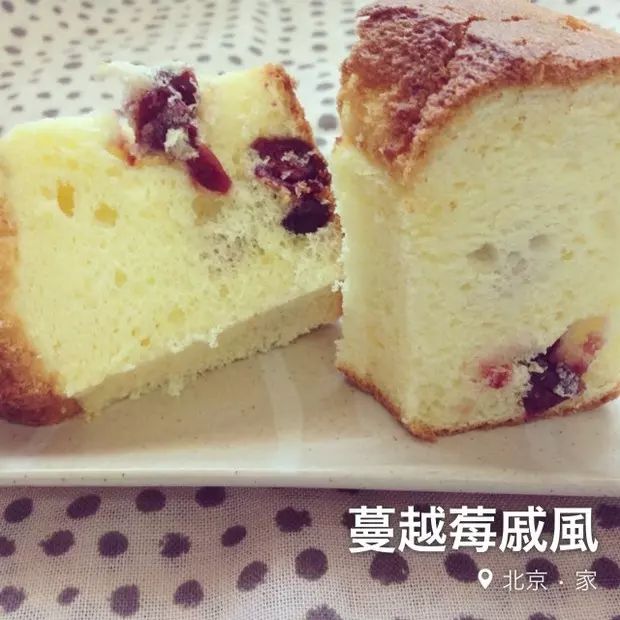
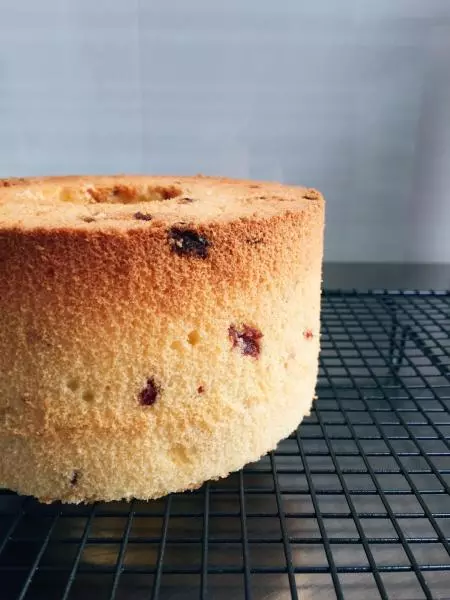
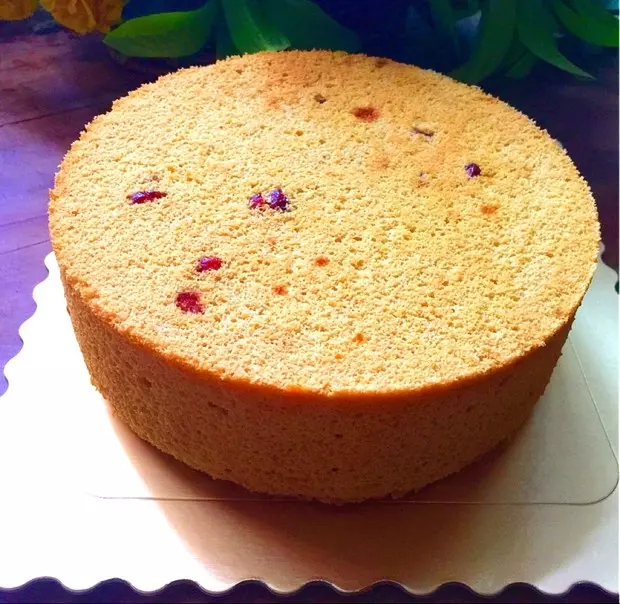
13出炉后立即倒扣,彻底晾凉后脱模
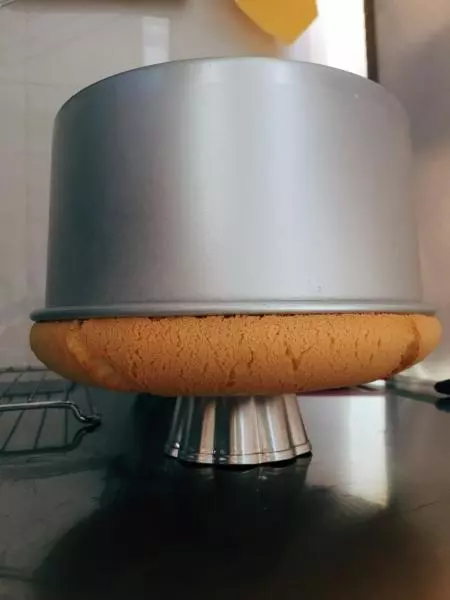
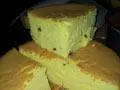
14蛋糕烤的成功,徒手脱模是没问题的,而且侧面也比较好看
小技巧
1.选择新鲜的鸡蛋 2.蛋糕一定要凉透了之后脱模,否则容易回缩 3.根据面粉吸水的情况调整牛奶的量