原料
低粉: 60g, 牛奶: 35g, 油: 35g, 糖: 40g+10g, 鸡蛋: 3个
步骤
1准备两个无油无水干燥的盆子 打蛋白用的盆子必须是干净的无油无水,蛋白中如果掺杂了其他液体,包括蛋黄,那么整个蛋白都无法打发了。
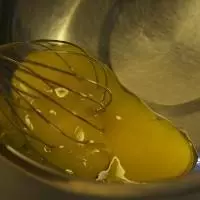
2打散蛋黄
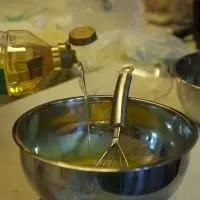
3加入油
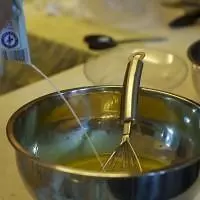
4加入牛奶
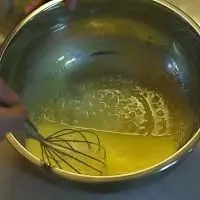
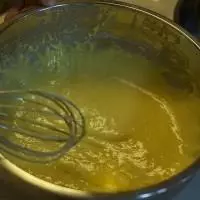
5加入10g糖搅拌均匀
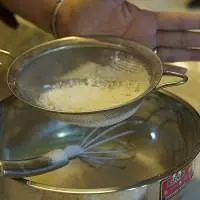
6筛入低粉
7拌匀放在一旁备用
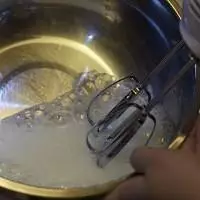
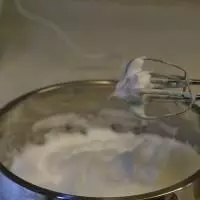
8用电动打蛋器打发蛋白 可以滴入几滴柠檬汁,或白醋中和蛋白的碱性。也可以加入塔塔粉,同样是为了使蛋白打发稳定
9打发至粗泡加入剩余1/3糖
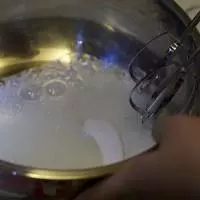
10蛋白细腻时再次加入1/3糖

11蛋白出现小弯勾加入剩下的所有糖
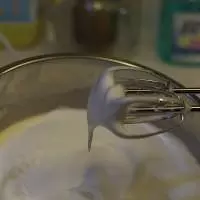
12蛋白打至抬起打蛋器蛋白成小尖峰
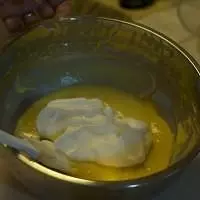
13取1/3的蛋白到蛋黄糊中 因两者的密度不同,所以要分次拌。 拌的手法:抄底,刮边,翻拌(严禁画圈)
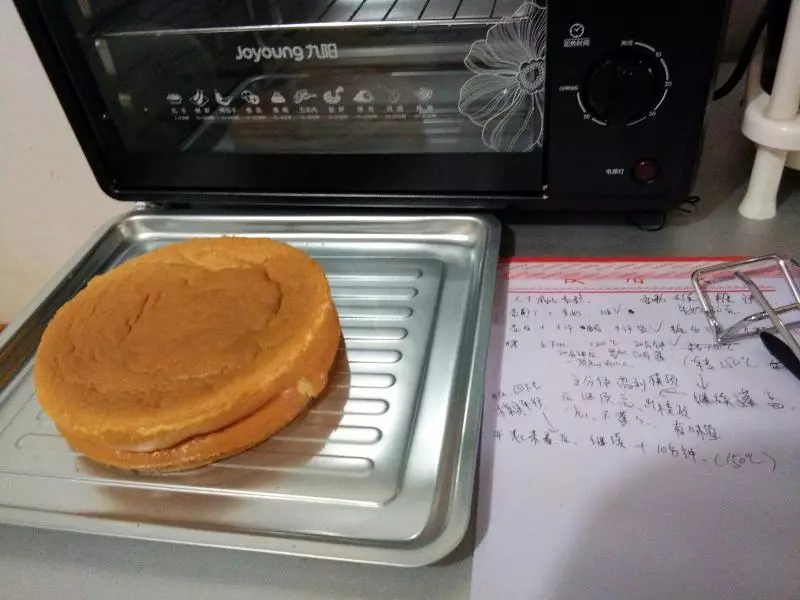
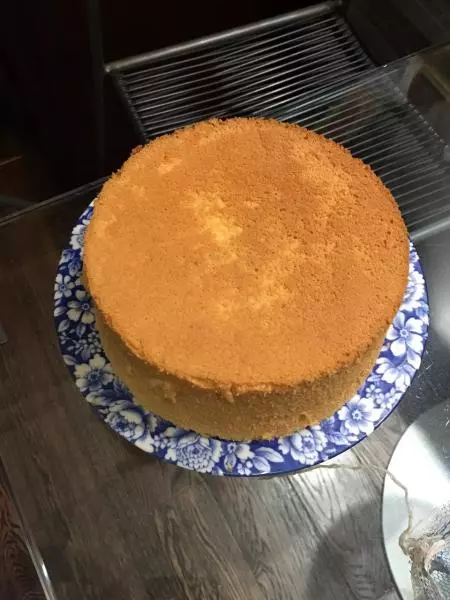
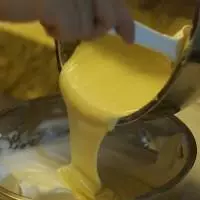
14拌好后将蛋黄糊全部加入蛋白,抄底翻拌。
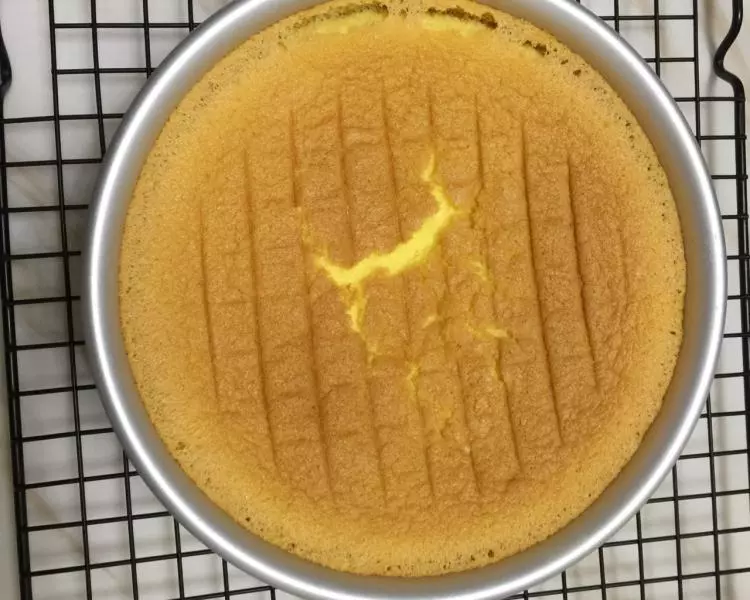
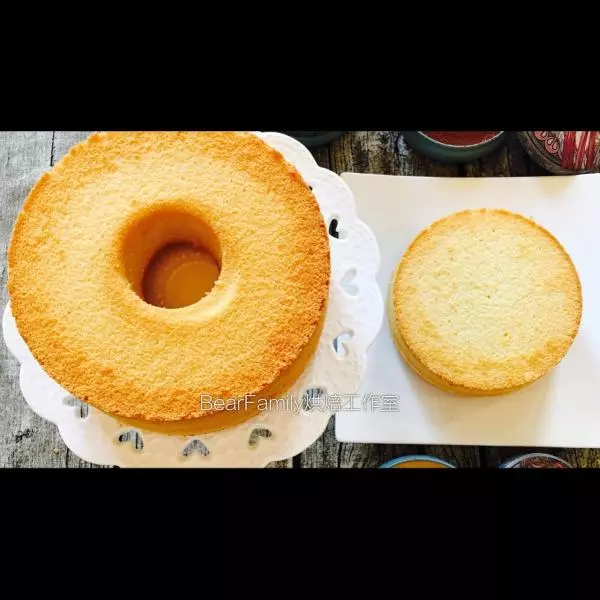
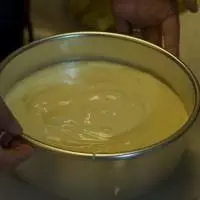
15拌好的面糊,倒入6寸的模具中 将模具提起一点,离桌面大概2CM的距离,水平垂直震一下,将大气泡震出。
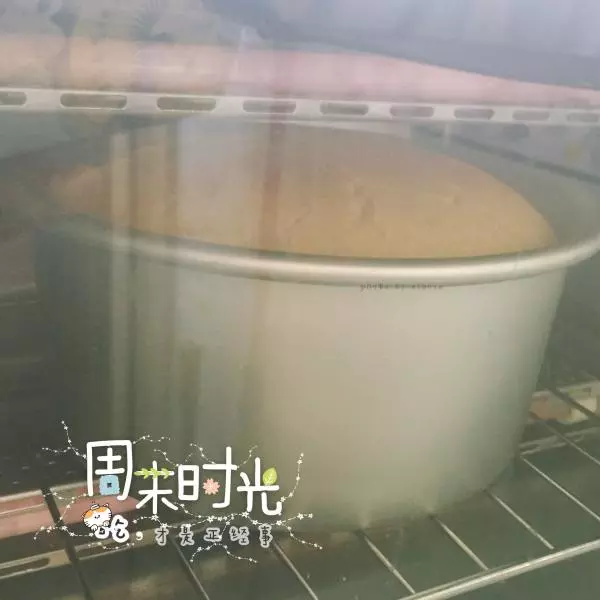
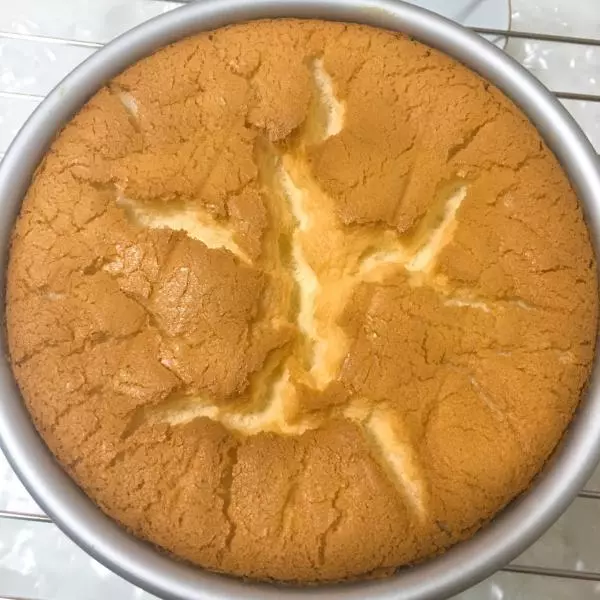
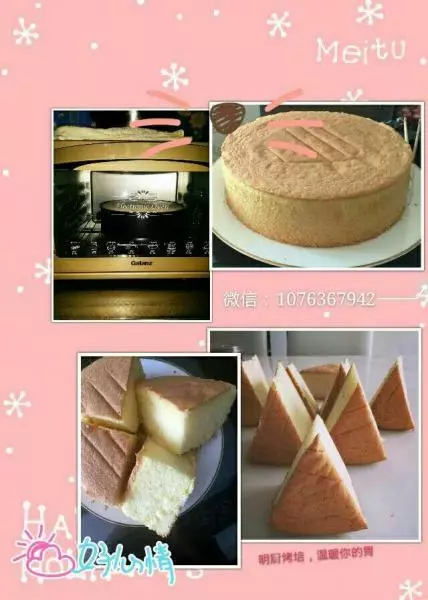
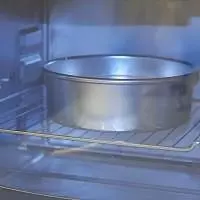
16放入中下层,150度烤45分
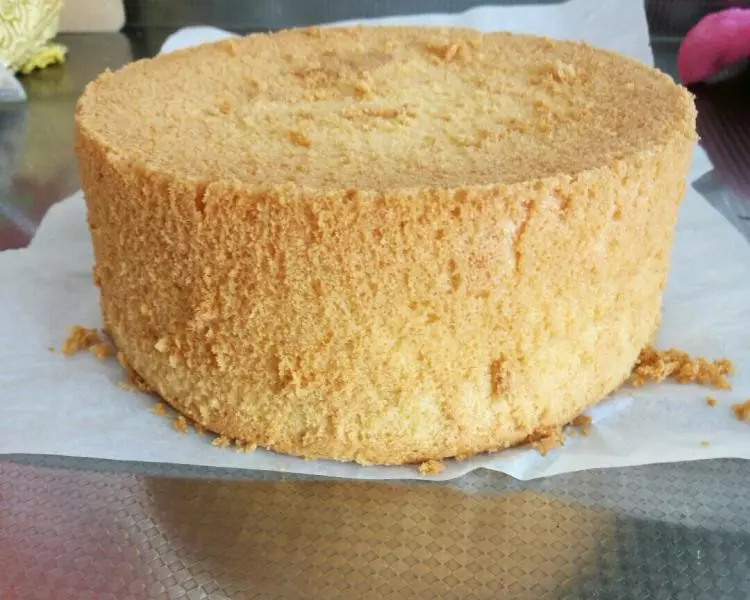
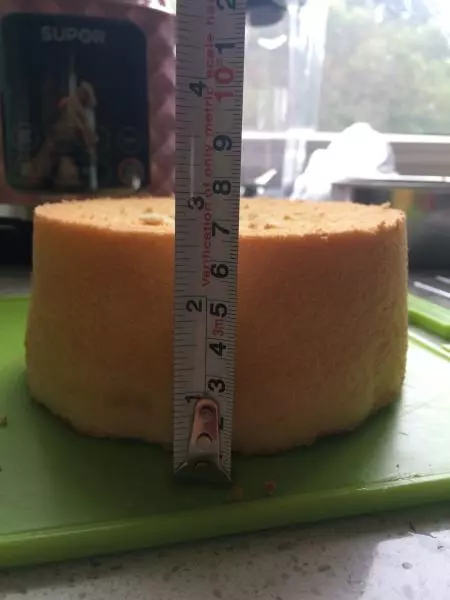
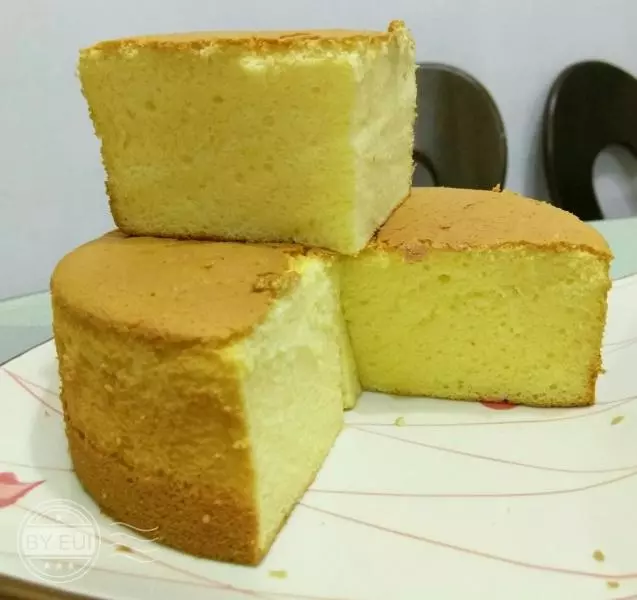
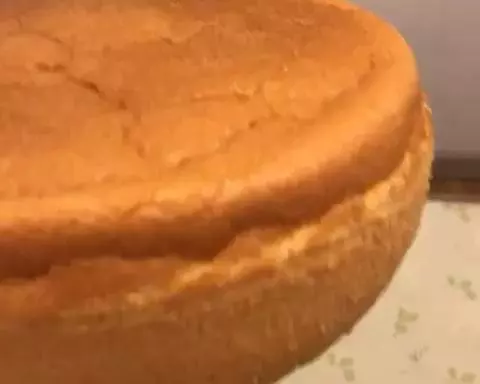
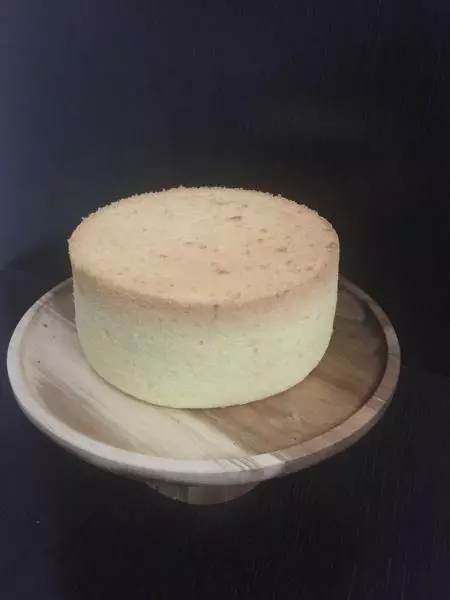
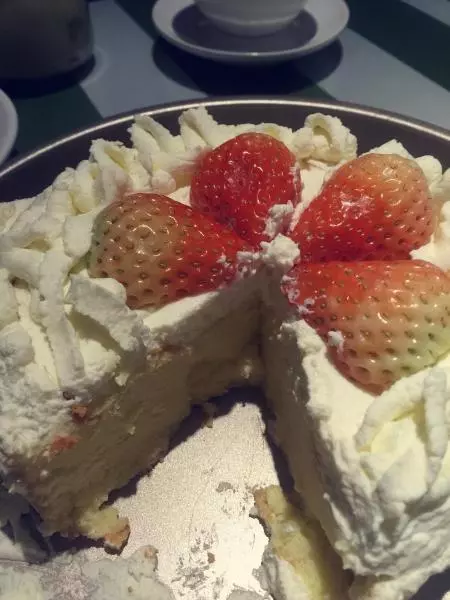
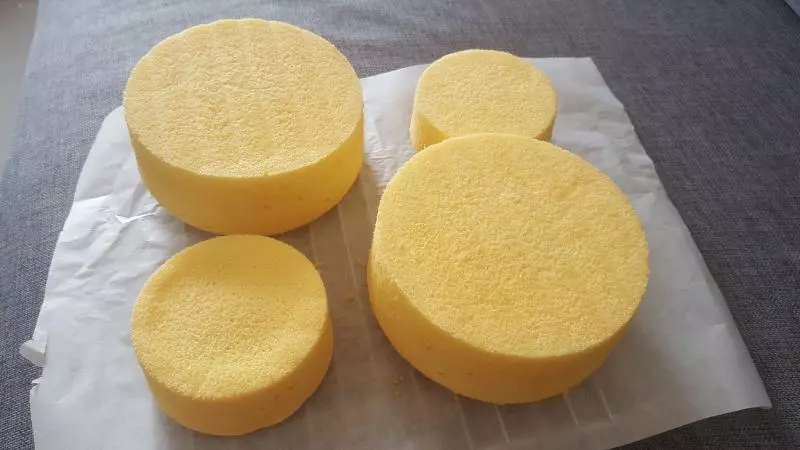
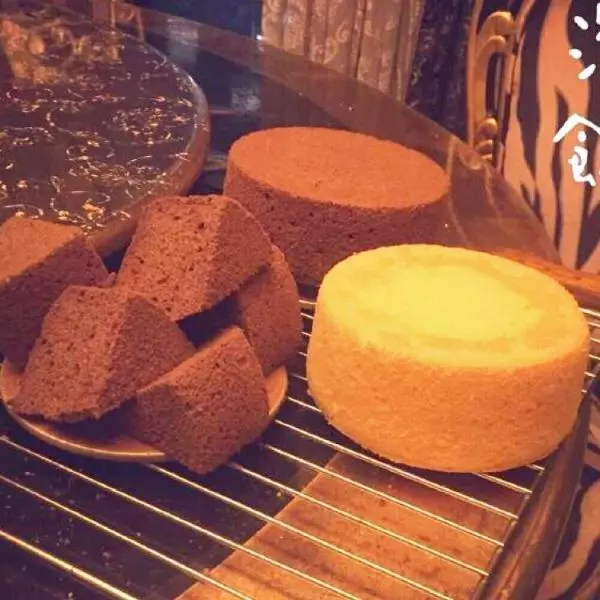
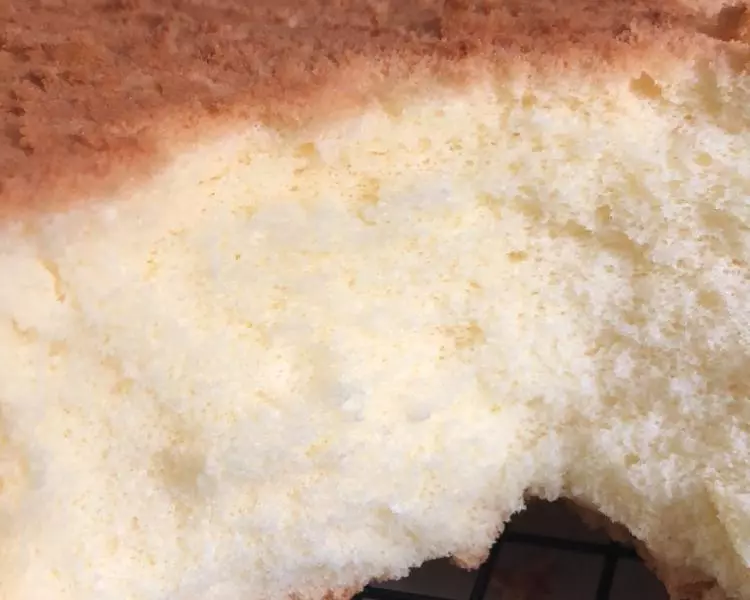
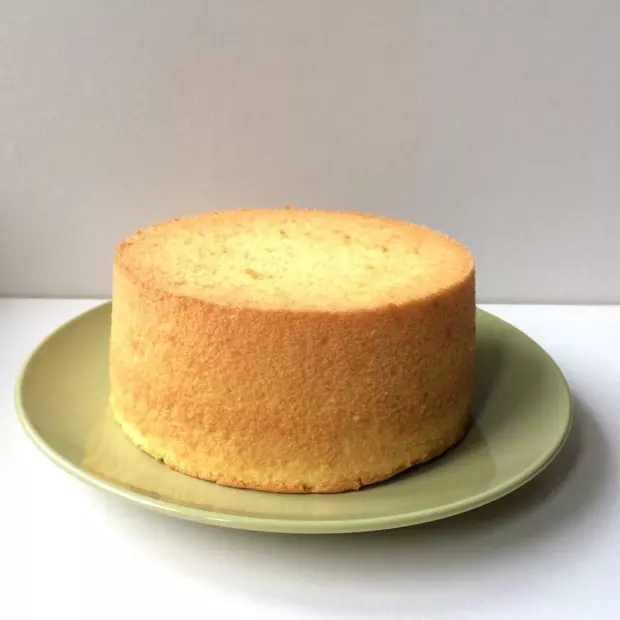
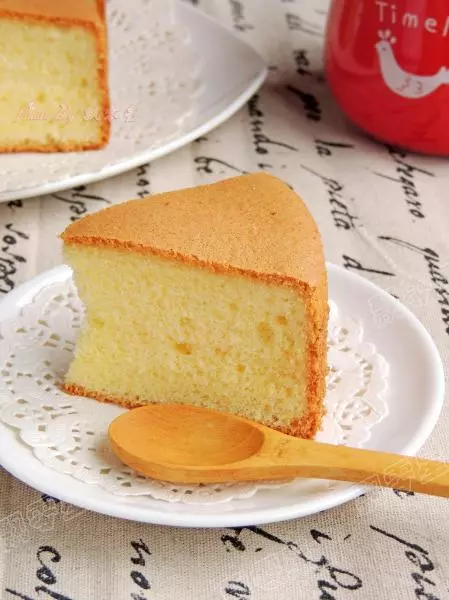
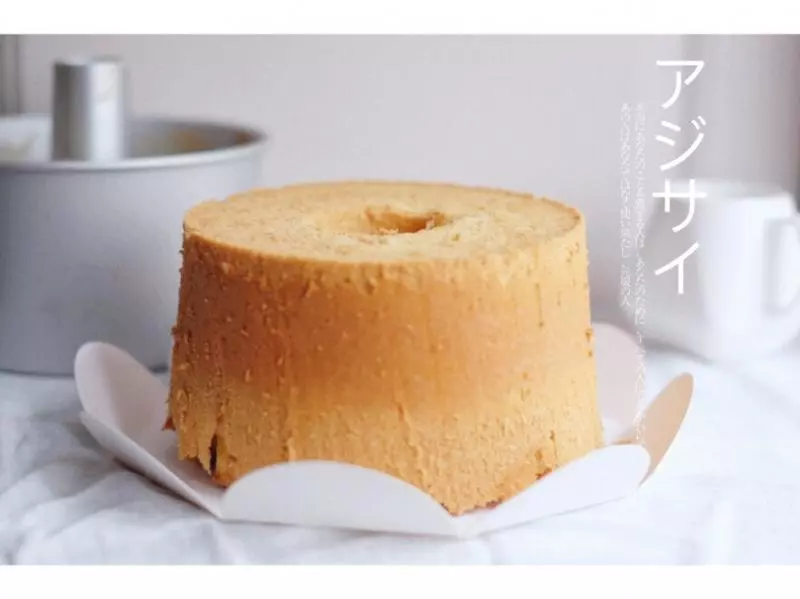
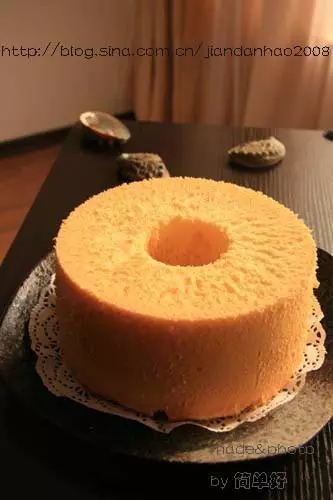
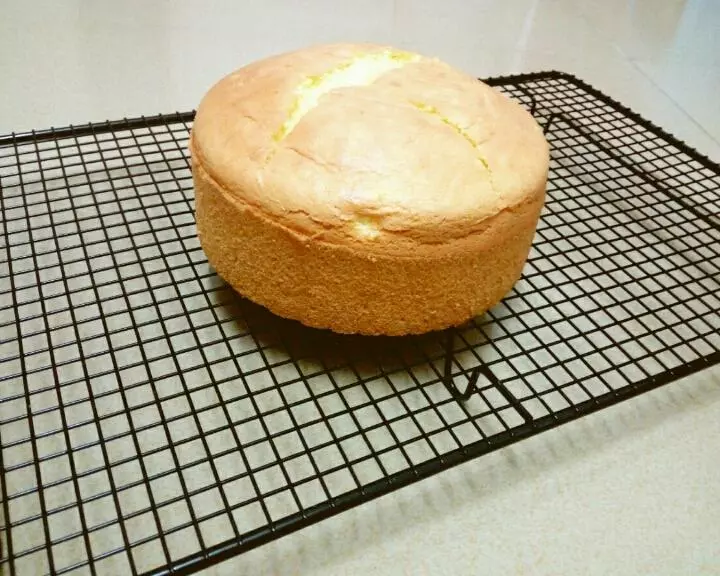
17出炉倒扣晾凉

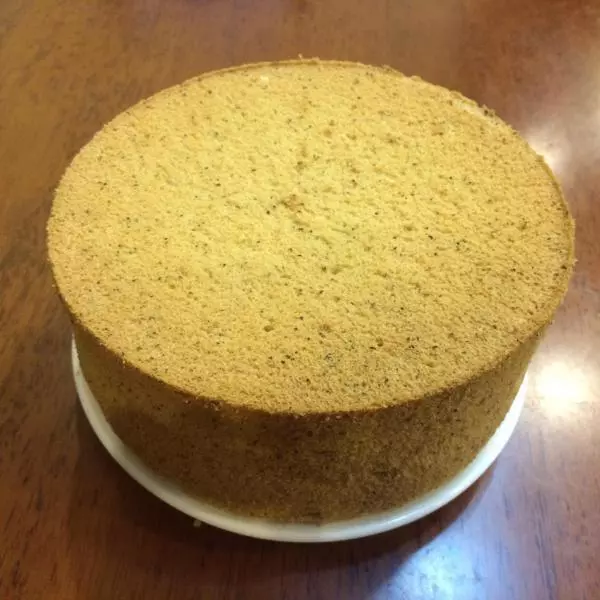
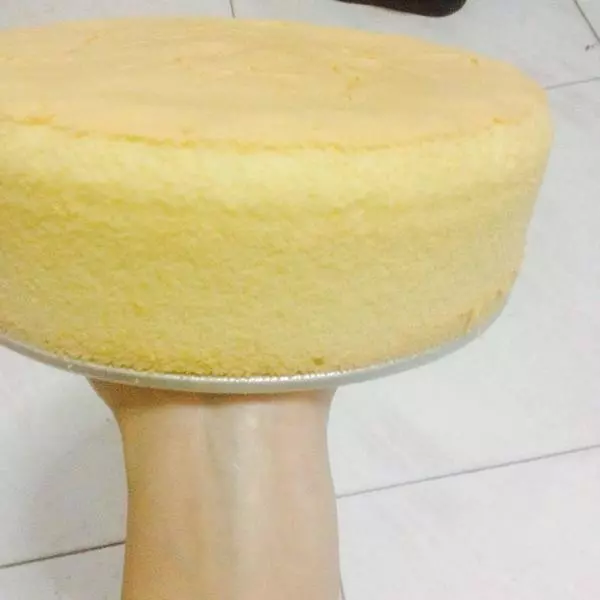
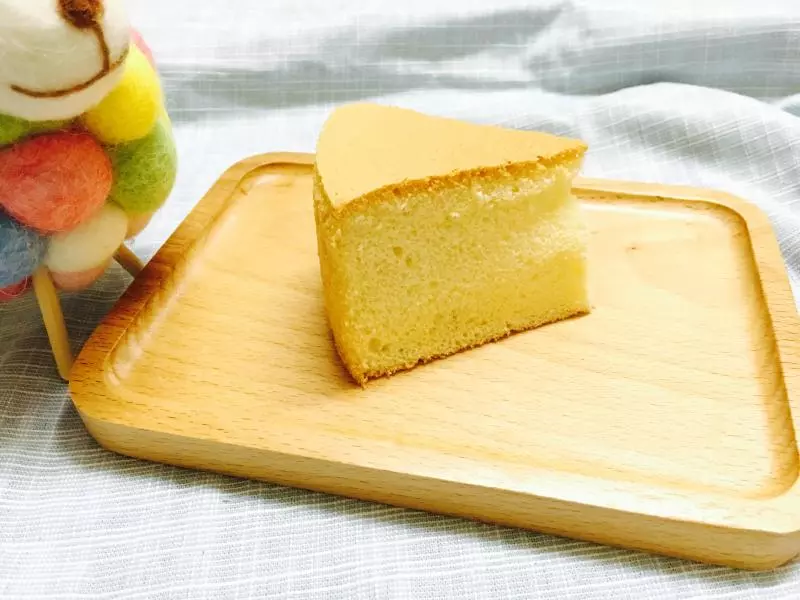
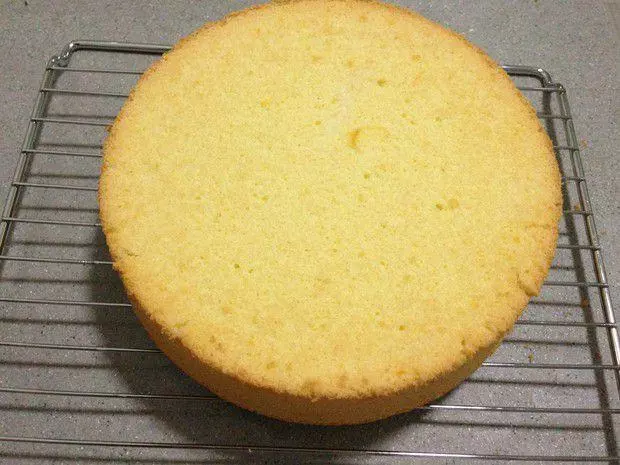
18脱模

小技巧
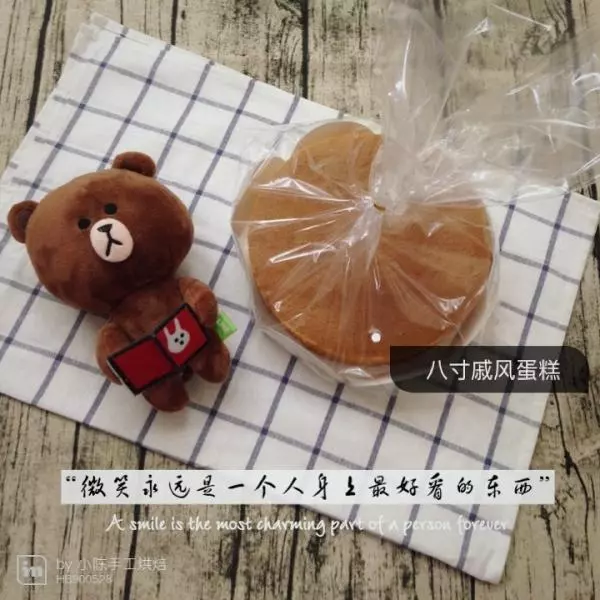
八寸配方:低粉100g 水70g 油70g 糖90g 鸡蛋5个 烘烤:150度60分钟左右