原料
低粉(用于原味饼干): 150g, 低粉(用于抹茶味饼干): 130g, 黄油: 150g, 糖粉: 100g, 鸡蛋: 40g, 抹茶粉: 10g, 树莓or草莓果酱: 适量
步骤
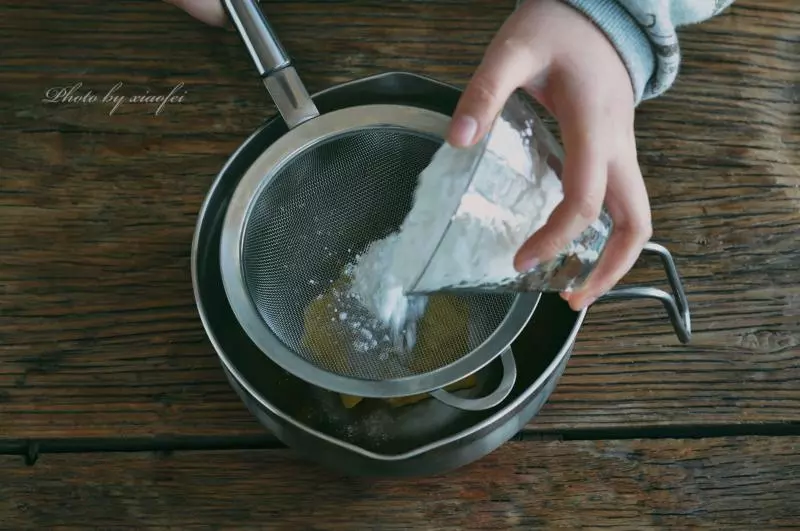
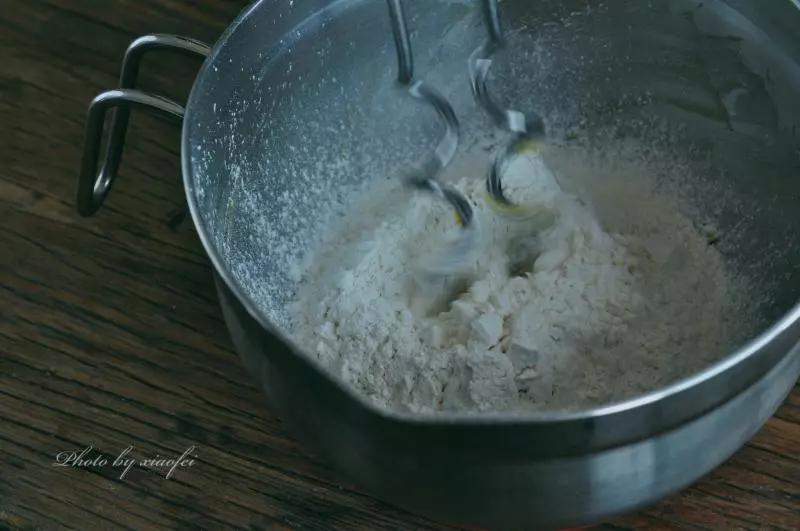
1150g黄油软化至室温加入过筛糖粉100g
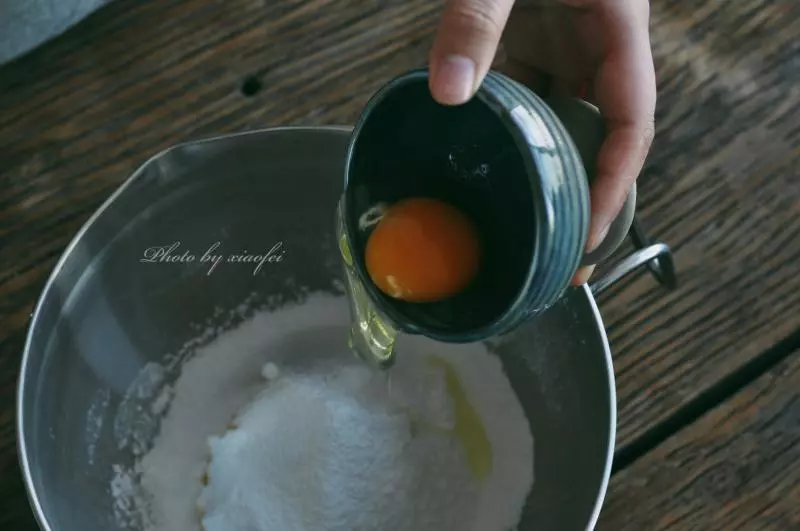
2加入鸡蛋40g
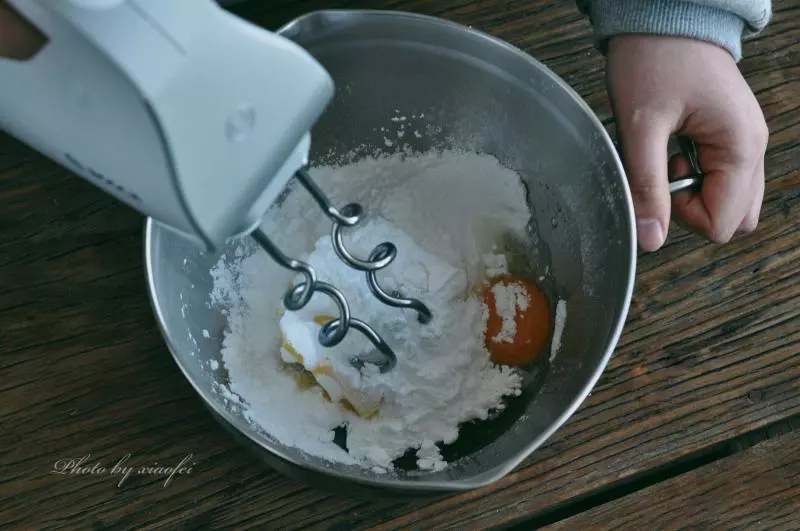
3用搅拌器搅拌均匀,没有搅拌器可以用筷子搅拌(不要用打蛋器,以免黄油被打发)
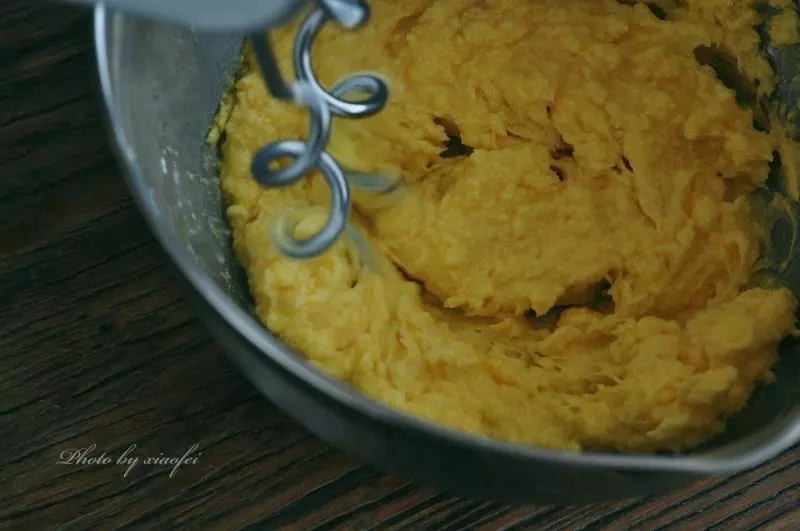
4搅拌到如图所有材料混合均匀,看不到糖粉就可以啦
5将混合好的黄油分成两份,其中一份中加入150g过筛的面粉,搅拌均匀
6用手揉成光滑的面团
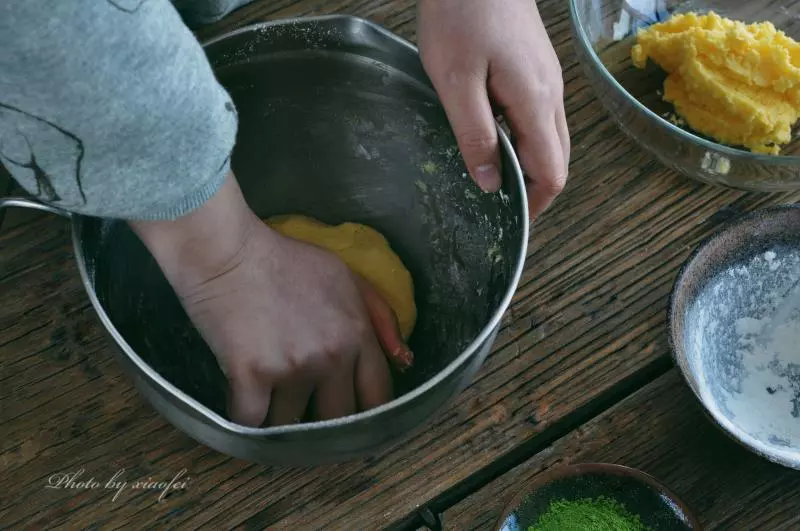
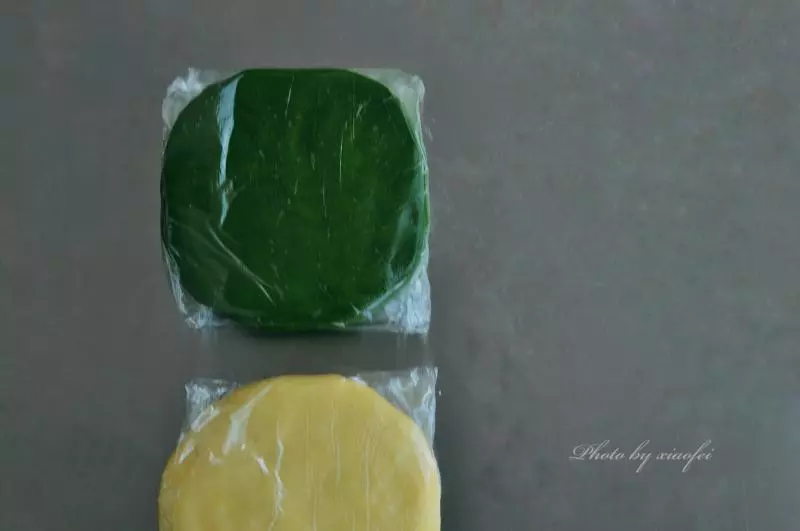
7用保鲜膜包好待用

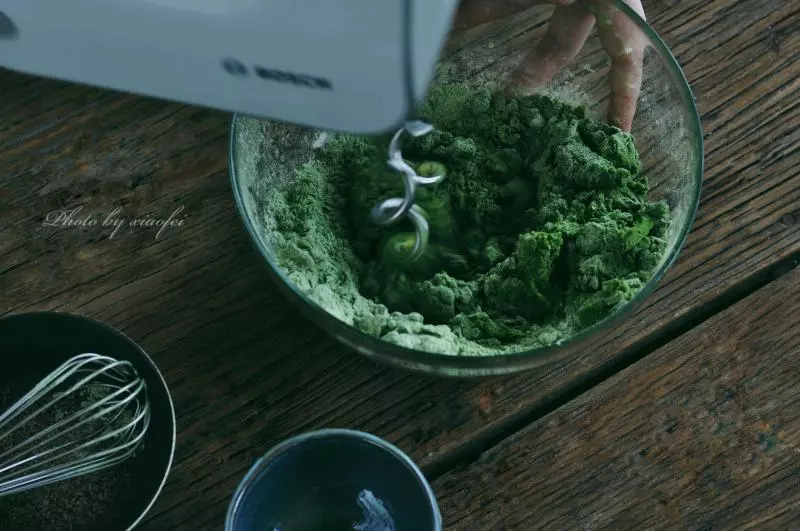
8在130g面粉中加入10g抹茶粉
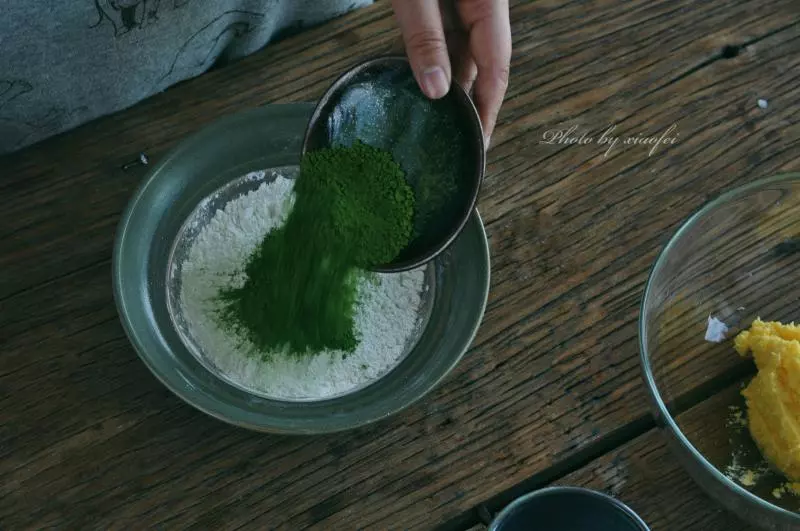
9混合均匀
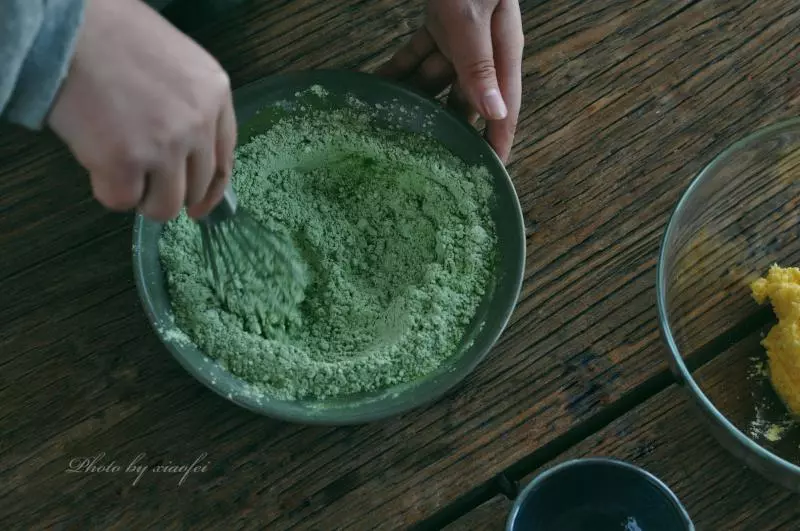
10将过筛好的面粉和抹茶粉加入剩下的一半黄油中混合均匀
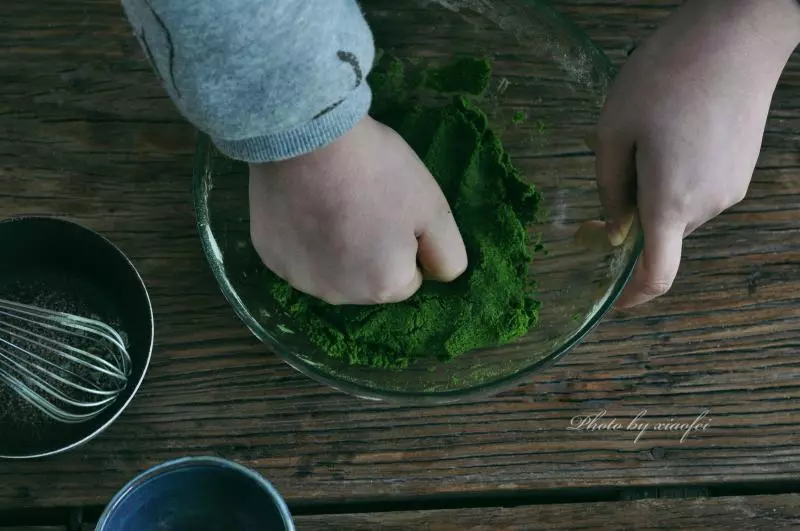
11用手揉成光滑的面团
12包裹上保鲜膜和之前的原味面团一起放到冰箱冷冻20-30分钟
13将冷冻过的面团取出擀成3毫米厚的薄片
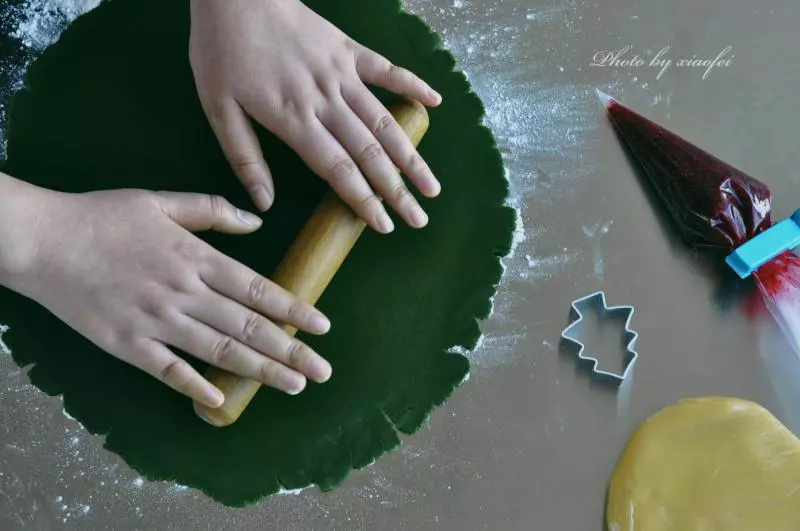
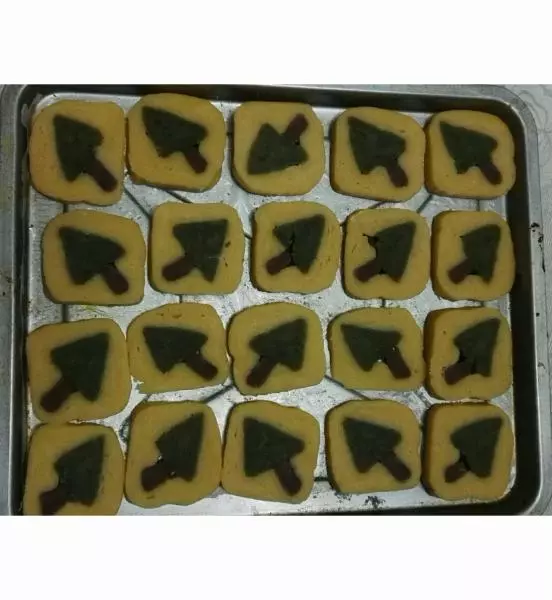
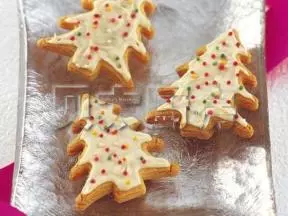
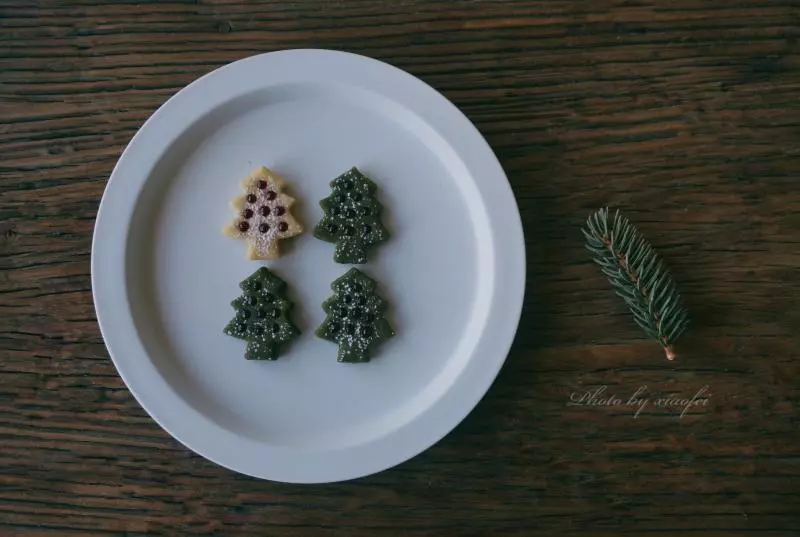
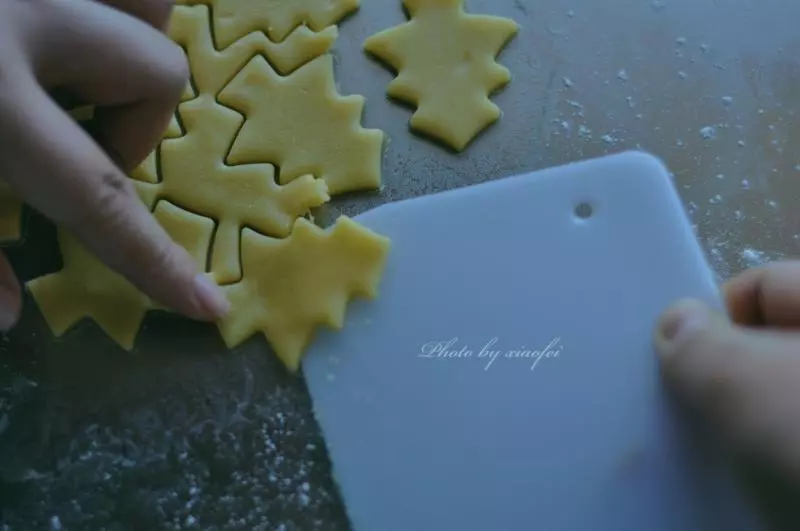
14用圣诞树模具在面皮上压出饼干造型

15用刮板将饼干移到烘焙纸上
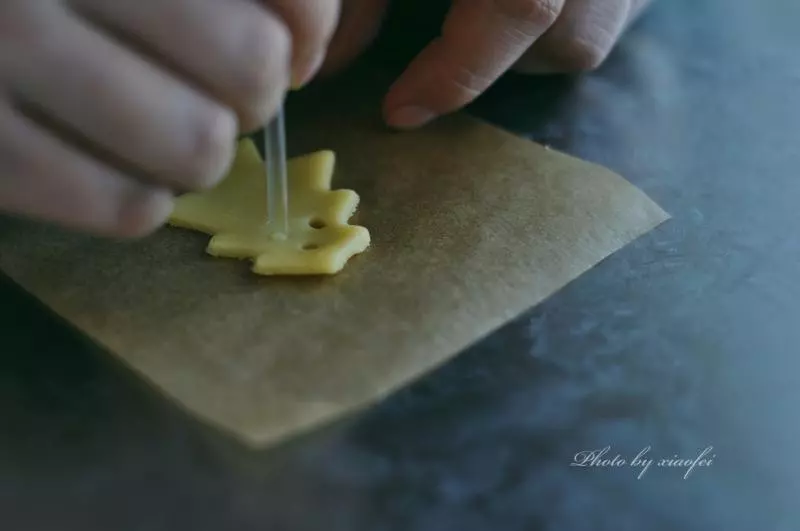
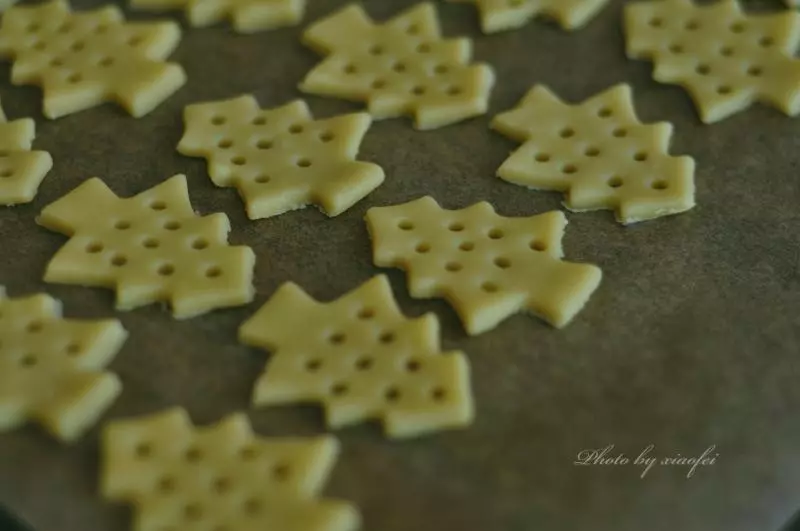
16在圣诞树饼干上用吸管戳出9个小洞 (在一半数量的饼干上戳洞,剩下一半做底,不需要戳)
17将饼干放到铺好烘焙纸的烤盘上烤箱预热180度,中上层烤10分钟 (每台烤箱脾气不同,时间按照自己的烤箱微调一下)
18在戳洞的饼干上撒上糖霜
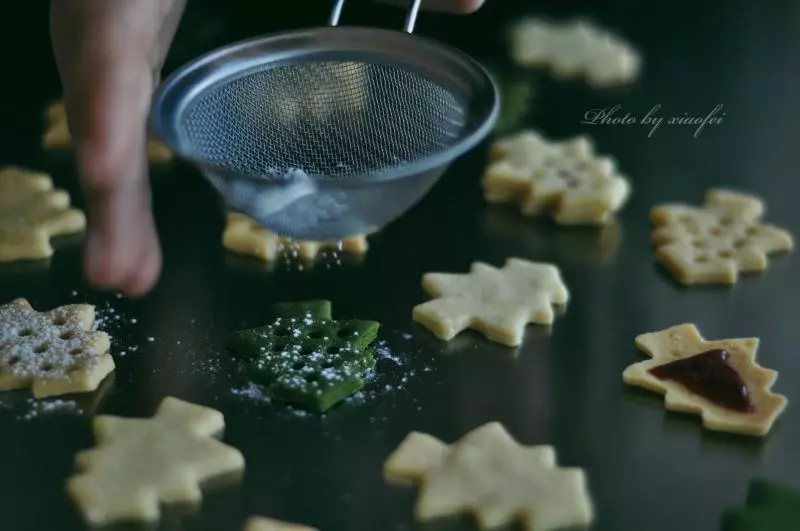
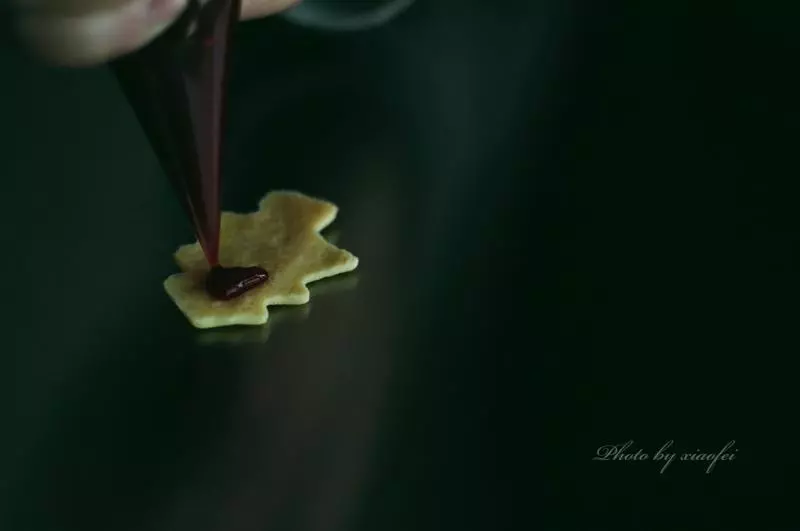
19没有戳洞的饼干挤上适量的果酱,不要太多,避免挤出来 (果酱最好过筛去掉种子)
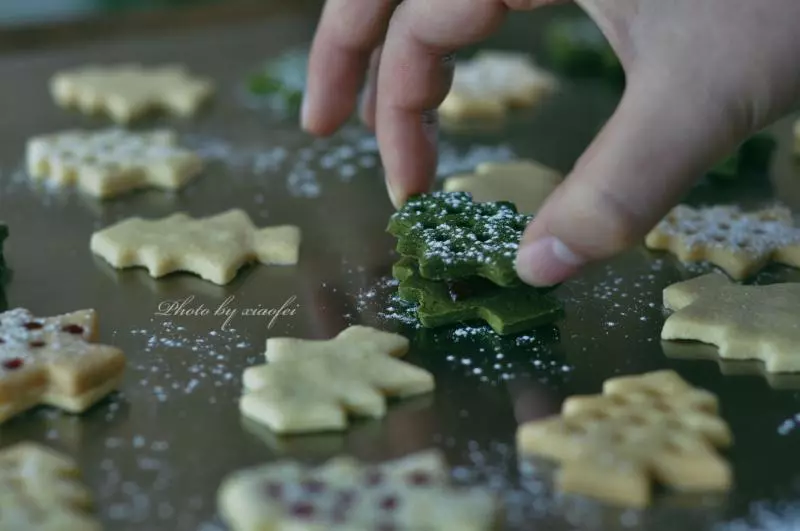
20将撒了糖霜的饼干叠放到加了果酱的饼干上
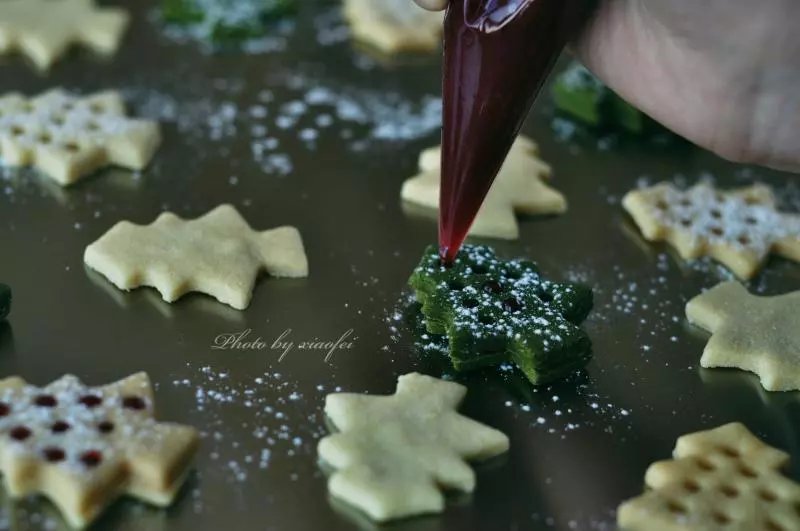
21有些小洞里挤出的果酱小红珠会不太饱满,可以再挤一点果酱重新装饰一下 (饼干做好后密封保存)
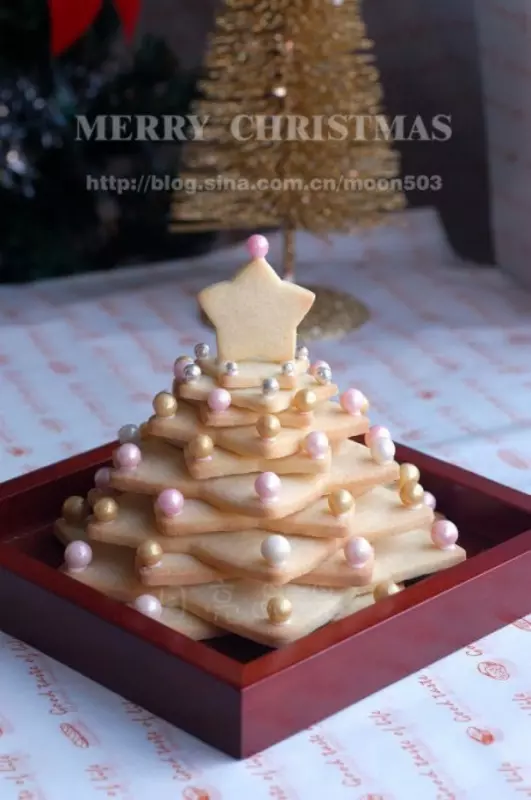
22用它迎接圣诞吧~o(*≧▽≦)ツ
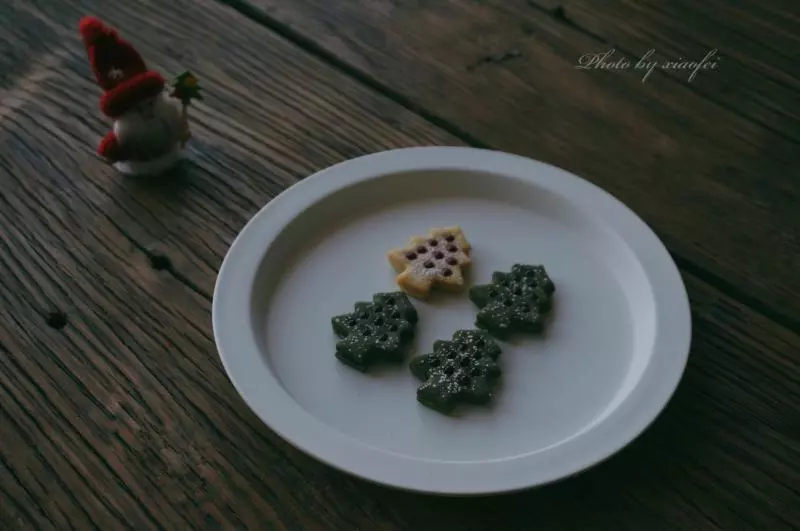
23?