原料
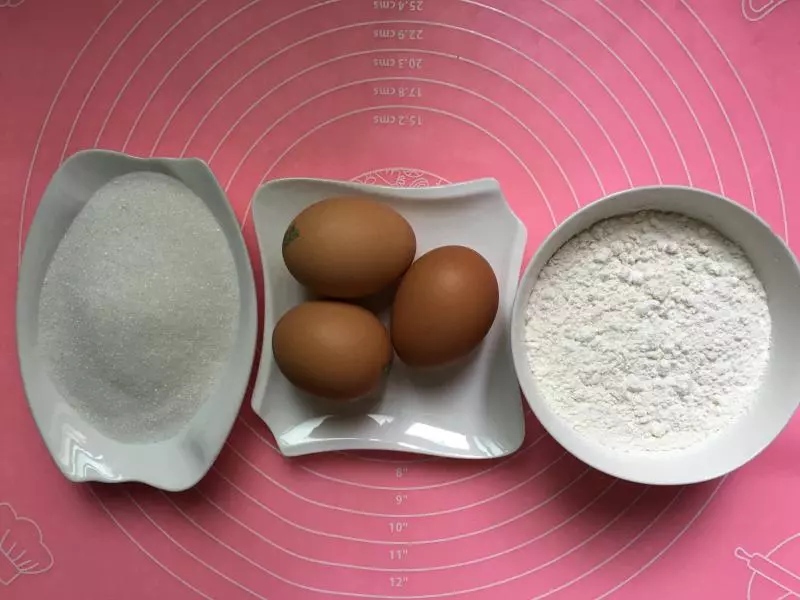
蛋糕粉: 90克, 细砂糖: 90克, 鸡蛋: 3个
步骤
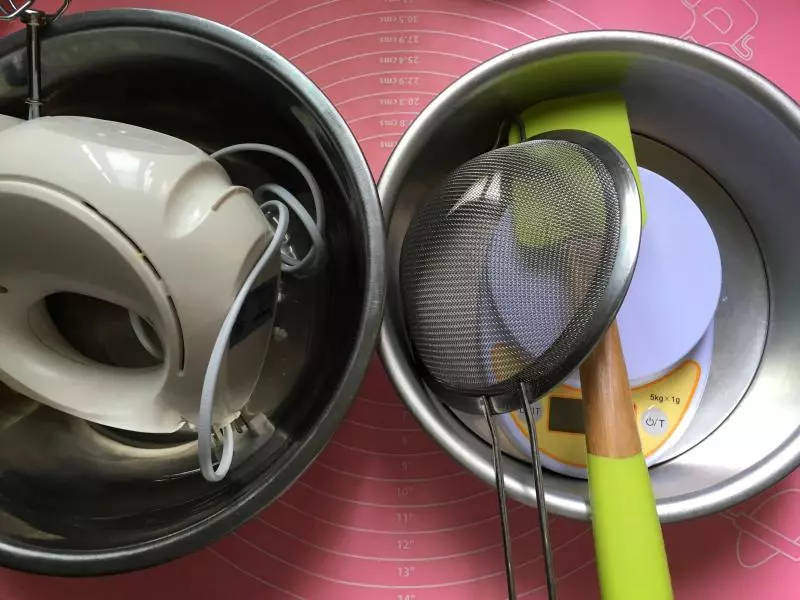
1准备材料.准确称量克数。
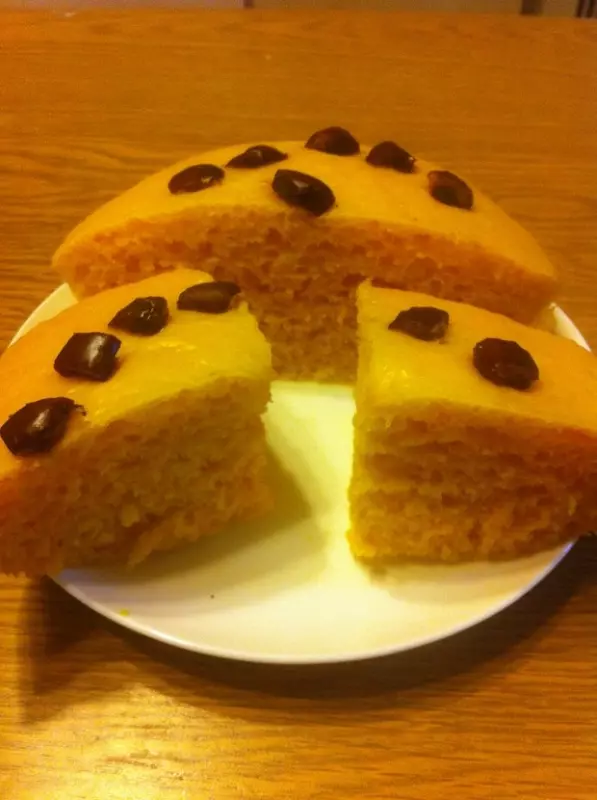
2我用的是烤戚风用的模具.这个是沾的,用沾的最好是铺上油纸,这样好一点.平时自己都是当早餐的,所以简单一点,今天就简单做上传了(大家最好用不沾的活底模具,或者不沾烤盘)。
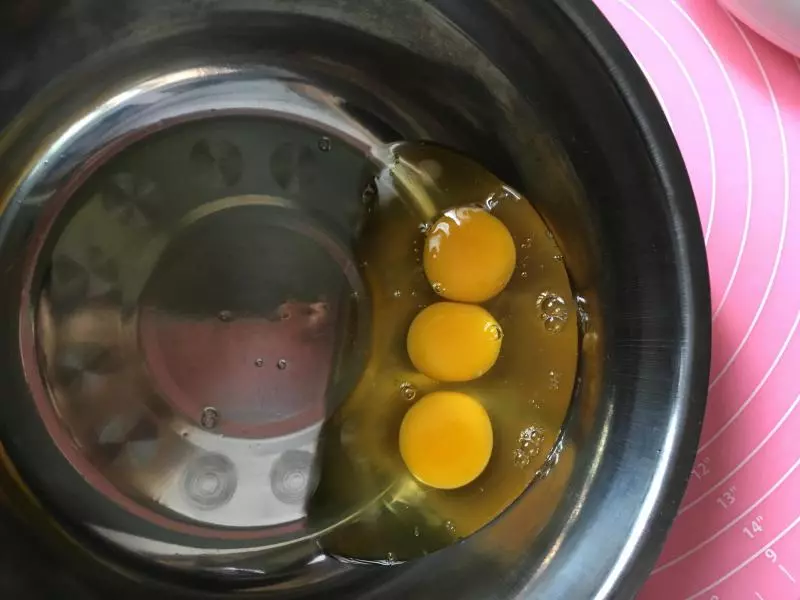
3三颗鸡蛋加入无油无水的盆。
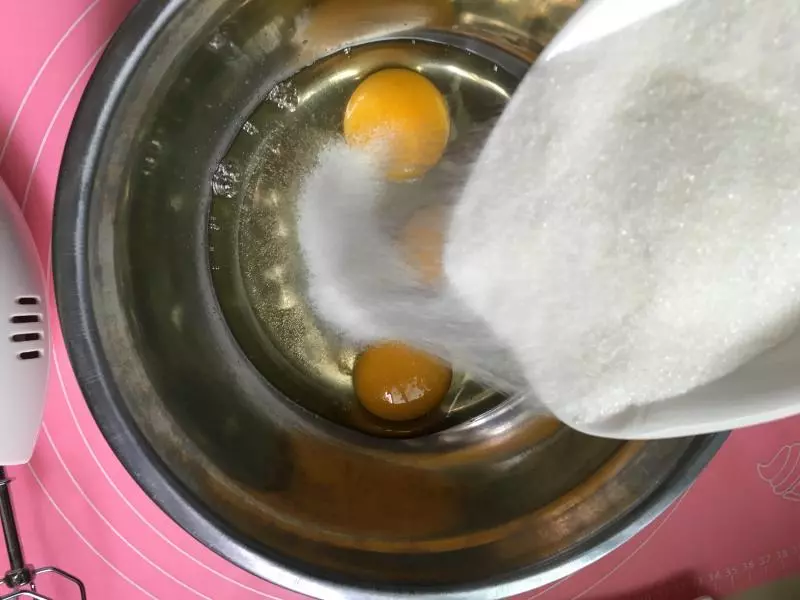
4加入细砂糖。
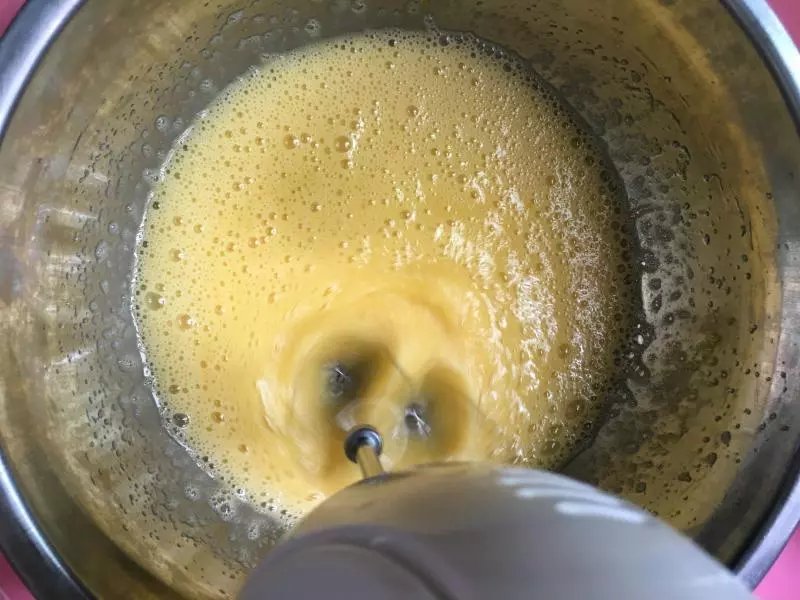
5用电动打蛋器开始打发。
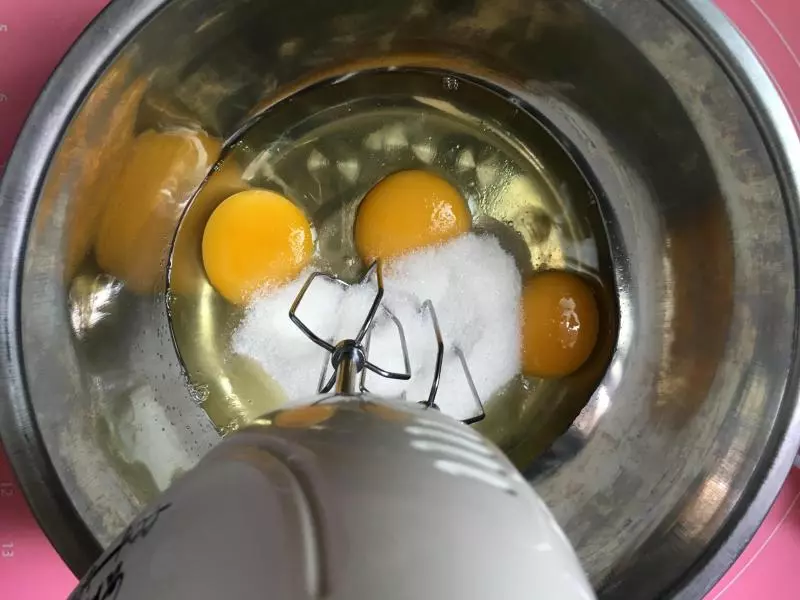
6一开始搅拌的时候颜色较深,有小气泡产生。
7慢慢的气泡变多,体积膨胀。
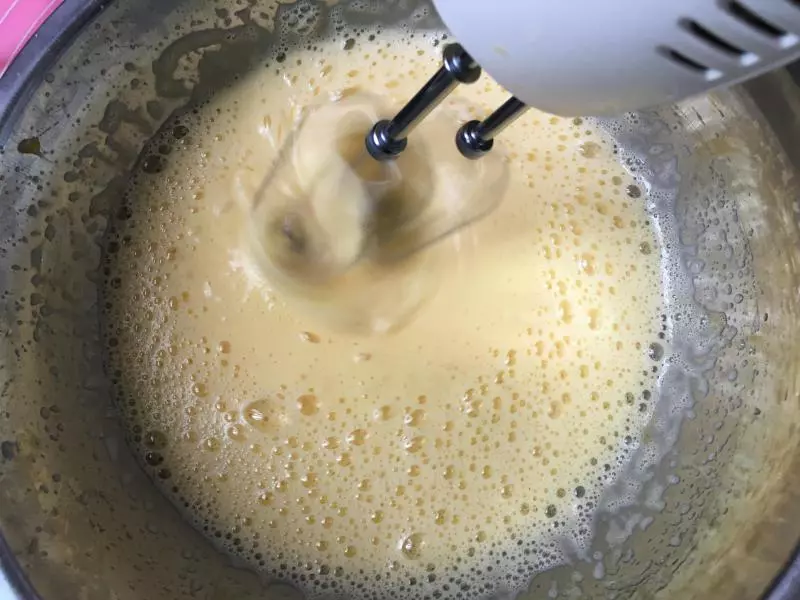
8颜色发白,开始有纹路。
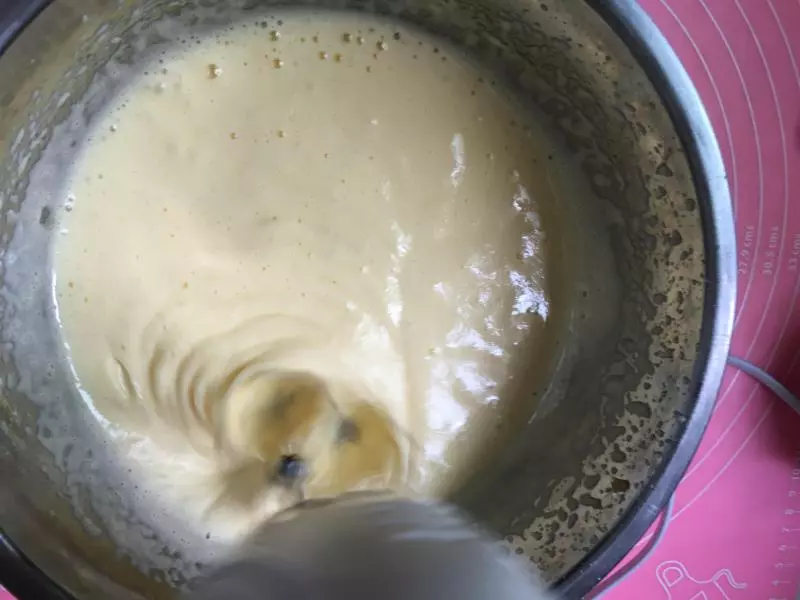
9纹路逐渐变多。
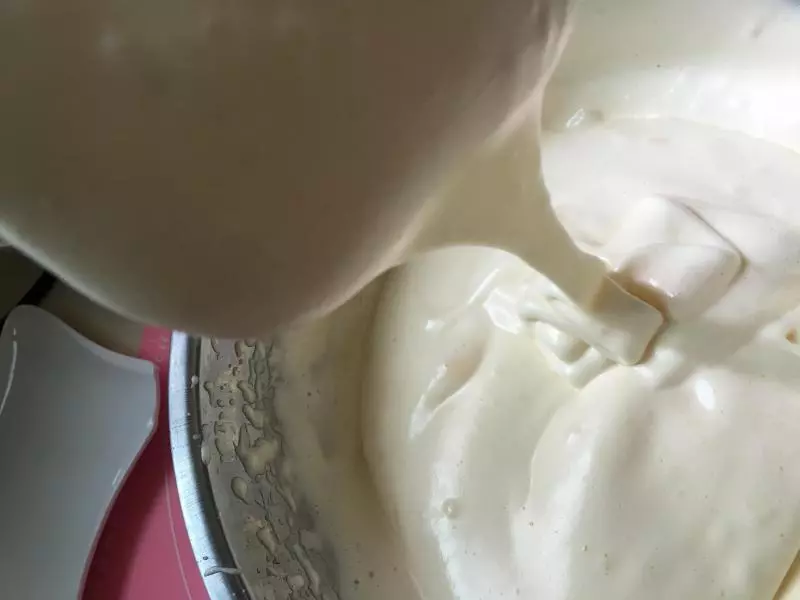
10提起打蛋器,左右摇摆,有像绸带类似的波纹,但保持的时间比较短,继续打发。
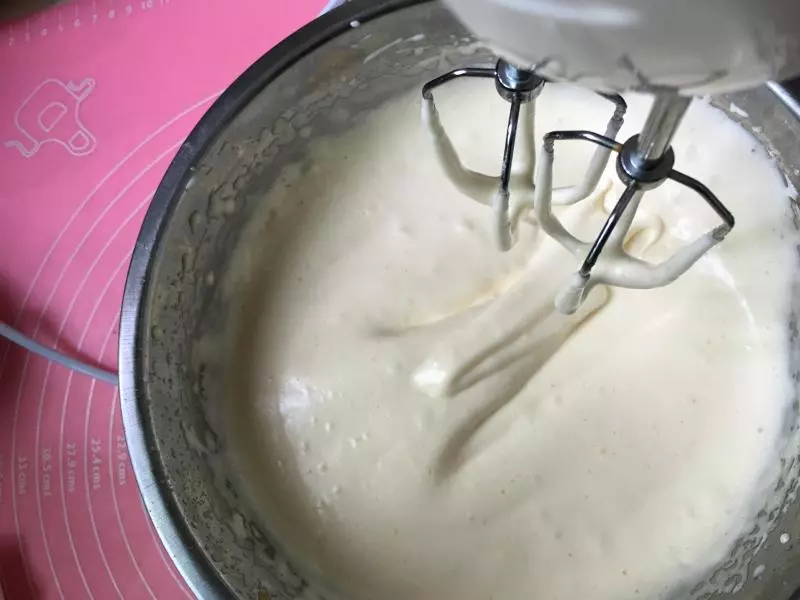
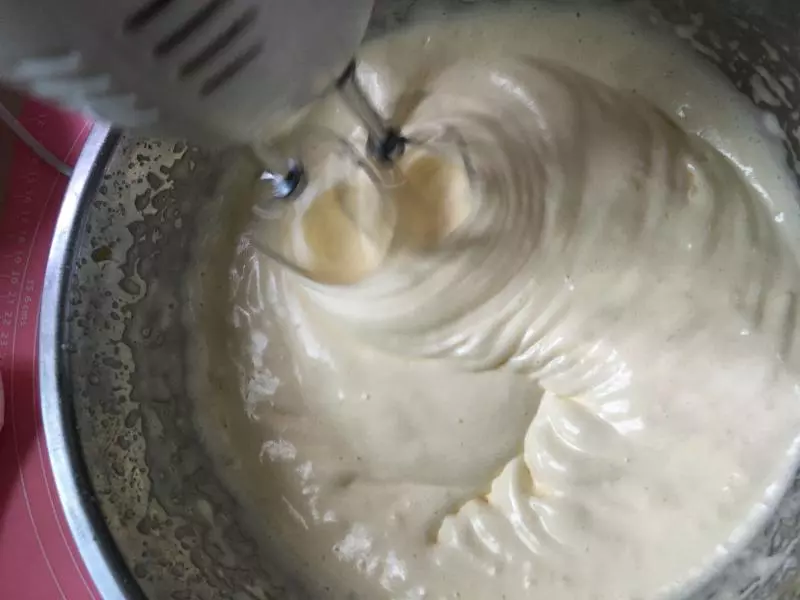
11绸带的形状不易消失,换刮刀,进入下一步
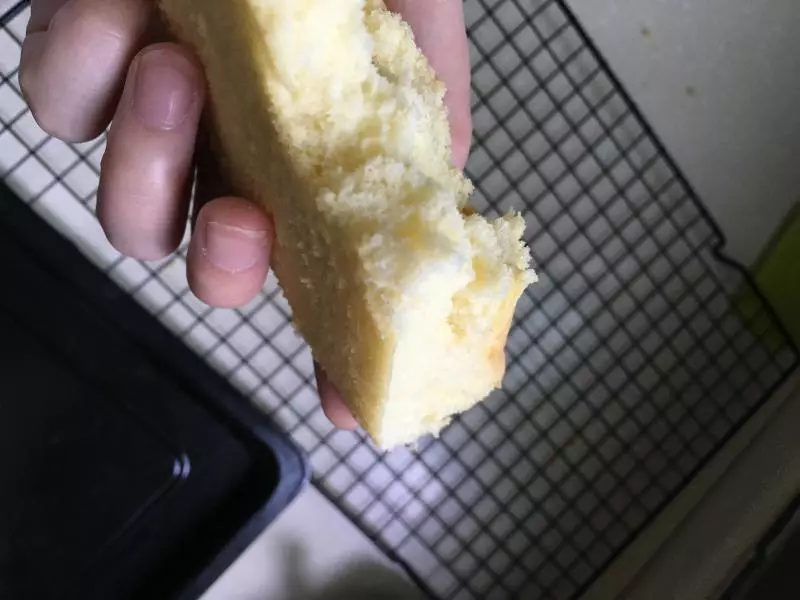
12加入过筛的面粉(面粉多次过筛,成品会更加细腻蓬松)。

13注意:采用翻拌或者切拌的手法搅拌均匀,形成面糊(千万不要画圈圈搅拌,这样容易消泡,蛋糕的体积不够,容易坍塌)。
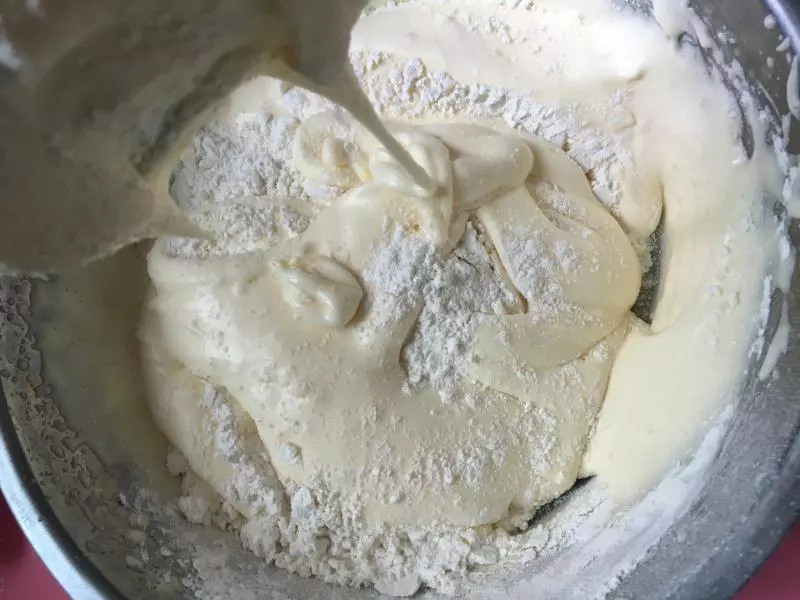
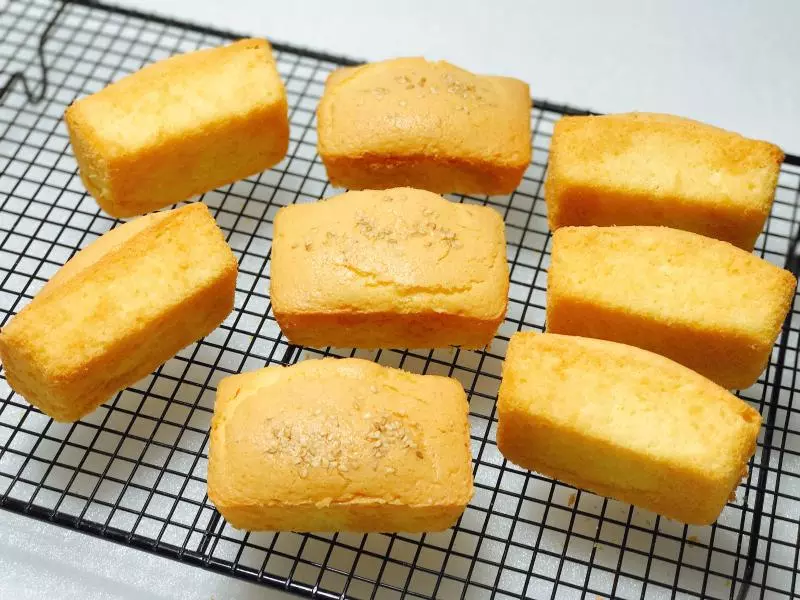
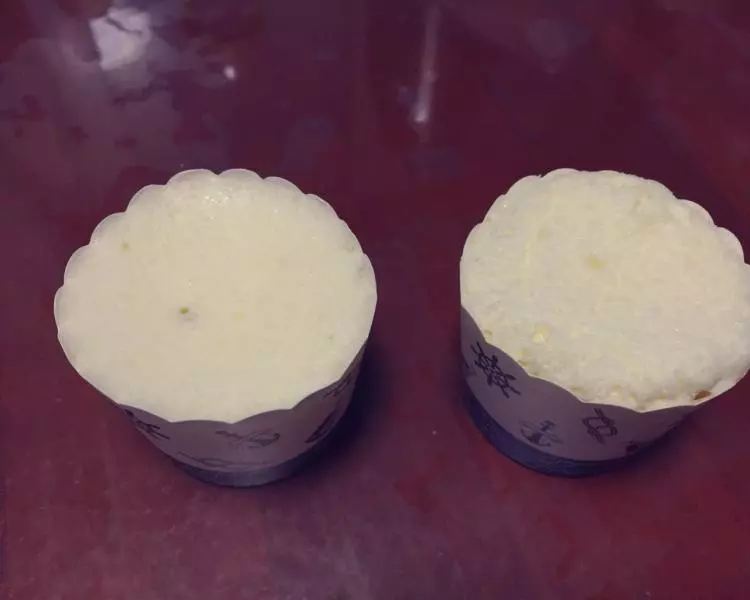
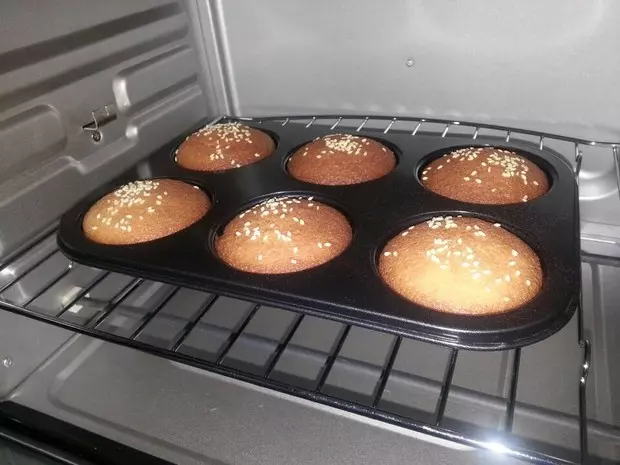
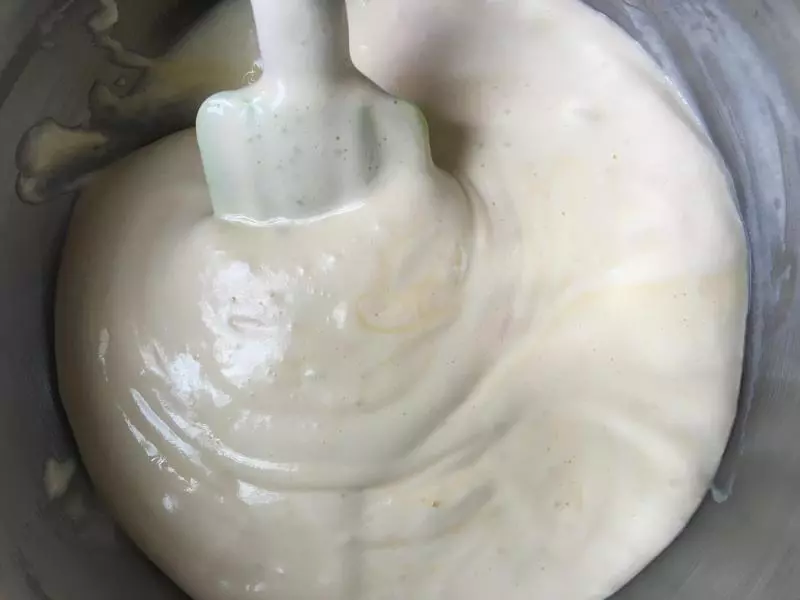
14继续搅拌细腻无颗粒不消泡的面糊。
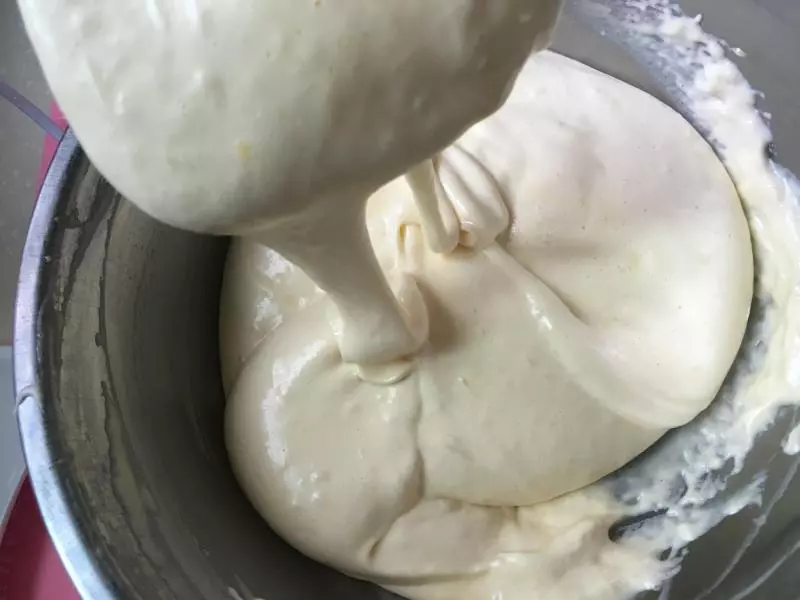
15如图就差不多了。
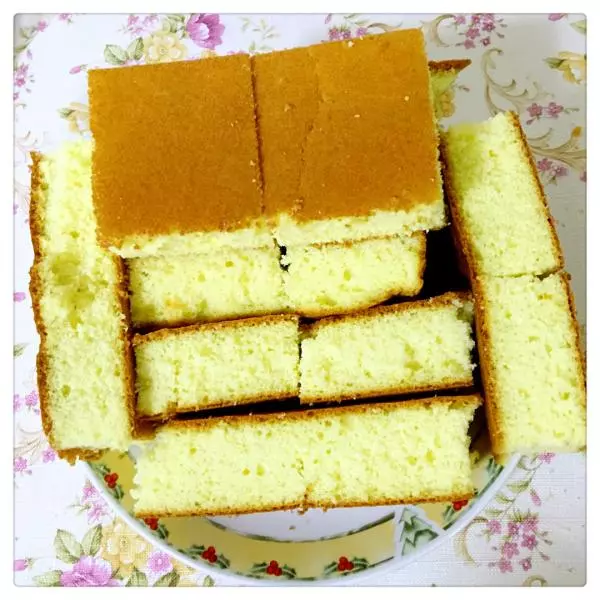
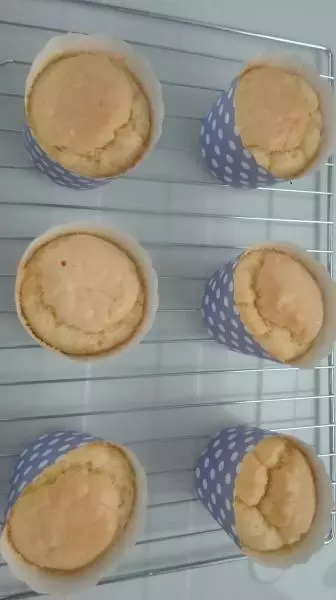
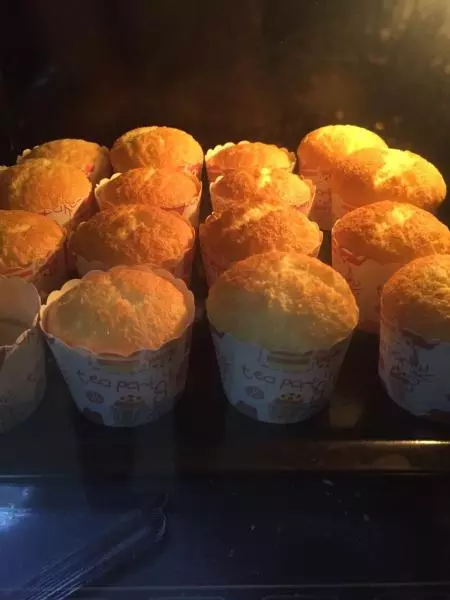
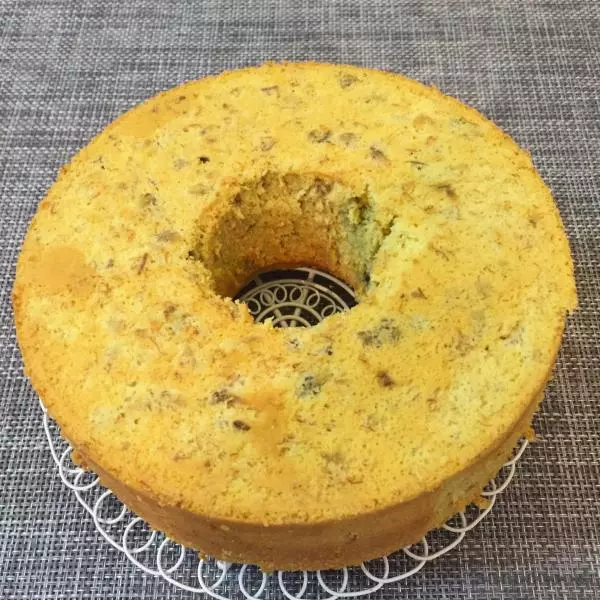
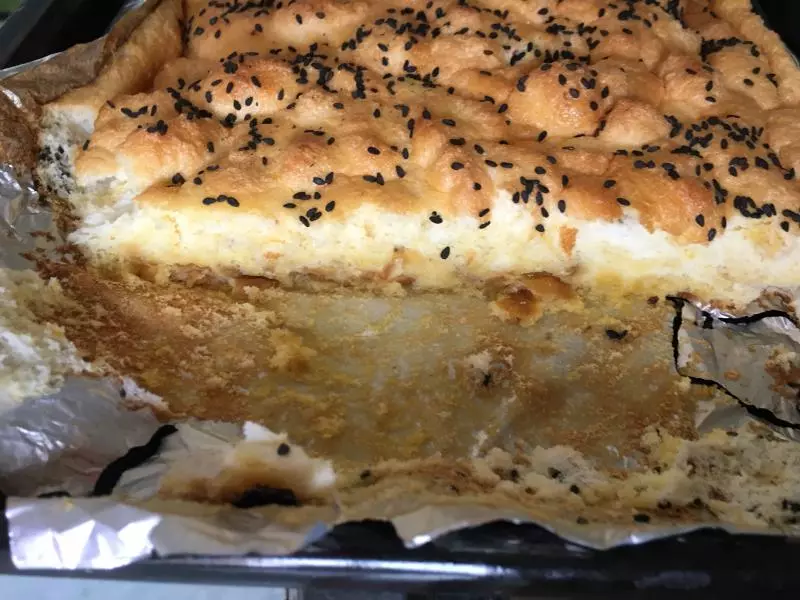
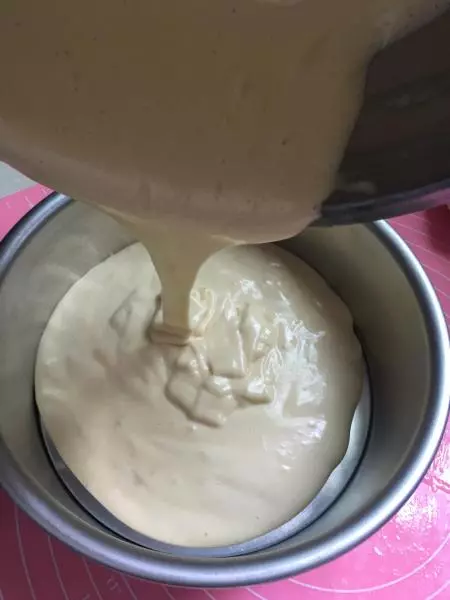
16若将面糊倒进圆模等模具内.轻轻震几下,把里面的空气震出,以140-160度烤20-30分钟.若倒在烤盘上.以170-180度左右烤8-10分钟.温度具体按照自己烤箱的温度来确定。
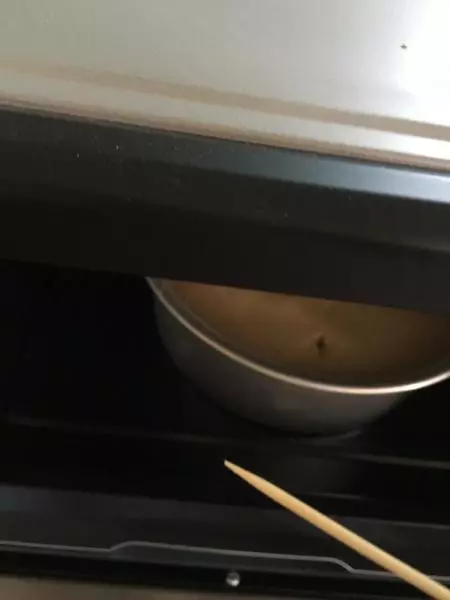
17不要频繁打开烤箱门,时间快到的时候可以打开门.用牙签扎一下,如果没有粘连物,就是熟了。
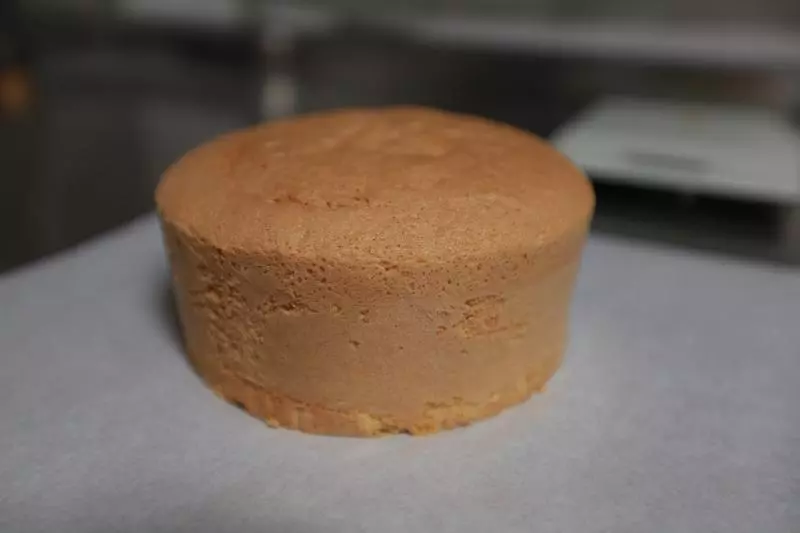
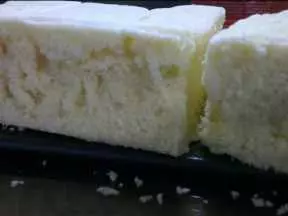
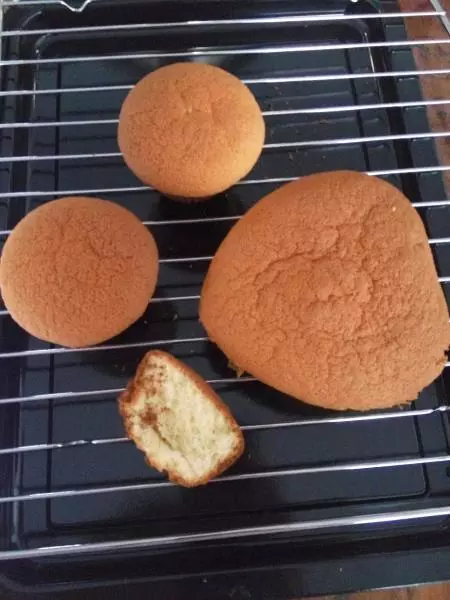
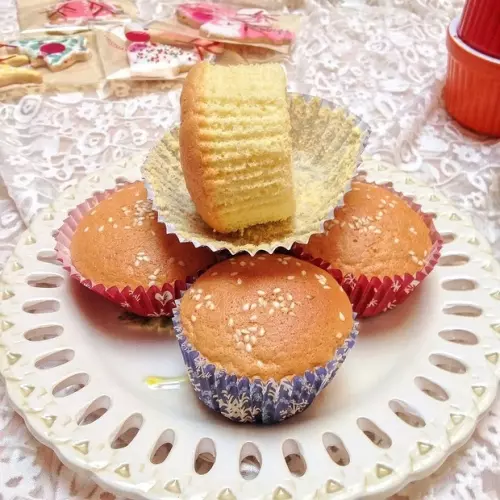
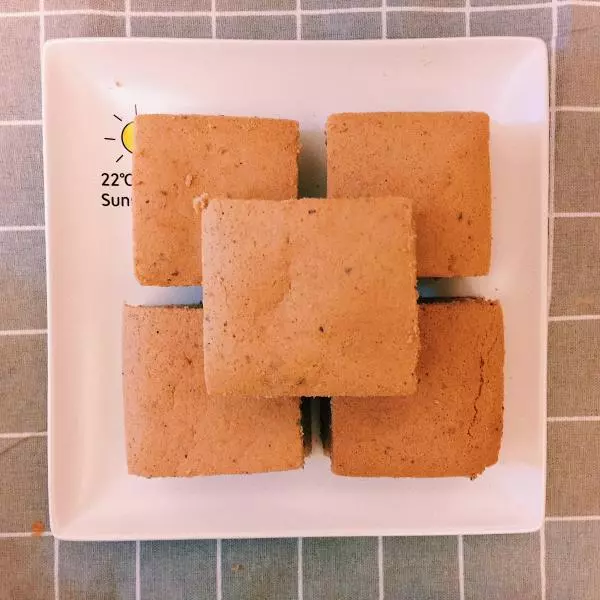
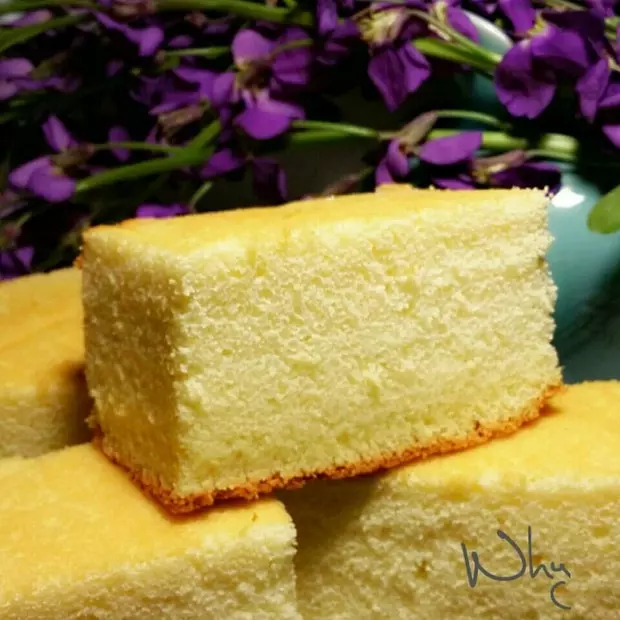
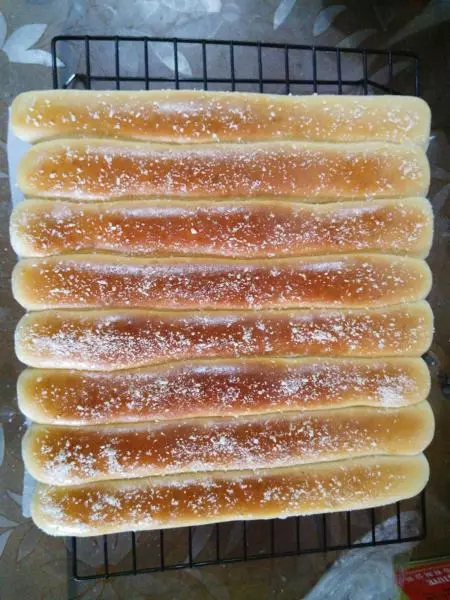
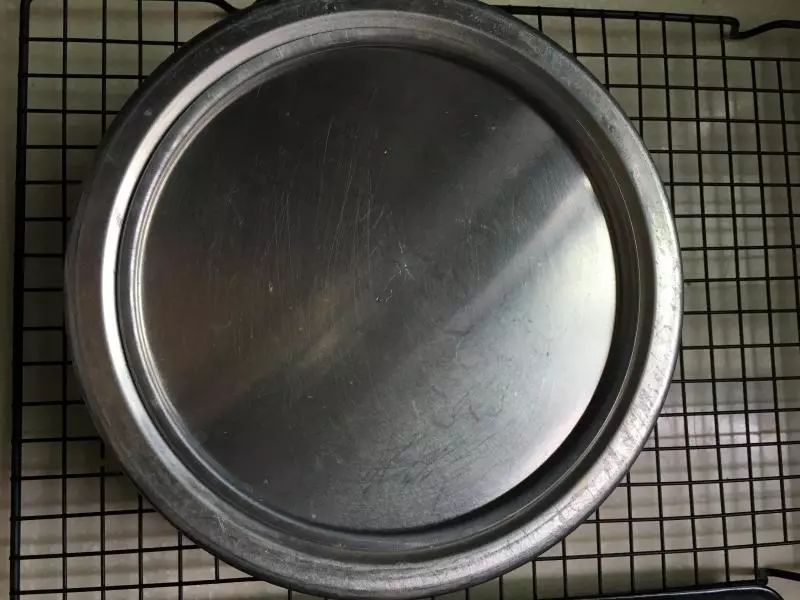
18烤好之后倒扣,待凉透脱模
小技巧
1:打蛋盆一定要无油无水 2:蛋糕模用不沾的活底蛋糕模或者烤盘都可以的,给底下铺油纸哈 3:搅拌的时候一定要注意手法,翻拌或者切拌,防止消泡 4:烤熟倒扣,待凉透脱 5:每个烤箱的温度都不一样,根据自己的烤箱温度来烤,如果有不太清楚的,每次烘烤前,先把温度调低,这样也就防止烤焦。