原料
A中种材料:: , 金像高筋面粉: 175g, 鸡蛋: 50g, 牛奶: 75g, 酵母: 1.2g, B主团材料:: , 金像高筋面粉: 75g, 酵母: 1g, 鲜奶: 25g, 砂糖: 45g, 蛋黄: 35g约两个, 奶粉: 两大匙, 黄油: 35g
步骤
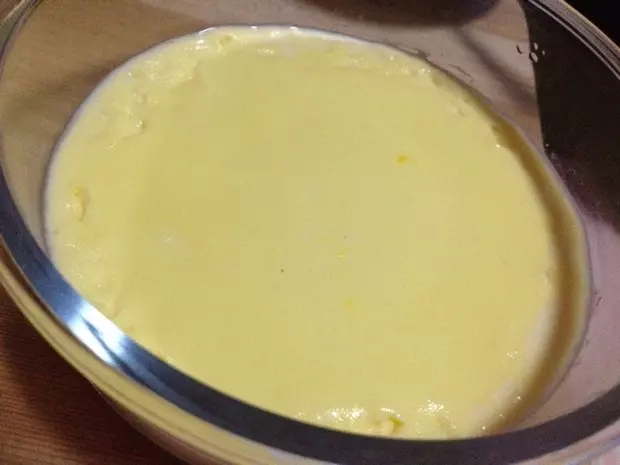
130度左右温牛奶,加入1.2g酵母静置五分钟,等酵母完全融化后,加入面粉和鸡蛋中,揉至看不见干粉成面团,密封进冰箱,冷藏十八小时。
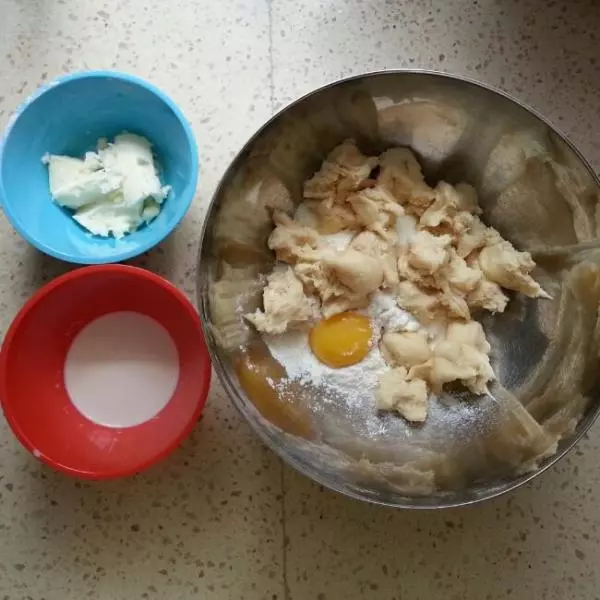
2第二天冰箱中取出中种面团。打开密封盒盖,然后准备主面团材料。1g酵母在25g温牛奶中融化,与撕成小块的中种面团A混合,再加入,高筋面粉75g,砂糖45g,蛋黄和奶粉,等其他主面团材料,混合均匀。
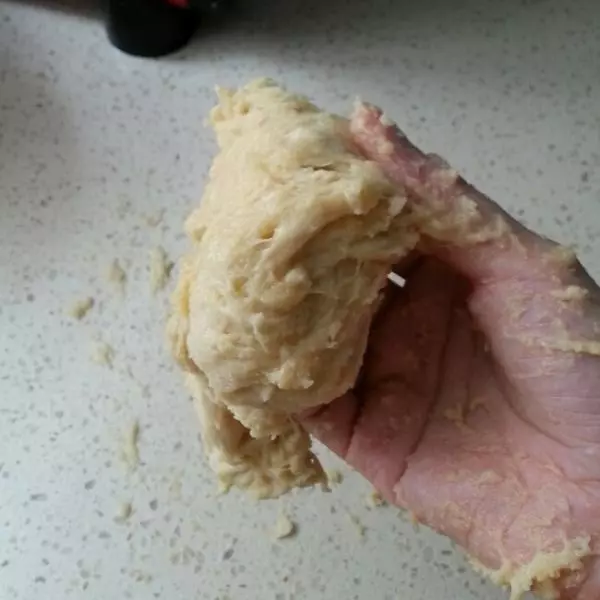
3下面开始揉面团,我没有面包机,所以都是手揉O(∩_∩)O,此方的面团含水量高,一开始面团非常湿粘,左手按住面团一端,右手像洗衣服一样在案板上揉搓几分钟后,开始摔面团,直至面团形成粗糙的膜后,加入黄油,再揉至,扩展阶段与完全阶段之间就可以了。(用面包机的tx按正常揉面程序进行)
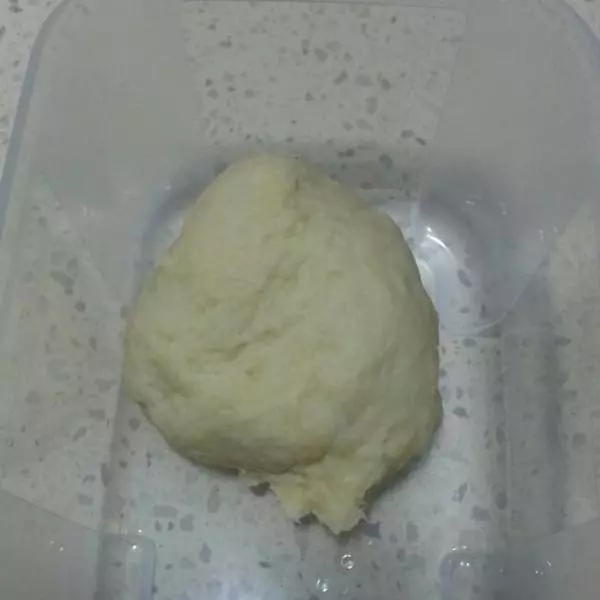
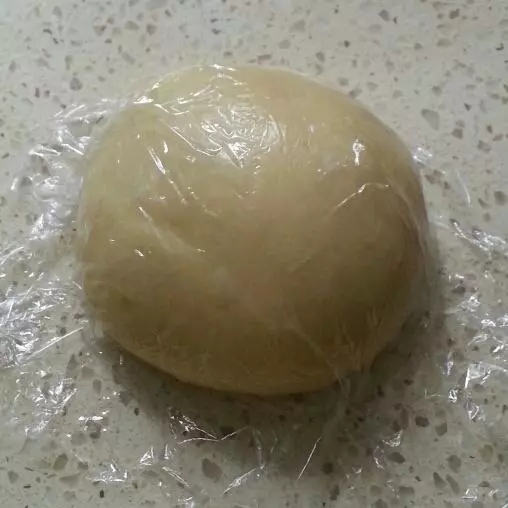
4揉好的面团盖保鲜膜静置,延续发酵15-20分钟.
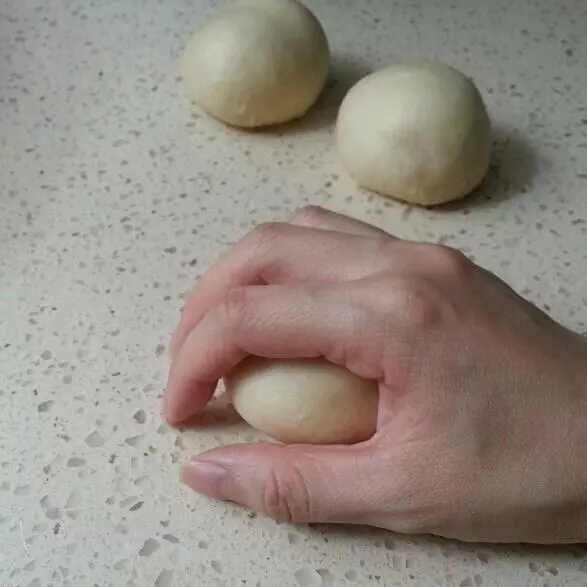
5面团用擀面杖排气后,分割成5个相同大小,滚圆盖保鲜膜松弛15分钟。
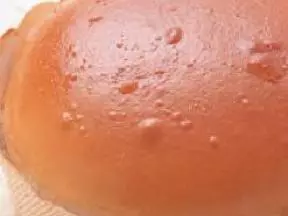
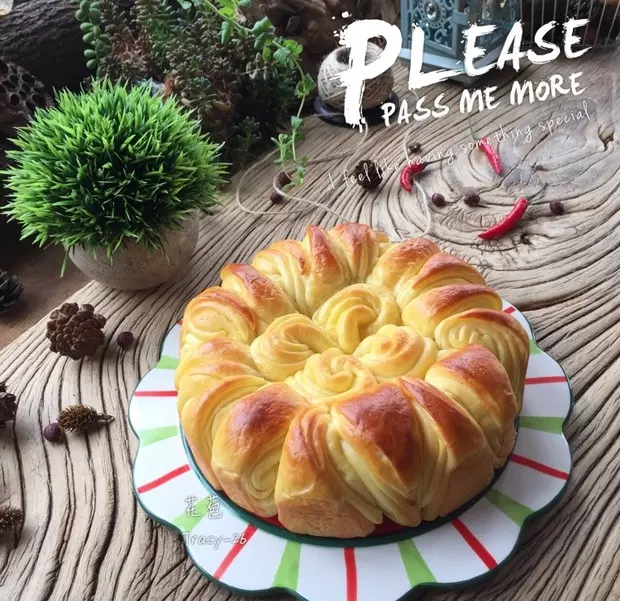
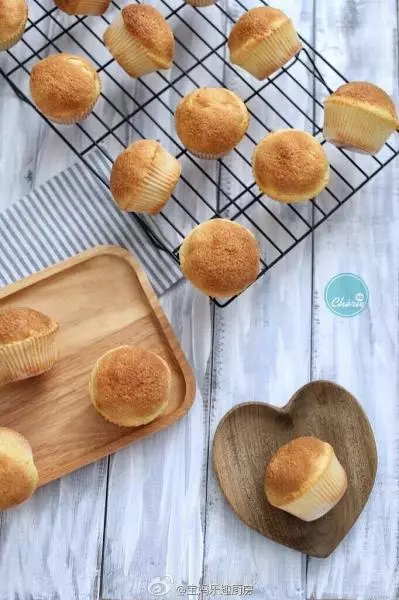
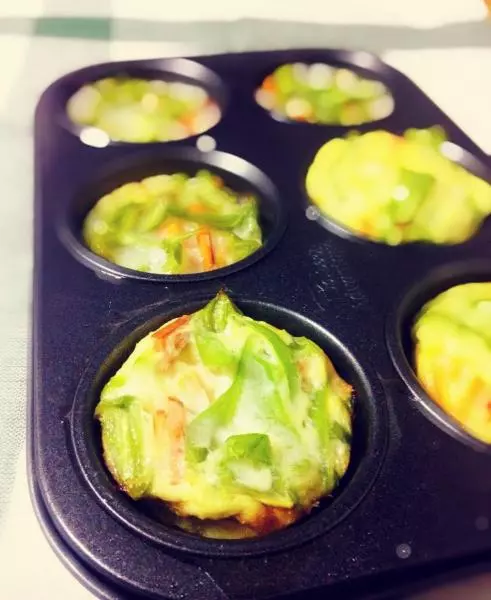
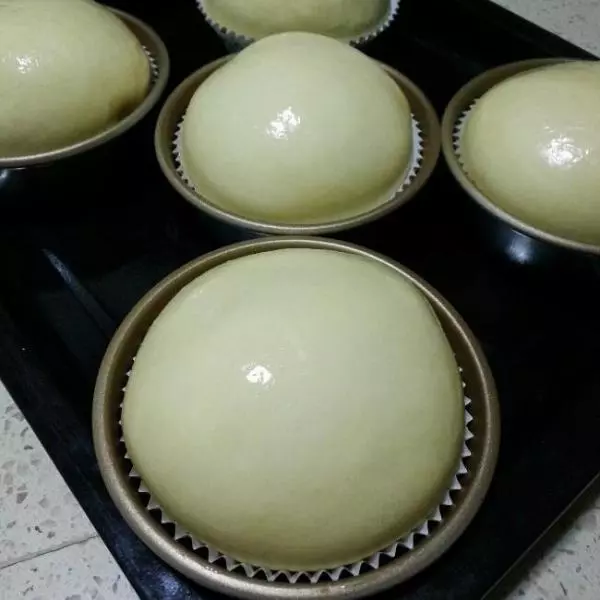
6松弛好以后,用手压成扁圆,面团放入纸膜中,盖保鲜膜放烤箱里,进行最后发酵,烤箱里可以放杯温热的水保持湿度,我是直接用小喷壶喷水保持湿度的。35度大约四五十分钟。发酵完成后面团表面涂全蛋液。(如上图)
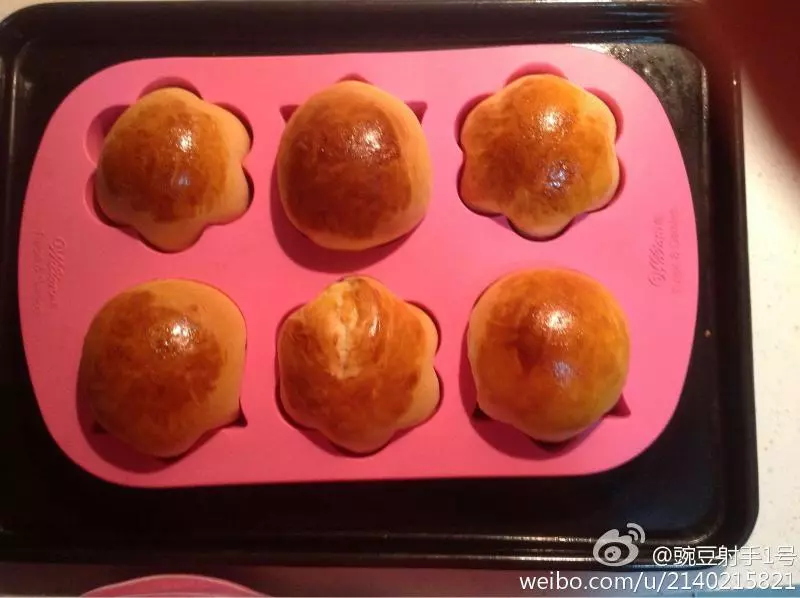
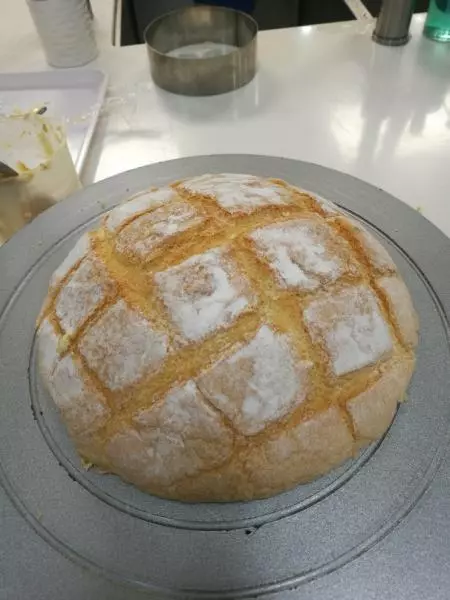
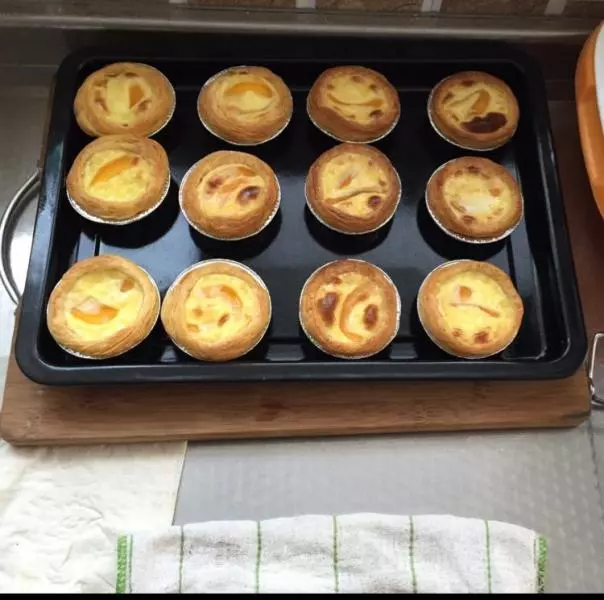
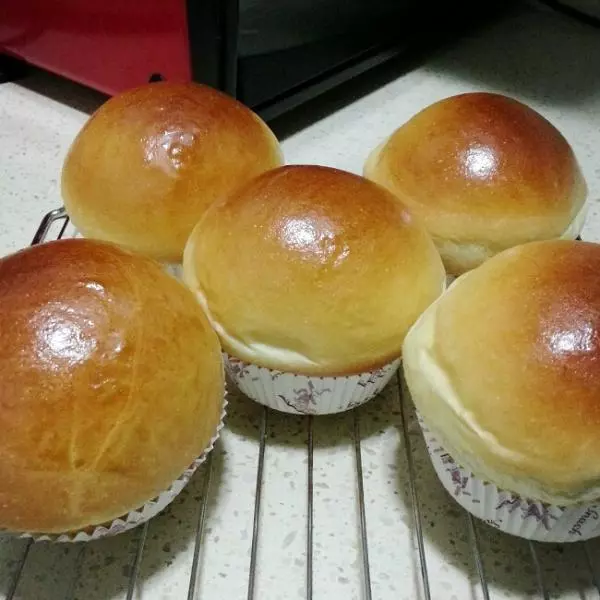
7烤箱预热,170度左右烤20分钟,我在纸模外套了三能汉堡模放中下层。没有金属汉堡模,直接用定型纸模也是可以的,放中层。面团会在烤箱里继续长大长高O(∩_∩)O
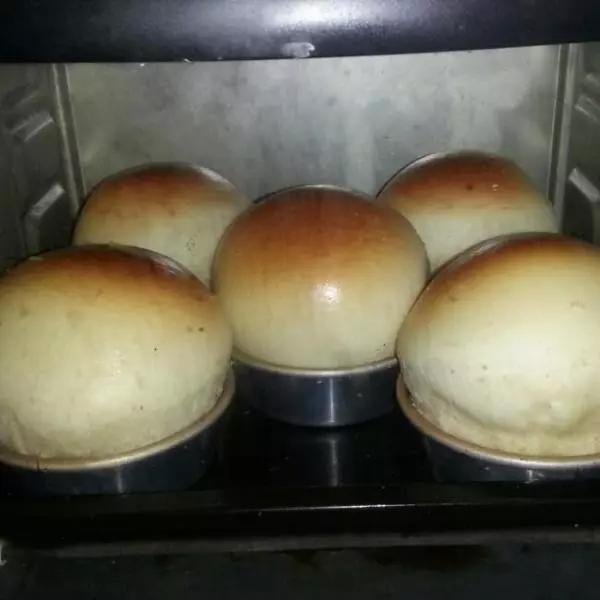
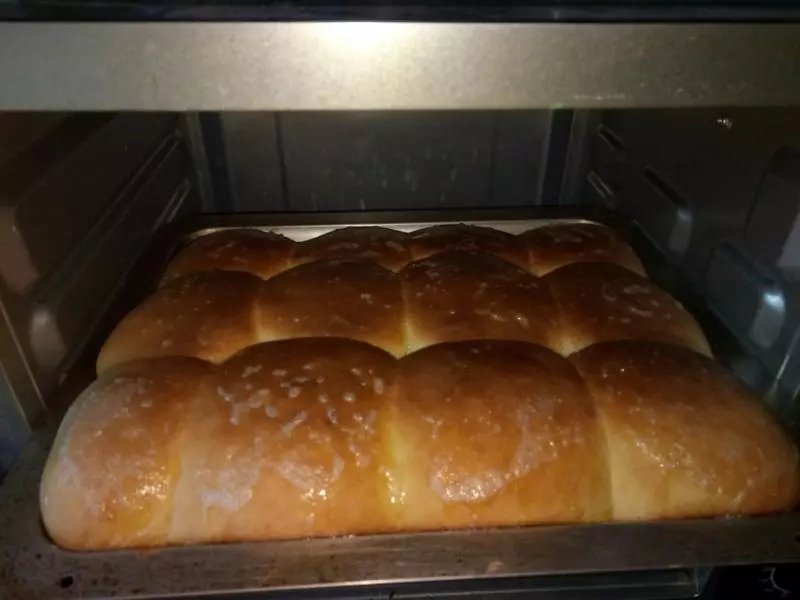
8放中下层的,大约烤了八九分钟,面包表面上色到理想颜色后加盖锡纸。

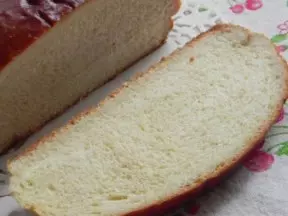
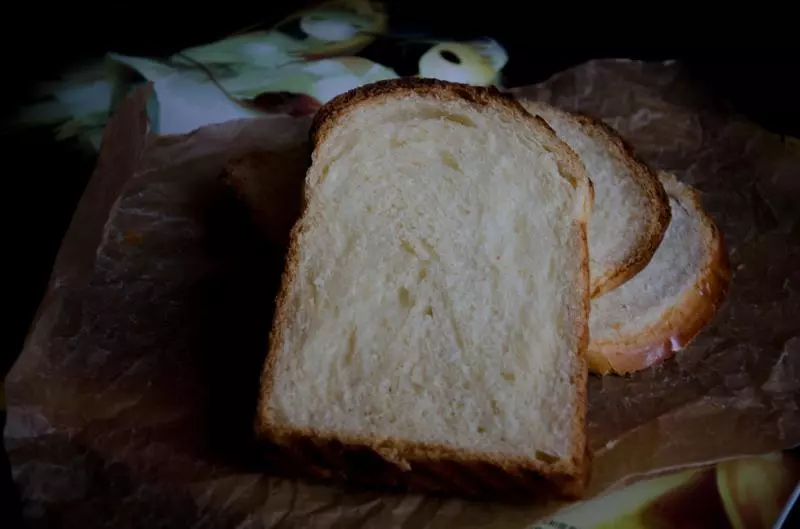
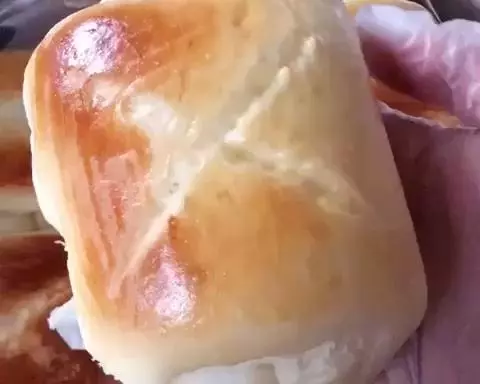
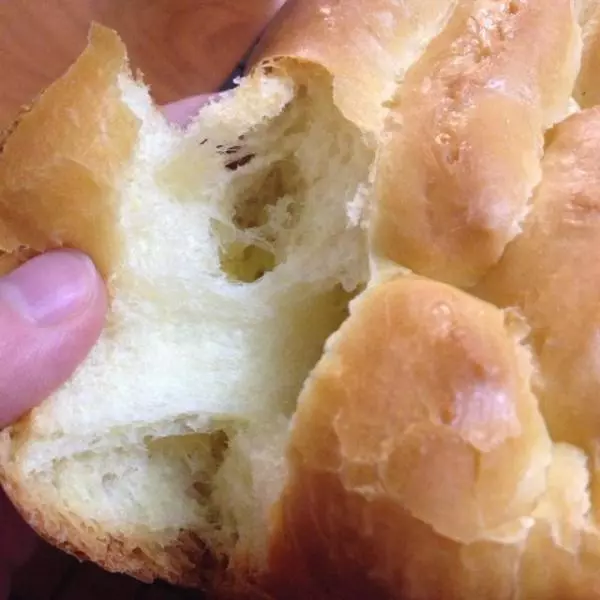
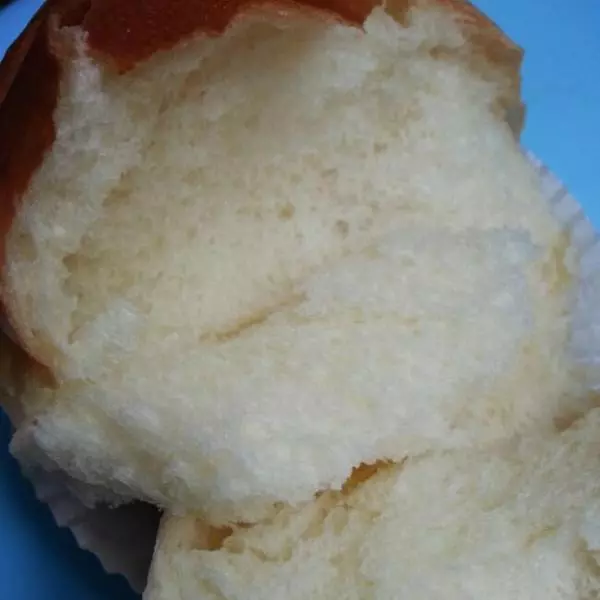
9撕开面包开内部组织,是不是非常细腻柔软呢?希望你和我同样喜欢这款巨蛋牛奶面包O(∩_∩)O
小技巧
1.这款面团含水量高比较湿粘,用时较长,不太适合第一次做面包的新手,请注意O(∩_∩)O 2.还有什么注意事项我想到再补充噢,稍后再补充点过程图片。