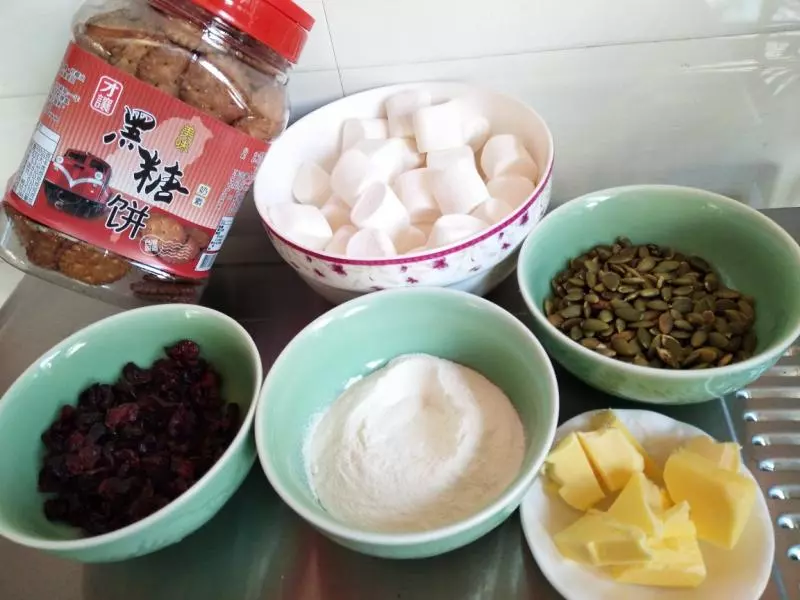
原料
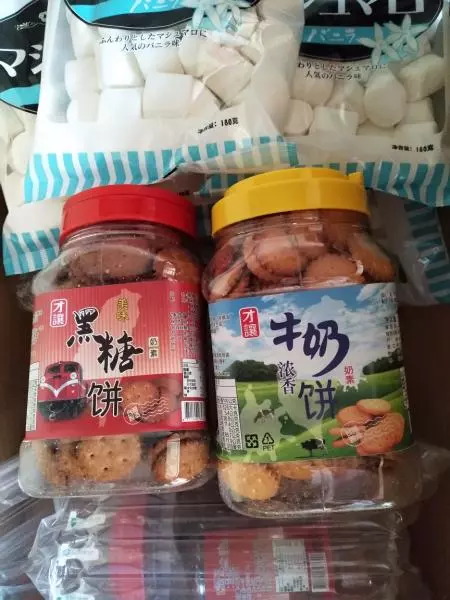
黄油: 40克, 棉花糖: 150克, 全脂奶粉: 45克, 蔓越莓: 60克, 熟南瓜籽: 60克, 才让黑糖味饼干: 180克, 装饰:全脂奶粉: 10克
步骤
1材料准备好
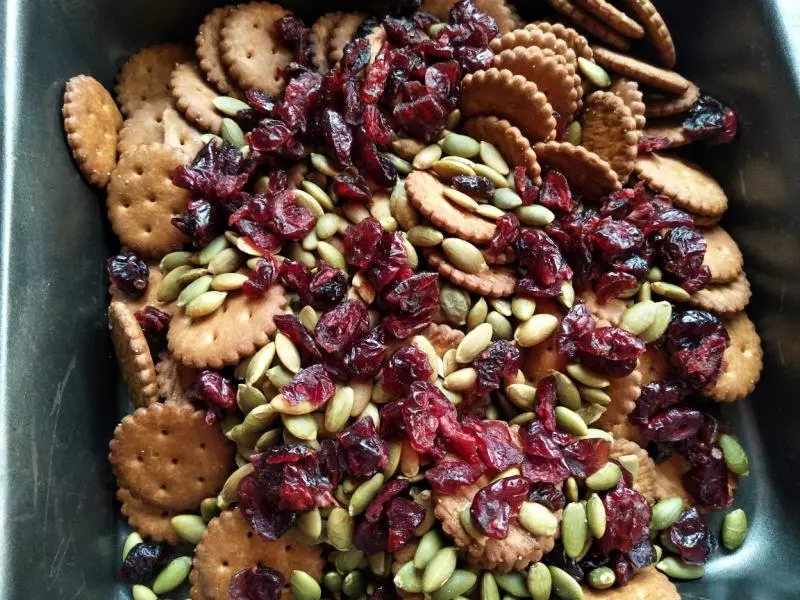
2黑糖饼干、南瓜籽和蔓越莓,一起放烤盘里
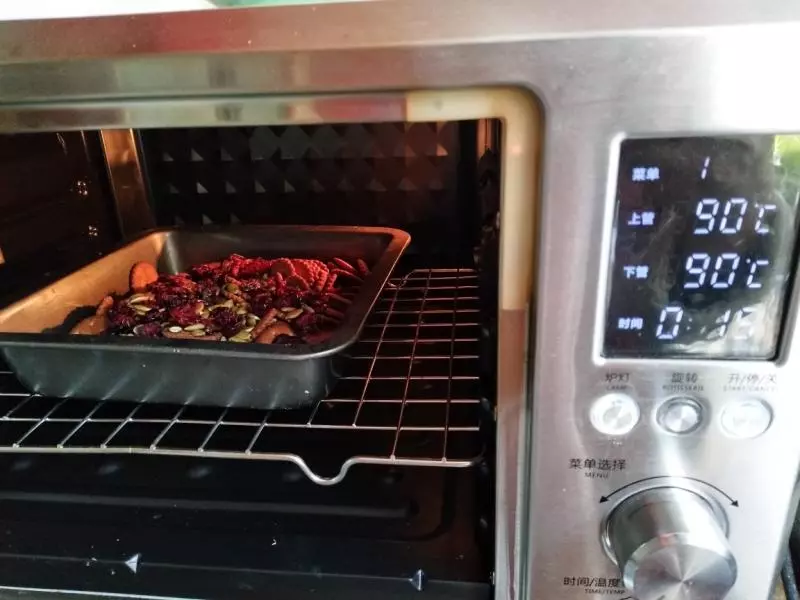
3放入烤箱90℃保温(南方冬天气温比较低,今天只有5℃,为了后面操作的时候,不让糖快速变硬,气温高就不需要这样咯)
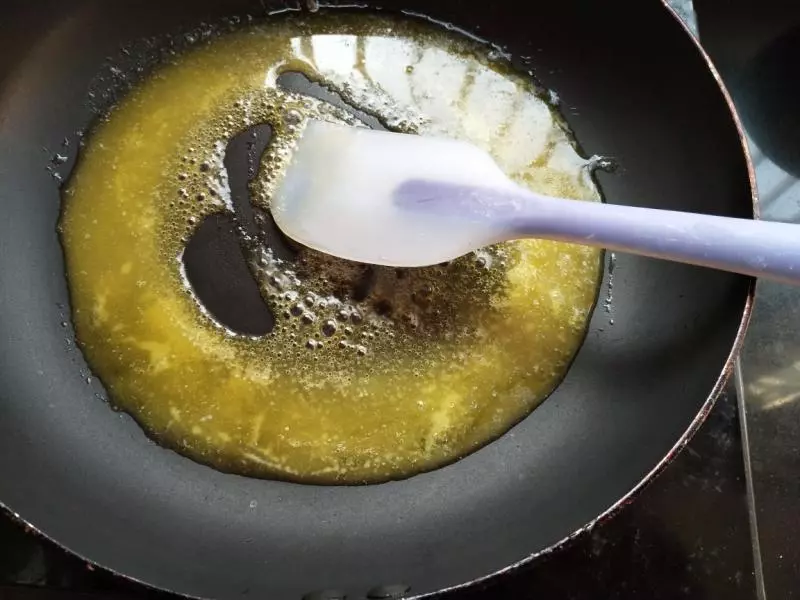
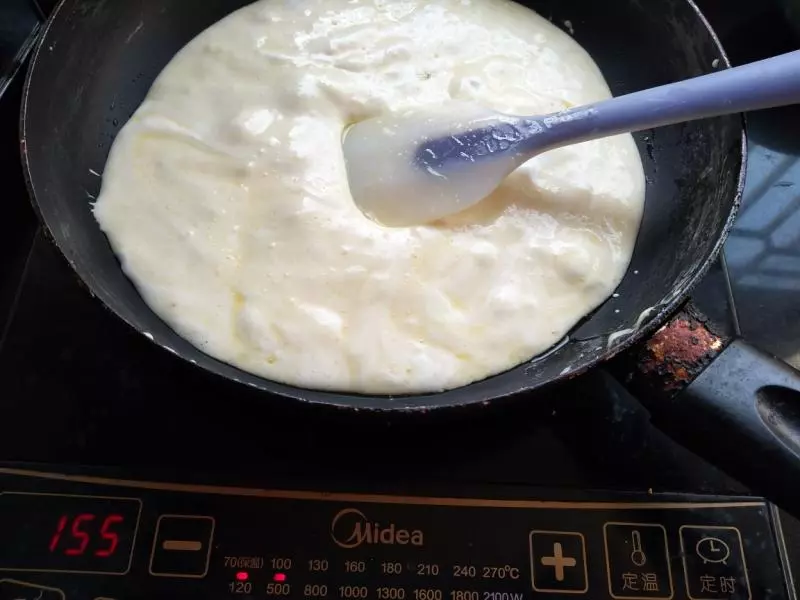
4黄油放入平底锅,小火融化,不需要煮沸
5棉花糖放入平底锅
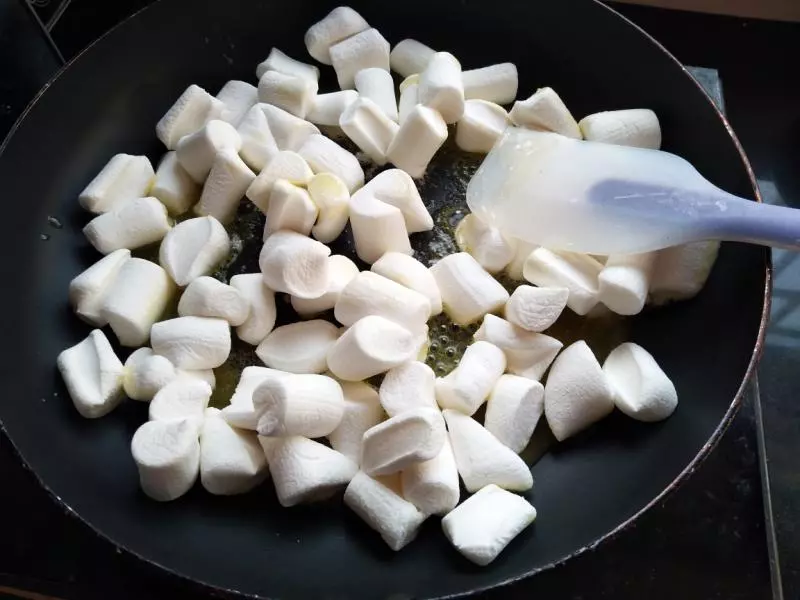
6用刮刀不断地压拌和翻拌,画圈圈至棉花糖完全融化,我一直用小火操作
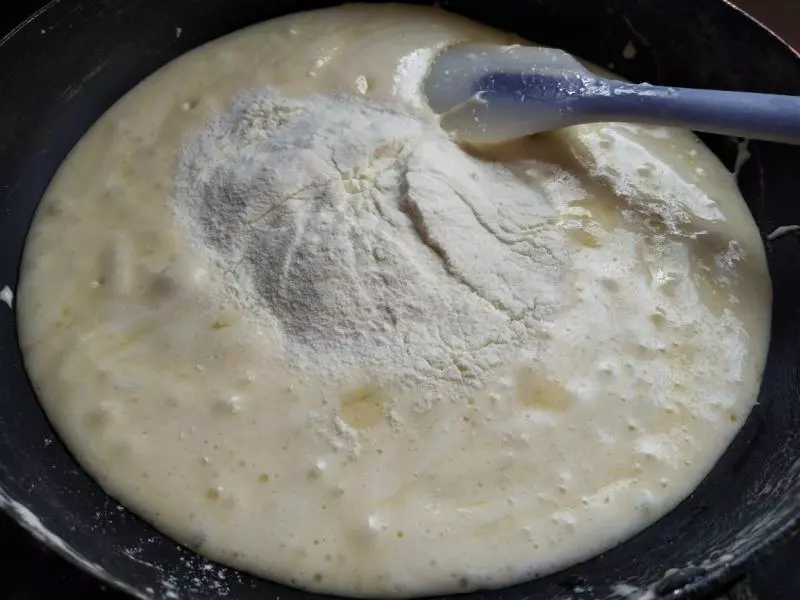
7奶粉倒入锅里,混合均匀
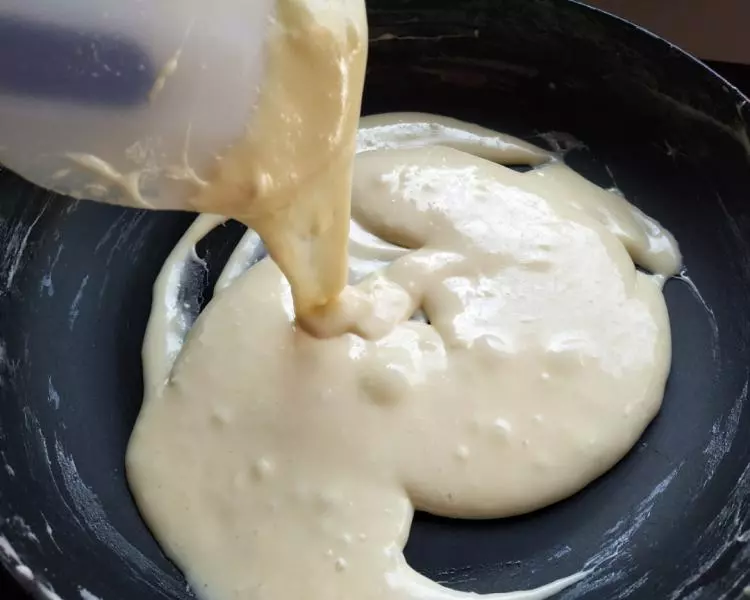
8用刮刀挑起来,牛轧糖具有延展性以及粘性就表示牛轧糖制作完成
9把饼干、蔓越莓和南瓜籽倒入锅里
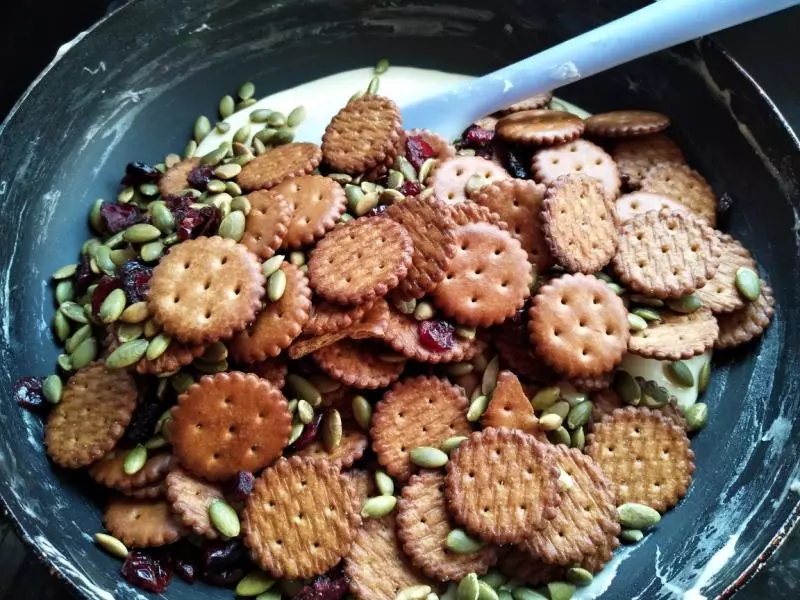
10翻拌几下,稍微混合

11倒入不粘烤盘里整形,带PVC手套操作
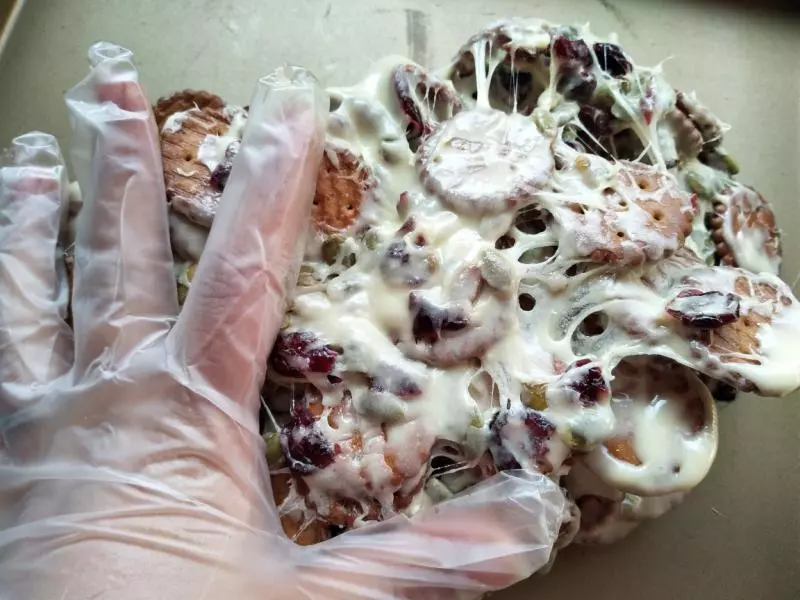
12接着用双手将雪花酥拉扯开,折叠,让坚果、果脯以及饼干混合均匀
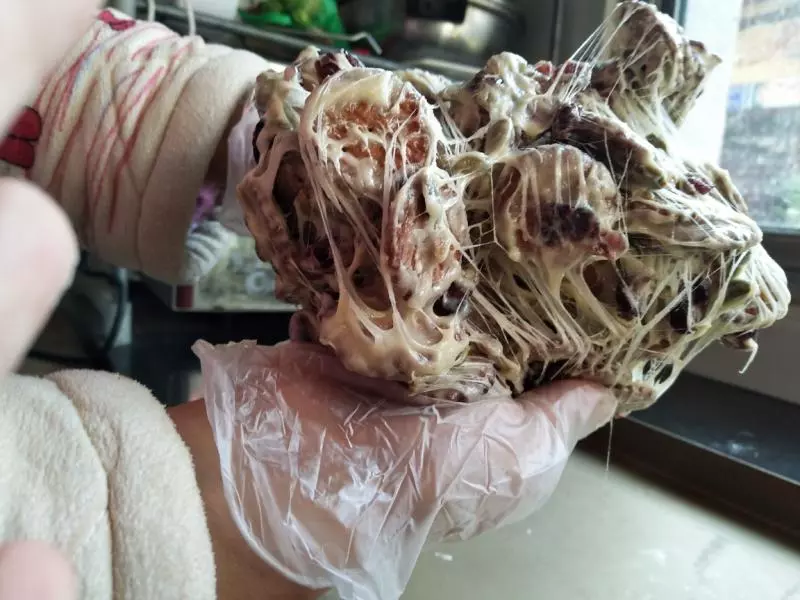
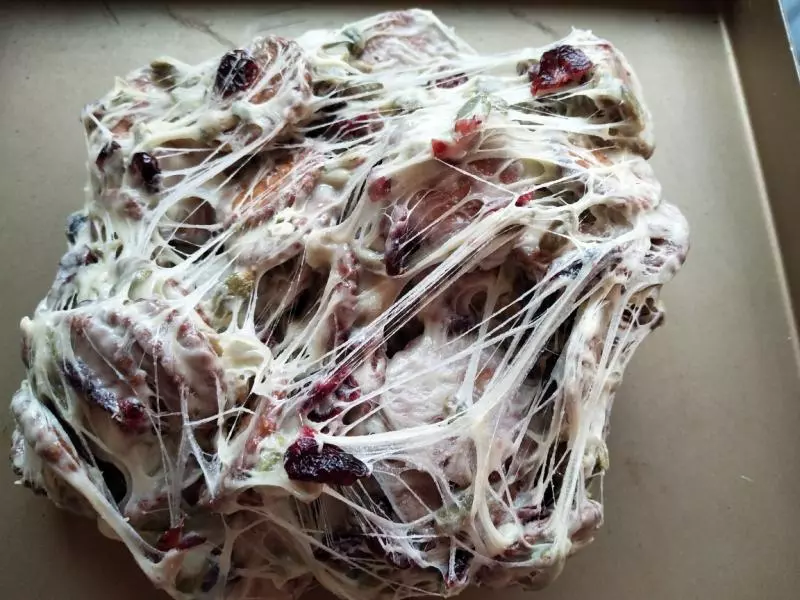
13热的时候,千丝万缕
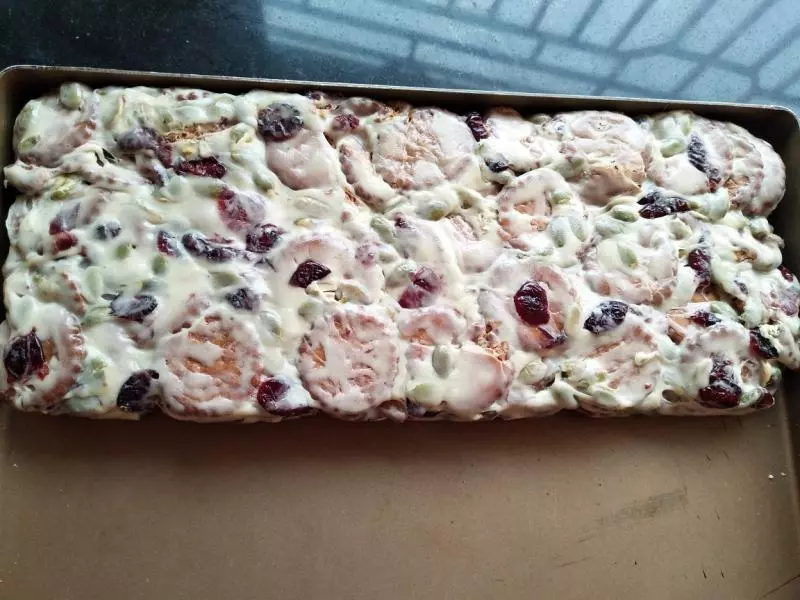
14最后借助金盘直角的位置,用手将雪花酥折叠压紧实,塑形成一整块3厘米高的雪花酥,两面都要塑形压平压紧实,然后放在一旁晾凉;
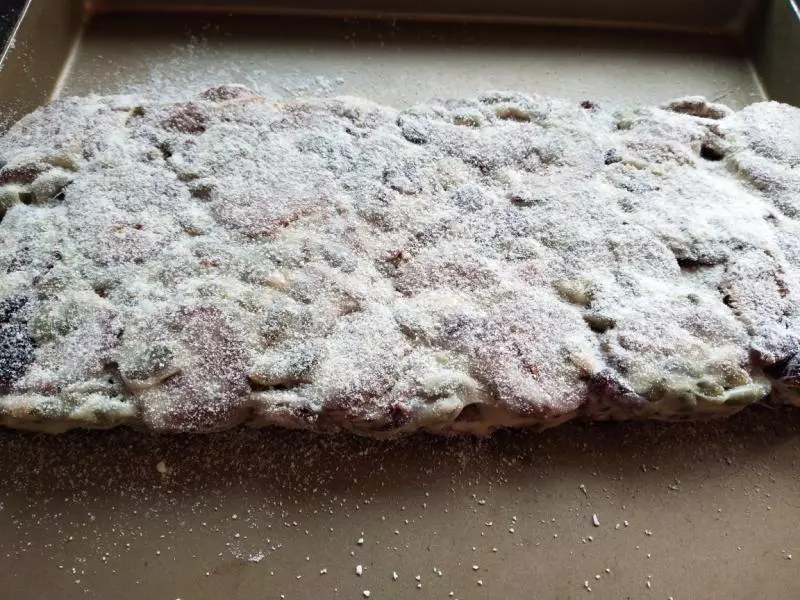
15温热的时候表面筛奶粉
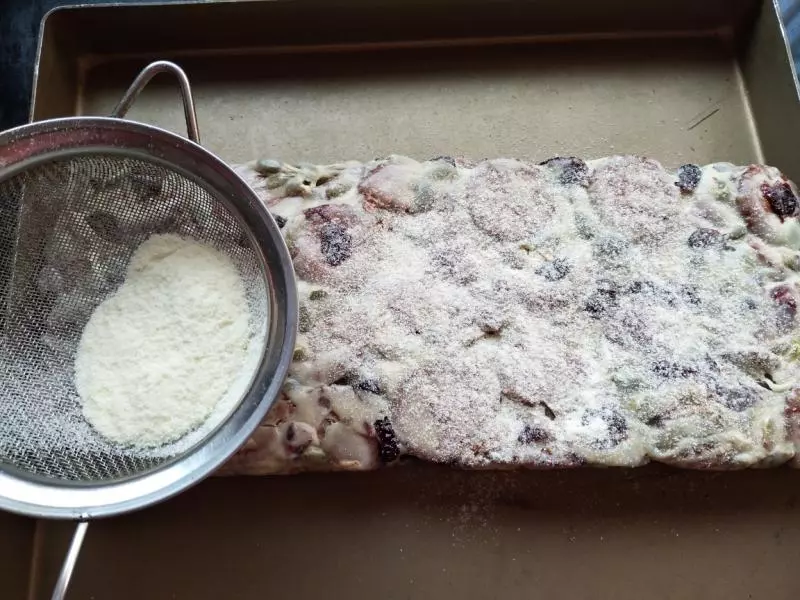
16反过来也筛一层奶粉
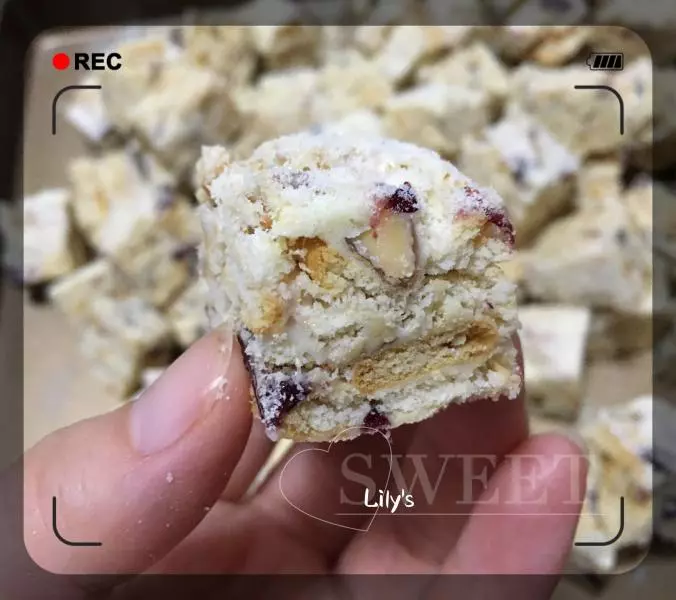
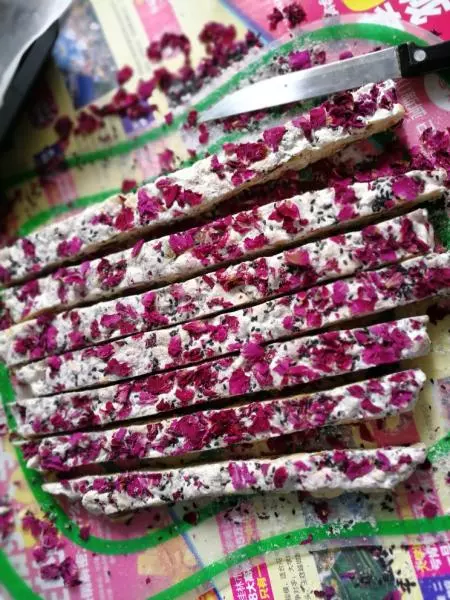
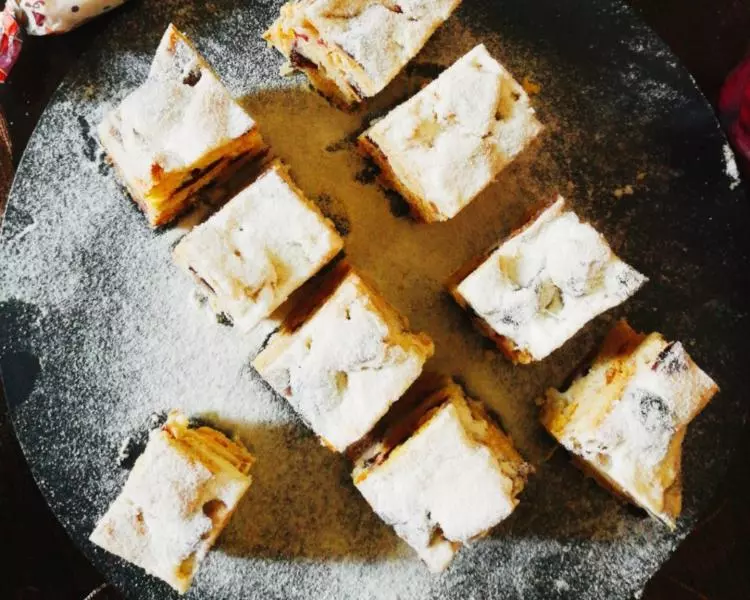
17雪花酥完全冷却之后变得比较结实,用锯齿刀切开
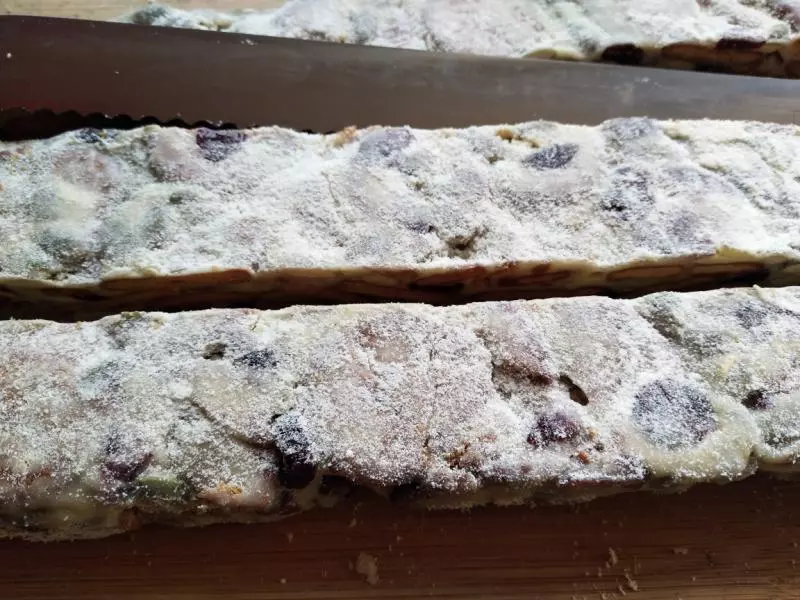
18先切成长条
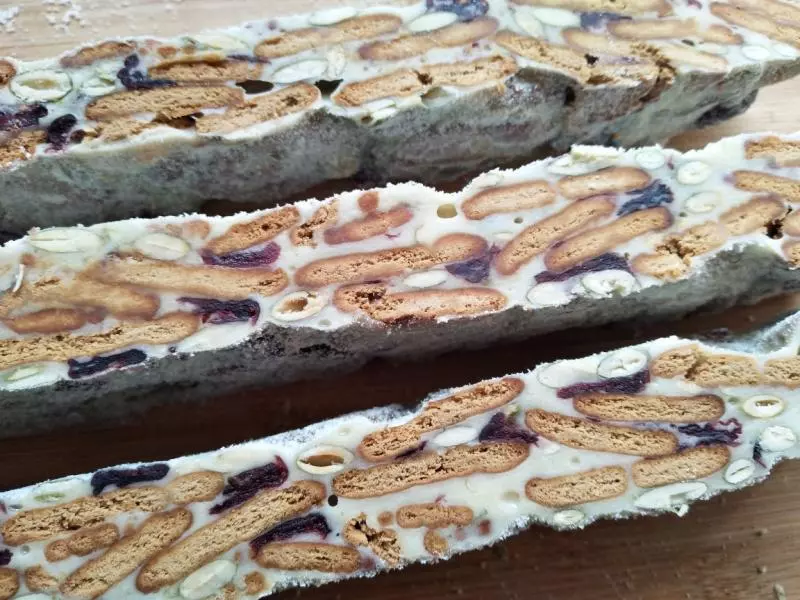
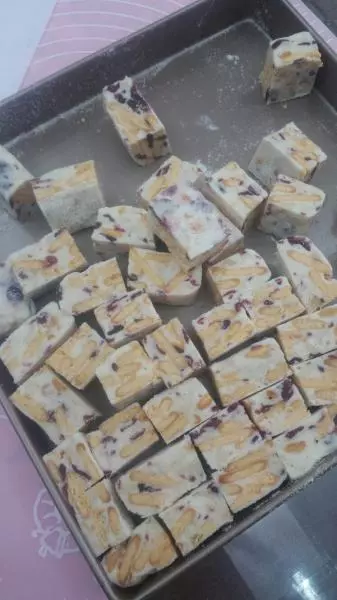
19再切成3cm小块
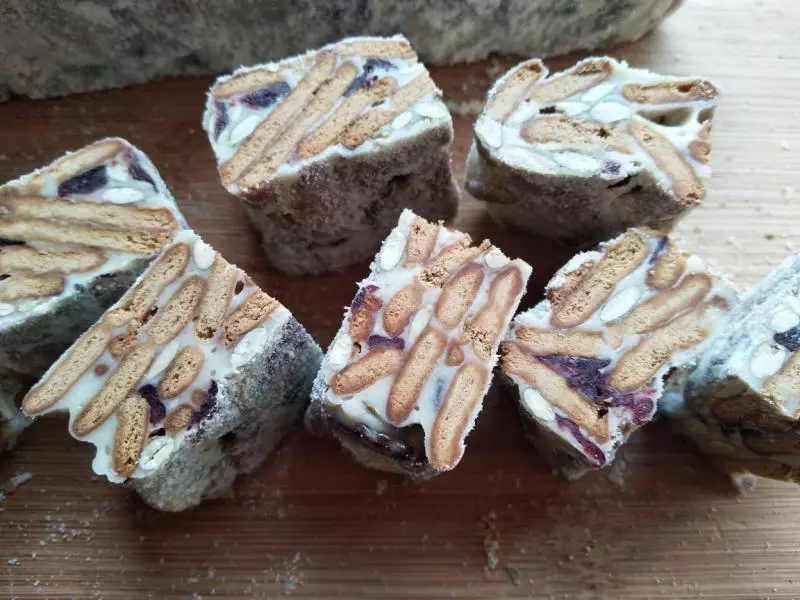
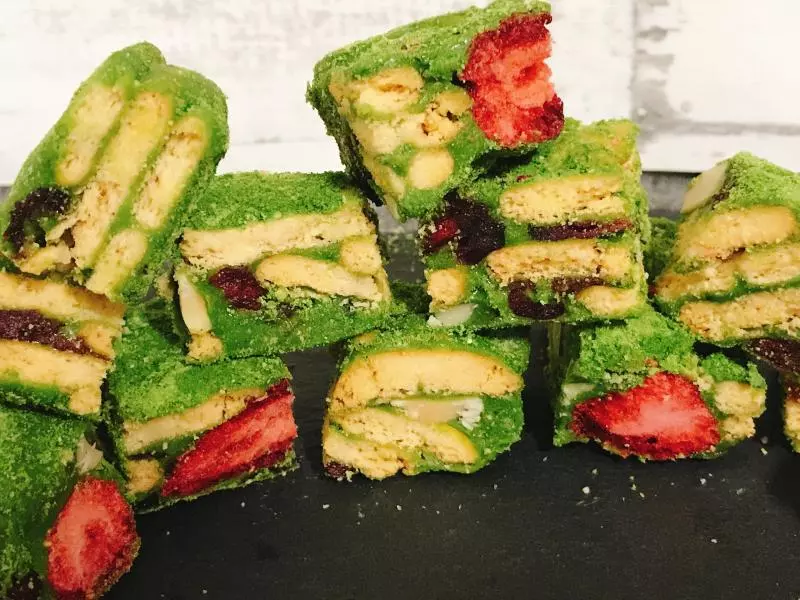
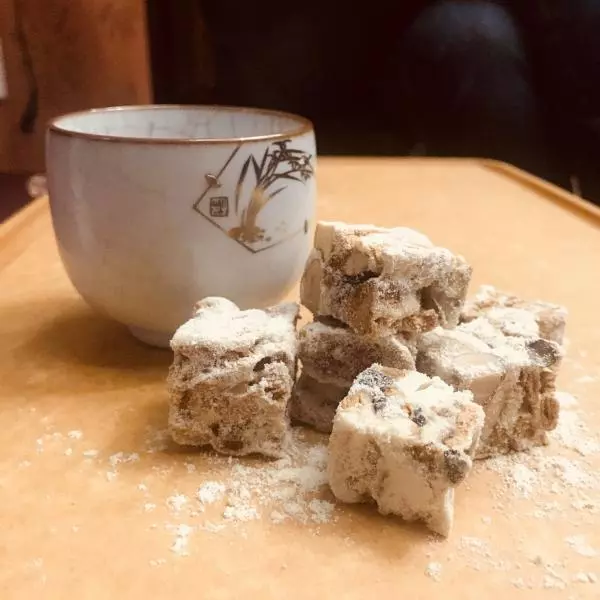
20口感很好哦,黑糖味饼干,吃出巧克力的味道
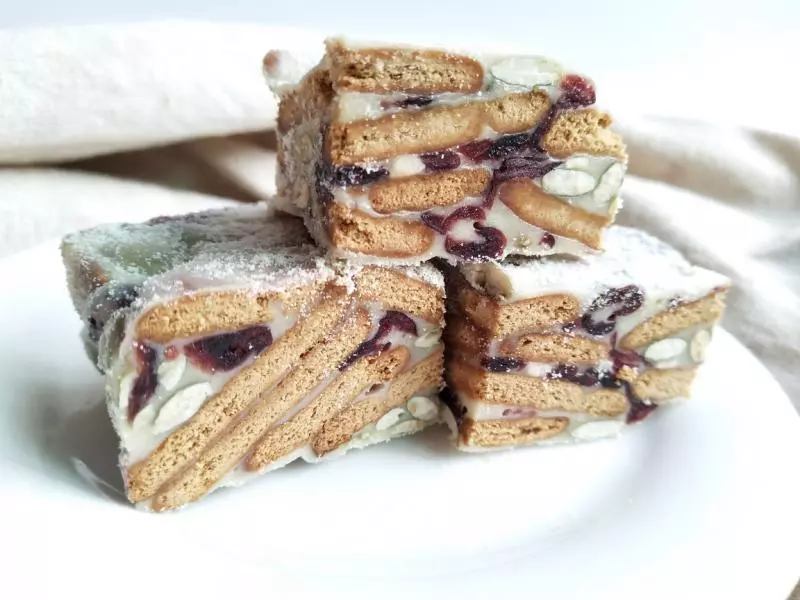
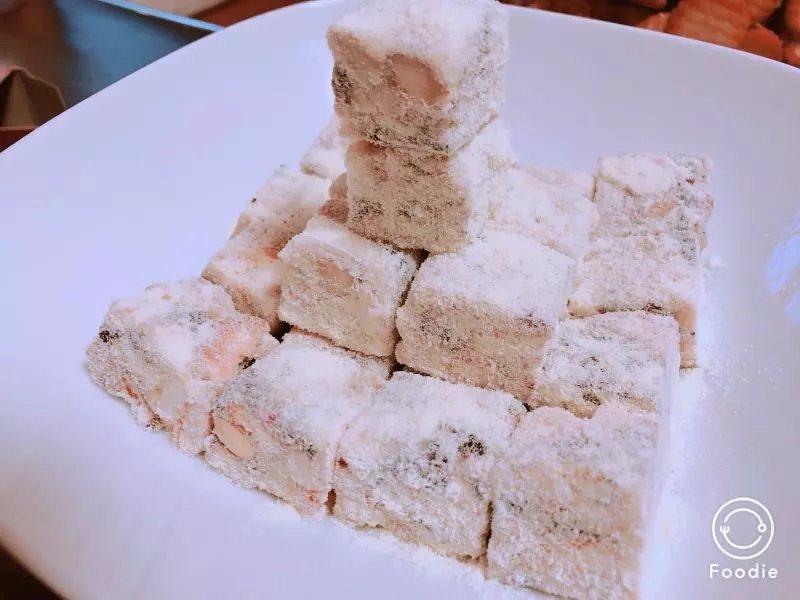
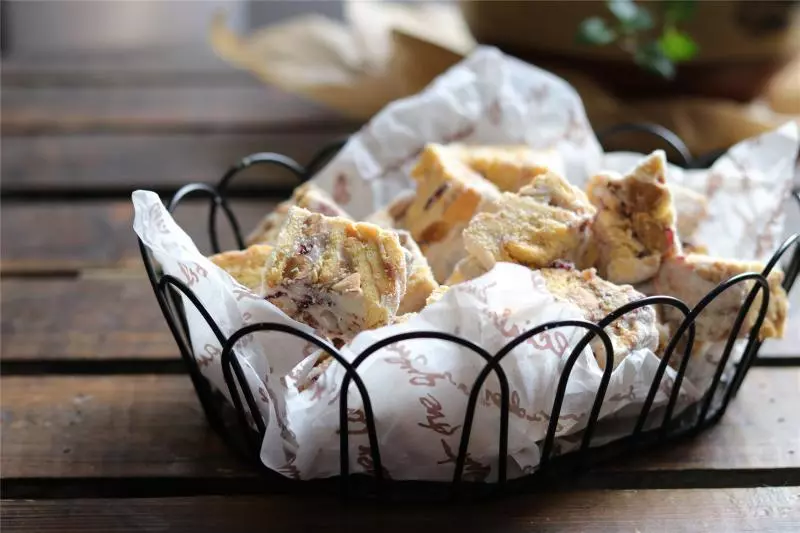
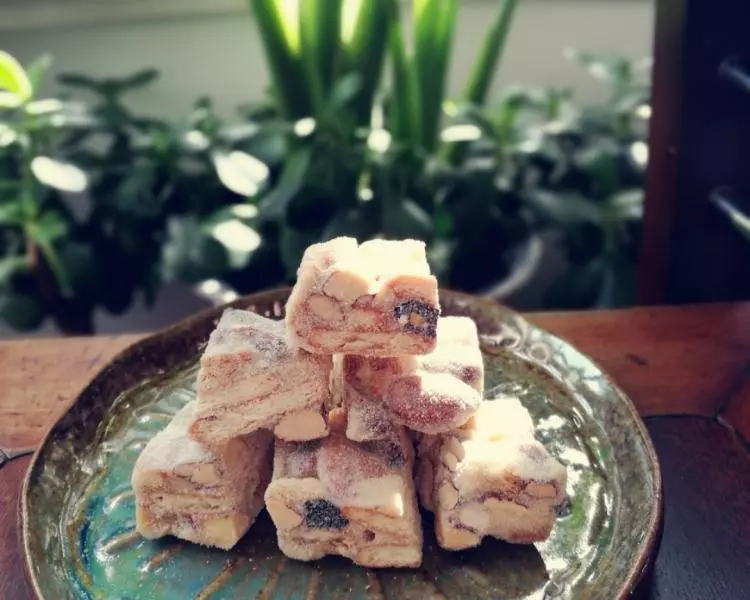
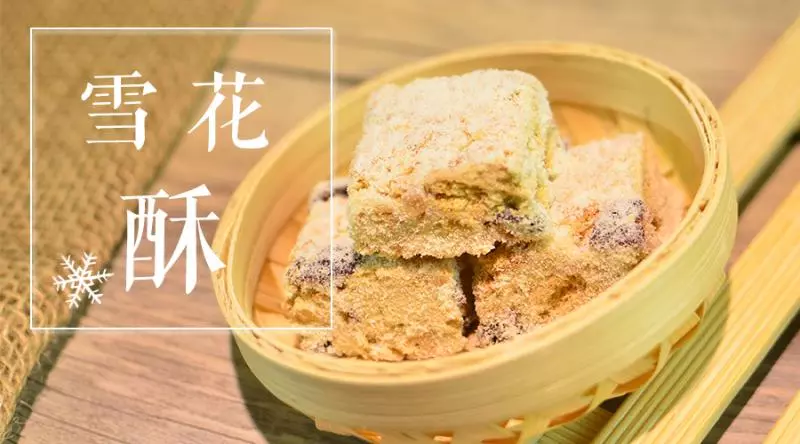
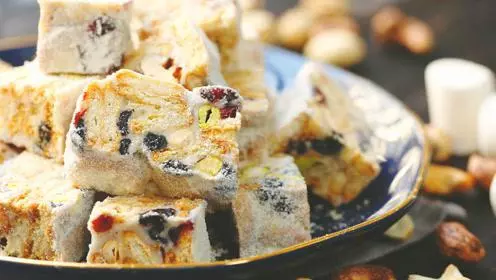
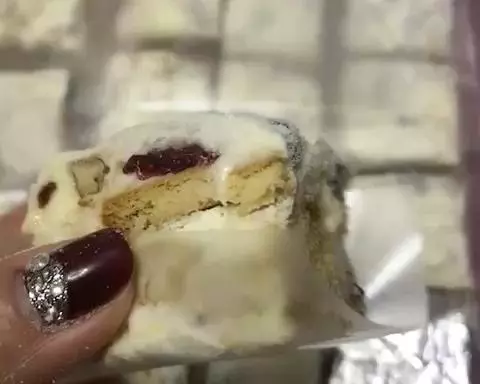
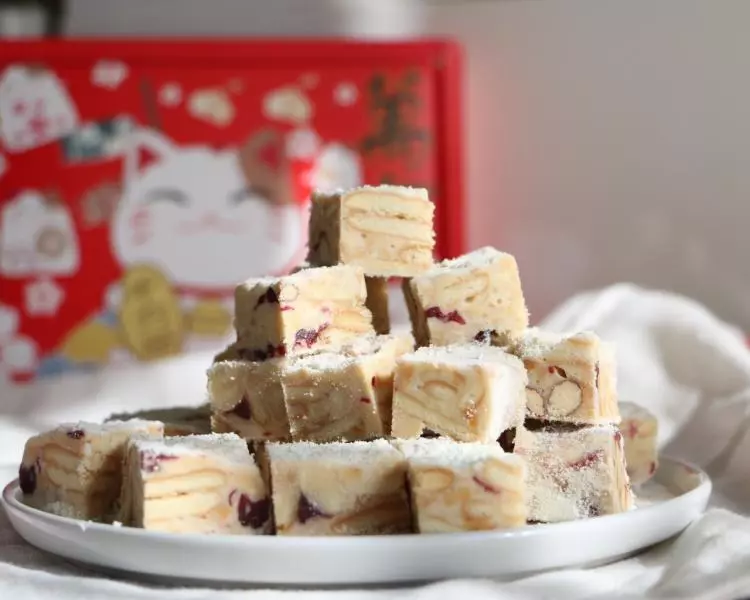
21成品图
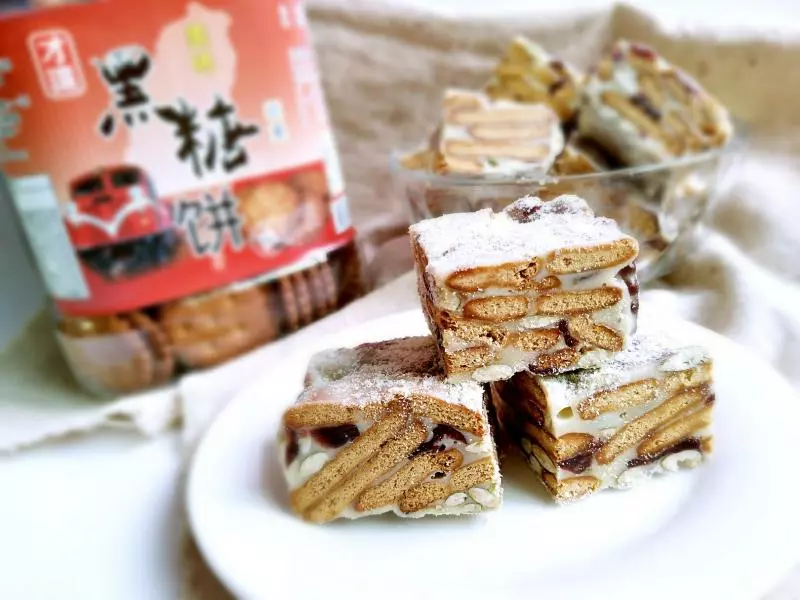
22成品图
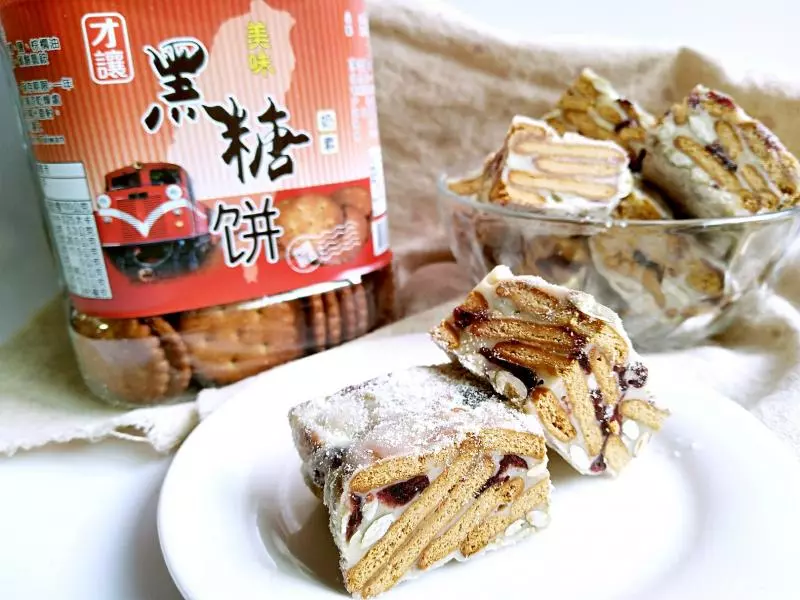
23【我剁手都要买的宝贝(台湾焦糖黑糖饼干才让小奇福饼干小圆饼零食320g烘焙雪花酥饼原料),快来和我一起瓜分红I包】http://z.oiax6.com/h.BUMkEM 点击链接,再选择浏览器打开;或复制这条信息¥FaW00j2oOwJ¥后打开手淘[来自超级会员的分享]
小技巧
小贴士 1.炒制棉花糖版的牛轧糖,全程用中小火,避免牛轧糖炒过了; 2.无盐黄油加热至融化就可以了,不需要沸腾; 3.棉花糖需要完全炒制融化再加入奶粉; 4.雪花酥塑形要压紧实,避免有空隙的地方,切出来会有一些孔洞,形状不规则。