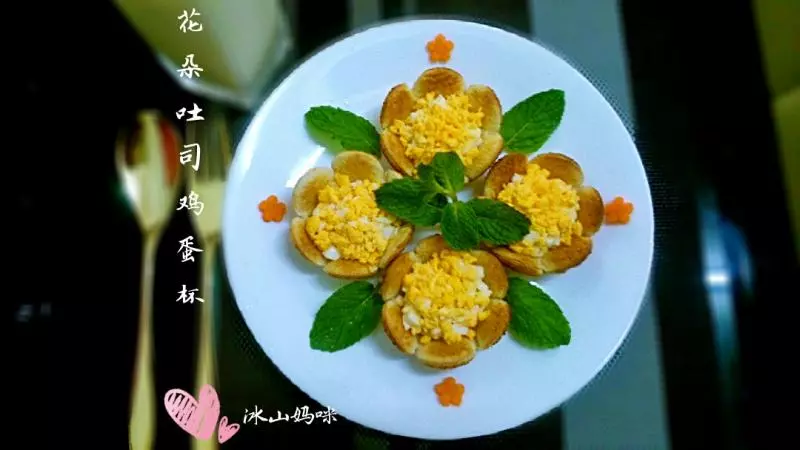
原料
吐司: 2片, 鸡蛋: 2个, 沙拉酱: 2汤匙, 黑胡椒: 1/4茶匙
步骤
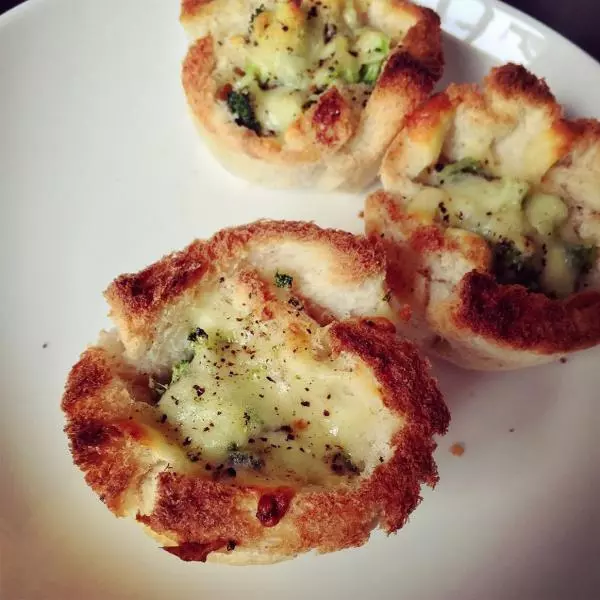
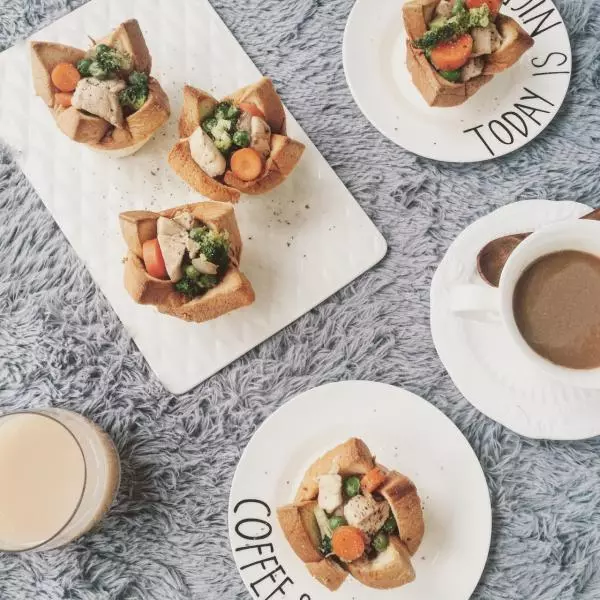
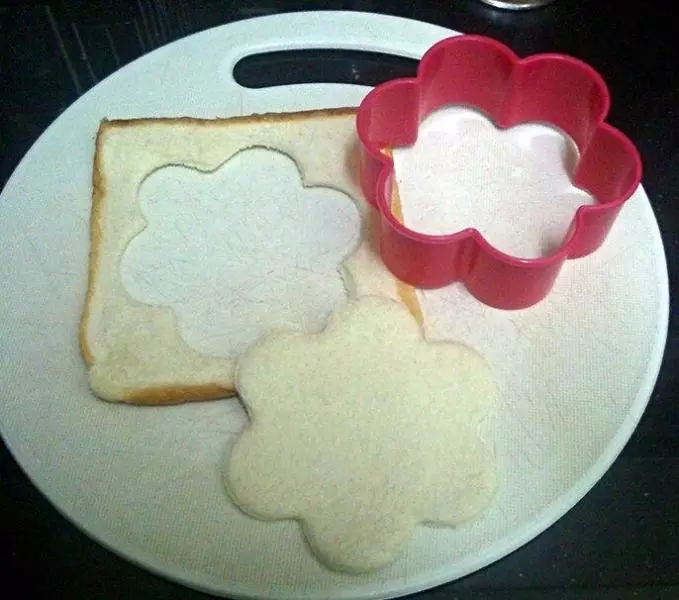
1吐司压扁,拿花朵模型按压出花朵吐司(如图)。
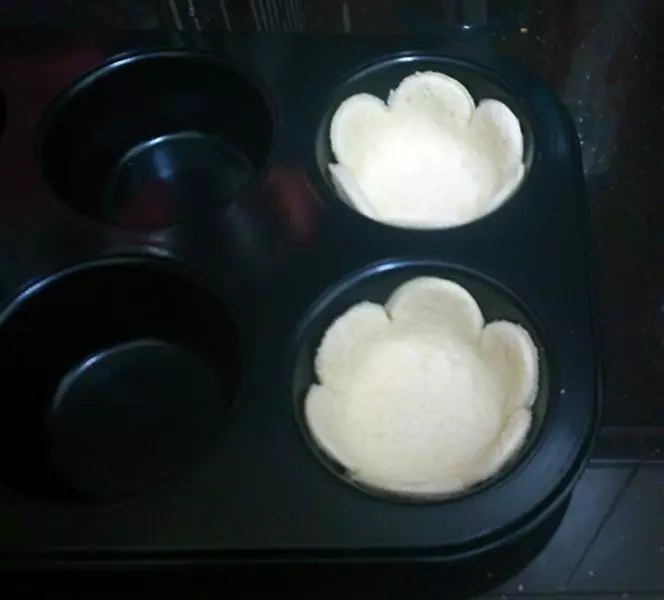
2把花朵吐司放入烘培杯子蛋糕用的烤盘。
3把烤盘放入烤箱烘五分钟~200° (我没预热烤箱哦~)。 看到吐司花朵微黄即可。
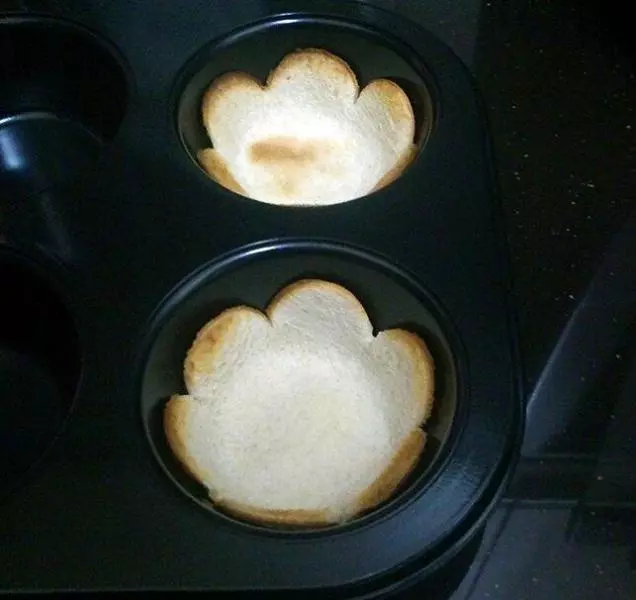
4花朵吐司拿出备用。
5锅子放入水和鸡蛋(水量盖过鸡蛋), 开大火~水烧开后转中火煲十分钟, 然后熄火把鸡蛋捞起放入凉的水中, 鸡蛋微热不烫手了就剥壳备用。 *我的鸡蛋是从冰箱里取出不是室温的所以煮久些*
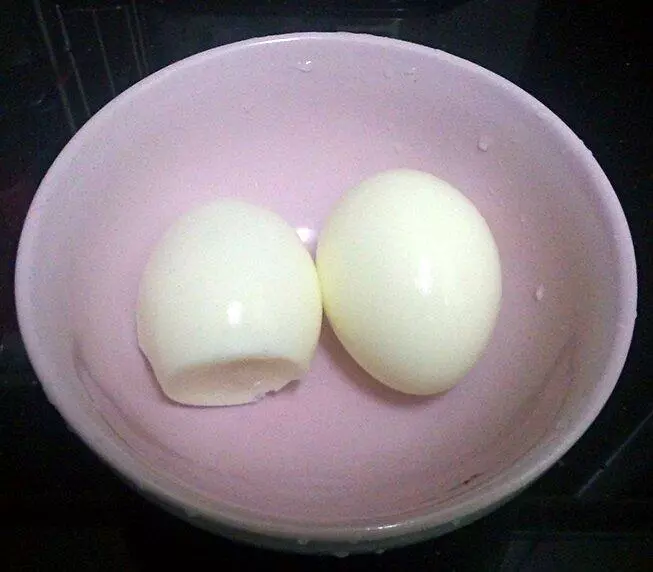
6把鸡蛋切半,蛋黄和蛋白分开。
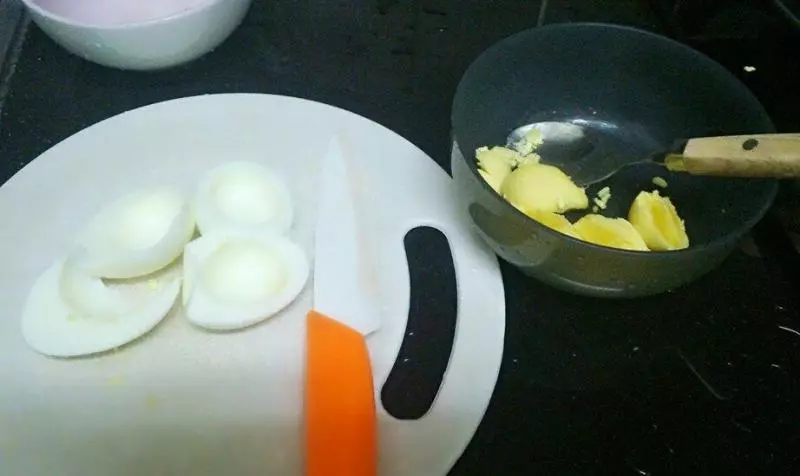
7蛋白用刀子切小块,蛋黄用汤匙压碎。
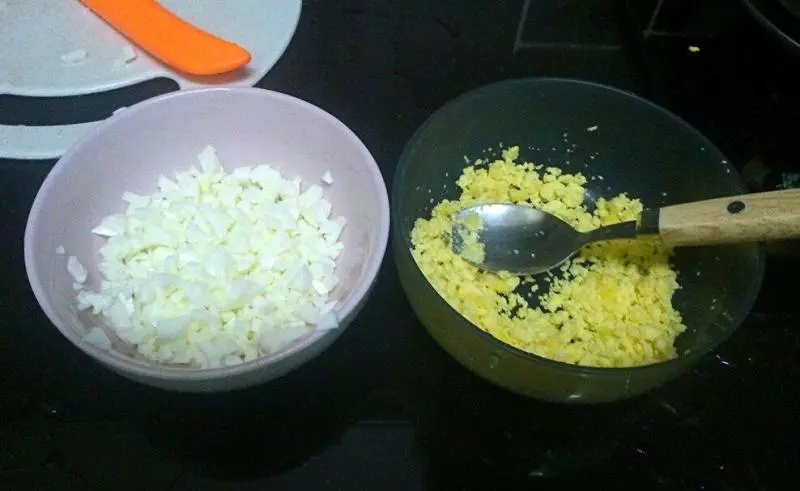
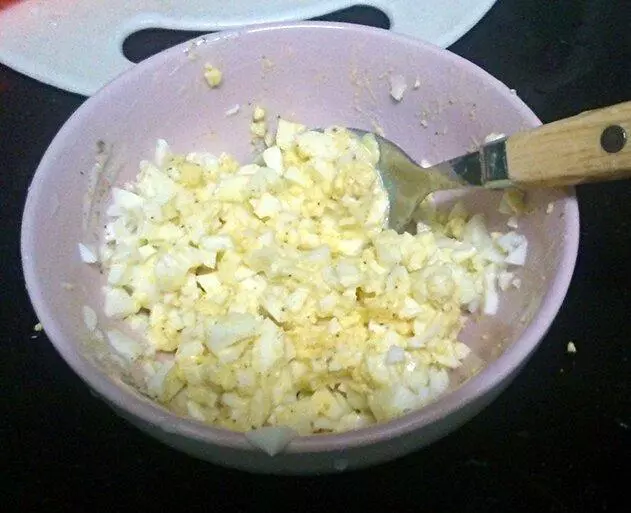
8蛋黄碎(别倒完哦~留一些待会装饰用) 倒入蛋白颗粒内加入适量沙拉酱和黑胡椒搅拌均匀。
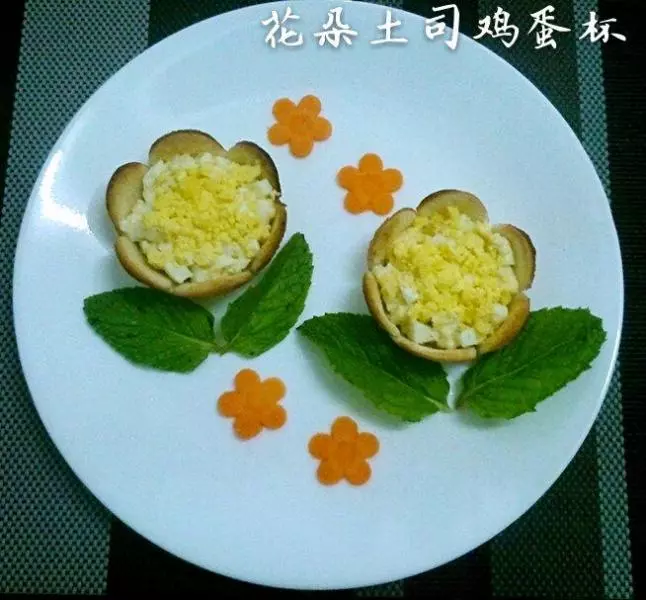
9把准备好的鸡蛋沙拉放入花朵吐司 (刚才留了一些蛋黄碎洒在上方)。
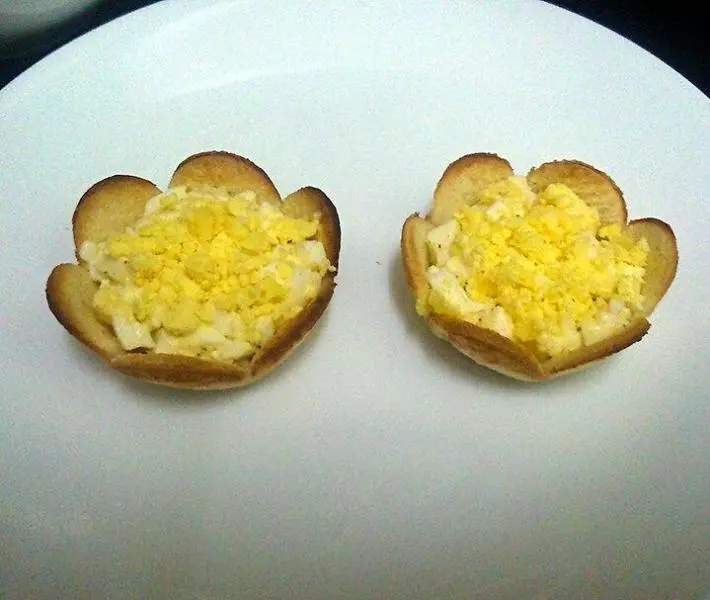
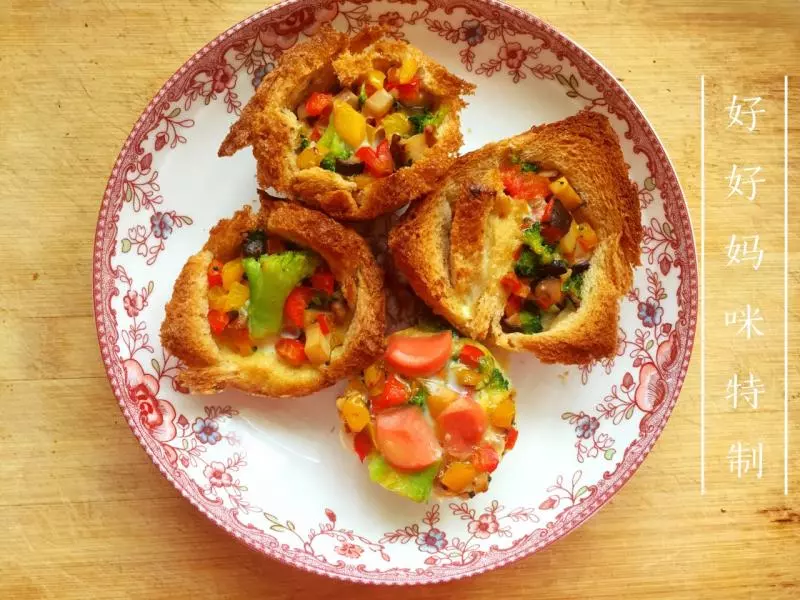
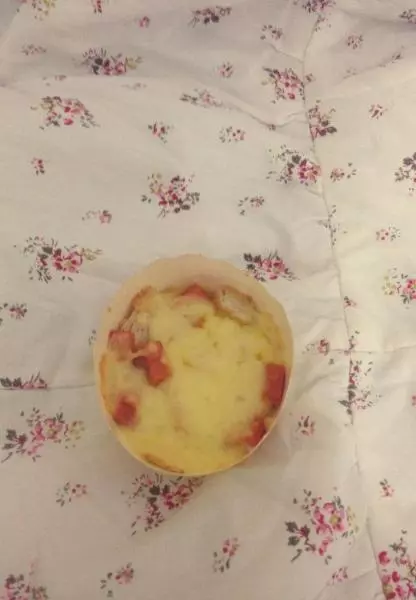
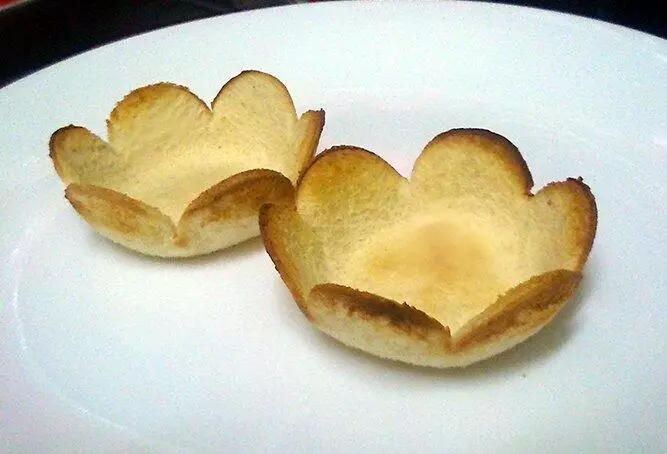
10完成啦~^^~成品图

11漂亮吗~^^~成品图
小技巧
☆两个鸡蛋是可以弄到四个花朵土司鸡蛋杯 ☆想要花朵吐司更立体,别压太扁微微按压即可