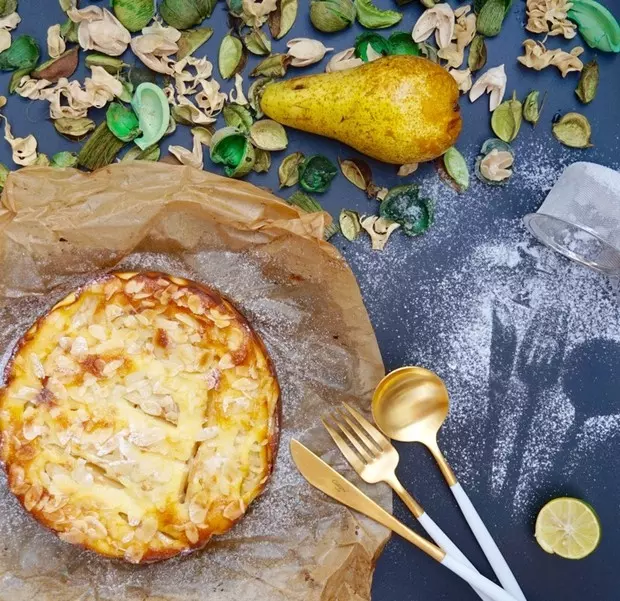
簡介
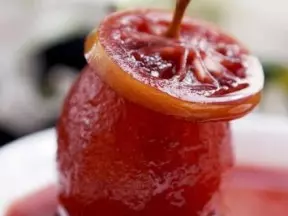
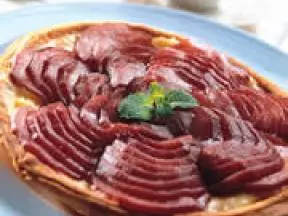
吃過洋梨塔的親應該都會驚覺原來烤過的洋梨特別洋氣,我在想如此加上同樣洋氣的奶油奶酪,那該是有多多多洋氣吖!!!
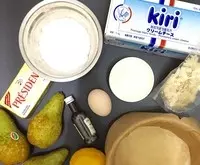
原料
洋梨 2個, 奶油奶酪 160g, 無鹽黃油 35g, 低筋麵粉 35g, 牛奶 35g, 雞蛋 1個, 香草精 1/2tsp, 白砂糖 35g(奶酪煳25g+麵粉煳10g), 檸檬汁 1tsp, 杏仁片 適量
步驟
1黃油隔水融化,低筋麵粉過篩,蛋糕模墊上油紙備用
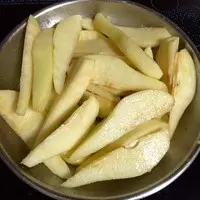
2洋梨切塊加入檸檬汁拌勻放冰箱待用
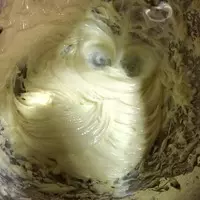
3將室溫軟化的奶油奶酪加上25g白砂糖,用打蛋器打至光滑呈奶油狀
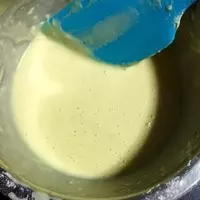
4取另外一個盆加入雞蛋和白砂糖用蛋抽打至融化,再加入已融黃油打勻,倒入牛奶和香草精繼續打勻,倒入已篩低筋粉用刮刀拌勻
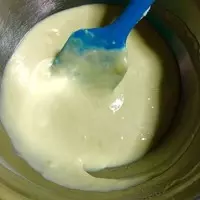
5將奶酪糊和蛋黃糊混合拌勻
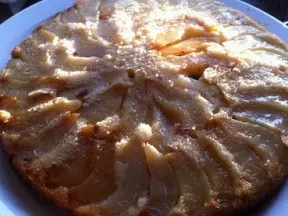
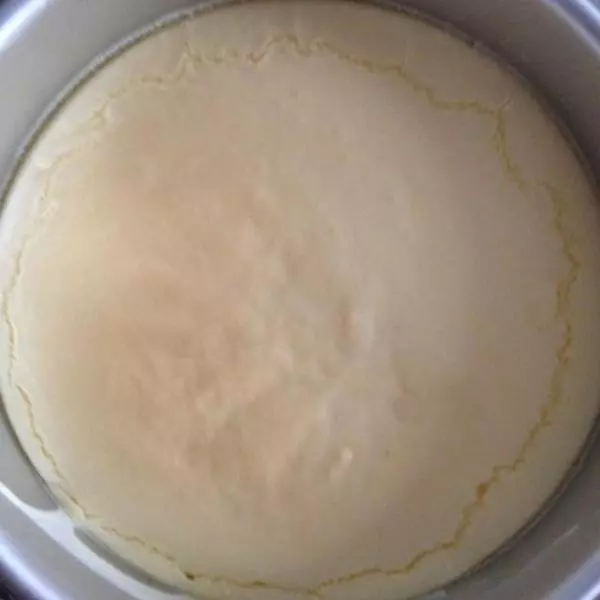
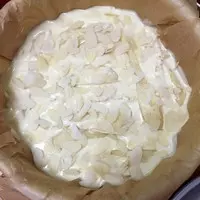
6將蛋糕糊倒入蛋糕模中,從冰箱取出洋梨塊塞到蛋糕糊內(儘量使勁塞滿滿的,洋梨多才好吃),最後撒上杏仁片
7烤預熱200度,蛋糕放中下層後轉180度烘烤35分鐘左右,表面呈金黃色,若過程中杏仁片開始變焦需蓋上錫紙繼續烤制,出爐放涼即可

小技巧
放冰箱冷藏後食用更佳,吃前還可以撒上糖粉
製作過程很簡單,也沒太多技術性可言,但卻好好吃!!!