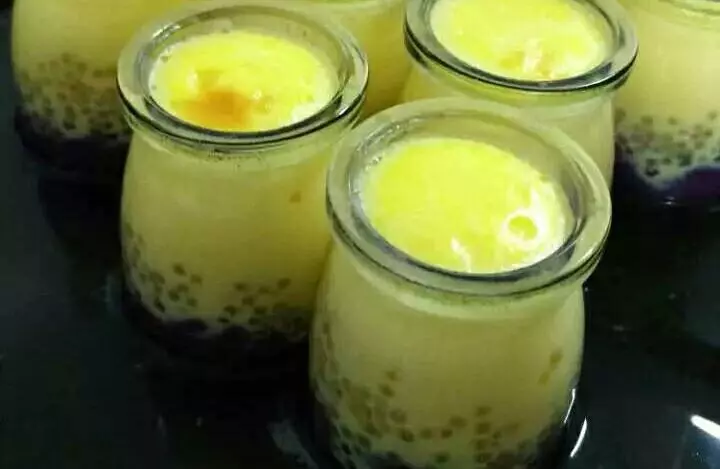
簡介
我也要挑戰清新系列菜譜了!
原料
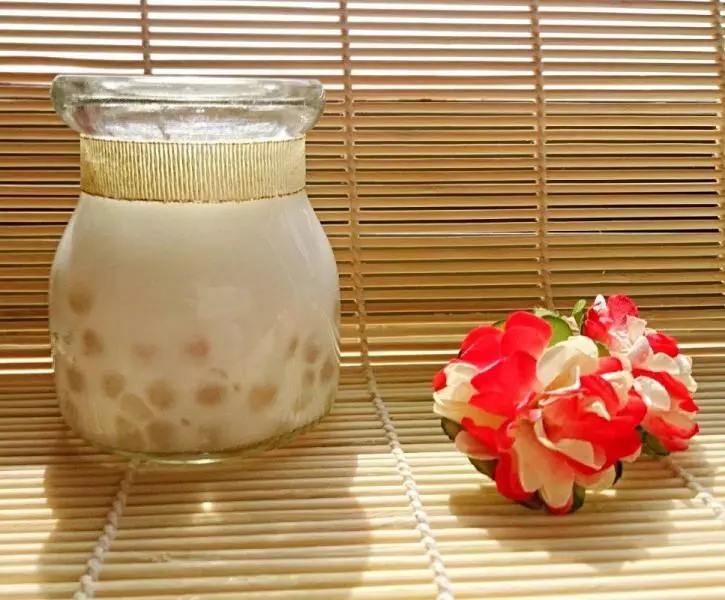
桃子 一個, 雞蛋 一個, 牛奶 150g, 白糖 少許, 西米 隨便, 牛奶餅乾 加不加都行
步驟
1桃子去皮切碎
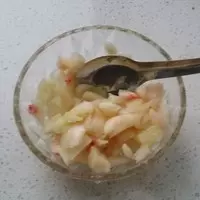
2加點糖,去去水分

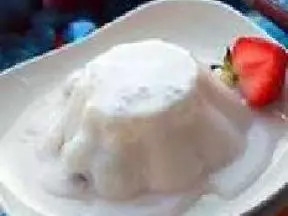
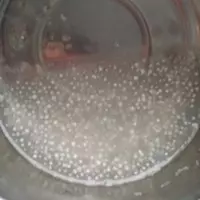
3西米煮好備用。我煮的時候還帶點白芯,但是因為後面還要深加工應該問題不大
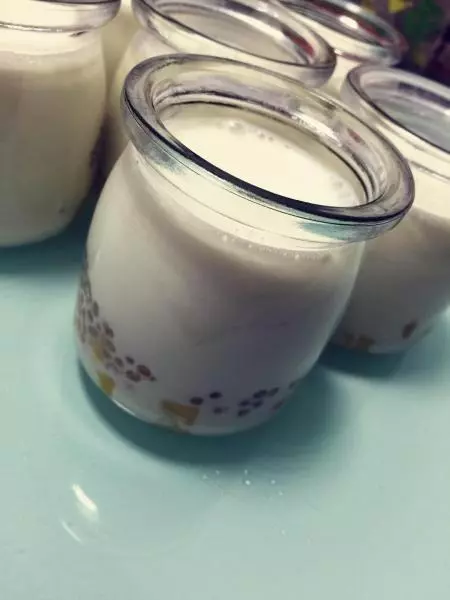
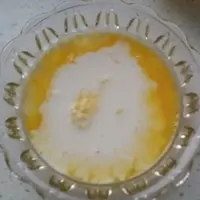
4牛奶雞蛋攪和在一起,喜歡吃甜的就加點糖
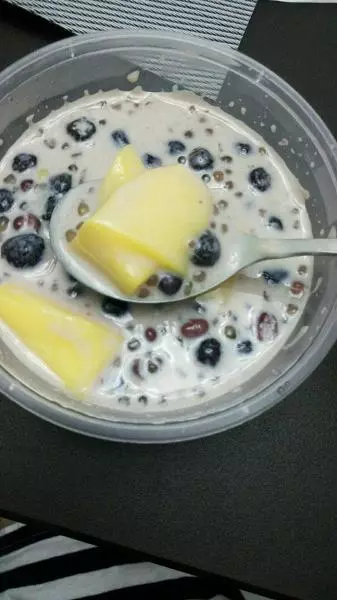
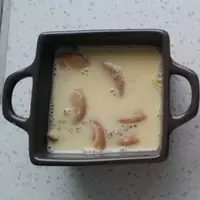
5把西米撈進去。我撈的時候用的勺,導致加進去不少水,於是我靈機一動用加了些餅乾進去吸收水分。其實應該是不加餅乾比較好吃吧我猜

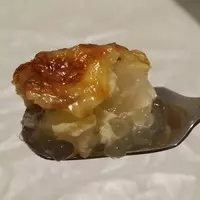
6桃和蛋液都倒進烤碗裡頭
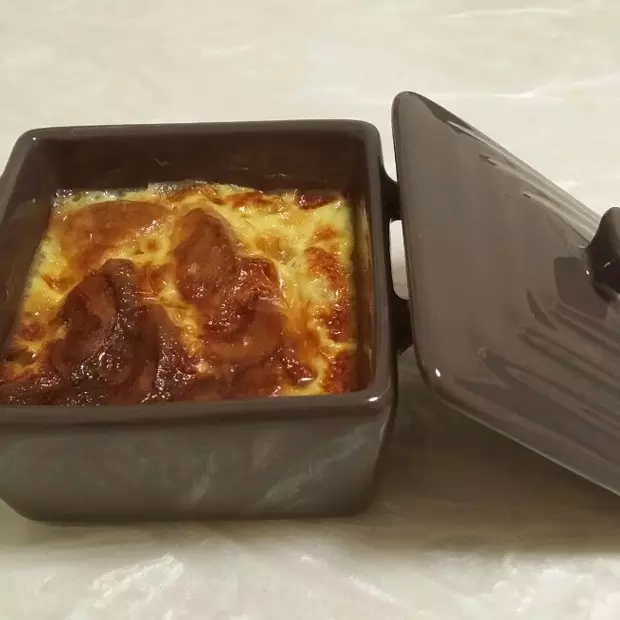
7300℃烤20分鐘,其實時間和容器大小也有關,建議中間用牙籤扎一下看看熟不熟

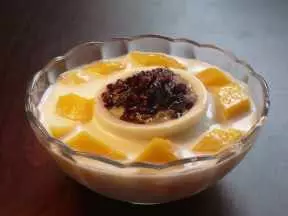
8烤到有焦斑看起來比較誘人

9好吃的很,小心燙