原料
抹茶粉: 15g, 淡奶油: 15ml, 白糖: 20g2, 低筋麵粉: 80g2, 蛋清: 少許
步驟
1分別在兩個碗里裝入黃油,倒入白糖準備
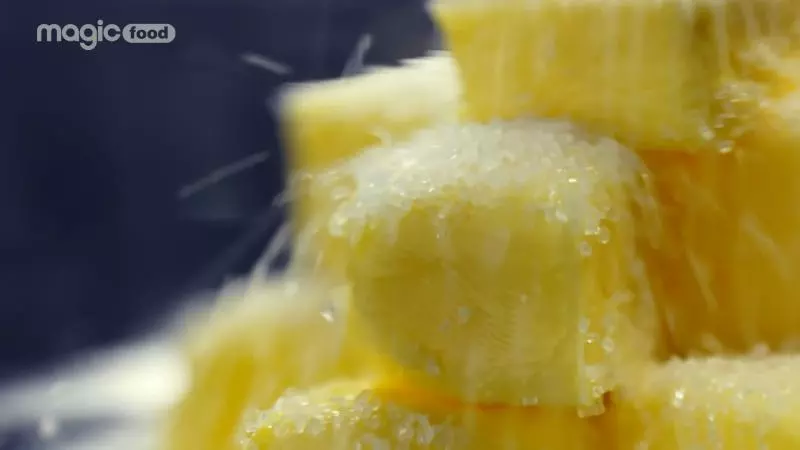
2低筋粉也放兩個碗中,其中一個碗的粉加入抹茶粉均勻混合
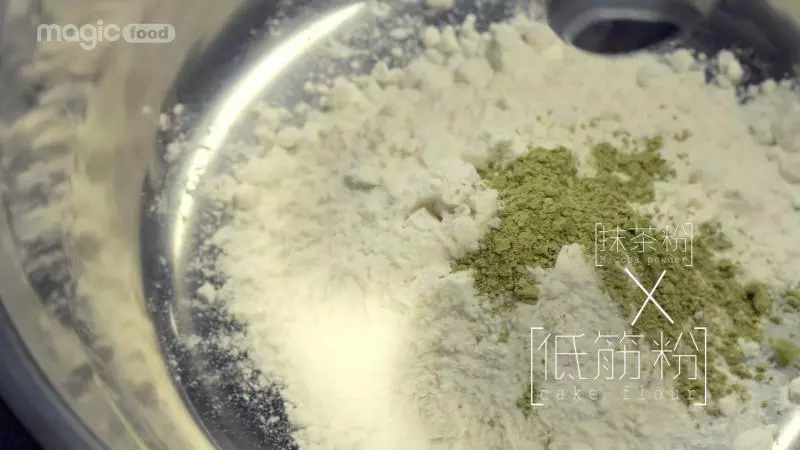
3擁篩子將混合好的加入抹茶的麵粉篩入黃油中,另一碗麵粉同理
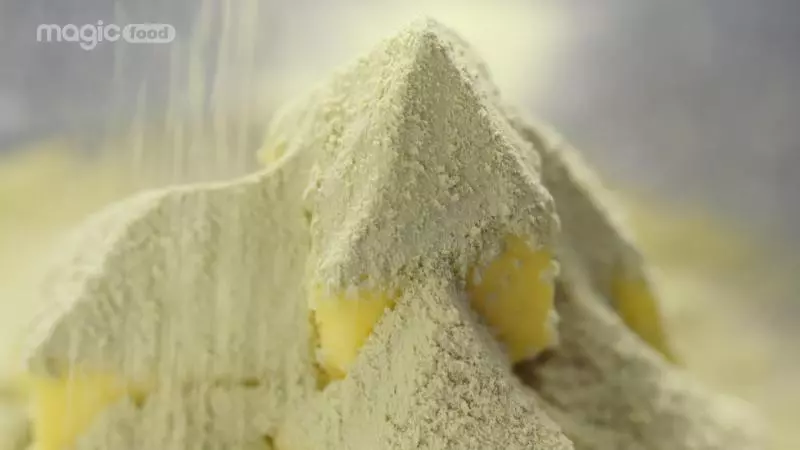
4分別加入淡奶油攪拌
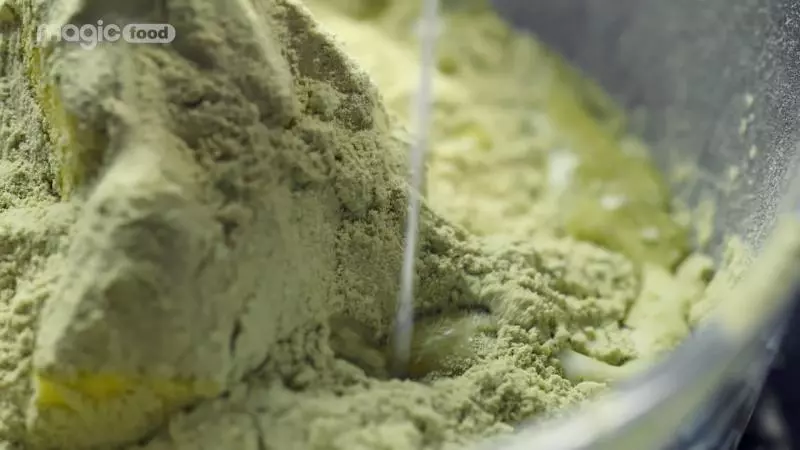
5捏成麵糰
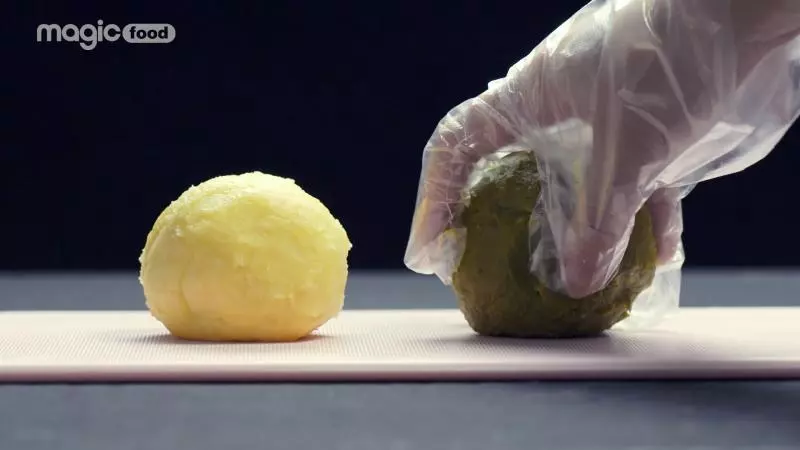
6將麵糰捏成等大的長方體,用保鮮膜封好放入冰箱急凍層

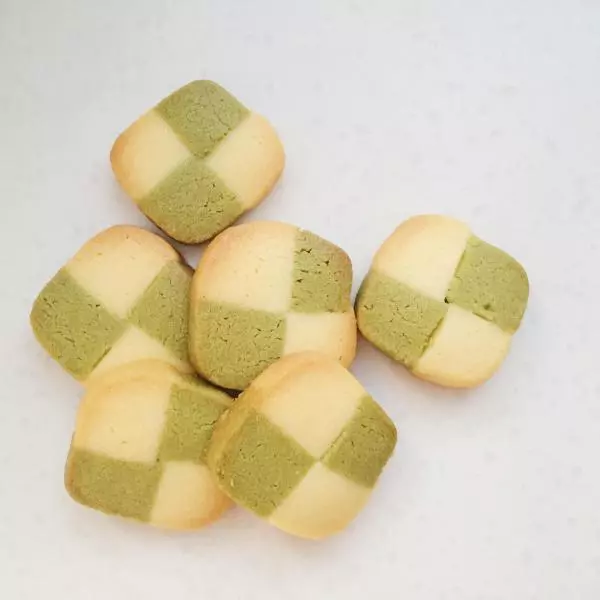
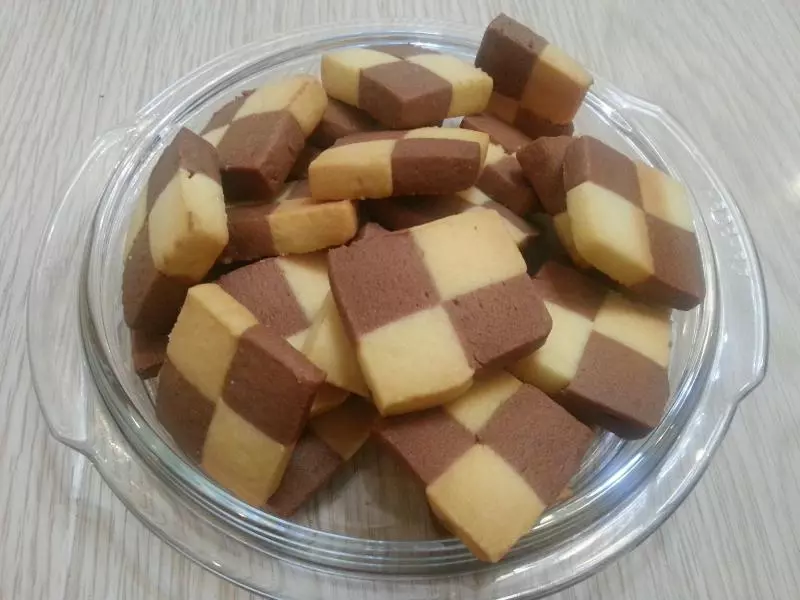
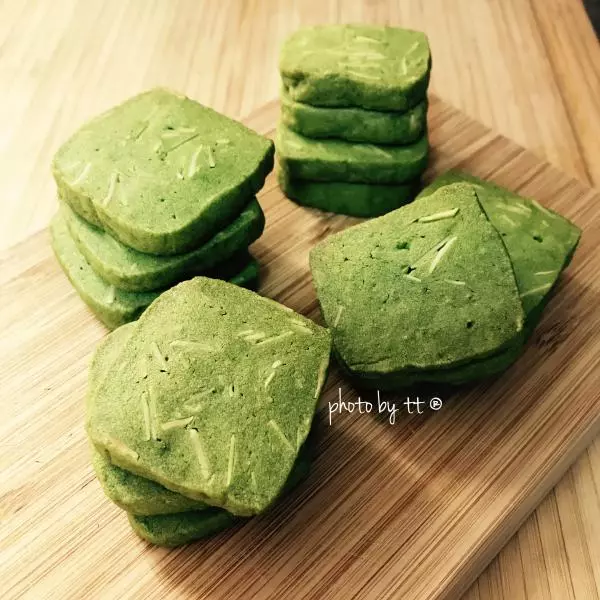
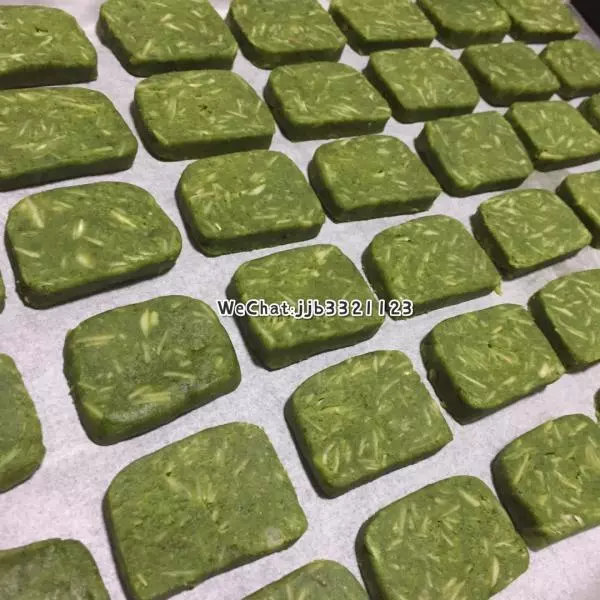
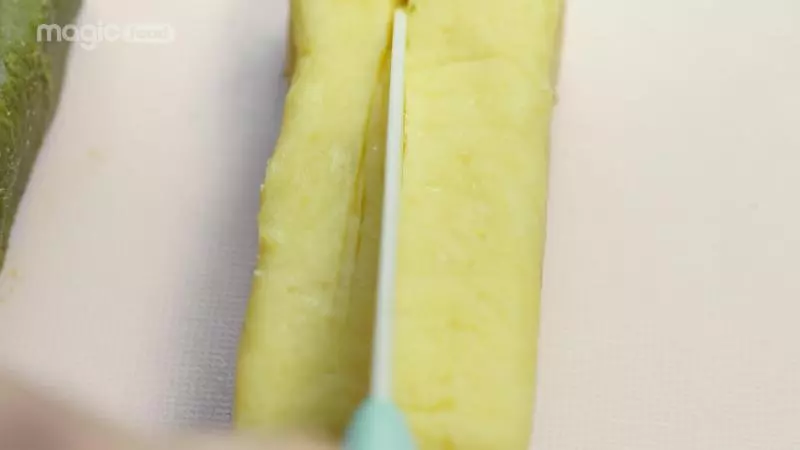
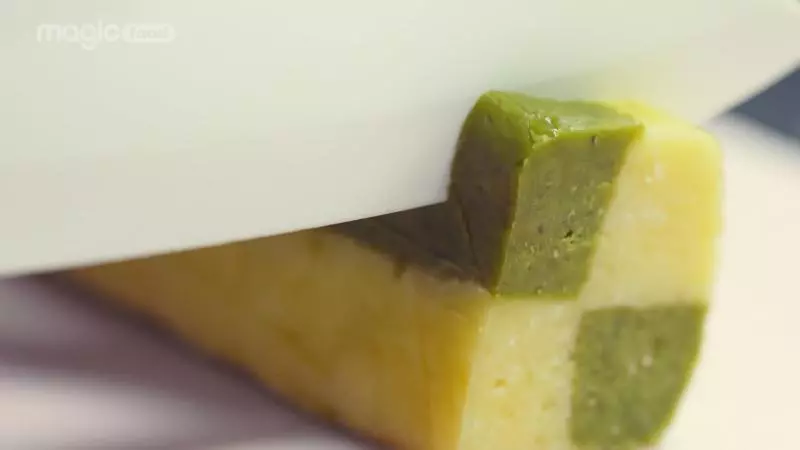
7凍20分鐘左右取出,每一條四等分
8用蛋清塗抹在粘黏面上,將麵糰長條交換位置疊好
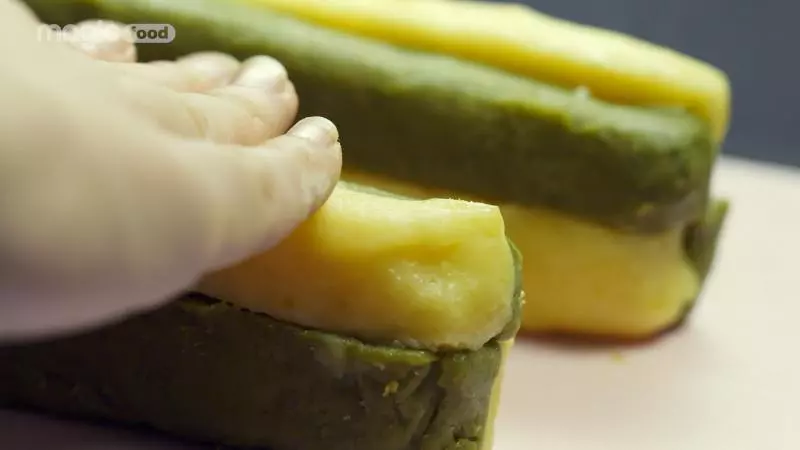
9確保橫截面可以切出格子餅乾形狀,然後切切切
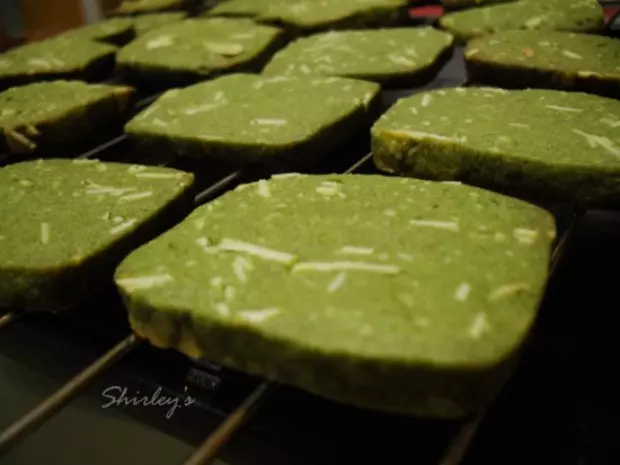
10預熱好烤箱之後,170度烤15分鐘左右
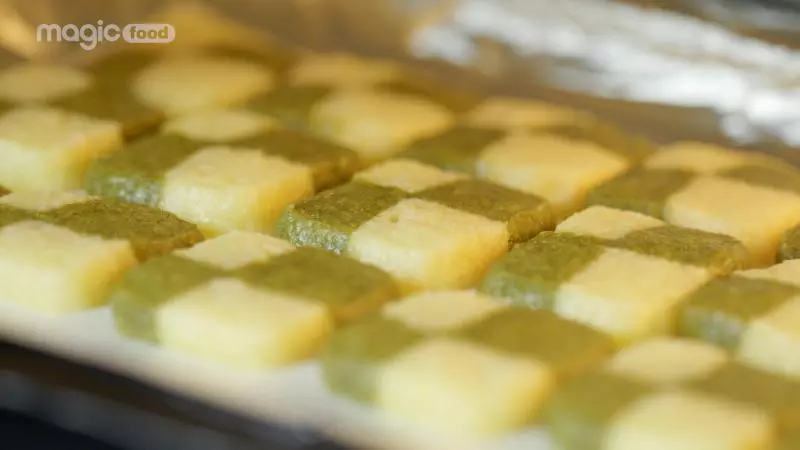
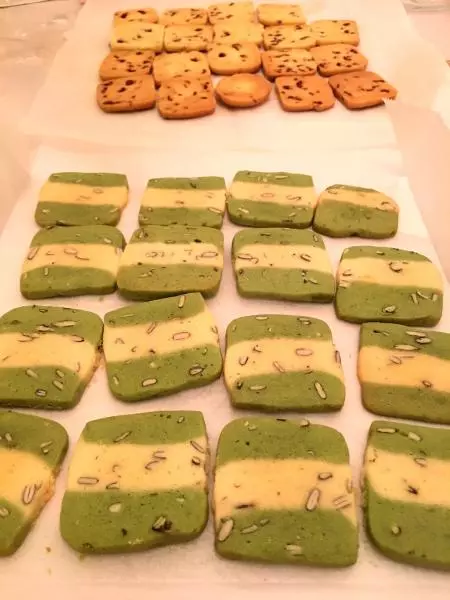
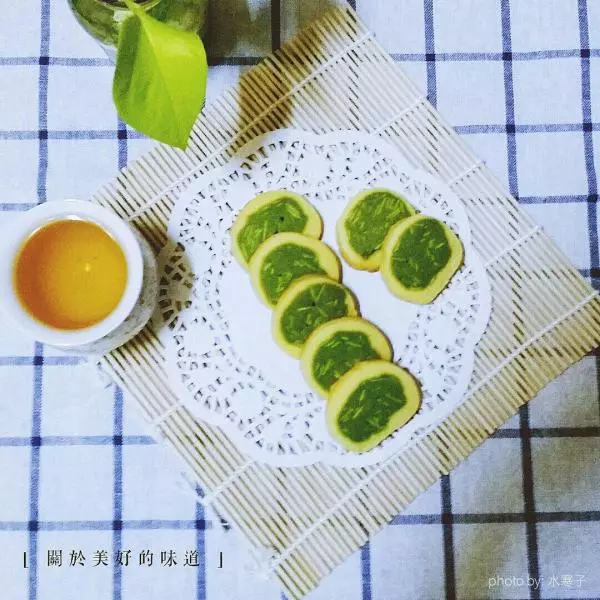
11這款經典格子機餅乾就出爐了!

小技巧
1、 加奶油會讓餅乾更酥脆,以及奶香順滑 2、 抹茶粉可以換成可可粉或其他你喜歡的顏色粉末 3、 蛋清起到的是粘黏作用