原料
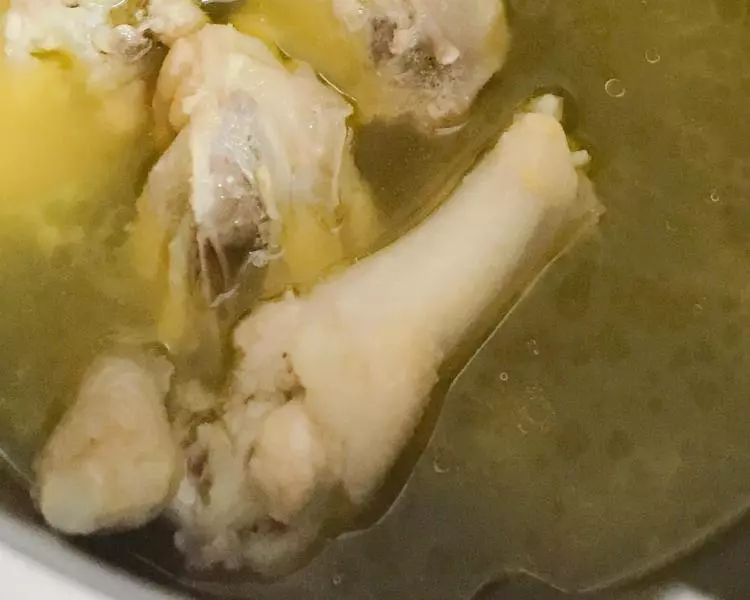
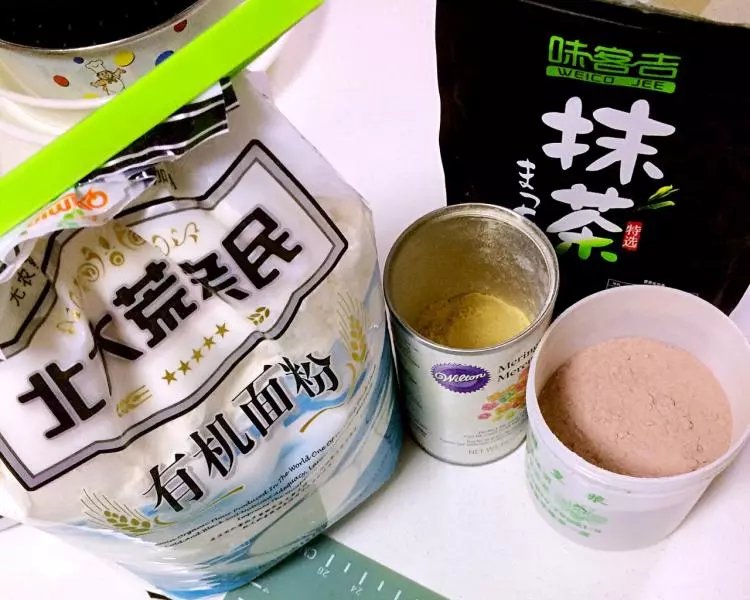
(水油皮): , 中筋麵粉: 218克, 豬板油: 74克, 白砂糖: 18克, 食鹽: 1.8克, 開水: 93克, (油酥): 共3色, 中粉44g,豬油29g: 自製紫薯粉12g, 中粉44g.豬油29g: 自製紅薯粉12g, 中粉44g.豬油29g: 抺茶粉2g, (餡料): , 油豆沙396g: 18個, 鹹蛋黃: 18個
步驟
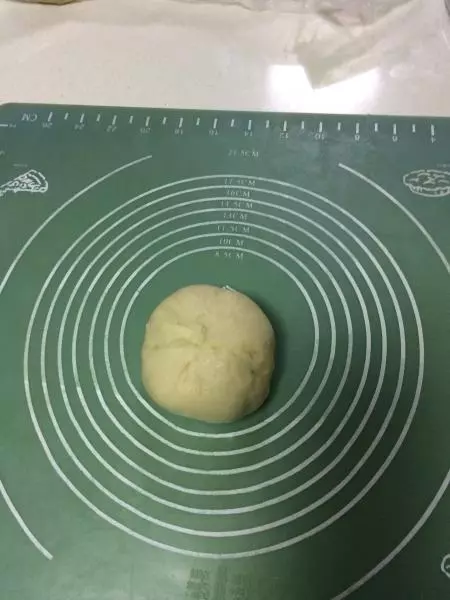
1水油皮材料除開水外全部放入主鍋~
2時間/3秒,速度反轉/小勺混合均勻。
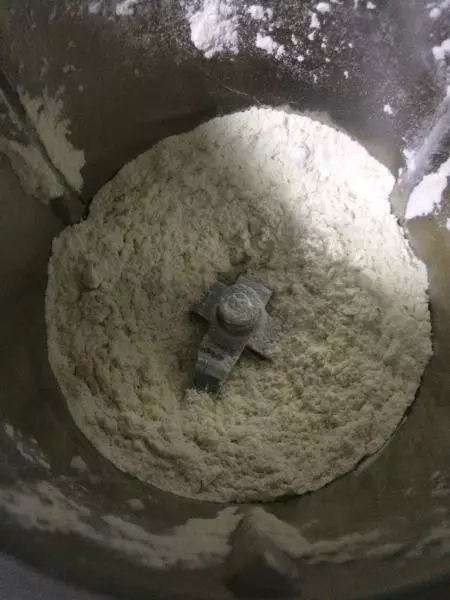
3慢慢的一點點加入開水,時間/2分,揉面模式。
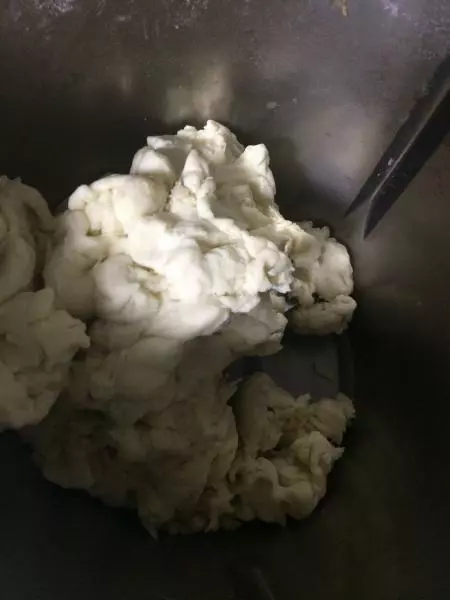
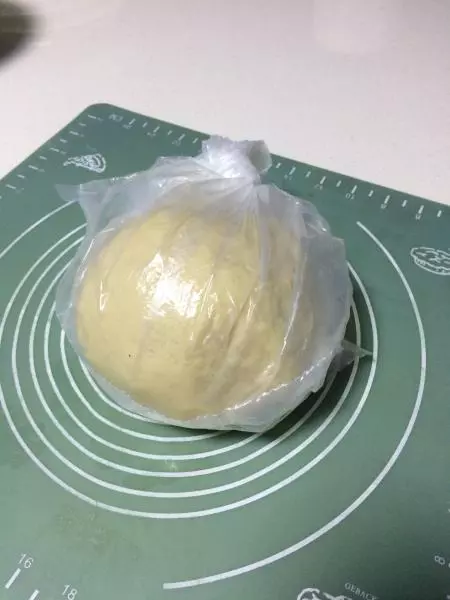
4取出麵糰整形成圓形放入保鮮袋中,防止水份流失。
5接下來做油酥,先將紫薯粉跟麵粉3/秒,速度反轉/小勺混合均勻。再加豬油同樣3/秒,速度反轉/小勺混合均勻。(為什麼要後加豬油呢?這樣成品就不會出現一粒粒的色粉顆粒)
6抹茶色粉和麵粉混合,再加豬油混合。同上~
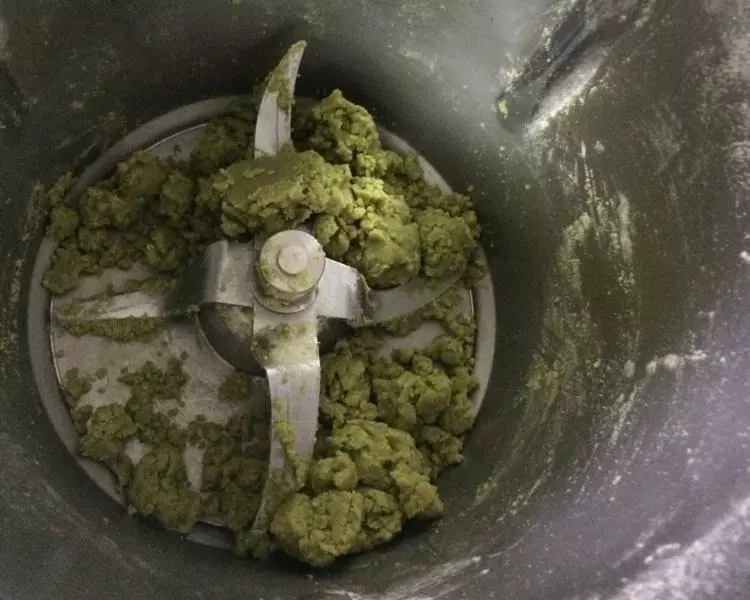
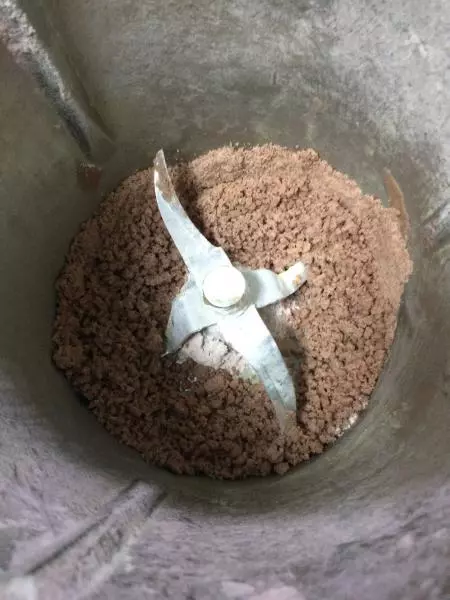
7紅薯粉和麵粉混合,再加豬油混合,同上~

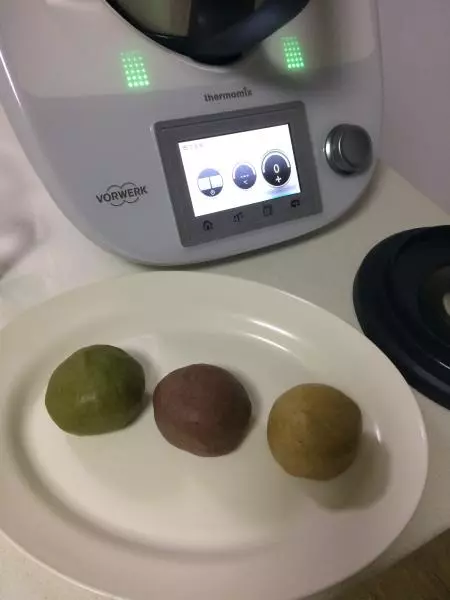
8分別倒出主鍋,各自揉成麵糰即可~
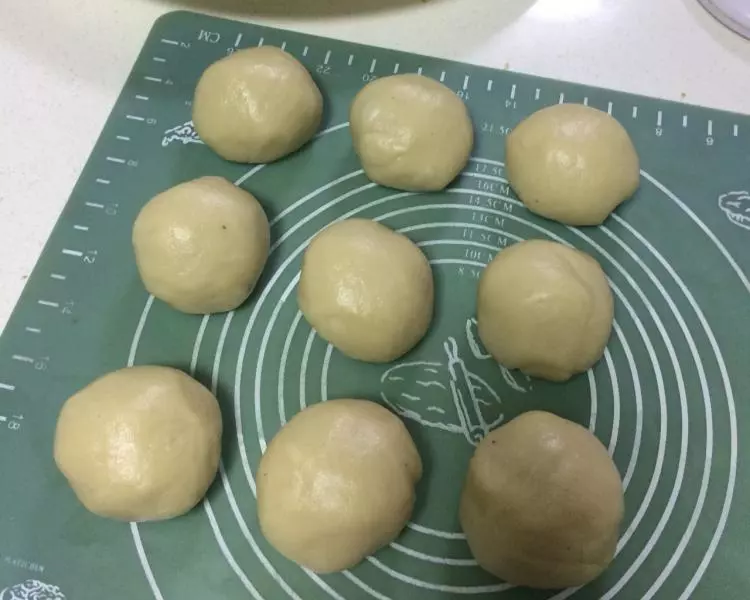
9水油皮分成9等份,放入保鮮袋中,(因為保鮮袋比保鮮膜防風乾效果要好)
10將油酥的每個顏色平均分成9等份,搓成長度6cm的條狀~
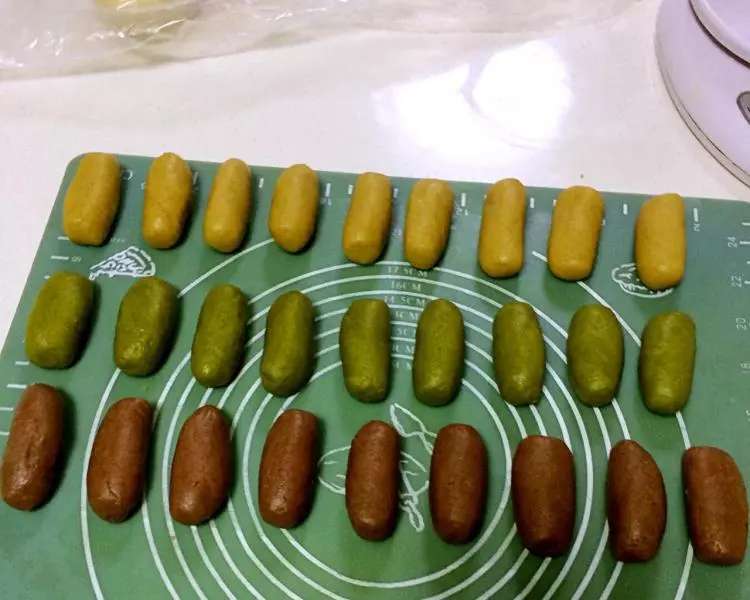
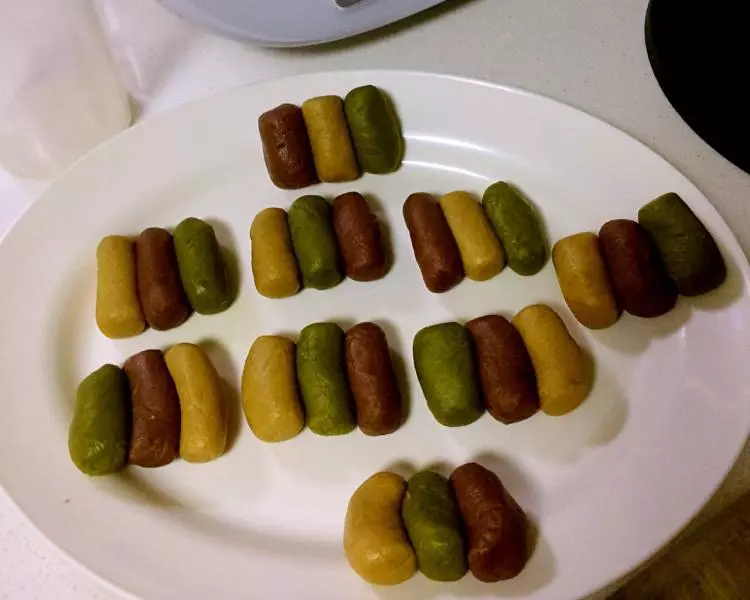
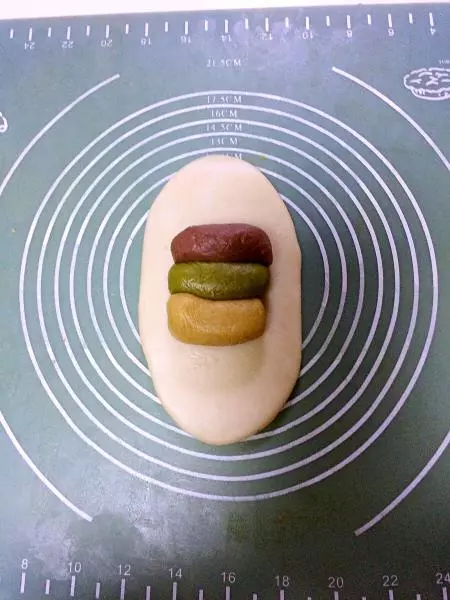
11三色一組,顏色隨意搭配哦~
12取一份水油皮,用手掌壓扁,擀麵杖橫著擀一下,豎著擀一下,這樣變成長方形,將三色油酥放麵皮中間~
13將左右兩邊麵皮往上包~
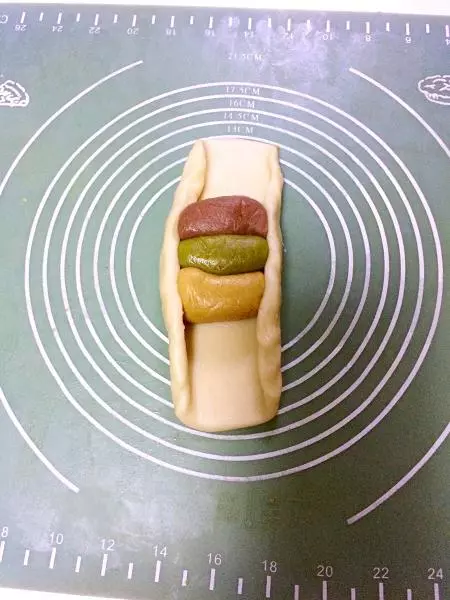
14然後再將上下的麵皮包起來捏緊收口~
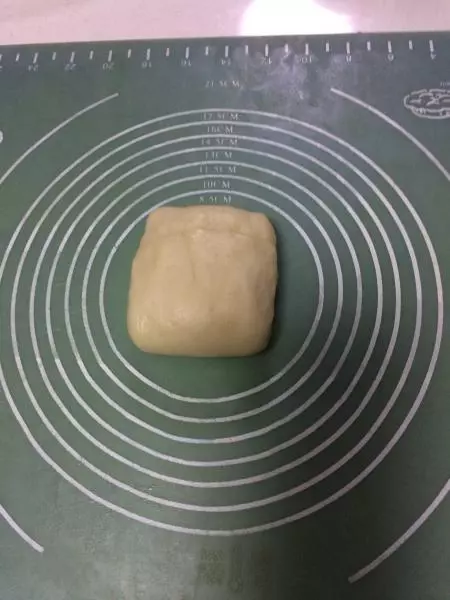
15取一份包好的胚子,4個角的水油皮往中間推一推,這個步驟為了讓油皮分布均勻~
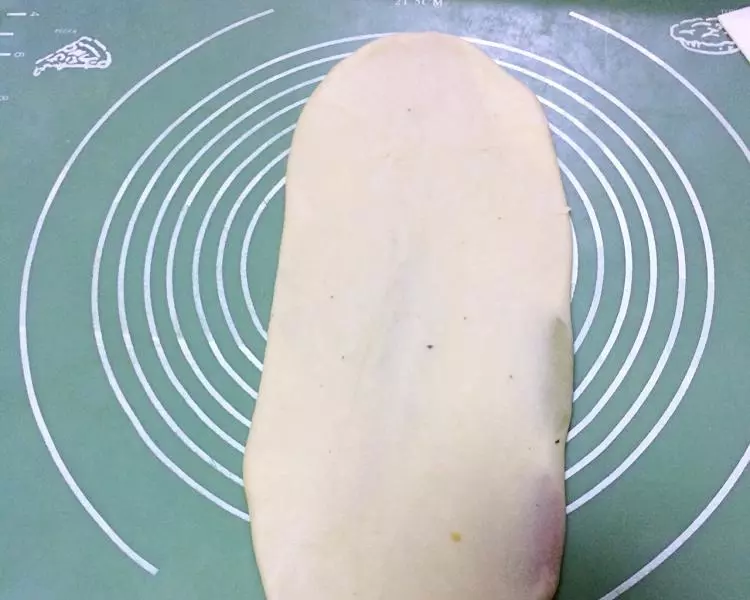
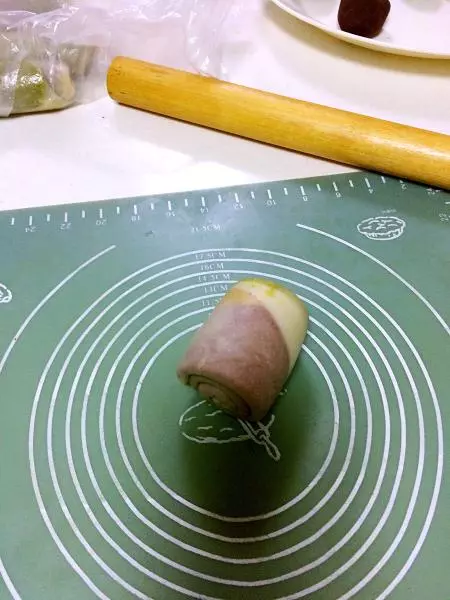
16然後用手掌壓扁,擀成牛舌狀,不要擀得太寬,然後切除周圍的白邊。(這一步擀出來是長彩條哈)我這一步沒拍好角度,而且拍的大了?
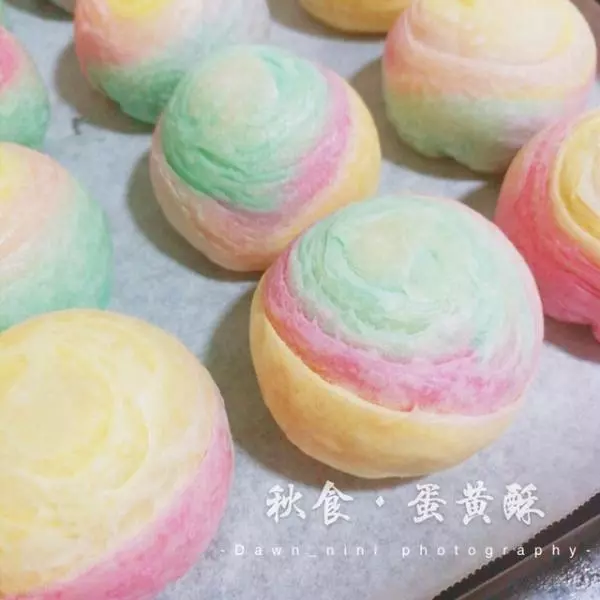
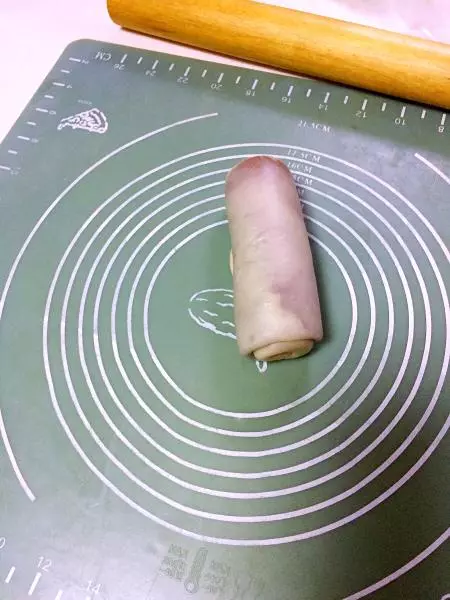
17輕輕捲起後放入保鮮袋松馳10~
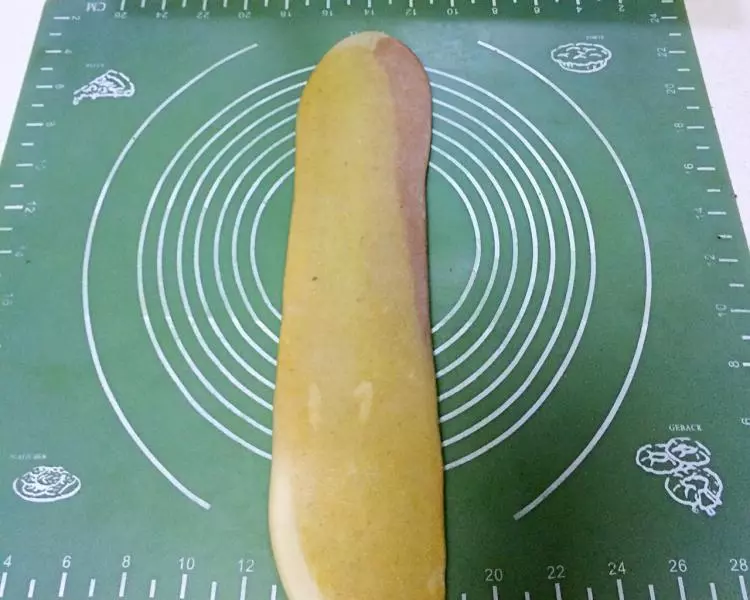
18第二次擀卷,用手壓扁後從中間位置往上擀一下,再從中間位置住下擀一下,擀好後的麵皮應該厚薄均勻就可以,不要反覆的擀哦~
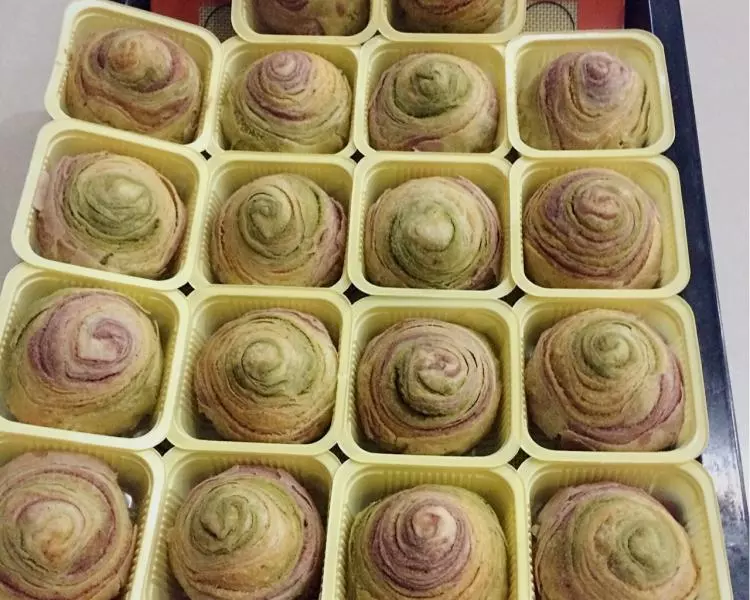
19喜歡什麼顏色在頂部就把那個顏色卷在最裡邊,卷好後放保鮮袋鬆弛15分~
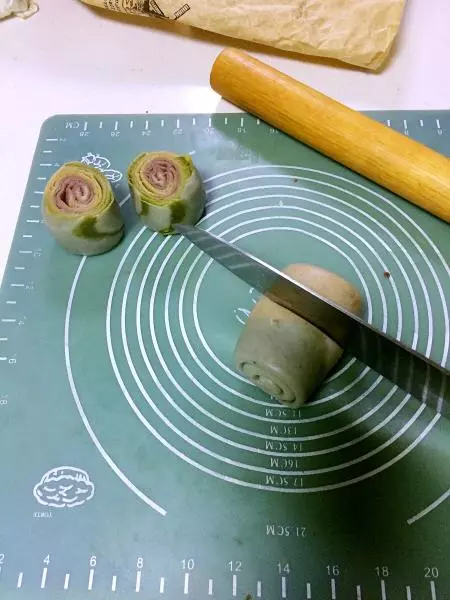
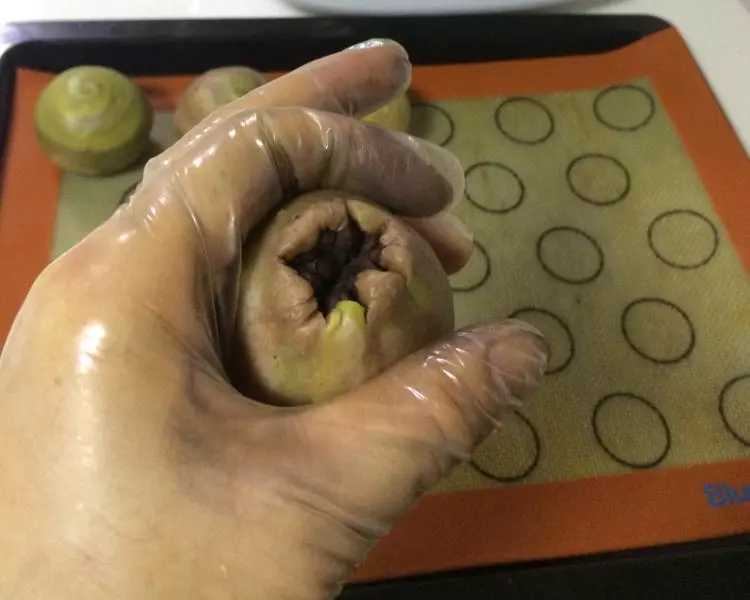
20把豆沙分成22g一個,共18個~
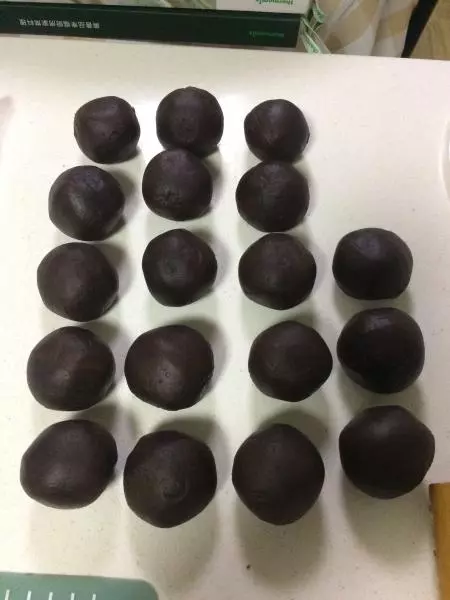
21每個豆沙包入一個熟蛋黃搓圓備用~
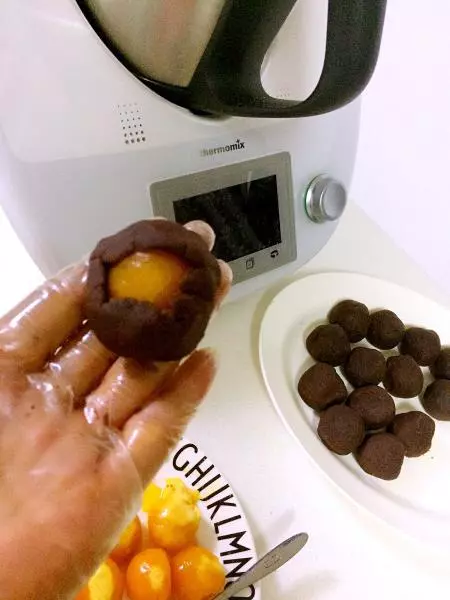
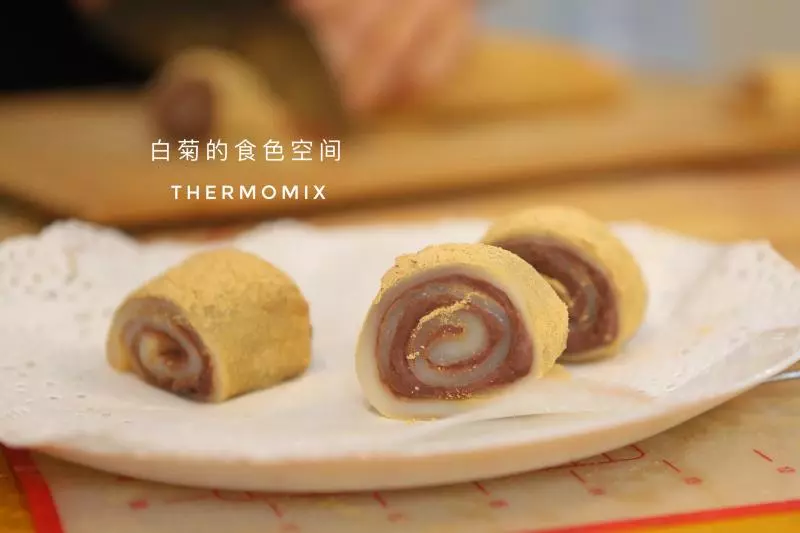
22取一個卷用鋒利的刀,在當中位置切開~
23切面朝上,用手按扁,然後用擀麵杖擀成中間稍厚,邊緣稍薄的圓形,中間點儘量歸中哦~

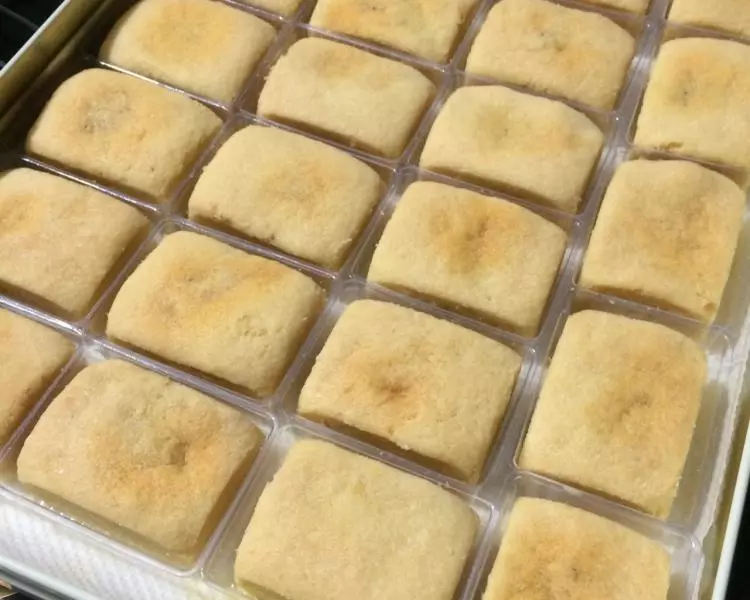
24把麵皮翻過身切面朝外,包入一個餡料~
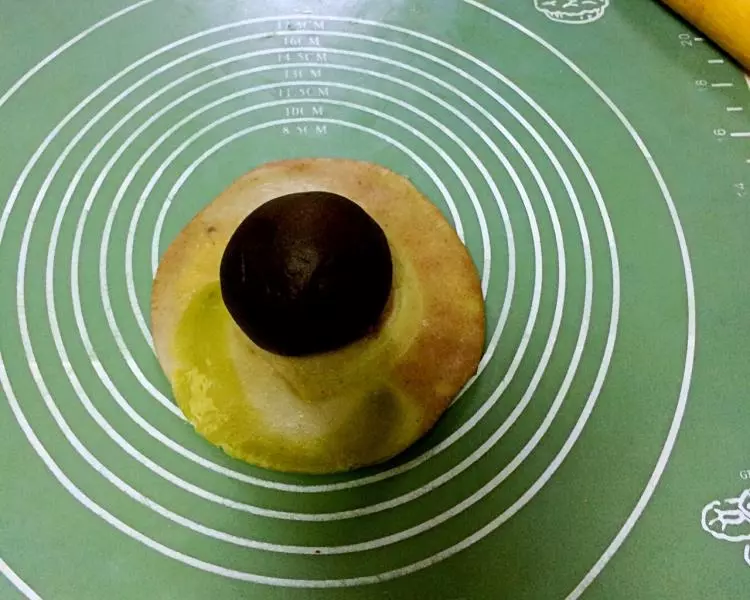
25用虎口位置慢慢收口,包緊底部,防止烘烤過程中爆豆沙~
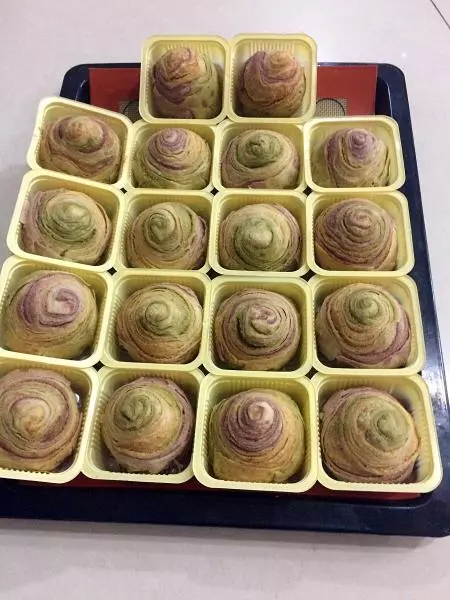
26放入預熱好的烤箱中180度烤40分, 品牌烤箱30分鐘夠了。 我家烤箱全憑自己撐控~
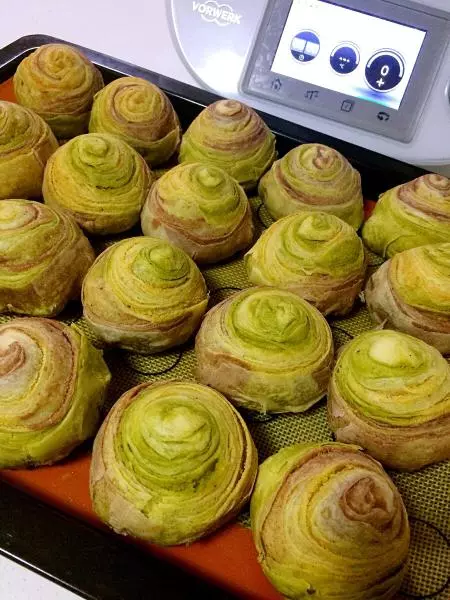
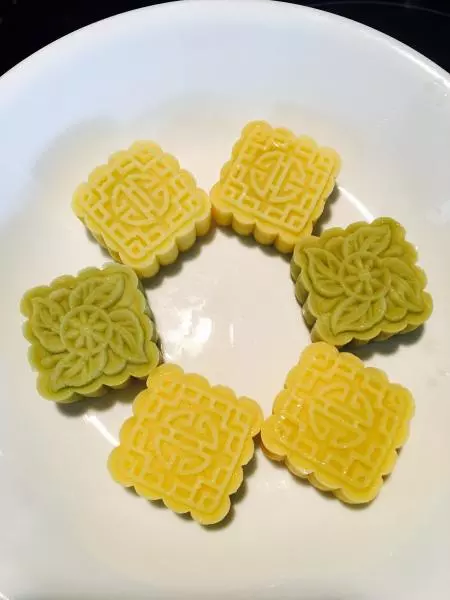
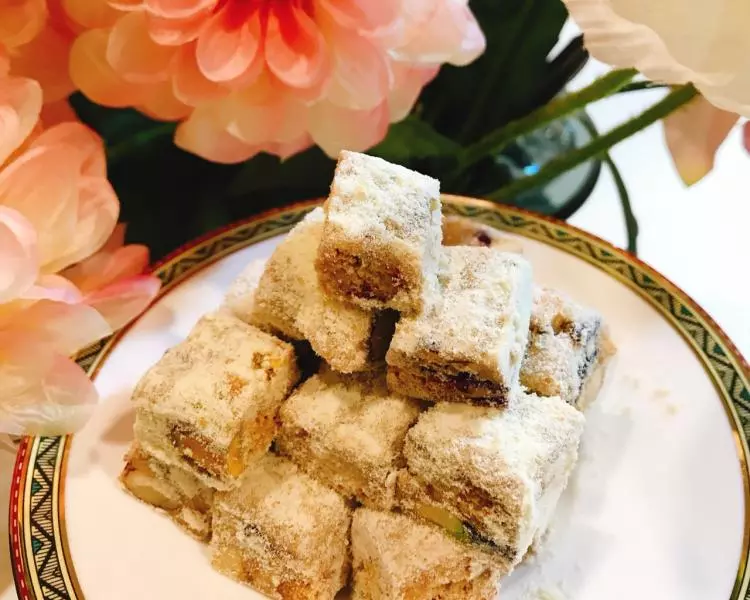
27哈哈,包裝盒一放就高大上了耶✌️
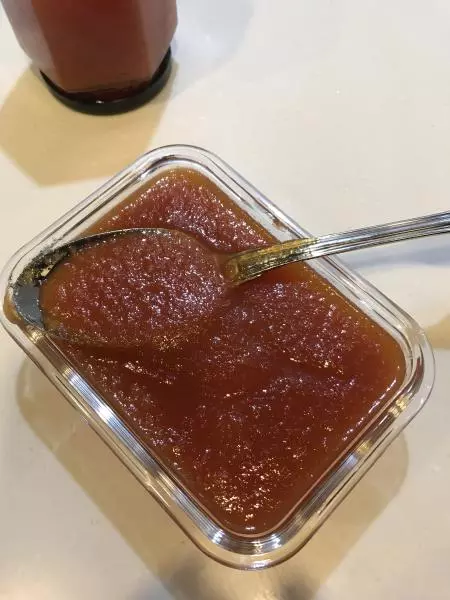
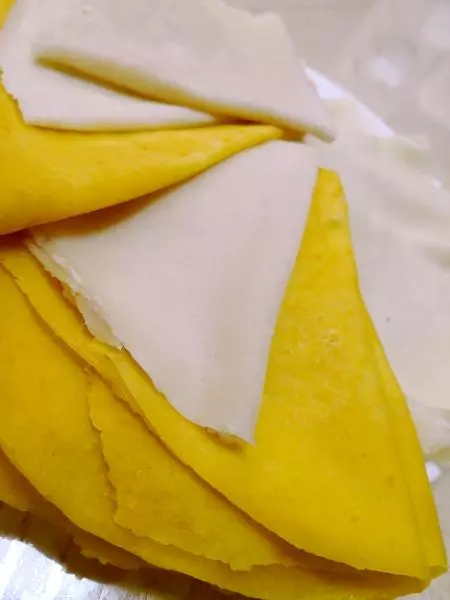
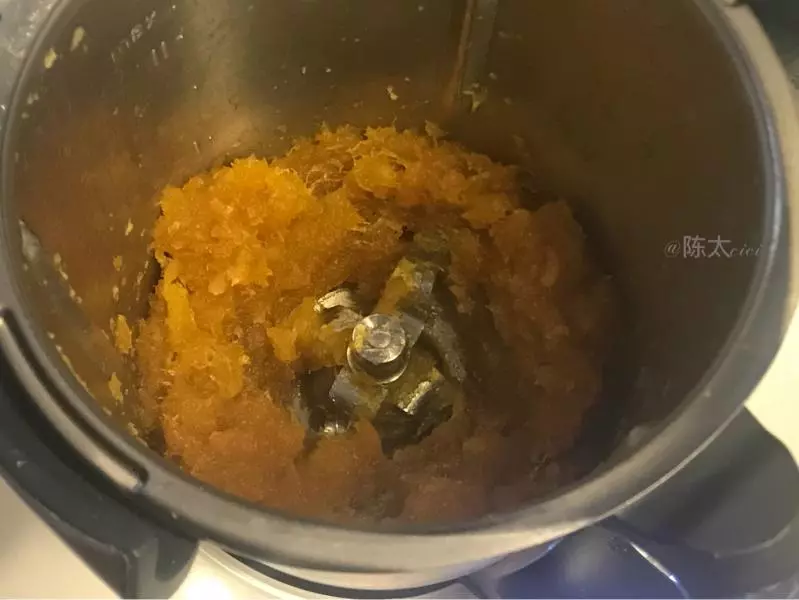
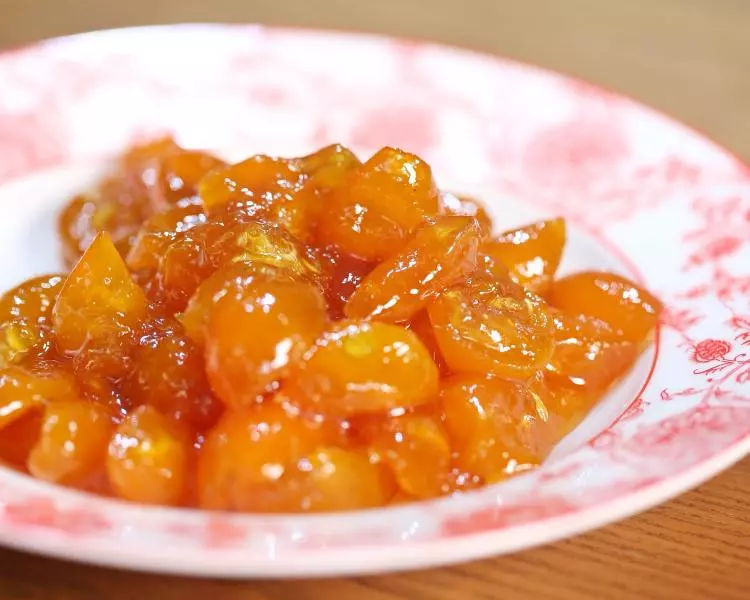
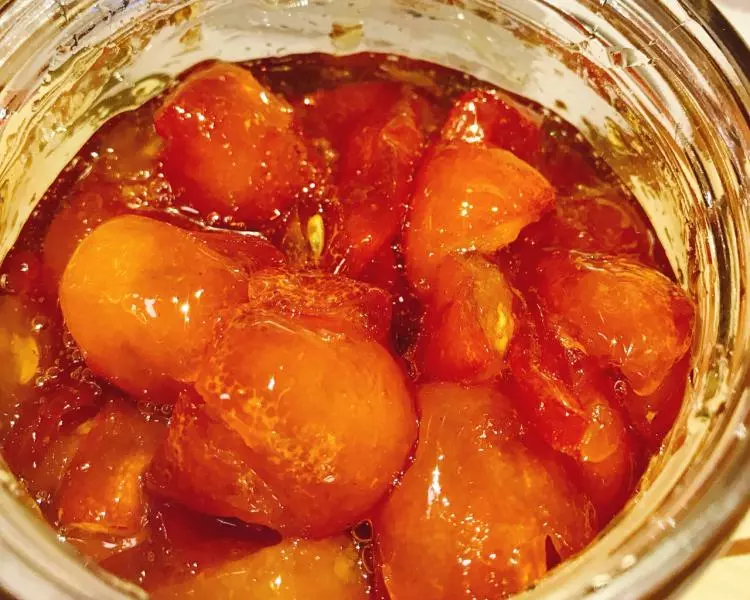
28自製紫?粉和紅?粉~
小技巧
白邊一定要切掉,不然會留在頂部不好看哦~ 每家的烤箱脾氣也不一樣的,我家的烤箱溫度不准完全靠自己撐控的,時間僅作參考