原料
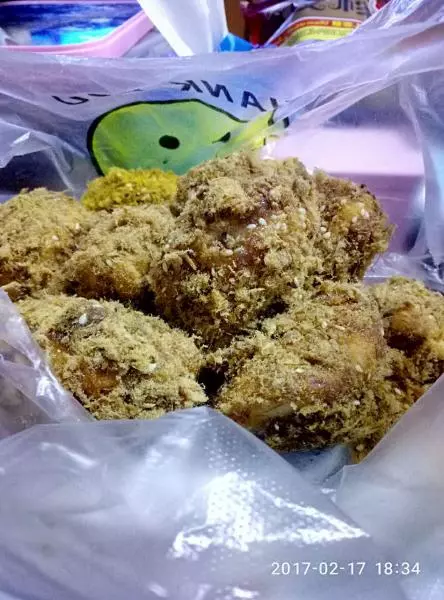
雞蛋(帶殼60克): 3個, 牛奶: 30克, 玉米油: 30克, 低筋粉: 50克, 細砂糖: 40克, 自製香草精或者檸檬汁: 幾滴, 沙拉醬: 250克左右, 肉鬆: 400克左右
步驟
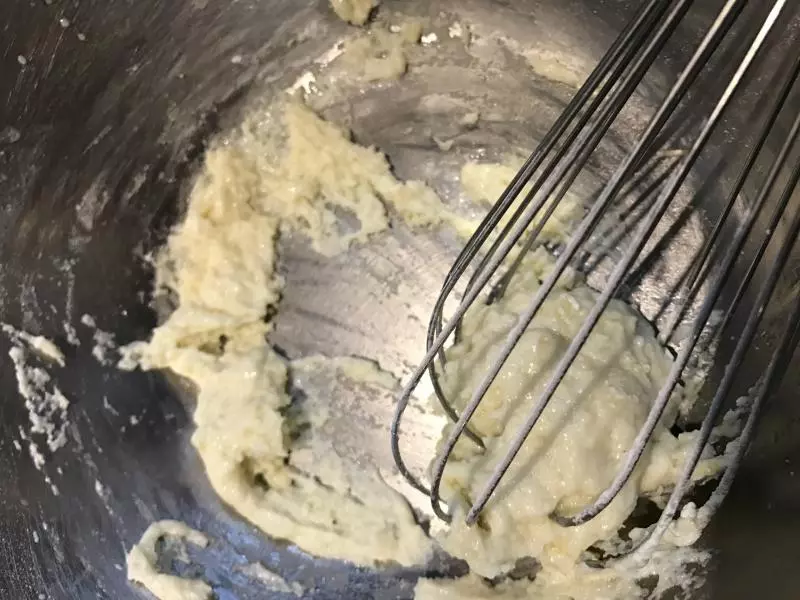
130克牛奶,30克油混合均勻。
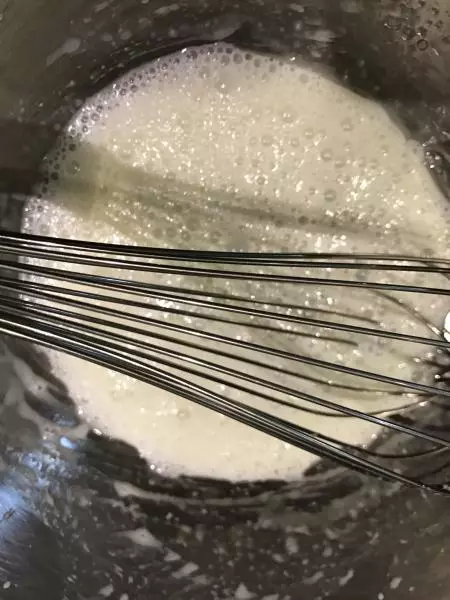
2篩入50克低筋粉。
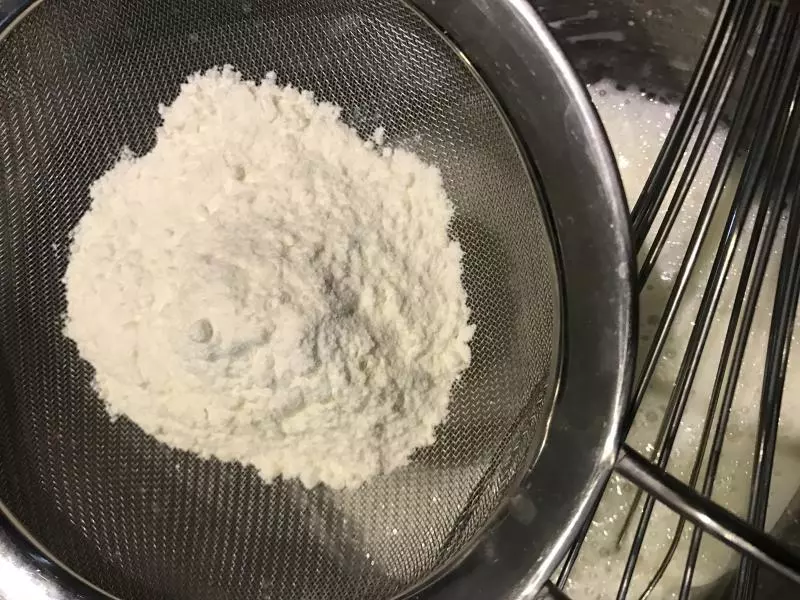
3用打蛋器Z字攪拌均勻。
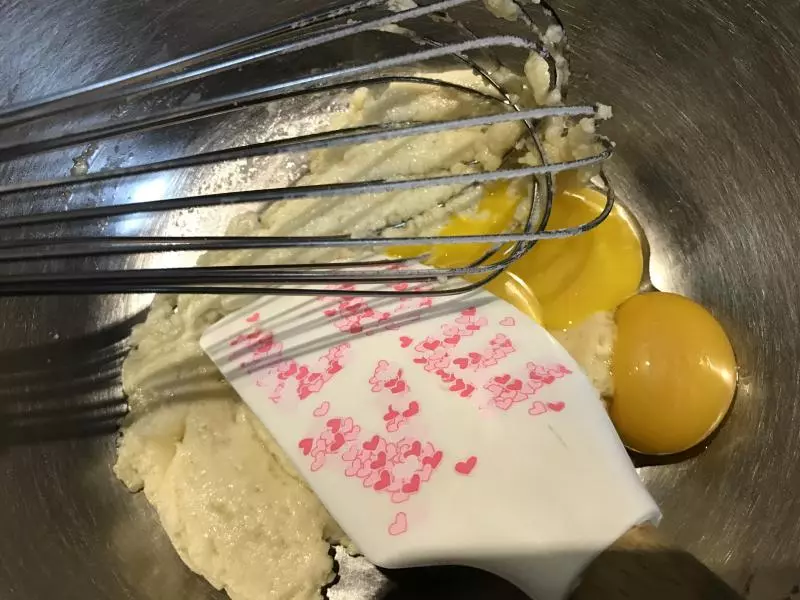
4加入3個蛋黃,繼續Z字攪拌均勻。
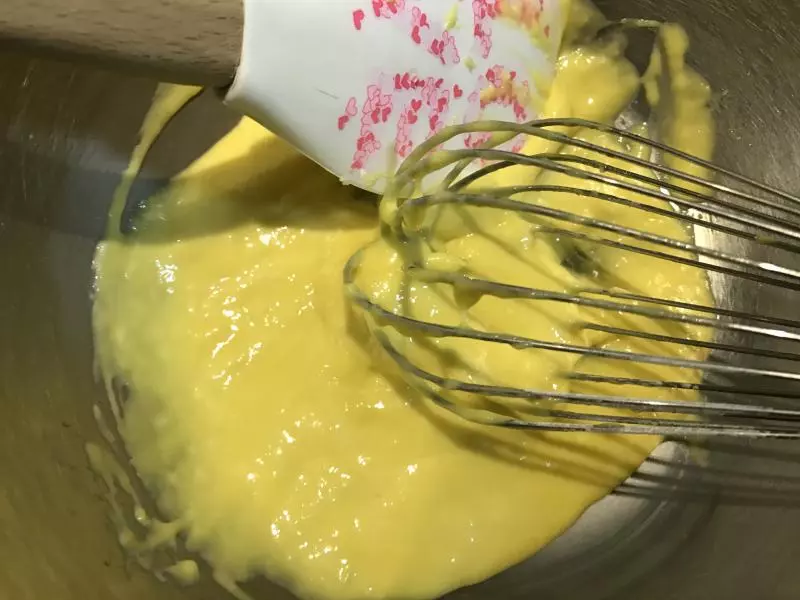
5可以用刮刀輔助按壓拌勻,得到非常細膩的蛋黃糊。
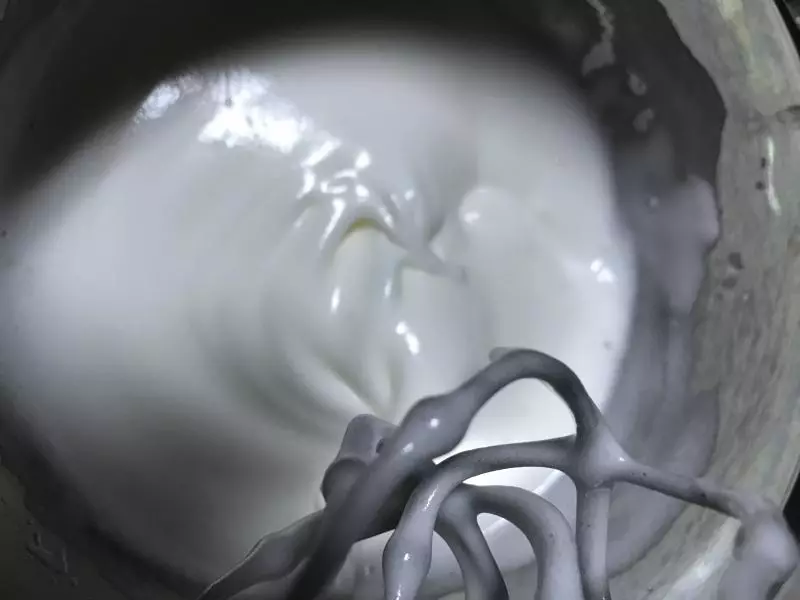
63個蛋白中速打到粗泡,轉高速,分3次加入40克細砂糖,打到有紋路轉慢速,整理氣泡打到濕性,得到非常細膩光滑的蛋白霜。 Ps,蛋白里可以加幾滴自製香草精或者檸檬汁去腥,雞蛋新鮮的話不加也可以。
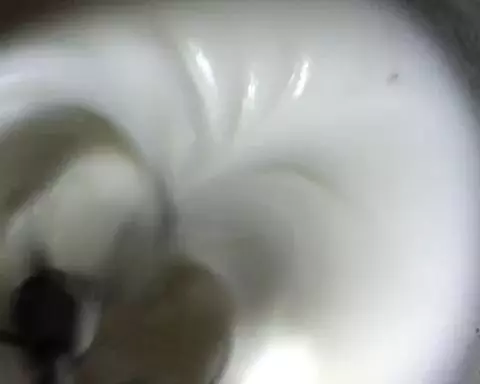
7非常細膩。
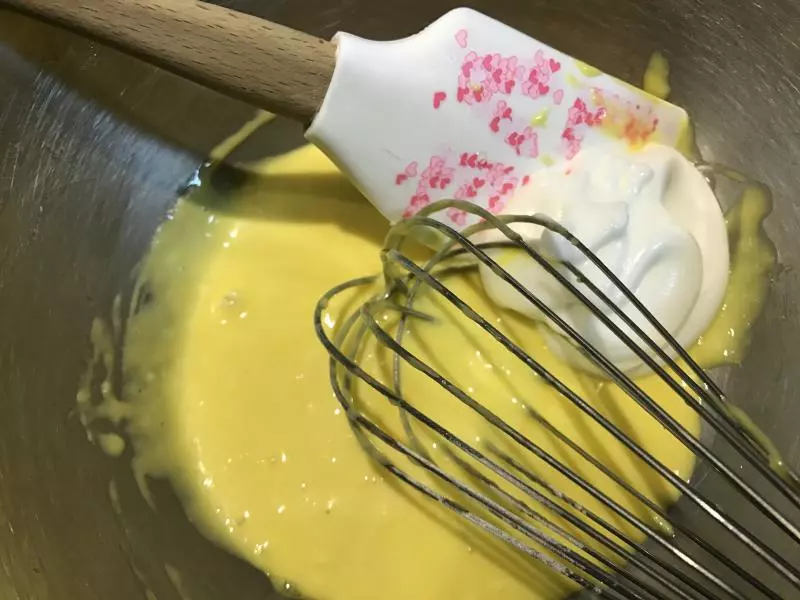
8取一刮刀蛋白霜加入蛋黃糊,用打蛋器無規則拌均勻,拌勻就好,這一步不在乎什麼手法,攪拌同時可以用刮刀輔助。
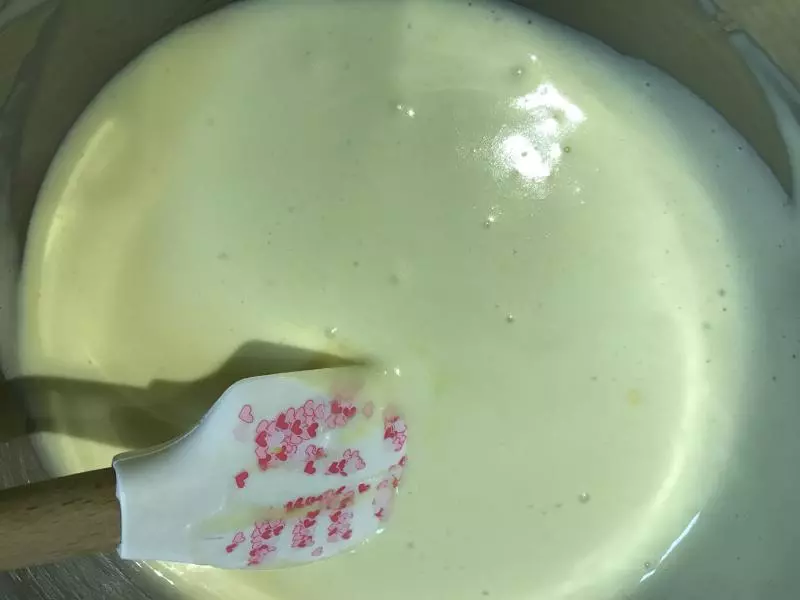
9再分兩次倒入剩下的蛋白霜,和蛋黃糊快速切拌均勻。
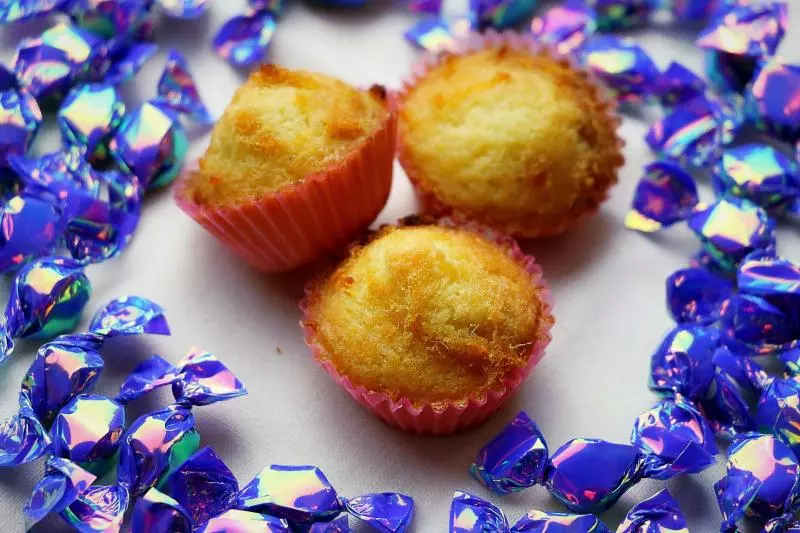
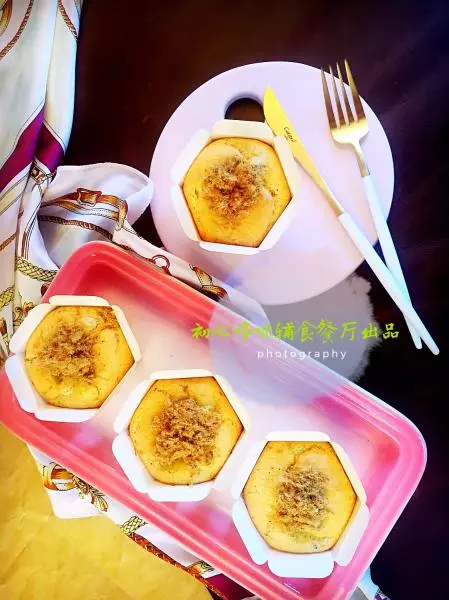
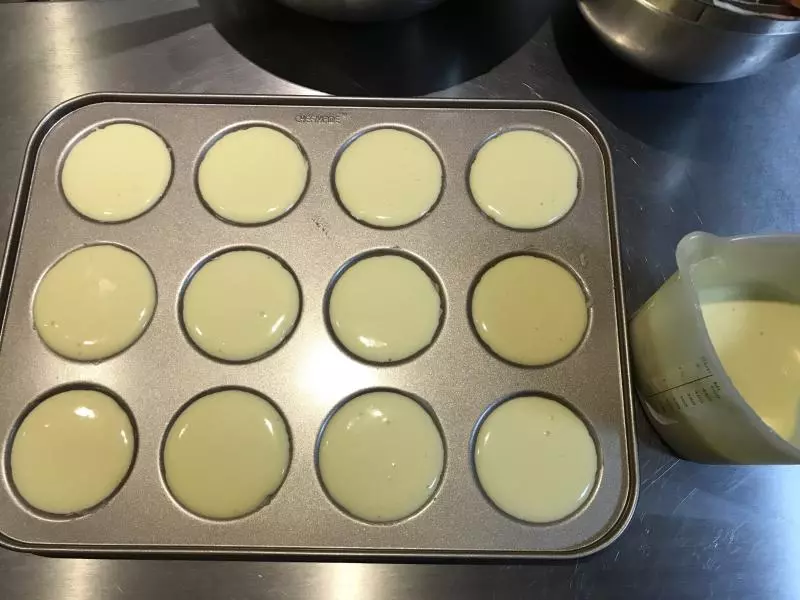
10將麵糊倒入矽膠杯,裱花袋也可以,再倒入模具。沒有模具的話,金盤墊油紙,麵糊擠油紙上。 分兩次烤,第二盤可以放冰箱冷藏。
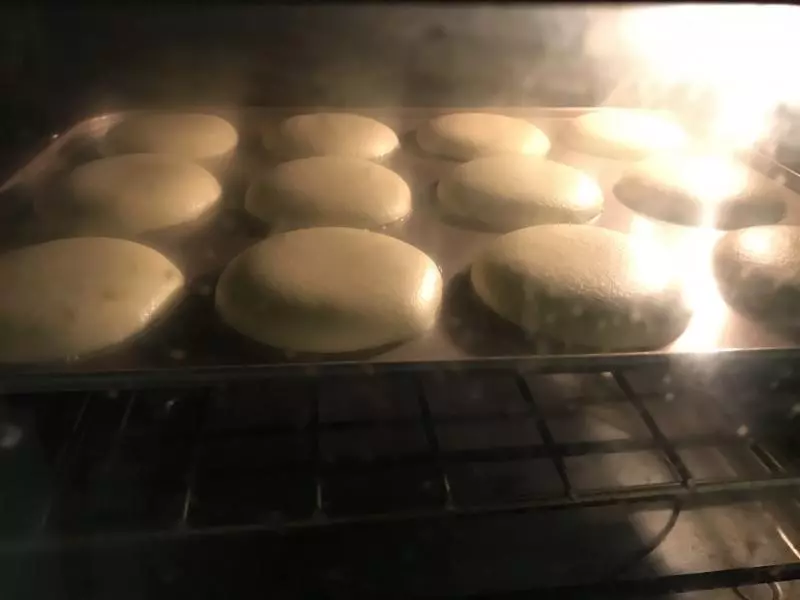
11170度中層10分鐘,火力時間根據你自己烤箱調節。 我這次下火高了,下次降低溫度烤。
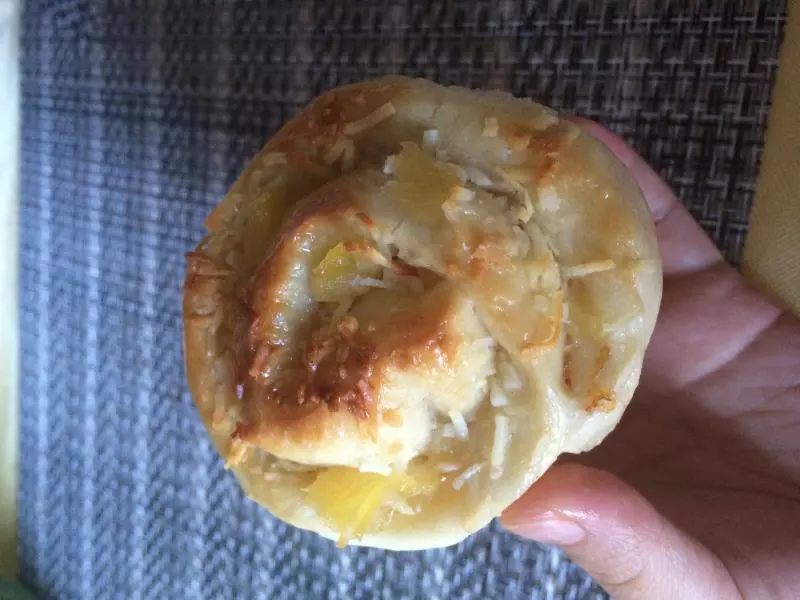
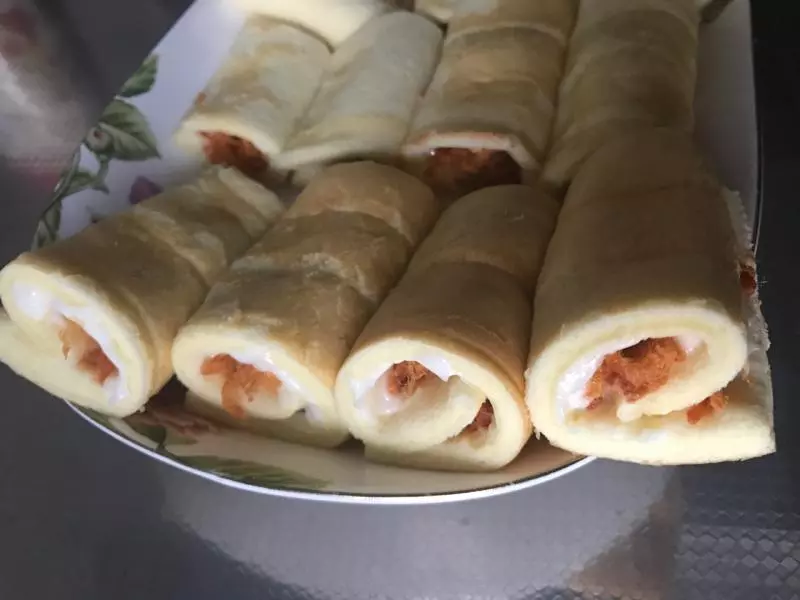
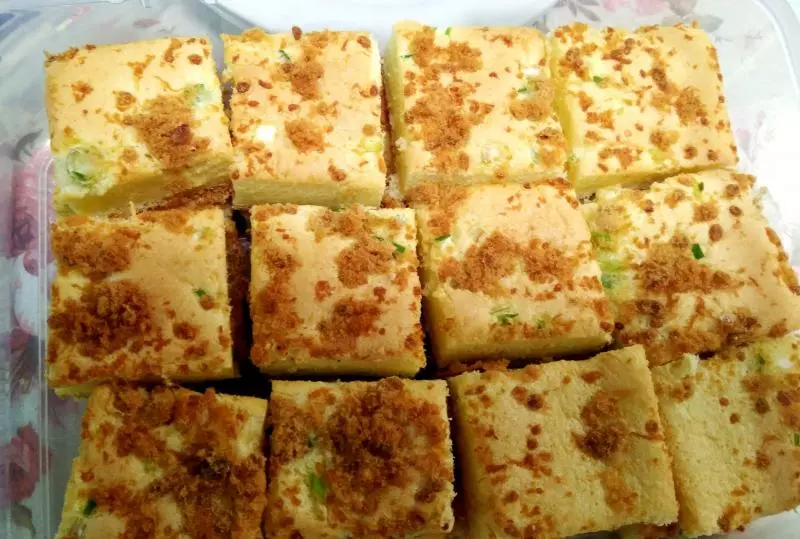
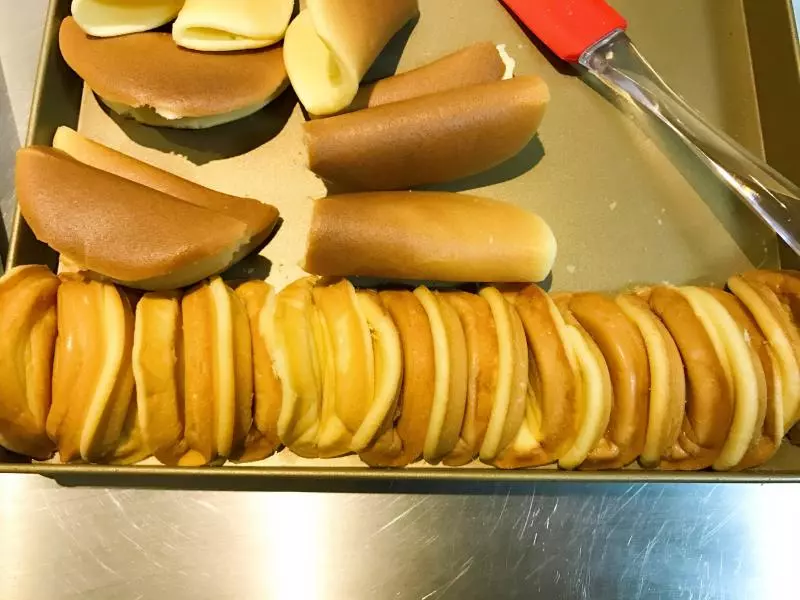
12出爐馬上脫模。對摺放烤盤冷卻定型。
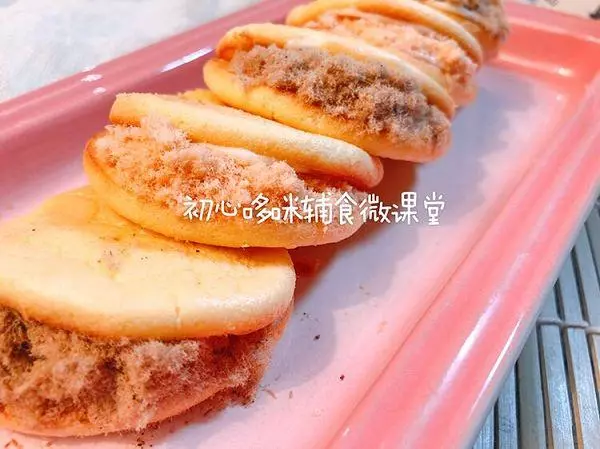
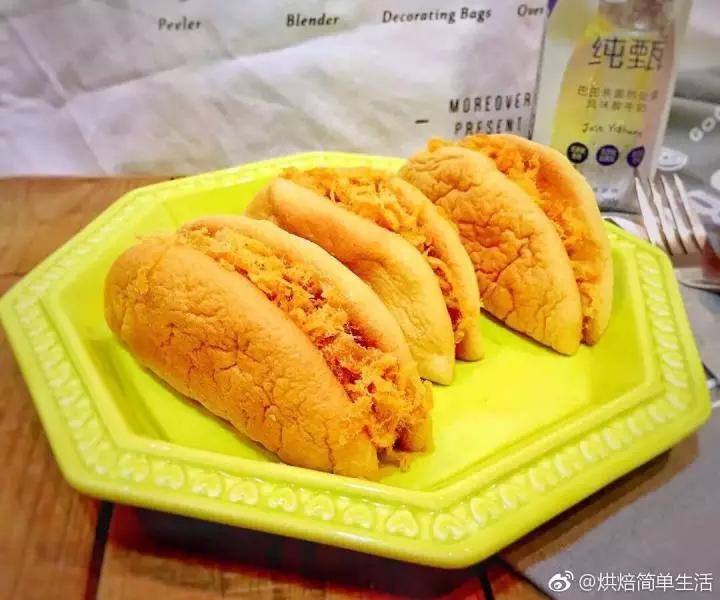
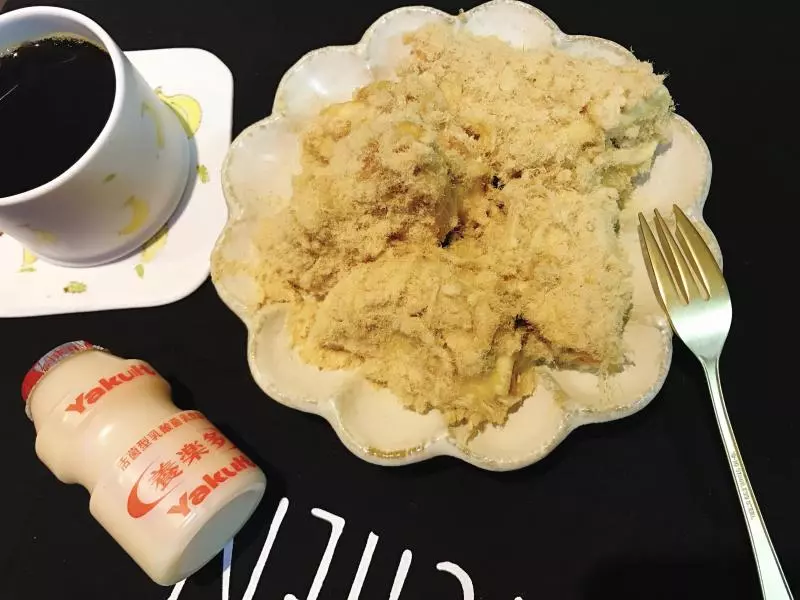
13打開對摺的蛋糕,裡面抹沙拉醬,放上多多的肉鬆。
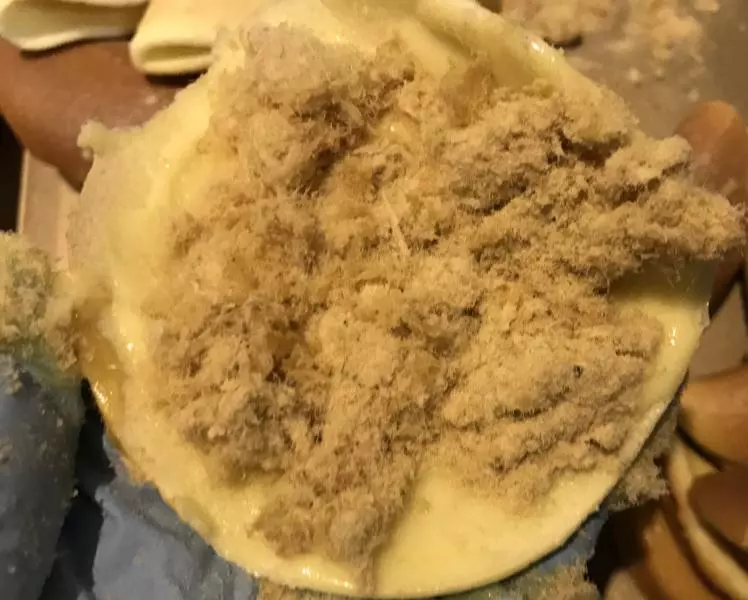
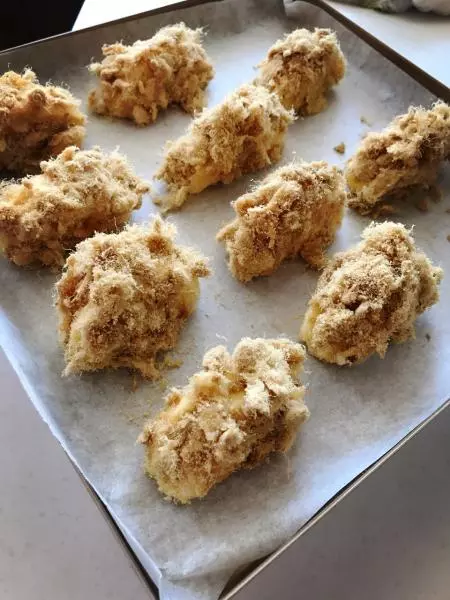
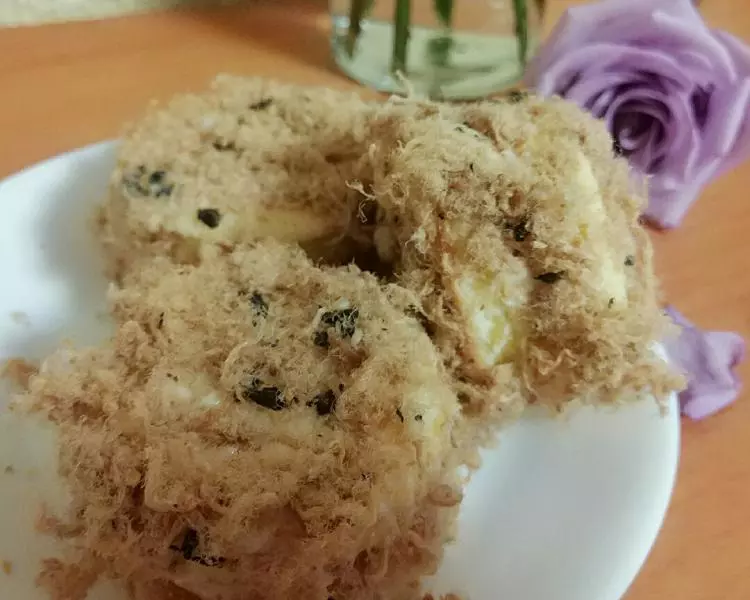
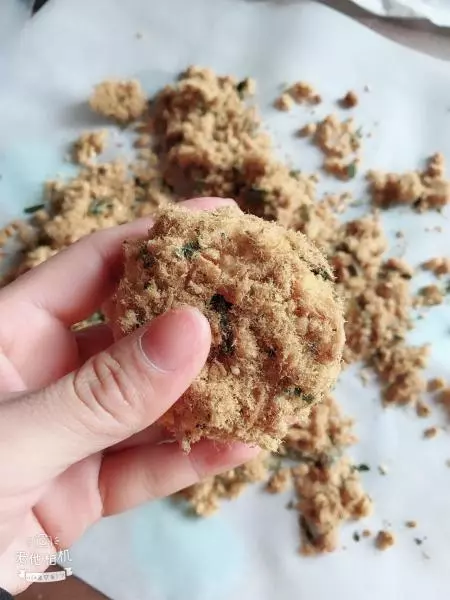
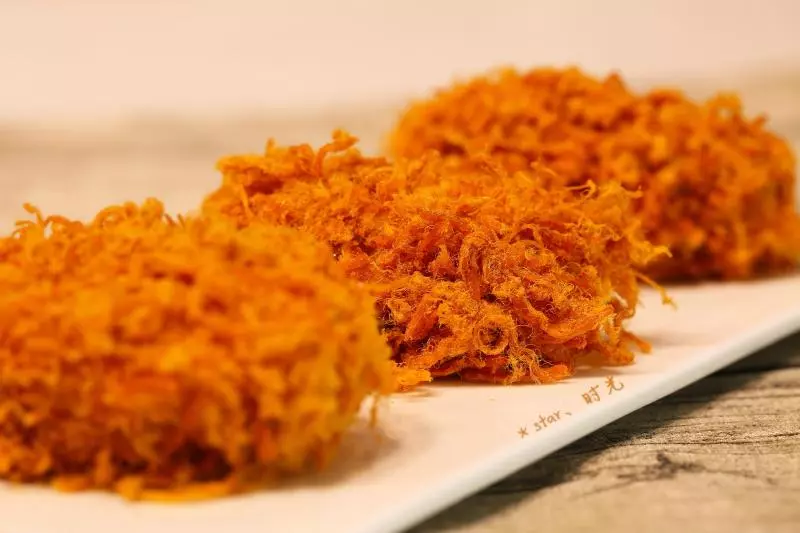
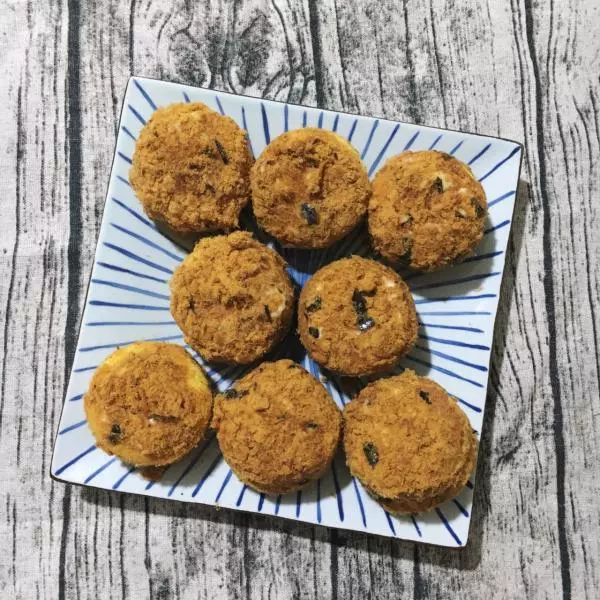
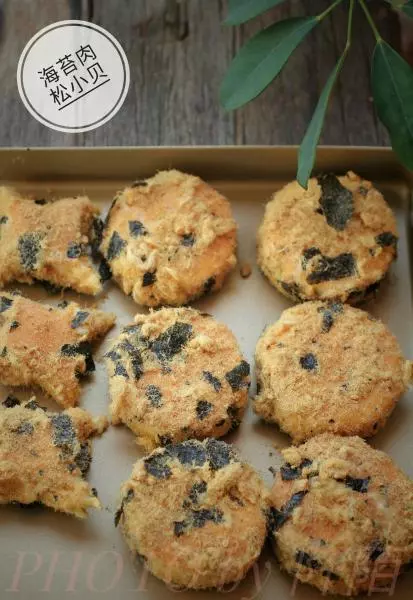
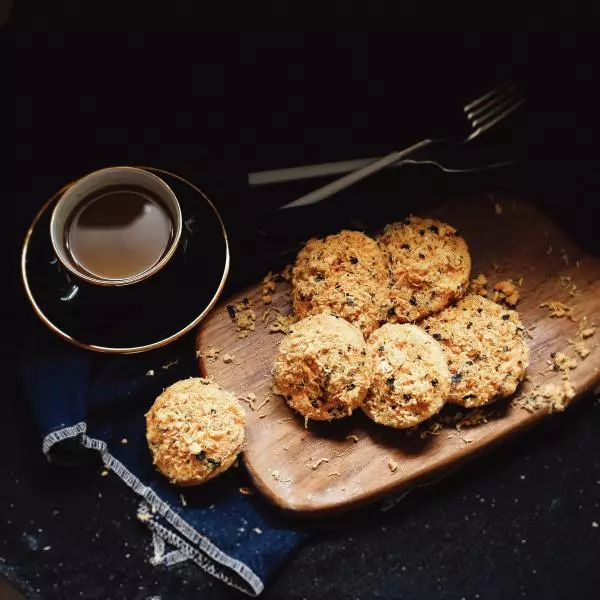
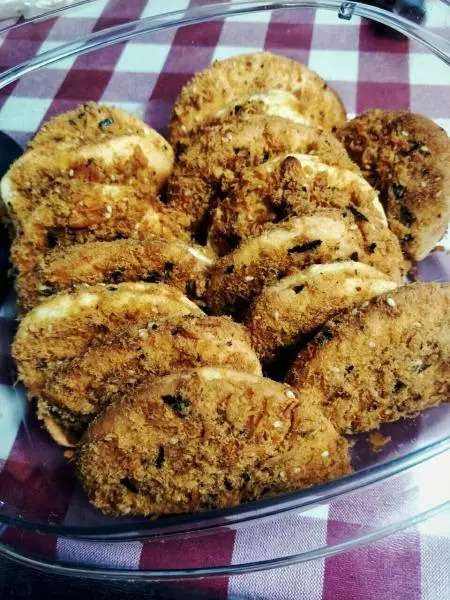
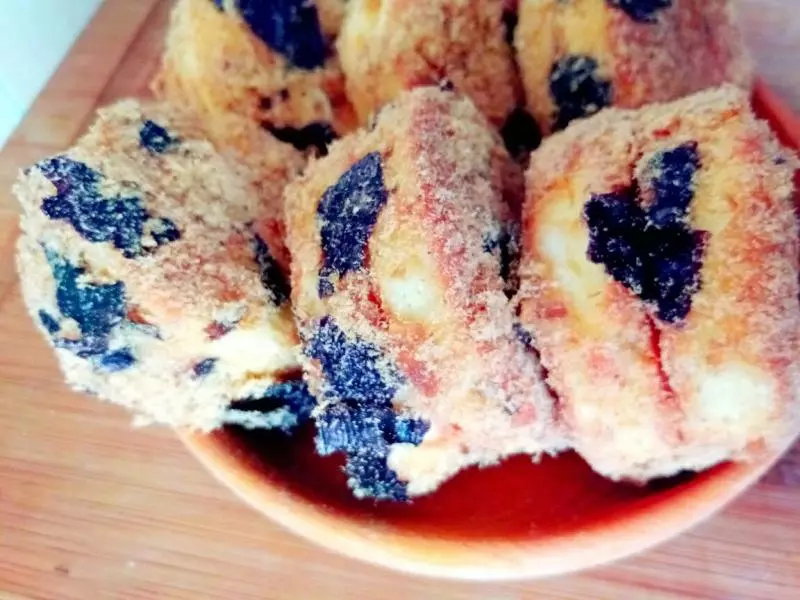
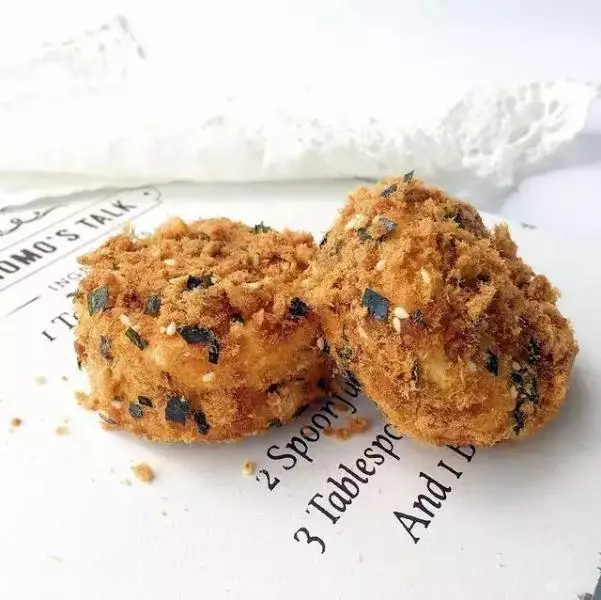
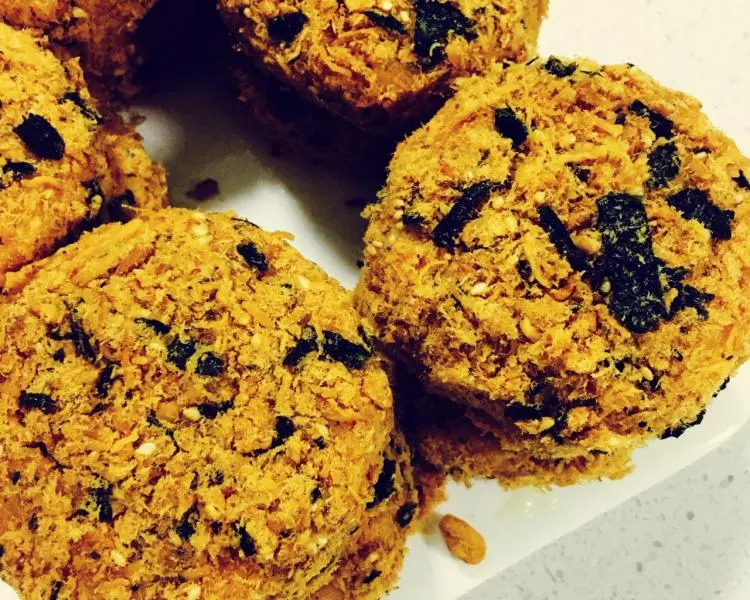
14對摺後外面也抹上沙拉醬,包裹滿滿的肉鬆,肉鬆小貝就完成啦。
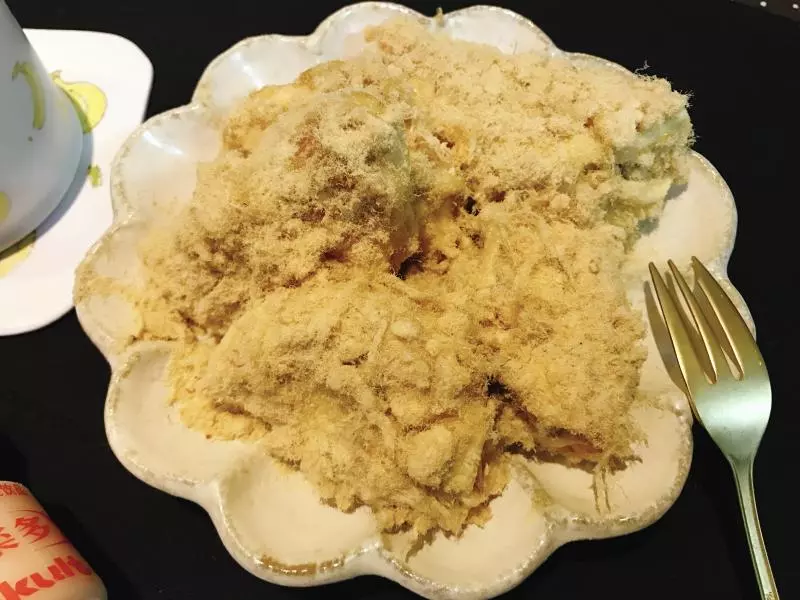
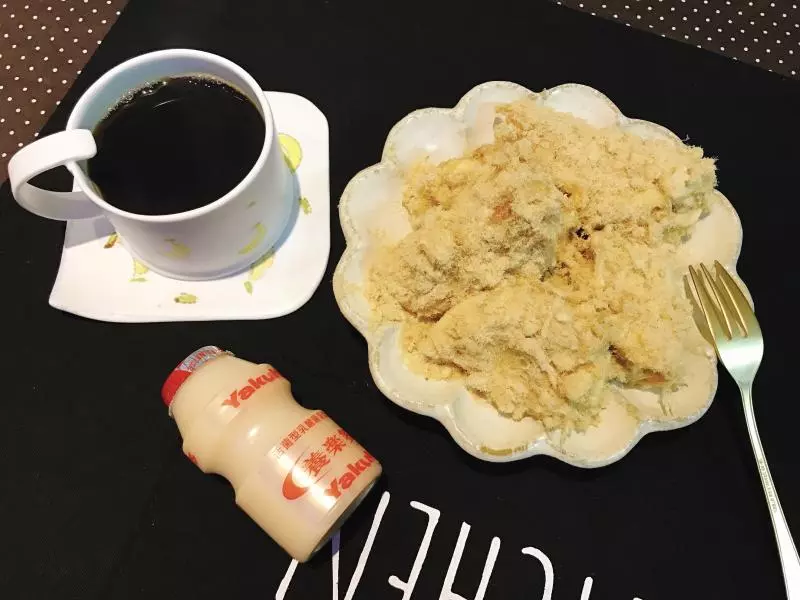
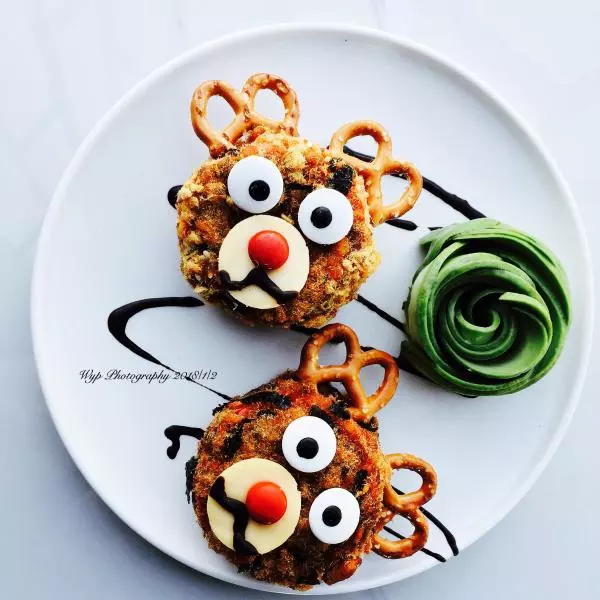
15開動吧。