原料
普通麵粉: 100克, 細砂糖: 15克, 水: 45克, 全蛋液: 2小勺(10ML), 豬油: 10克, 普通麵粉: 80克, 豬油: 50克, 糯米粉: 70克, 細砂糖: 70克, 水: 110克, 白芝麻: 30克,炒熟, 豬油: 35克, 全蛋液: 適量, 白芝麻: 適量
步驟
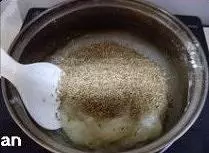
1首先做糯米餡,水,細砂糖,豬油一起倒入鍋中

2大火煮開至沸騰,然後轉小火,倒入全部的糯米粉,快速攪拌均勻。使糯米粉和水完全混合成為粘稠的餡狀,然後關火

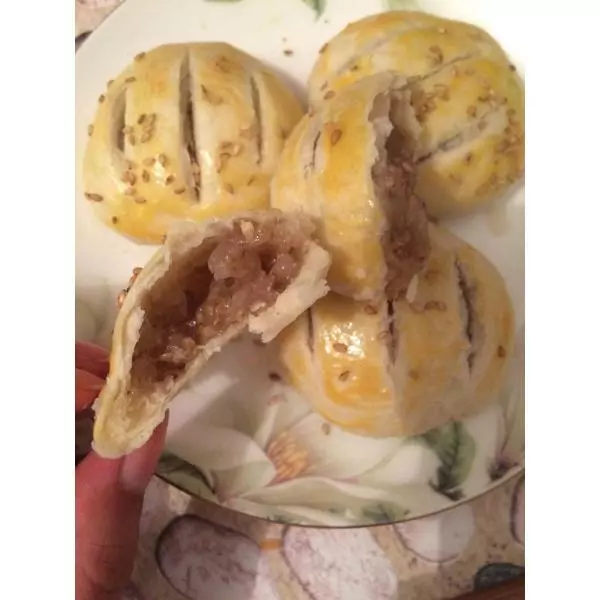
3倒入熟的白芝麻,攪拌均勻
4將做好的糯米餡放入大一點的盤子中,放冰箱冷藏一個小時至不粘手為止

5把所有水油皮的配料放盆中

6揉成柔軟的麵糰

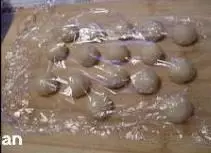
7將水油皮麵糰平均分成16份,揉成圓球,蓋保鮮膜靜置鬆弛三十分鐘

8將油酥配料放盆中,活成油酥麵糰

9也平均分成16份
10將冷藏好的糯米餡拿出來,平均分成16份

11拿一個水油皮麵糰,按扁

12包上一個油酥麵糰

13捏緊封口,收口朝下放案板上

14將所有麵糰全部包完,暫時不用的蓋保鮮膜,防止麵糰變干

15將麵糰擀成長橢圓形

16從上至下捲起來,捲成面卷

17拿一個面卷按扁,再擀開,捲起來

18將兩擀兩卷的面卷蓋保鮮膜,靜置鬆弛15分鐘

19將面卷擀成圓形的面片

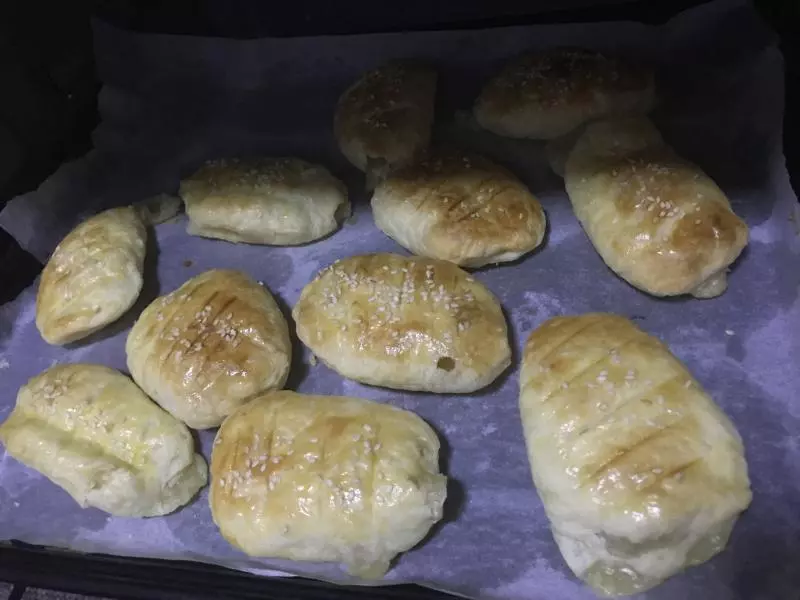
20面片中間放一份糯米餡,收口捏緊

21包好的老婆餅收口朝下放案板上

22用手稍微用力按扁,然後放在烤盤上

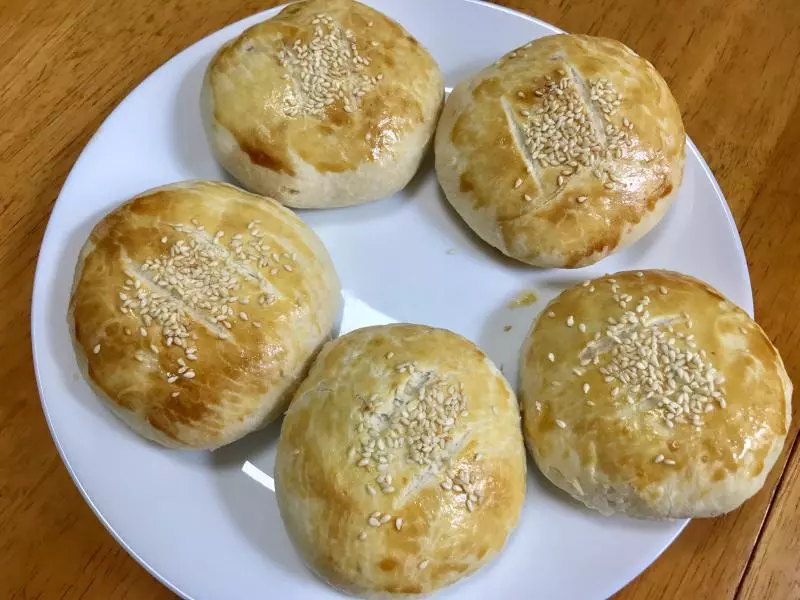
23在老婆餅上刷一層全蛋液,撒上白芝麻

24在老婆餅表面用鋒利的刀片劃三道口子!口子的深度要劃穿麵皮,然後再靜置15分鐘

25烤箱中層,上下火186度烤15分鐘至表面金黃即可