原料
低粉 80g, 鲜奶油 80ml, 蛋黄 3个, 蛋白 4个, 细白糖 75g, 色拉油 40ml, 水 60ml, 香草精 少许, 粉红色素 少许, 可可粉 少许, 水果 (猕猴桃、蜜桃)
步骤
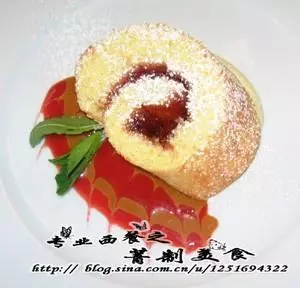
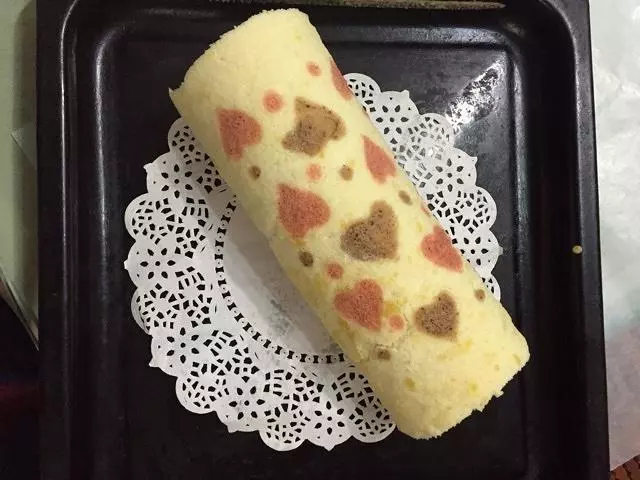
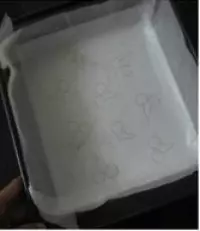
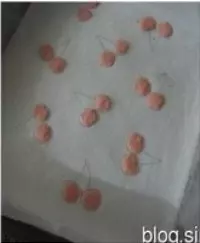
1先用纸描好樱桃的图案,铺于烤盘上
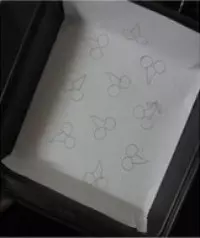
2上面再铺一张油纸,在油纸上涂一层薄薄的色拉油
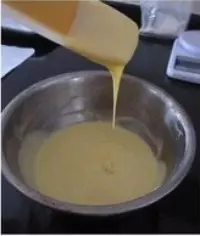
3蛋黄3个,加入低粉80g、水60ml、色拉油40ml、细白糖35g、香草精。电动打蛋器搅打至有粘性,蛋黄糊如图中可成线状流下
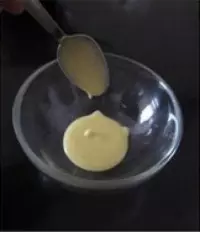
4取出2小勺于小碗内
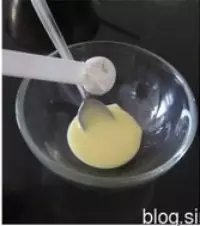
5放入二分之一小勺低粉,并搅拌均匀
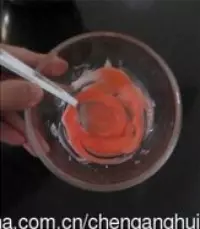
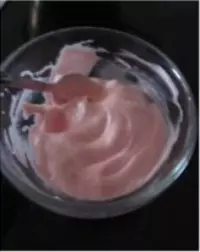
6放入一点点粉红色色素,搅拌至均匀
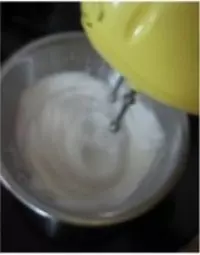
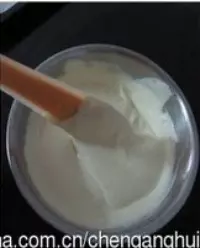
7打发蛋白:4个蛋白,加个4滴米醋,30g细白糖,搅打至硬性发泡,即打发盆倒扣蛋白霜也不会跌落的状态
8去2大勺打发好的蛋白霜于调好色素的蛋黄糊小碗内
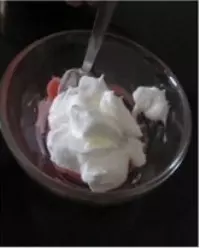
9小心拌匀
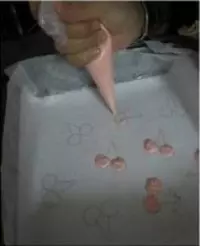
10装入裱花袋,开端剪一小口,挤于图案上
11烤箱预热170度,放入烤1分钟后立即取出
12剩余的蛋白与蛋黄糊搅拌均匀
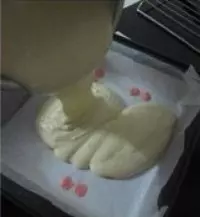
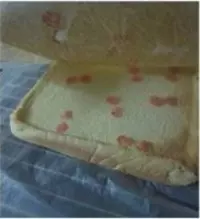
13倒入烤好的樱桃图案上,表面抹平,并在桌子上震几下,把面糊内的气泡震出,170度烤20分钟
14预备烤网,上面铺一油纸
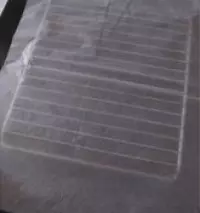
15出炉的蛋糕倒扣在烤网上,并立即撕下原来铺在上面的油纸,再盖上待凉
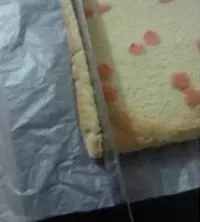
16蛋糕体略有余温时,用蛋糕刀切去四边
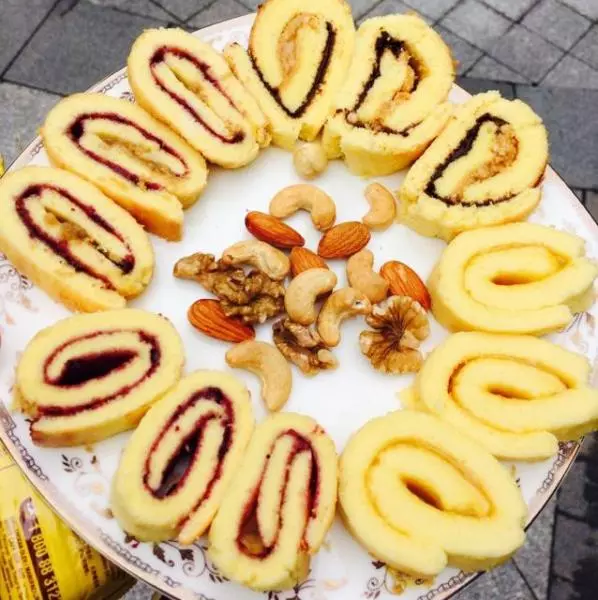
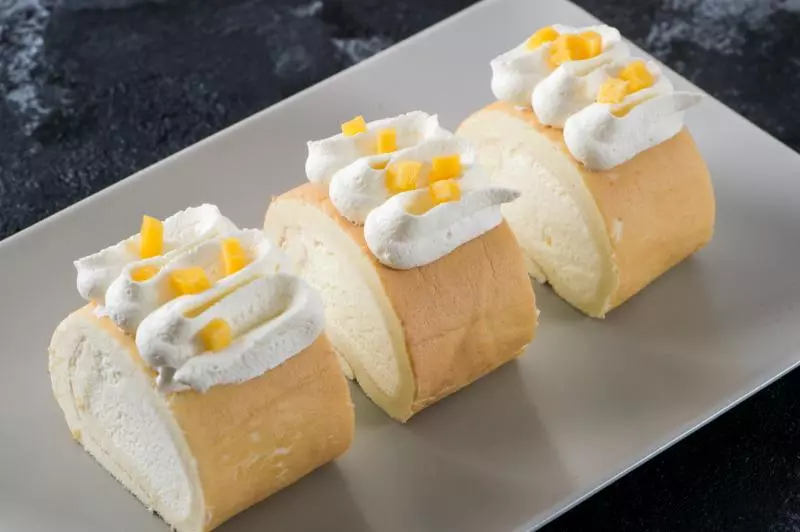
17再倒扣于另一油纸上,均匀抹上打发的奶油
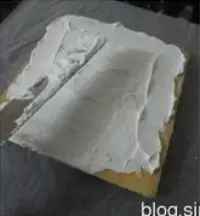
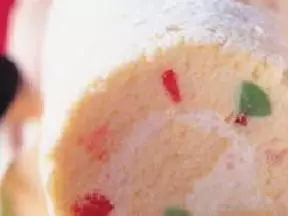
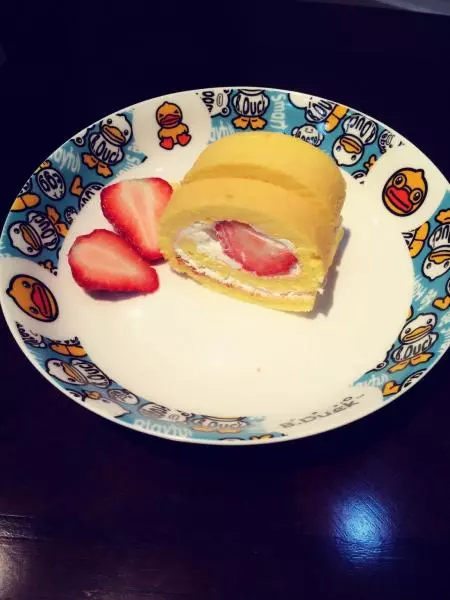
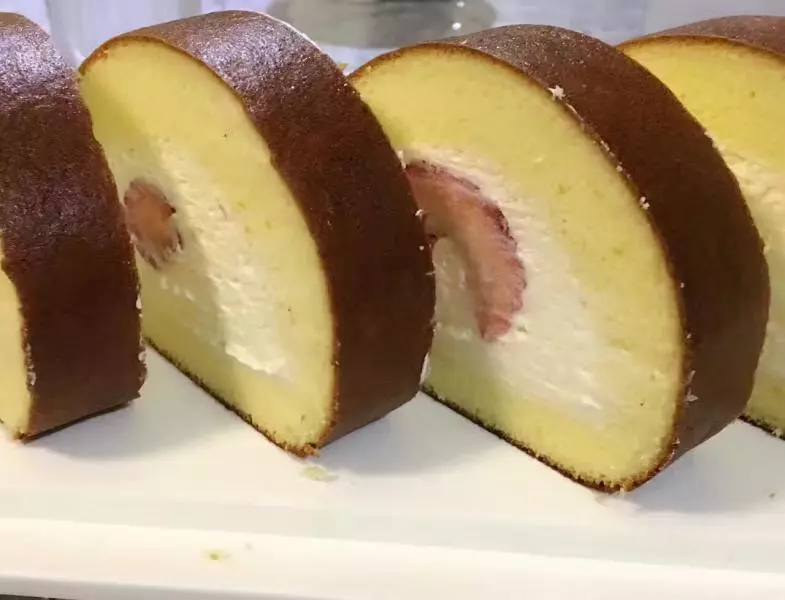
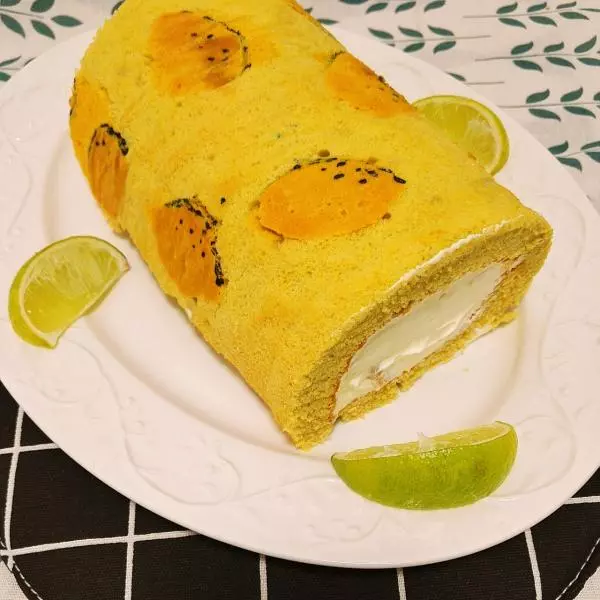
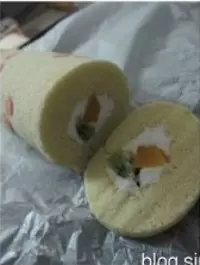
18如图放上水果

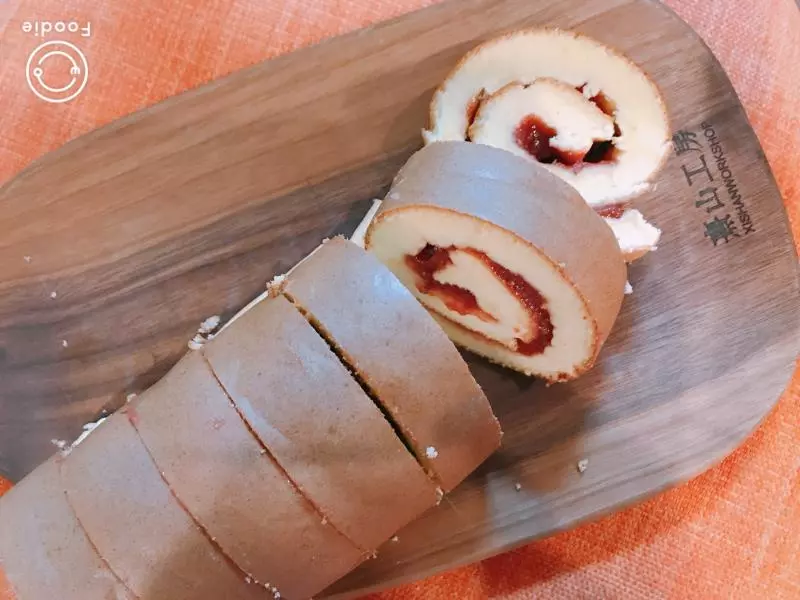
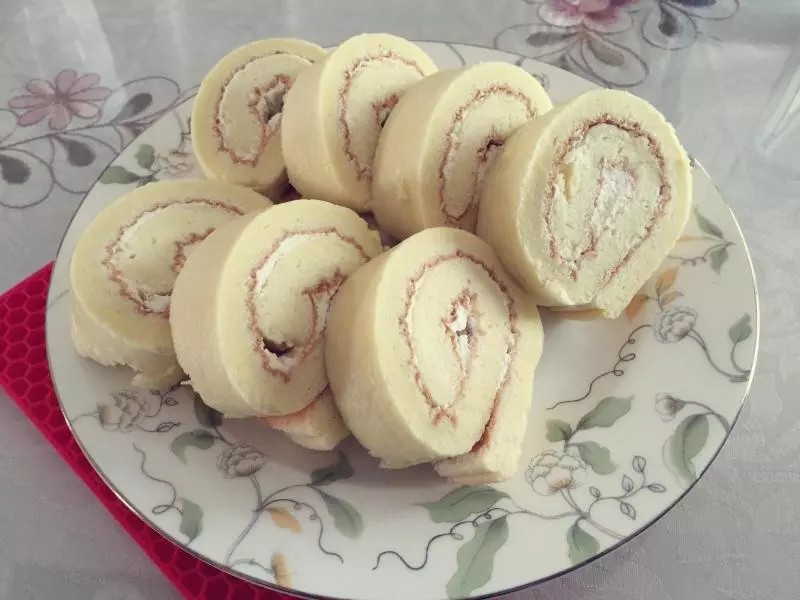
19卷起后,油纸两端拧紧,放置于冷藏室1小时
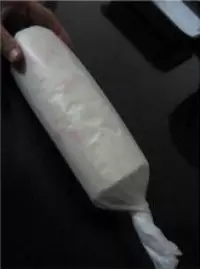
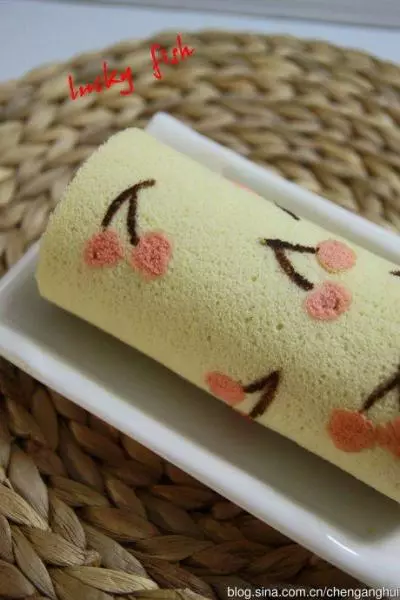
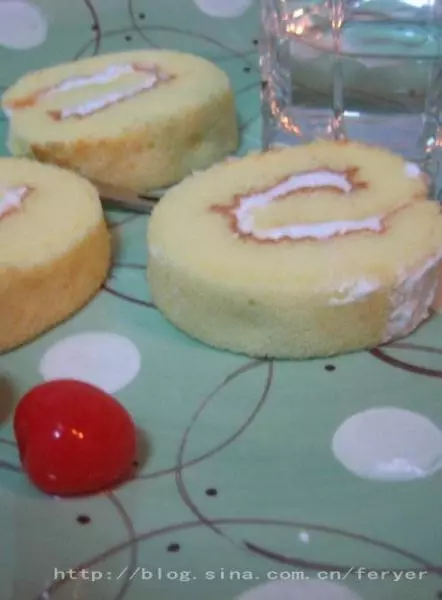
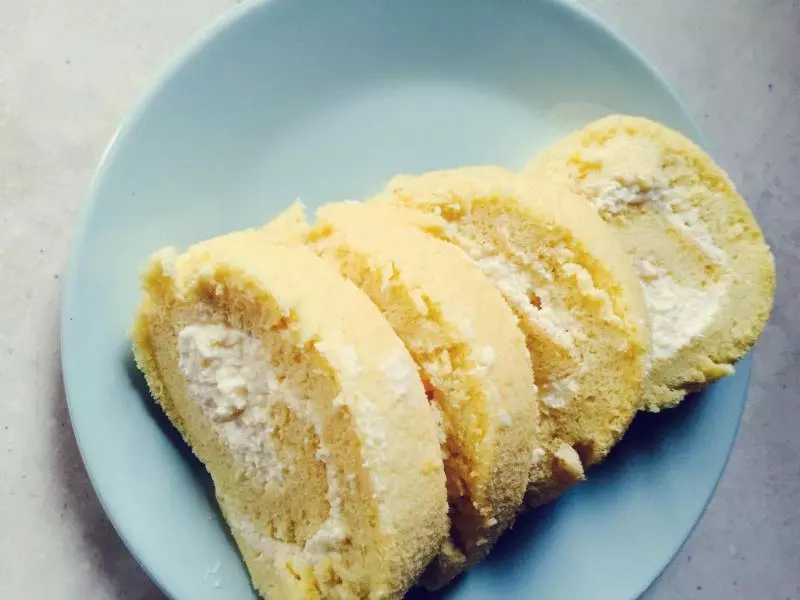
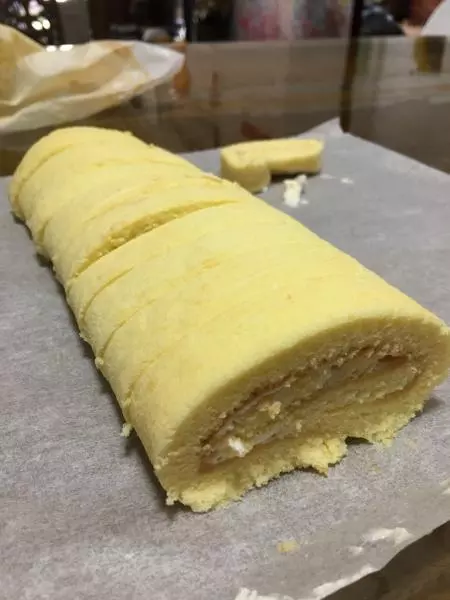
20取出切掉蛋糕体的两端
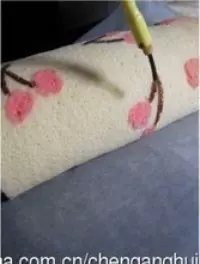
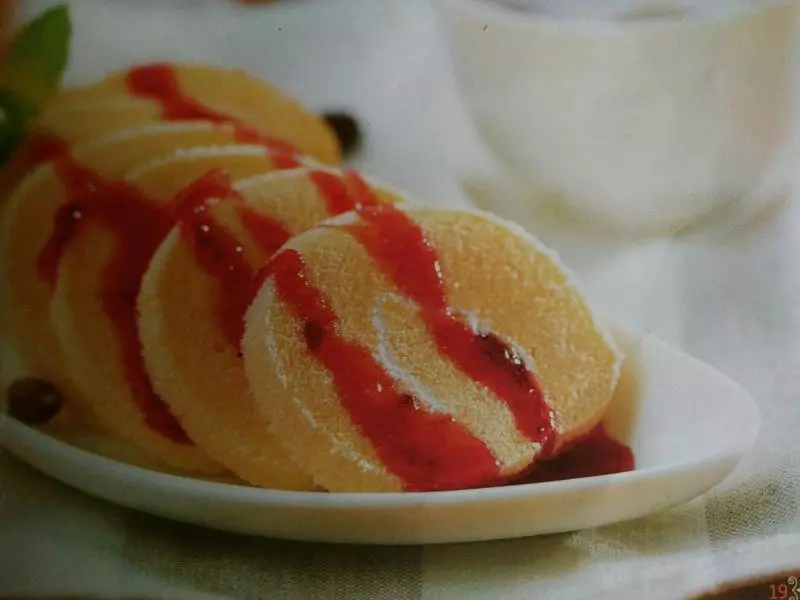
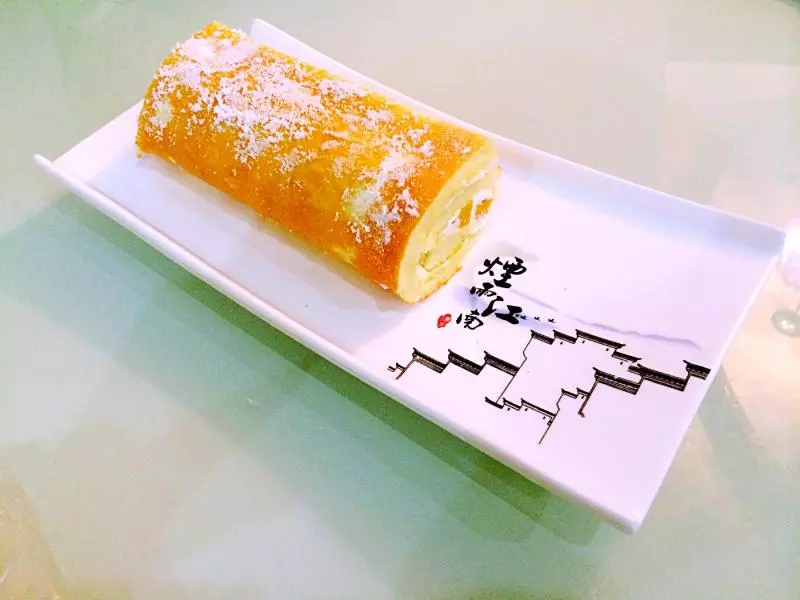
21用可可粉调入热水,细毛笔在樱桃果上描上果梗即可