原料
草莓酱 30克, 面粉 30克, 盐 0.5克, 白醋 1克, 鸡蛋 3个, 白砂糖 40克, 色拉油 15克, 牛奶 10克
步骤
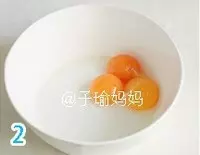
1将蛋黄与蛋白分到两个干净无水的盆中,先开始做蛋黄部分
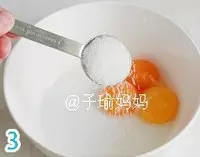
2在蛋黄中加入10克白砂糖,搅拌均匀
3加入牛奶搅拌均匀

4加入色拉油搅拌均匀

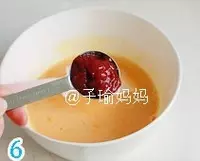
5加入草莓酱搅拌均匀
6最后加入低面粉

7切拌均匀,放置一边

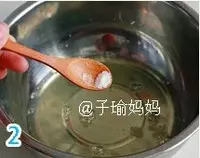
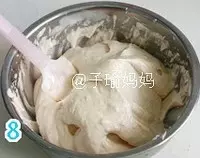
8在蛋白中加入盐和白醋,用打蛋器低速打到粗泡状态
9加入30克白砂糖
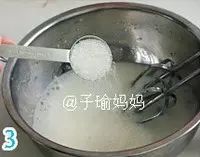
10用打蛋器打到细腻泡末状
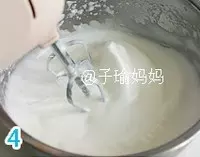
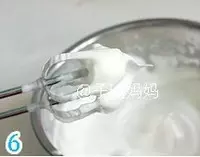
11改高速继续打,打到干性发泡,停止
12将蛋黄糊倒入蛋白糊中
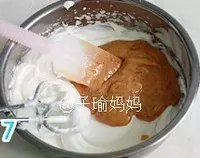
13切拌均匀(不可转圈搅拌哦)
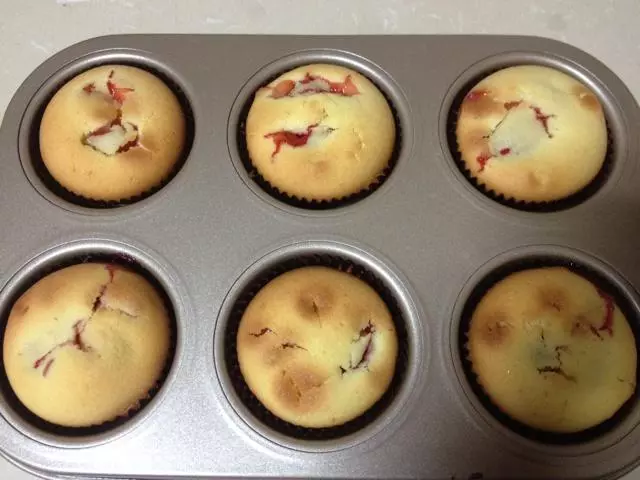
14取6寸活底模,倒入蛋糕糊,抹平,轻磕几下,震出气泡。送入烤箱
15烤箱温度150度,35分钟,中层,上下火。(温度和时间仅供参考)

16烤好后取出倒扣
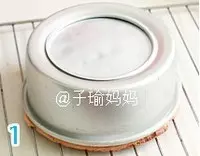
17凉后脱模
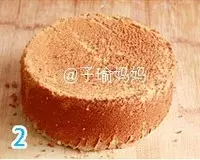
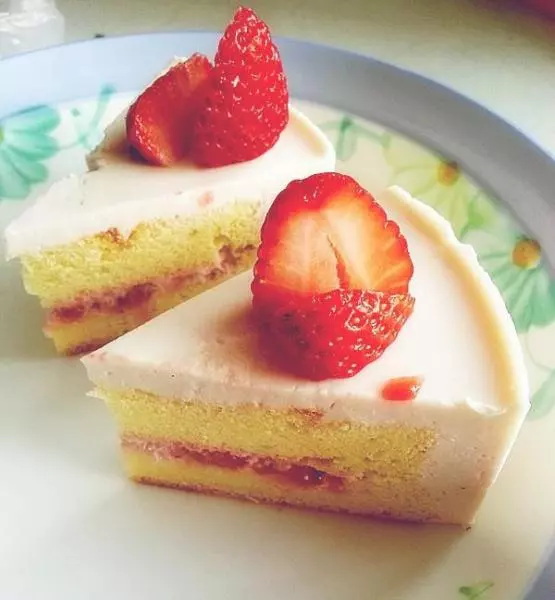
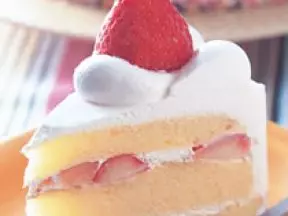
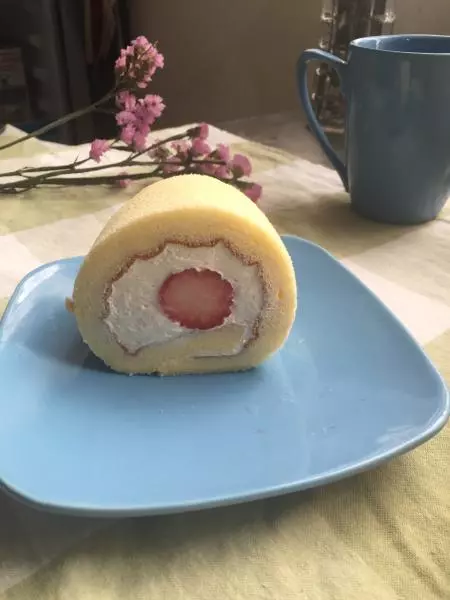
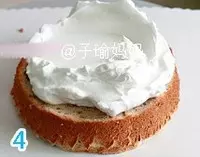
18将蛋糕体横切成两层

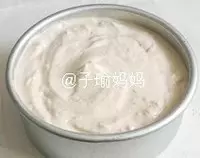
19中间夹上奶油,抹平
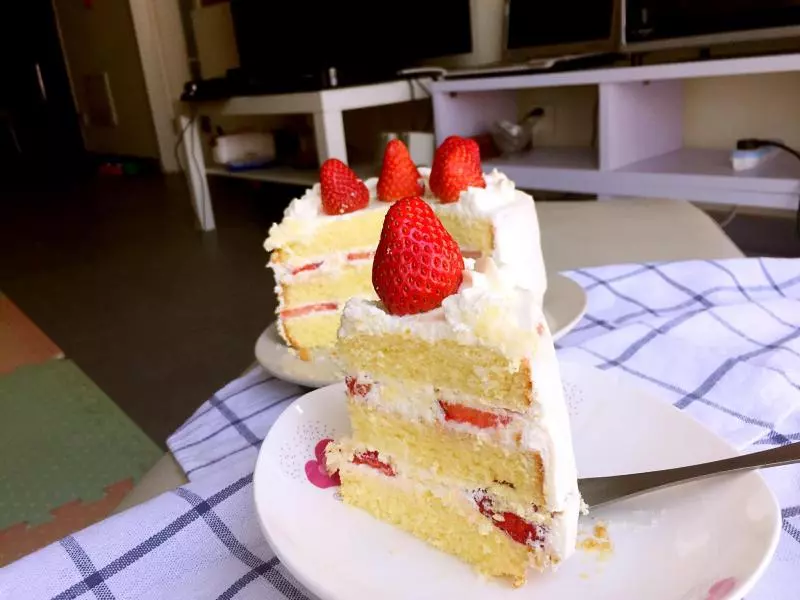
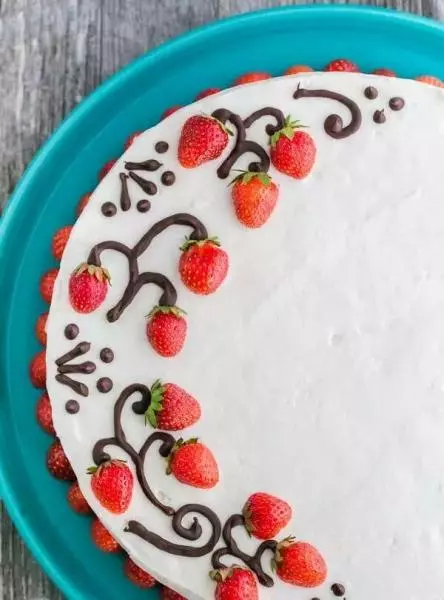
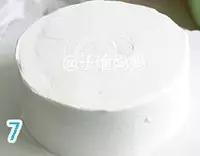
20盖上第二层

21再覆盖上一层奶油,尽可能的将奶油抹平了
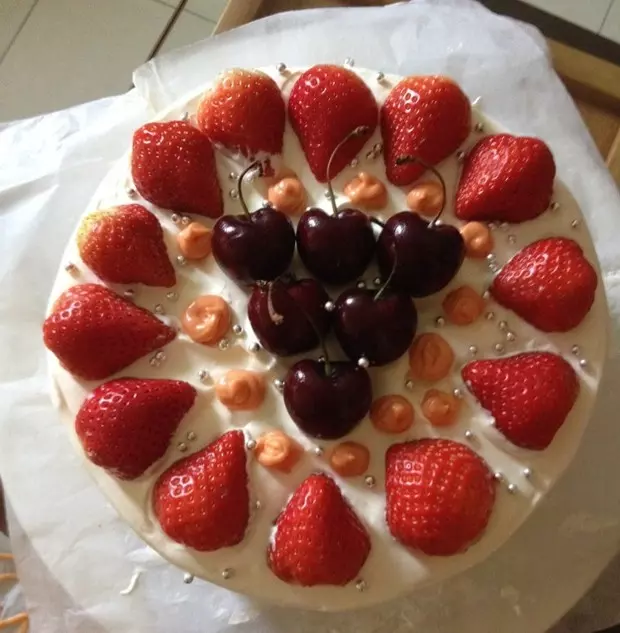
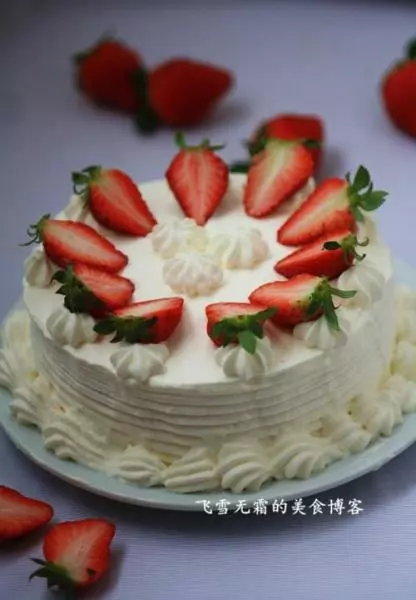
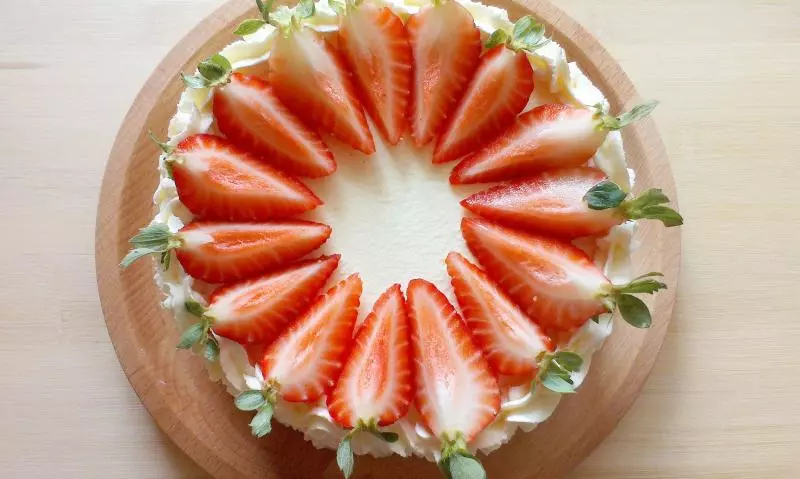
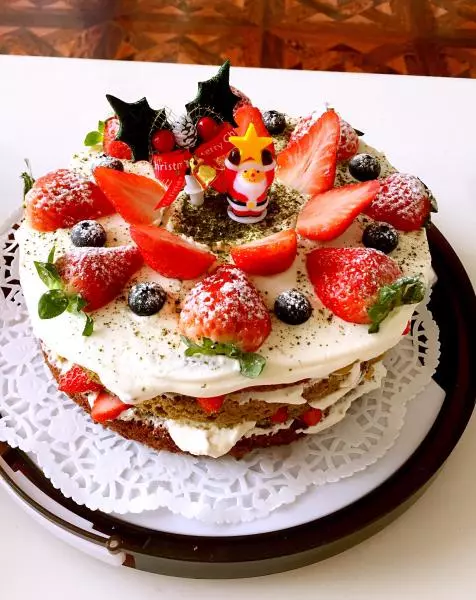
22装饰上草莓,用菊花嘴裱花,再装饰上一些绿色的洗干净的草莓叶
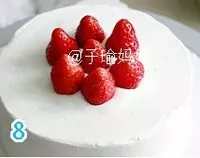
23最后撒上糖粉即可

小技巧
1、面粉一定要过筛,不然会有大颗粒;蛋白蛋黄分离后,蛋白中不要混入蛋黄。盛蛋白的盆要保证无油无水,不然打不发,鸡蛋不能是刚冰箱里取出的。蛋白一般在20度的时候最容易打发。 2、蛋白打发是成功的关键.蛋白能拉出一个短小直立的尖角,就表明打好拉~~~~ 3、打蛋白的速度是从一开始的低速到后来的高速。这样也可以更好的打发。在蛋白中加一点点塔塔粉或者几滴柠檬汁也是可以帮助打发的。检查自己的打蛋器上有没有沾水,有水肯定打发不了。 4、两种面糊拌在一起的时候一定不可以转圈圈哦,不然会消泡泡的。上下左右前后拌拌就可以了。 5、倒入蛋糕模具的时候,端起来轻扣几下,可以排出面糊里的气体。 6、烤好倒扣是为了减少回缩程度。