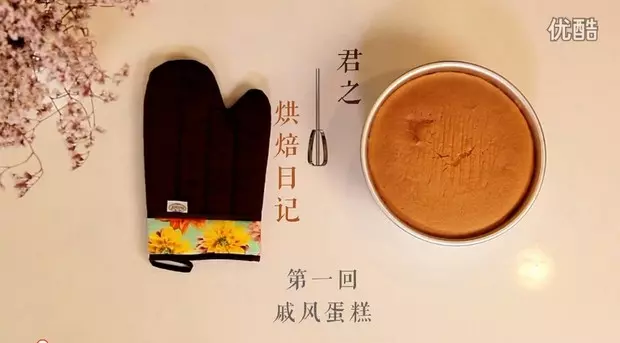
简介
《君之烘焙日记》系列视频【戚风蛋糕】,做成文字版,方便使用。 戚风蛋糕博客网址:http://blog.sina.com.cn/s/blog_4a5089ff0102vgab.html
步骤图来源于视频截图
制作环境温度:25℃
我按照这个方子做了好多次,每次都成功~~
备注:
鸡蛋:四个(蛋清132克,蛋黄72克) 【中等大小的四个鸡蛋,蛋清分离后,就差不多是这个重量】 最好是把蛋清蛋黄分开后,称重使用。
植物油:玉米油 或 葵花籽油
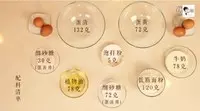
原料
蛋清 132克, 细砂糖(蛋清用) 72克, 蛋黄 72克, 细砂糖(蛋黄用) 30克, 低筋面粉 120克, 牛奶 78克, 植物油 78克, 泡打粉 5克
步骤
1蛋黄蛋清分离 装蛋清的碗保证无油无水 (水和油脂会影响蛋清的打发) 蛋清里无蛋黄
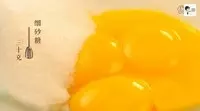
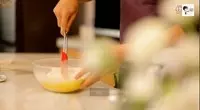
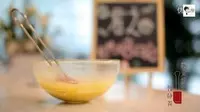
2蛋黄里加入30克细砂糖,然后用电动打蛋器打散。不要打发 (我是用打蛋器打散的,不然一会打蛋清时还要清洗电动打蛋器的打蛋头)
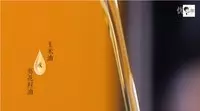
3然后,放入78克植物油,搅拌均匀。 (植物油可以是玉米油或葵花籽油)
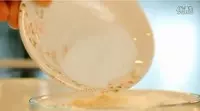
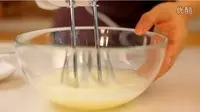
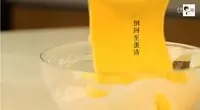
4上一步搅拌均匀以后,加入78克牛奶,继续搅拌均匀 (我用的是纯牛奶)
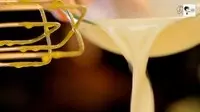
5蛋黄+细砂糖+食物油+牛奶搅拌均匀后的样子。
6把5克泡打粉倒入120克低筋面粉,混合在一起,然后可以用手指把这两样稍稍搅匀。
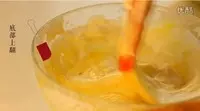
7把混合好的泡打粉+低筋面粉,通过筛网,筛到蛋黄液中。
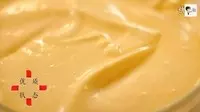
8用刮刀将蛋黄液和低筋面粉完全混合在一起。刮刀从底部往上拌(俗称翻板)不要过度翻拌,免的起筋
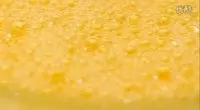
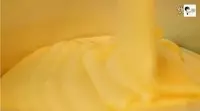
9这是蛋黄糊最优质状态
10蛋黄糊的步骤结束,放在一遍静置,接下来是蛋清打发
11用电动打蛋器稍稍打一下 然后分三次加入细砂糖
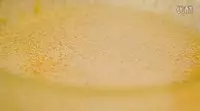
12第一次加入细砂糖,搅打均匀。
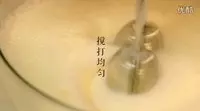
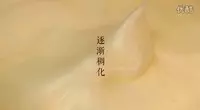
13第二次加入细砂糖,会逐渐稠化
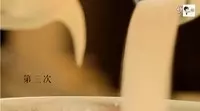
14第三次加入细砂糖
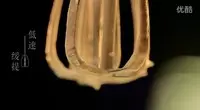
15蛋清打发后优质的状态,干性发泡 (慢慢提起打蛋器,打发好的蛋清会出现直立尖角)

16为了让打蛋头更干净,将打蛋器重新放入打发好的蛋清里,电动打蛋器开至低速,然后慢慢提起打蛋器,打蛋头就会变干净了。
17蛋清打发过度图,会变成棉絮状 (如果蛋清打到这个样子,就拿鸡蛋重新打发蛋清吧。。。= = )
18核心步骤:蛋清和蛋黄糊混合 【露脸了⁄(⁄ ⁄•⁄ω⁄•⁄ ⁄)⁄ 】 影响戚风蛋糕的成败
19把三分之一蛋清,放入蛋黄糊里
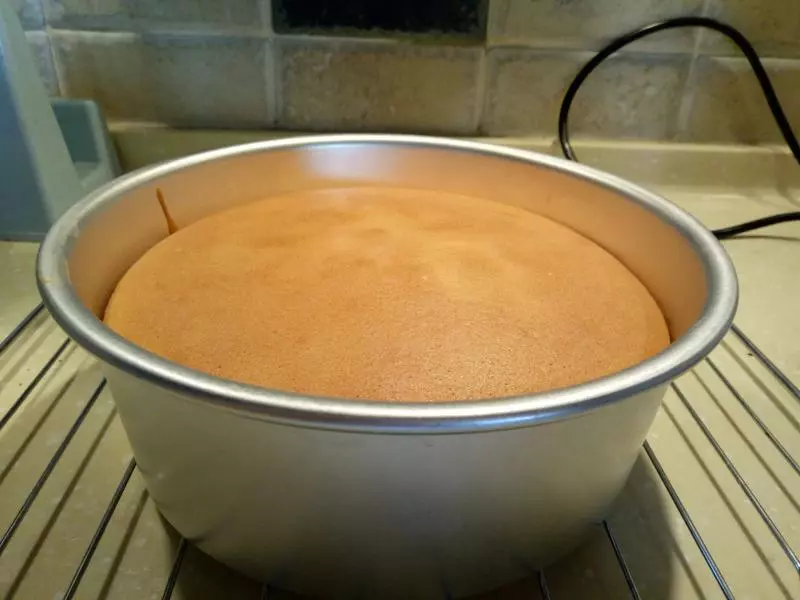
20快速翻拌蛋黄糊和蛋清,使它们混合在一起
21把混合好的蛋黄糊,倒回蛋清里,继续翻拌
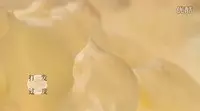
22蛋清和蛋黄糊混合好的优质状态
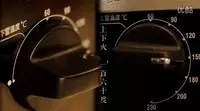
23预热烤箱,上下火160℃ (君之是一开始先预热烤箱,我把预热烤箱放在了这一步)
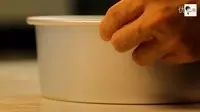
24把戚风蛋糕糊倒入八寸模具中 (君之这个是活底模具)
25两手握着模具,在台面上轻轻震两下,把内部的大气泡震出
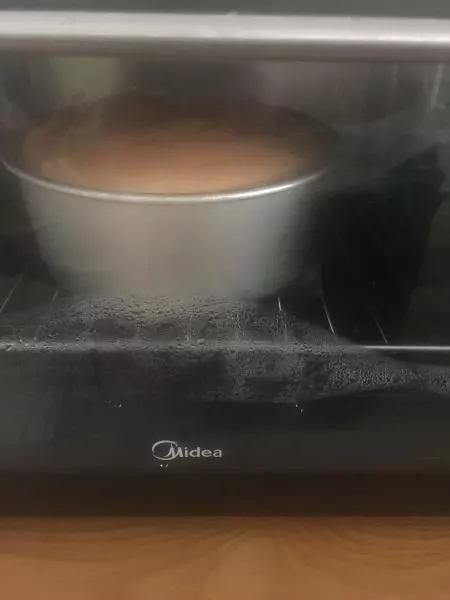
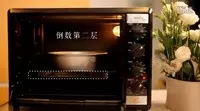
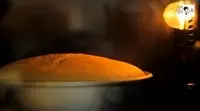
26把模具放在烤盘上,然后放入已经预热好的烤箱内。 烤盘放在烤箱的倒数第二层
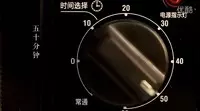
27时间设定50分钟 (我设定的是60分钟,根据每个人的烤箱习性,调整为合适的时间)
28贴士: 温度设置太高,蛋糕顶容易开裂 温度设置太低,蛋糕很久烤不熟,内部就会变得干燥
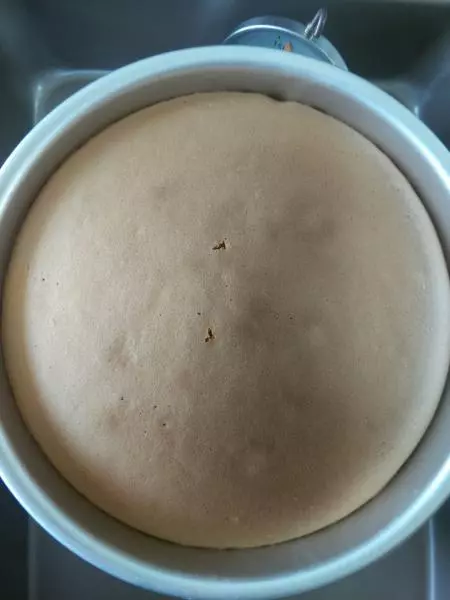
29烤好后,用牙签扎入蛋糕中间,拔出后,看牙签上是否会有残留物,没有残留物,说明蛋糕已经烤熟。

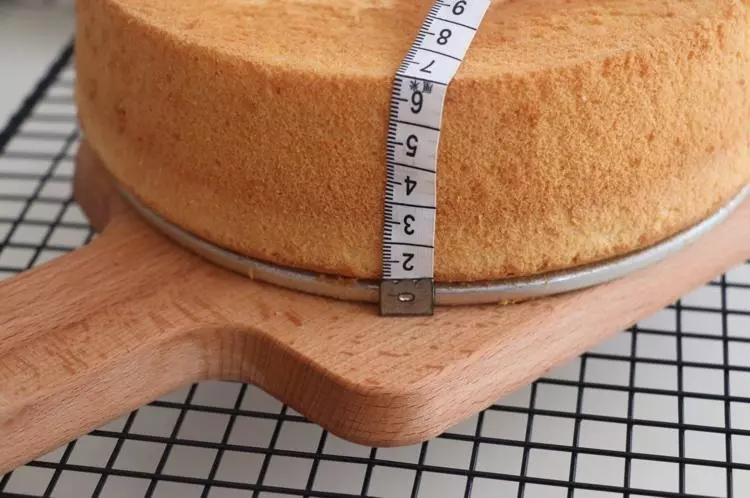
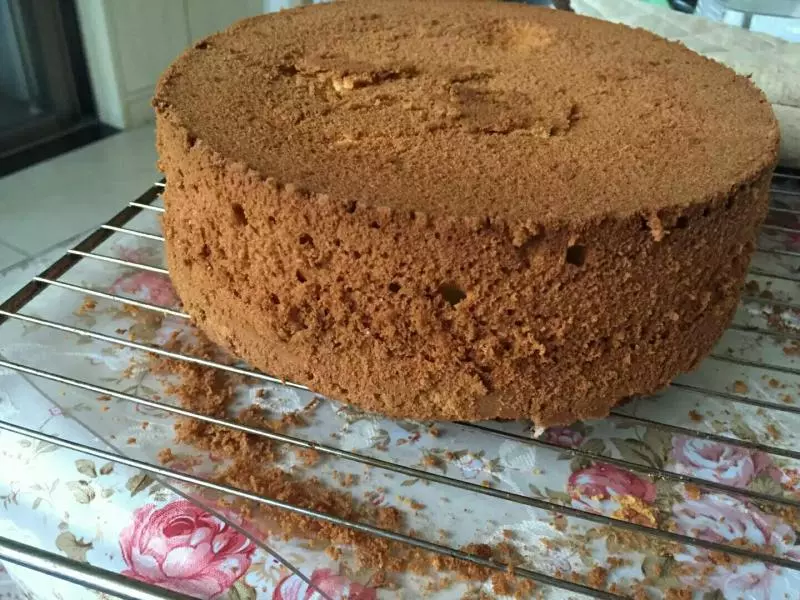
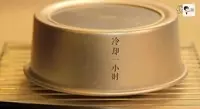
30尽快把模具倒扣在烤网上,让蛋糕冷却
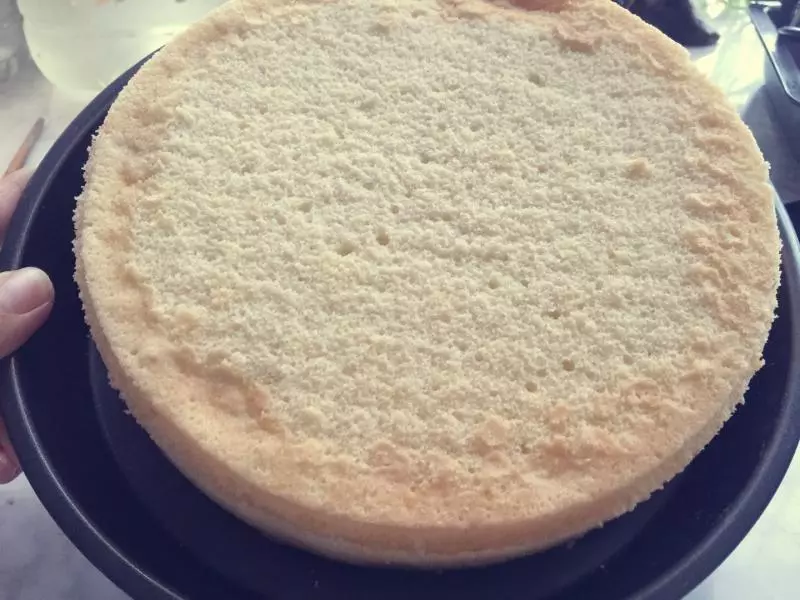
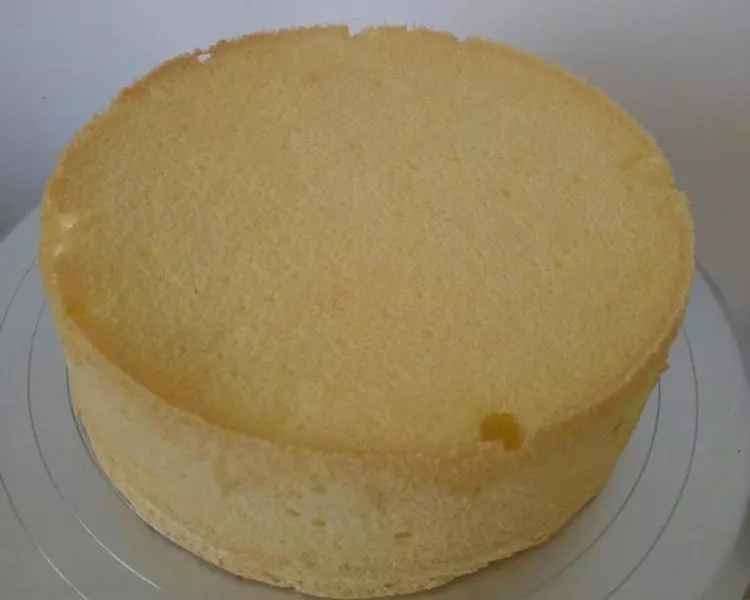
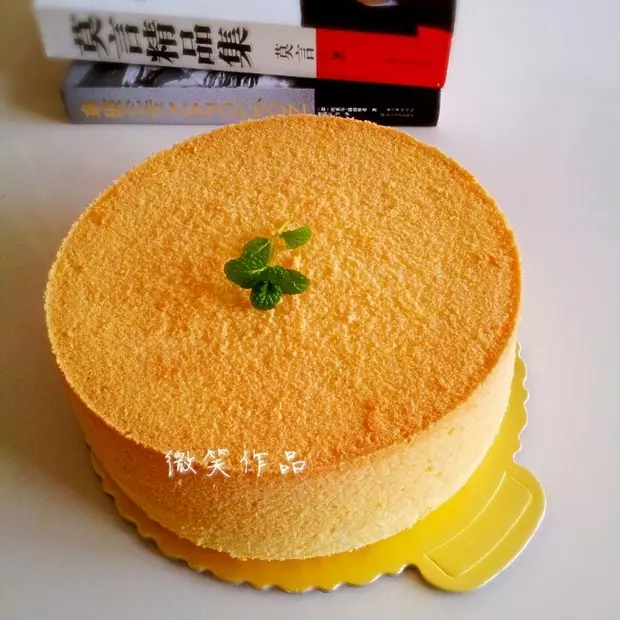
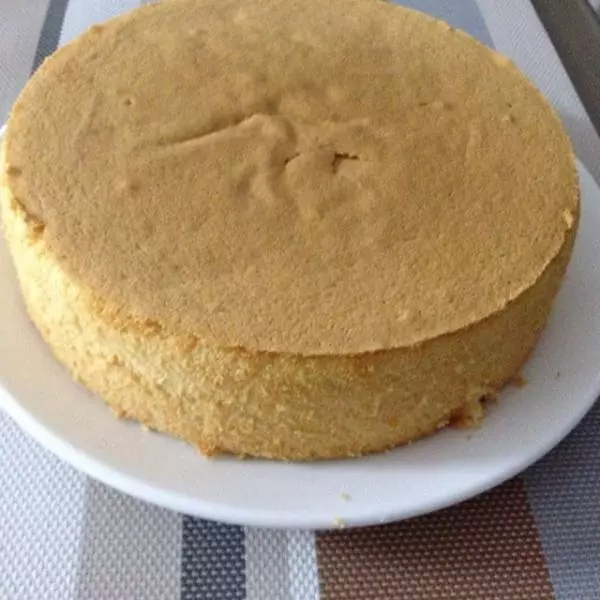
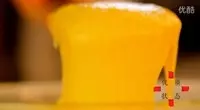
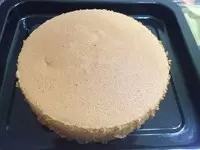
31蛋糕脱模
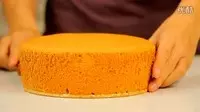
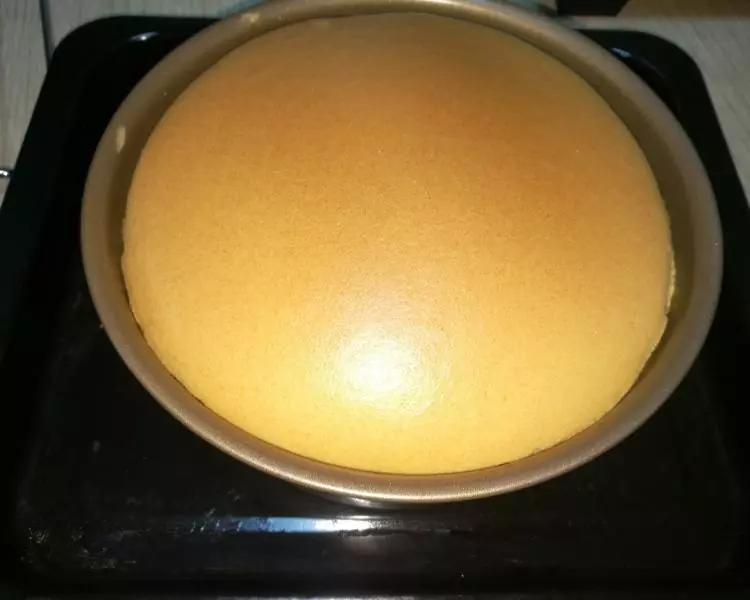
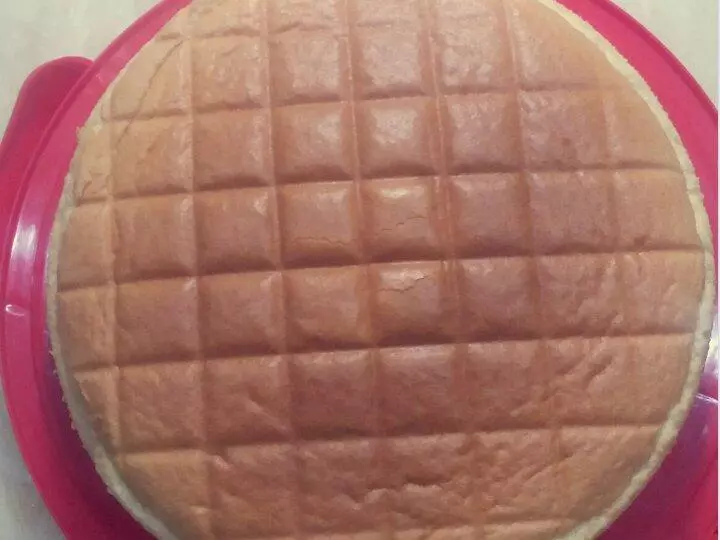
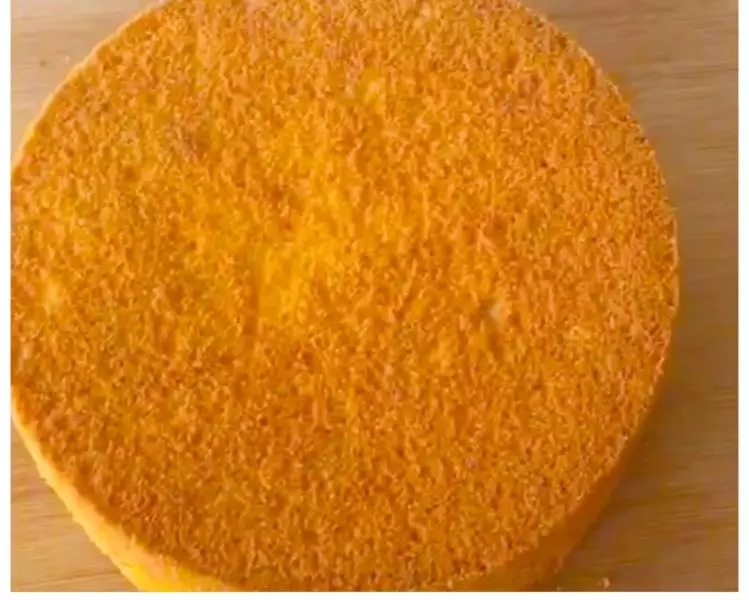
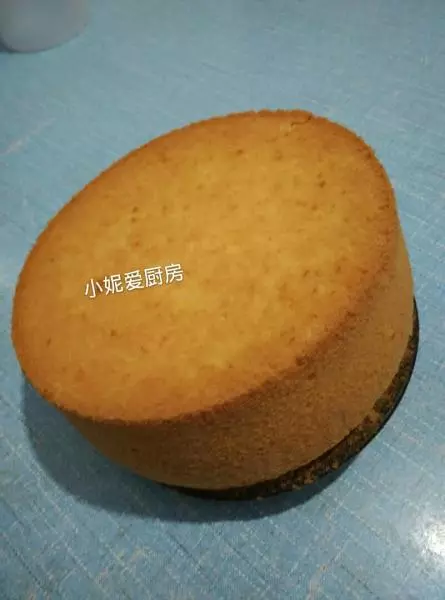
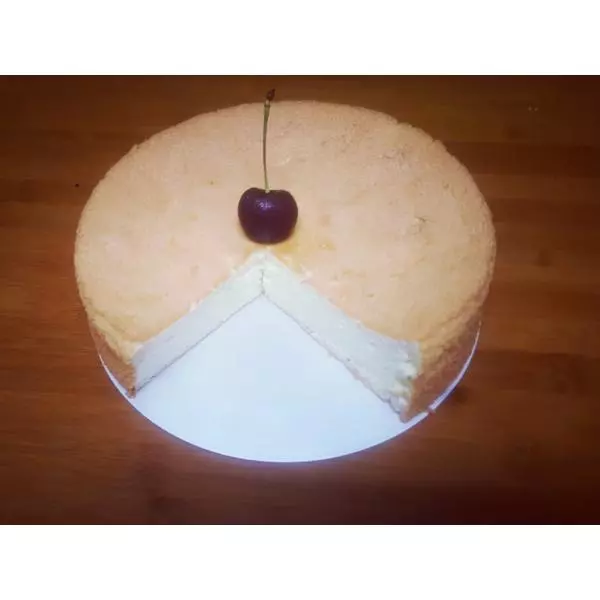
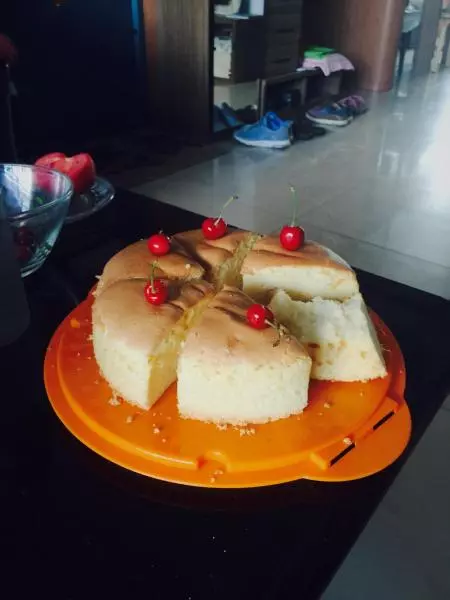
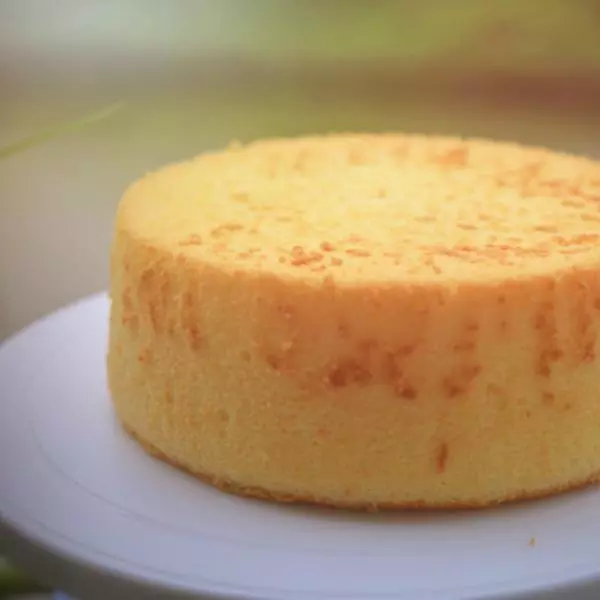
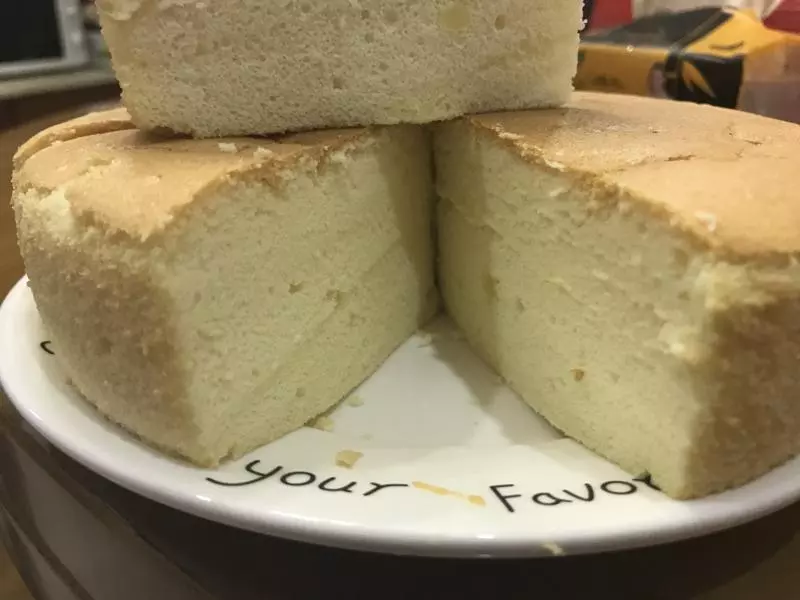
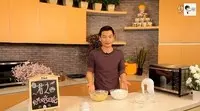
32戚风蛋糕完成!
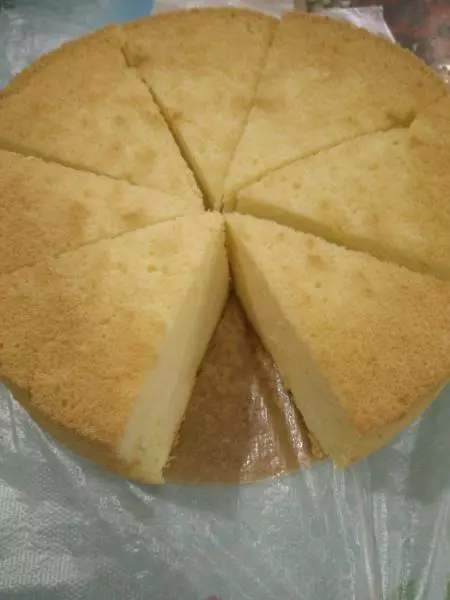
33这是我做的 = = 脱模太粗糙...
小技巧
蛋清打发是戚风蛋糕制作中最重要的一步 一定要保证装蛋清的碗无油无水 还有打蛋器的打蛋头要干净
如果没有足够的制作经验和专业知识,不要随意调整戚风蛋糕的配方