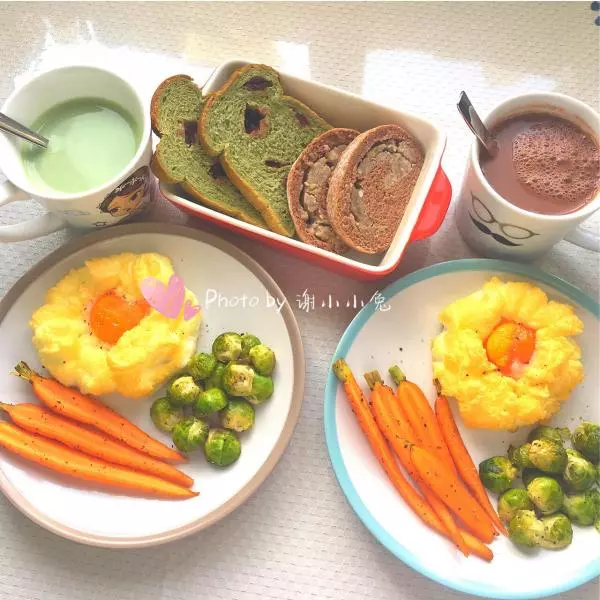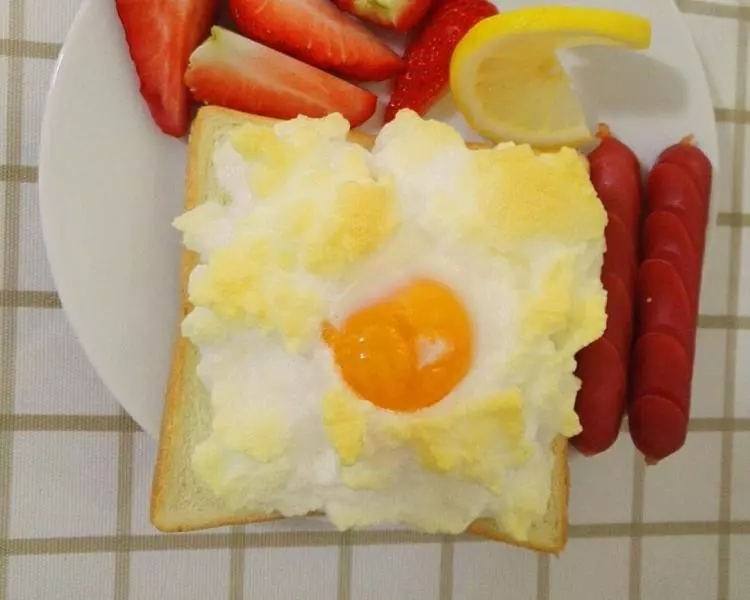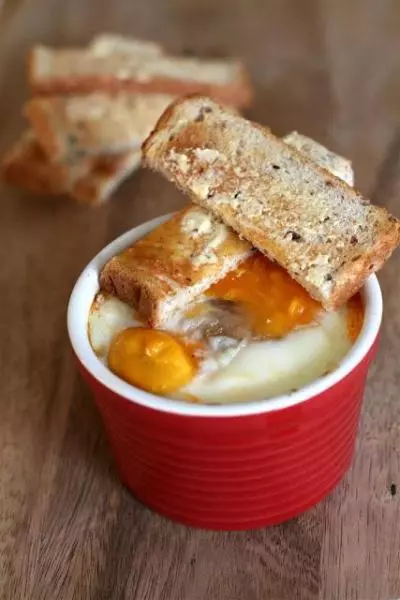
原料
鸡蛋: 2个, 盐: 适量, 黑胡椒粉: 适量
步骤
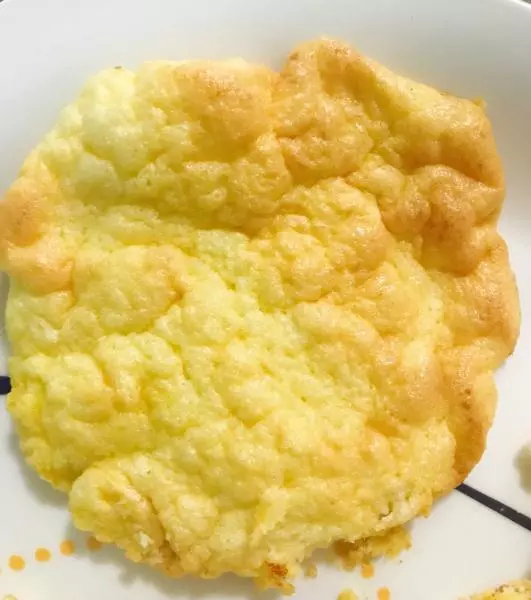
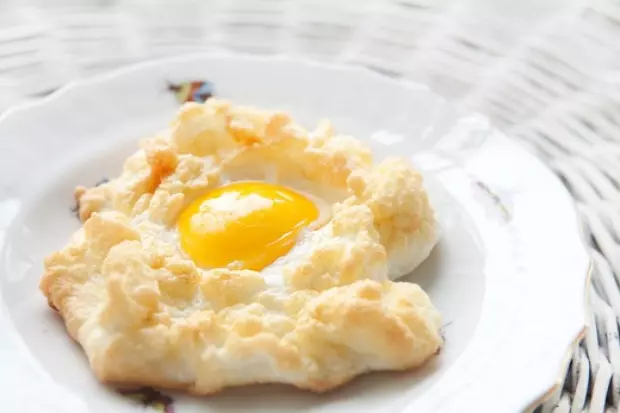
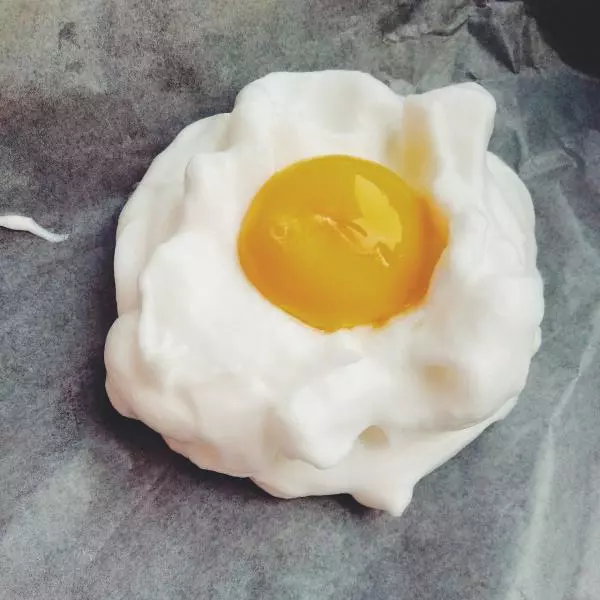
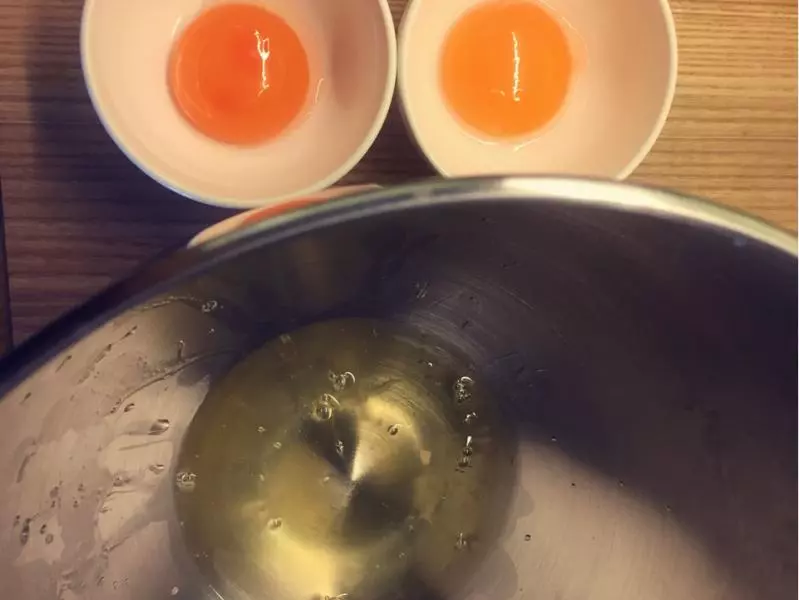
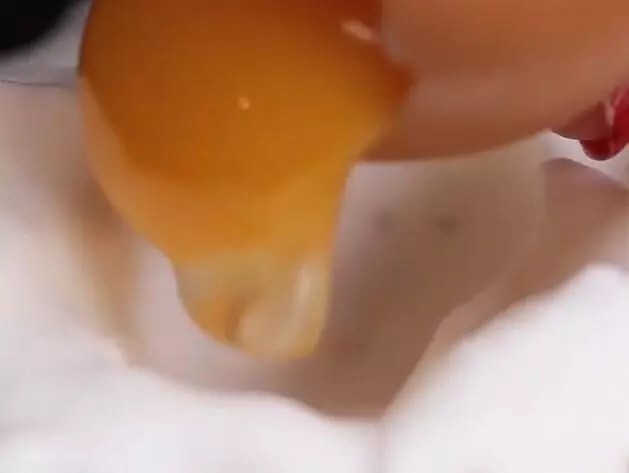
1蛋清/蛋黄分离
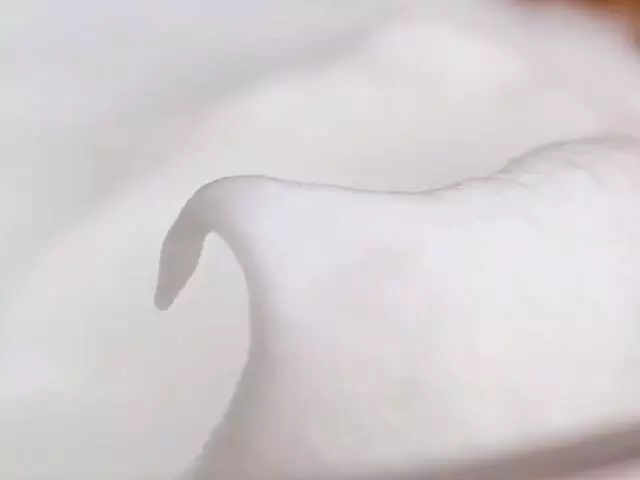
2蛋量少用手持搅拌机都可,无需打至硬性状态,6-7分带有柔软小弯钩即可即可。
3➕加入蛋白半克盐/适量黑胡椒粉
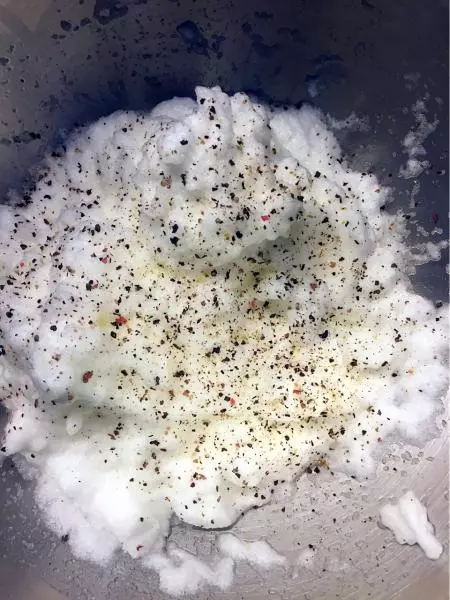
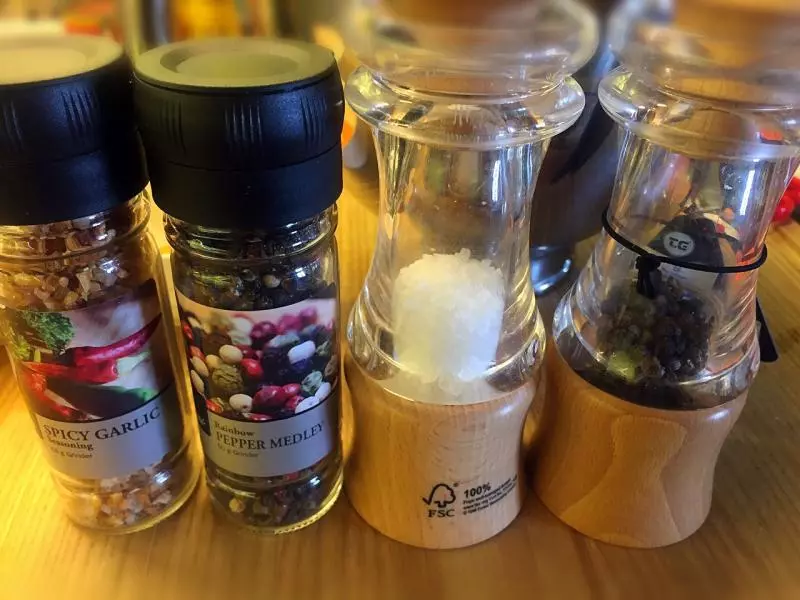
4可发挥更丰富些,我磨了一点辣味大蒜及混合胡椒。在烤箱中味道就已经散发开来。
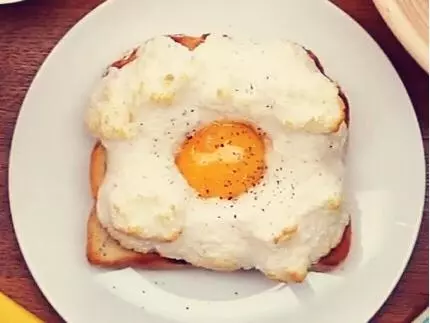
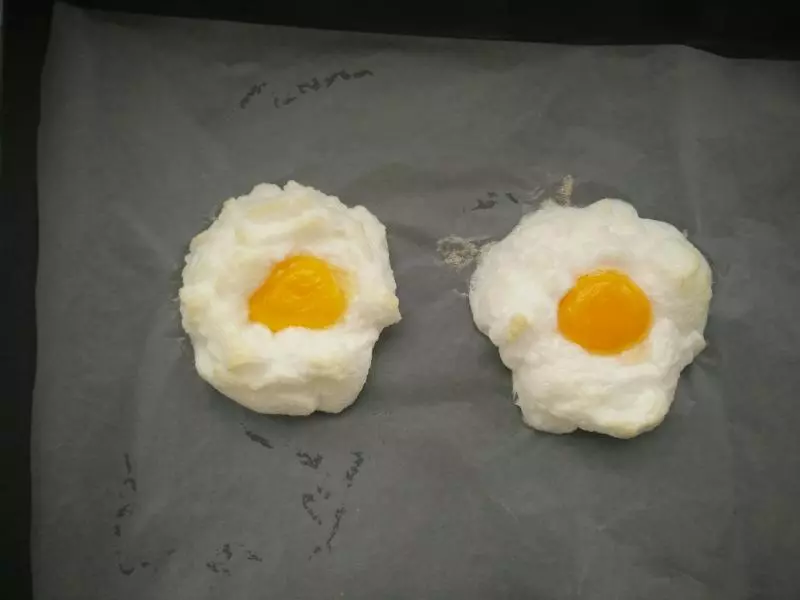
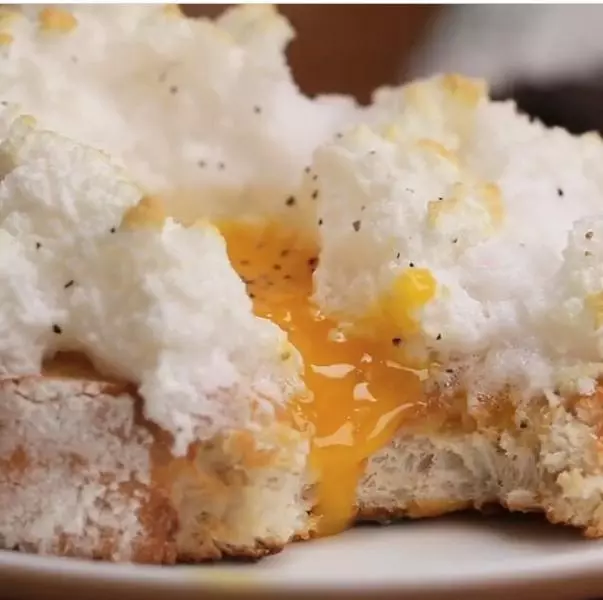
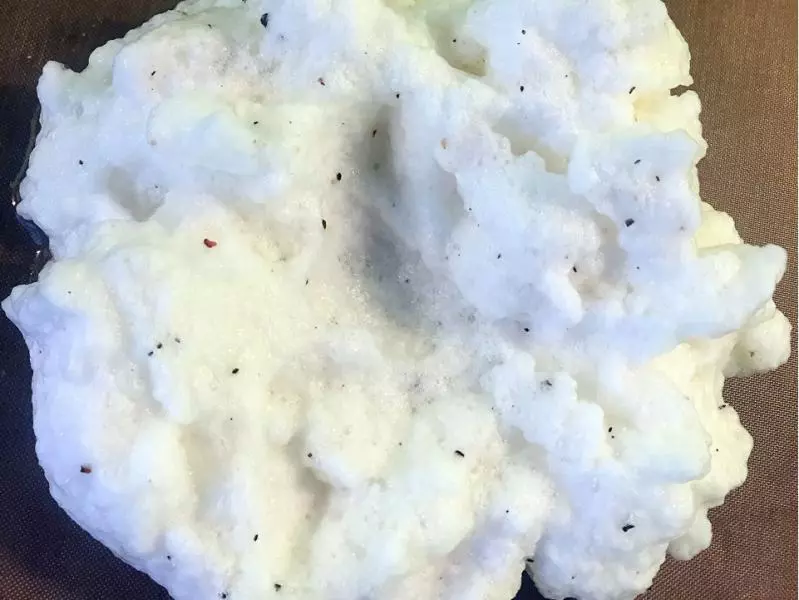
5蛋清搅拌后,分为2⃣️个,摊开在烤盘上,形状像☁️,中间用?勺子压下去一些,已备蛋清烤时膨胀后依然?️放蛋黄的中间位置。
6200度烤箱放入,5-8分钟观察,蛋清会膨胀,云朵☁️突出处?️上色及蛋清形状结实后,从烤箱拿出。
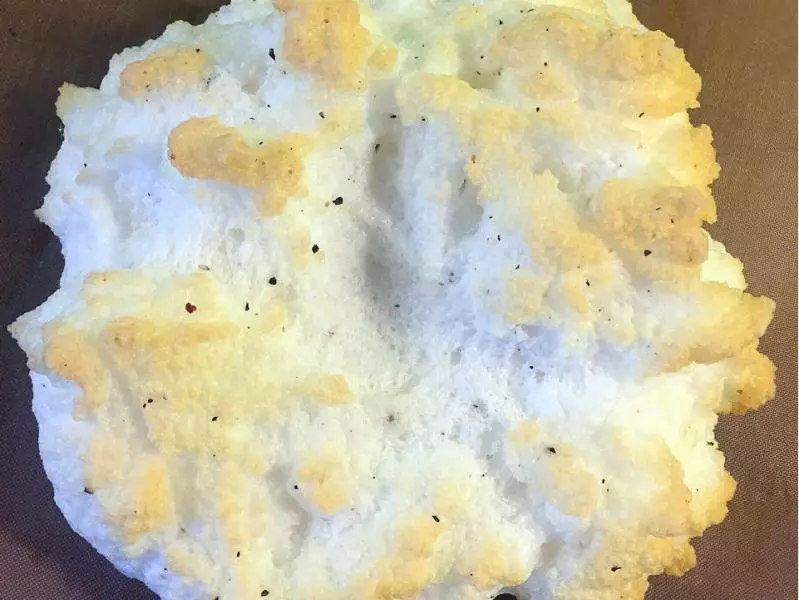
7➕加上蛋黄,放回烤箱继续烤3分钟。
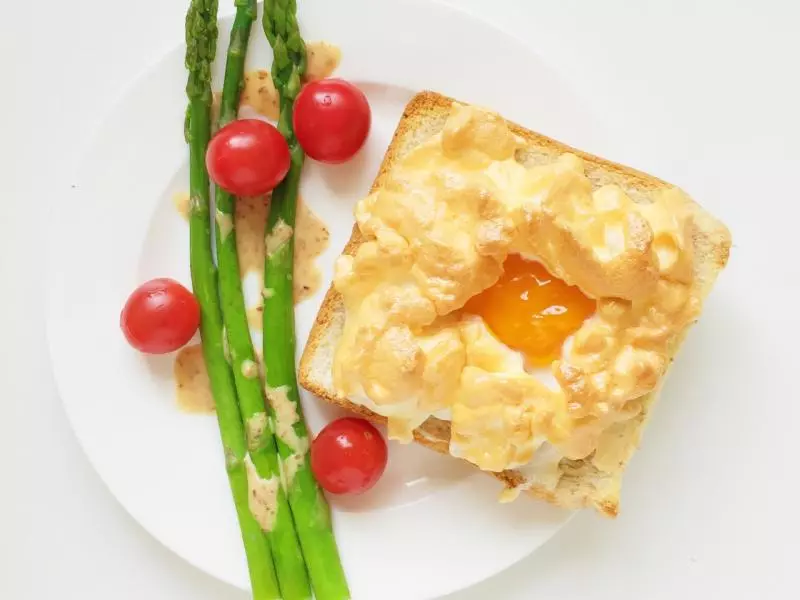
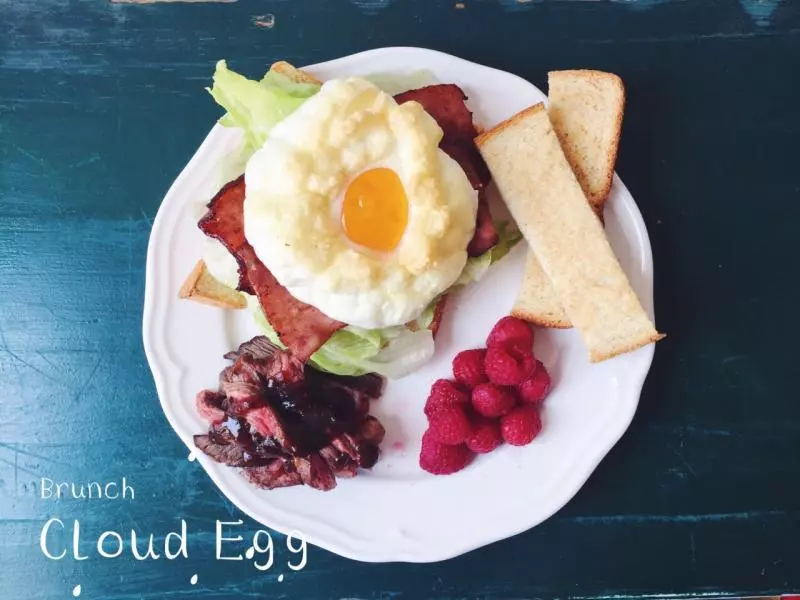
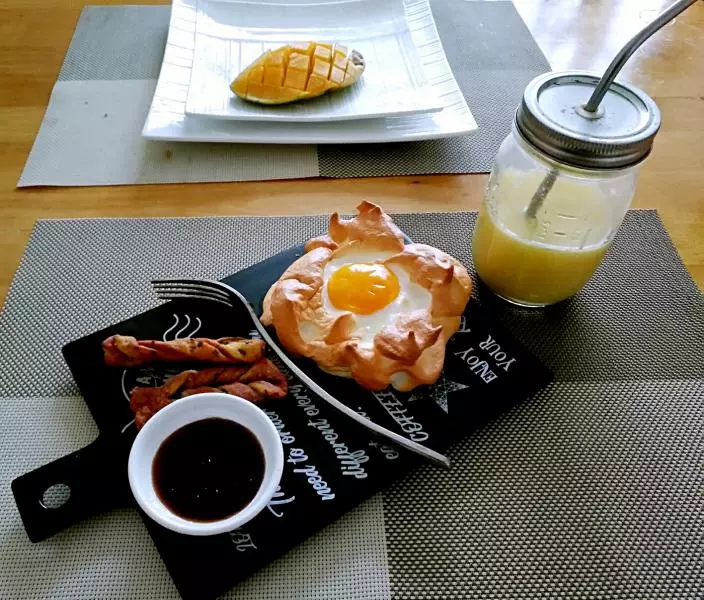
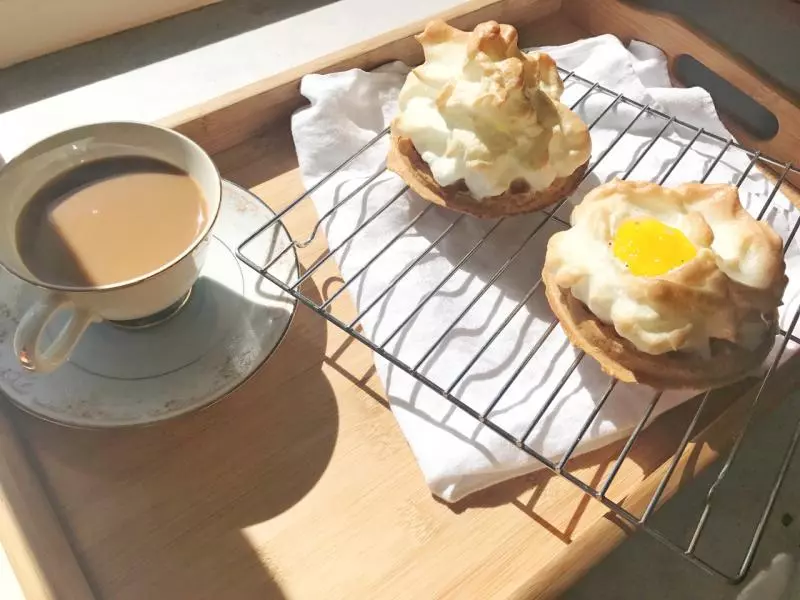
8成品?。口感是怎样,我就不参透了,留待大家做完后自我惊喜吧,哈哈!☕️