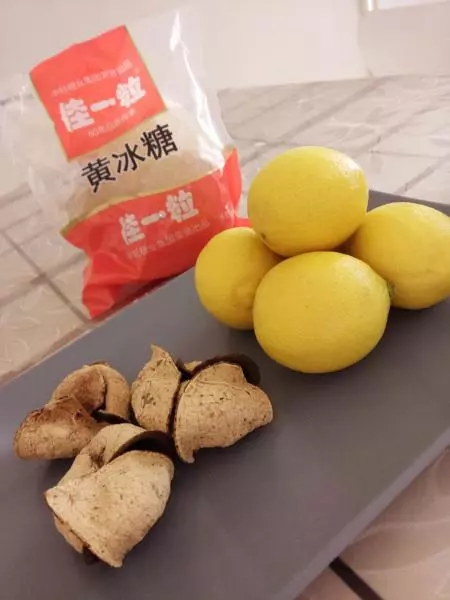
原料
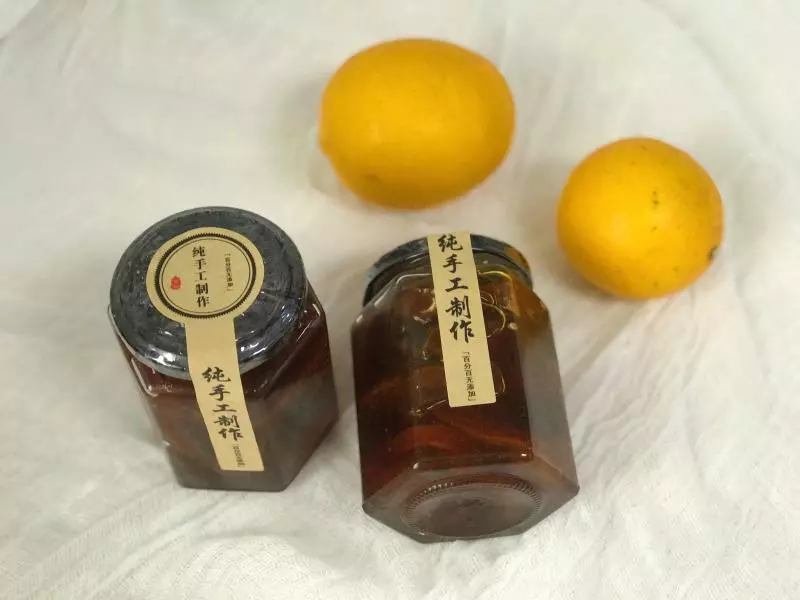
柠檬: 10个, 黄冰糖1000: 克, 红糖: 少许, 盐: 少许
步骤
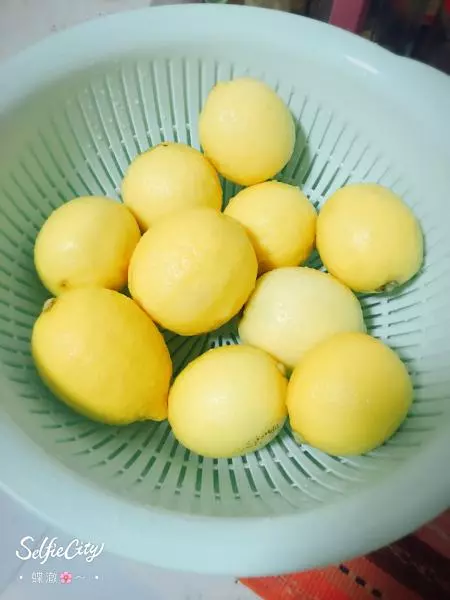
1选用汁多的新鲜柠檬?先用盐把柠檬搓洗干净
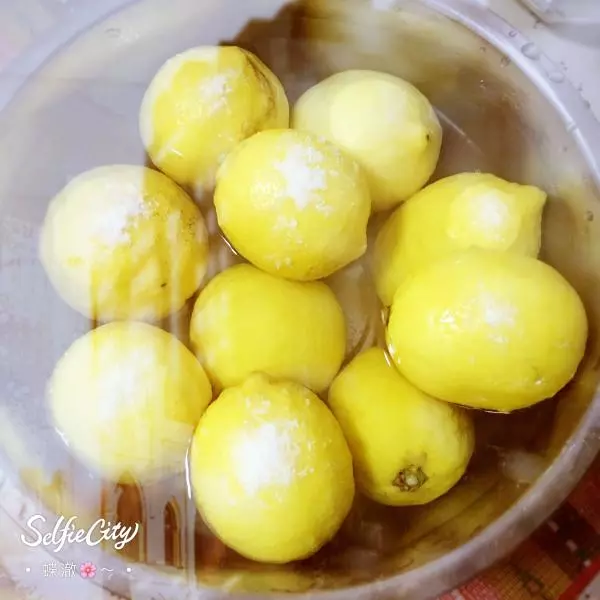
2控干水分,不干也要擦干,不能有一滴水!
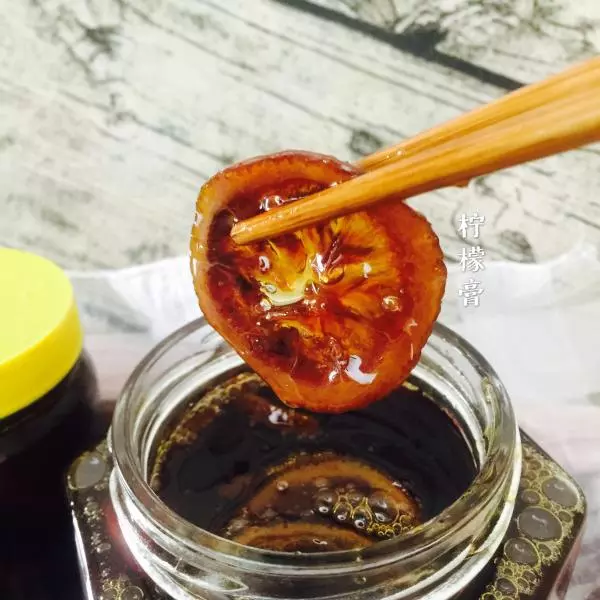
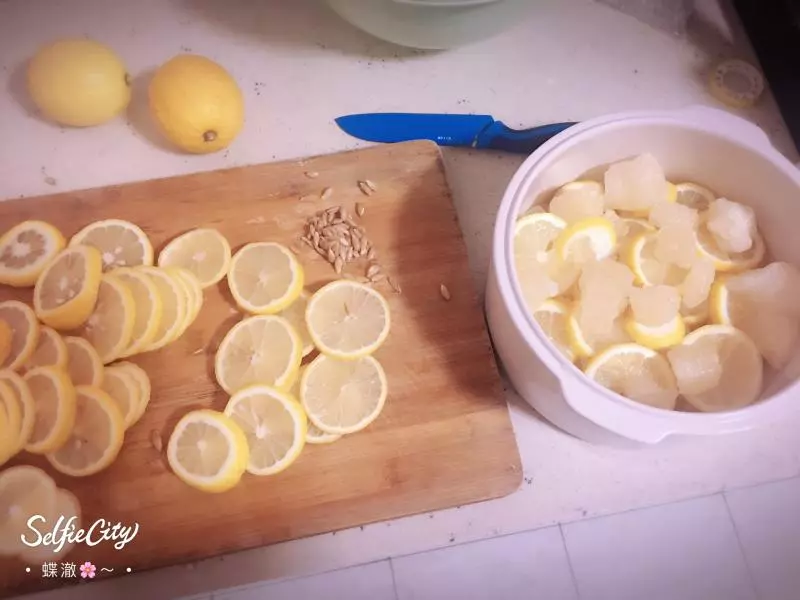
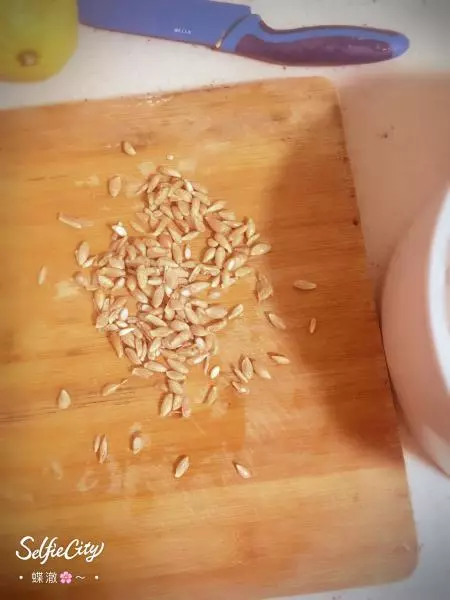
3柠檬全部切片,去掉头尾和籽,口感会香醇。刀具和切板以及炖锅都要干燥!
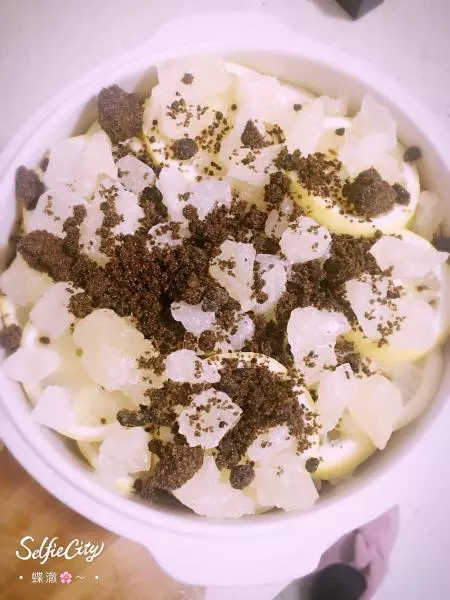
4锅最底层铺上柠檬,然后是老黄冰糖,(黄冰糖比蜂蜜热量更低,能抑制不当食欲,对人体滋补效果更好,可把蜂蜜泡柠檬换成柠檬膏,美味可口,瘦身健体功效更佳!)一层柠檬一层冰糖这样放。
5在最上层放一层黄冰糖和薄薄一层红糖(普通冰套糖性偏凉,选用红黄冰糖可以相互补充,相互作用,柠檬也就不会刺激肠胃,孕妇小孩都可以喝)
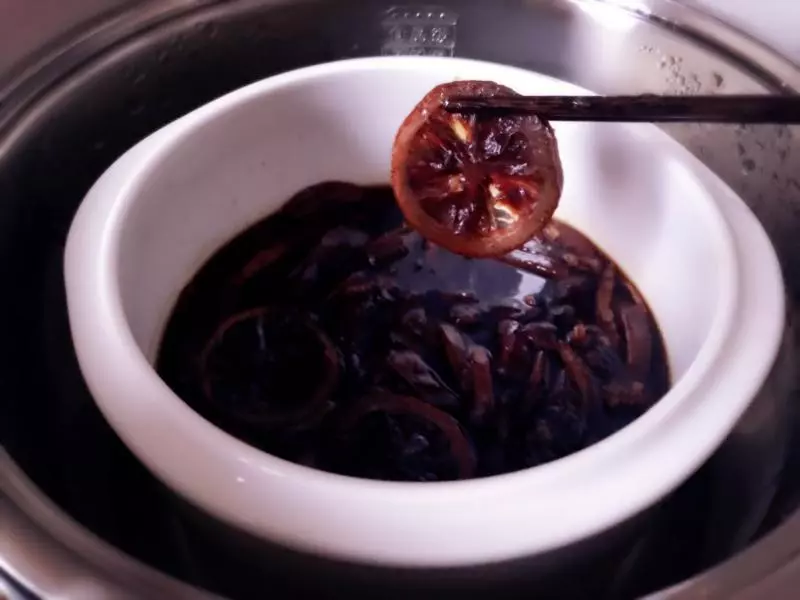
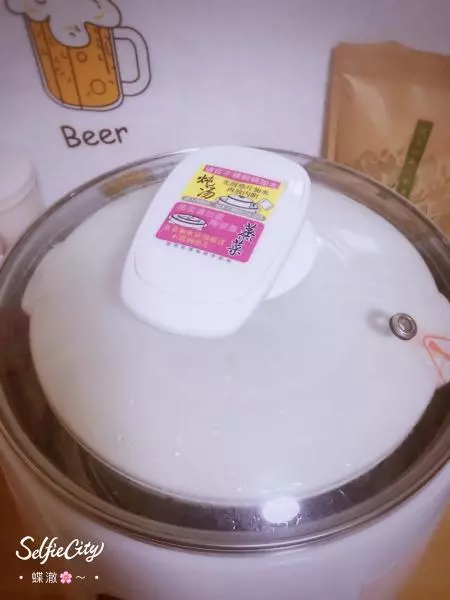
6上锅,我用的是淘宝买的隔水炖锅,隔水炖受热更均匀,且不会糊锅,营养保留更好!定时十小时,隔三个小时翻一翻
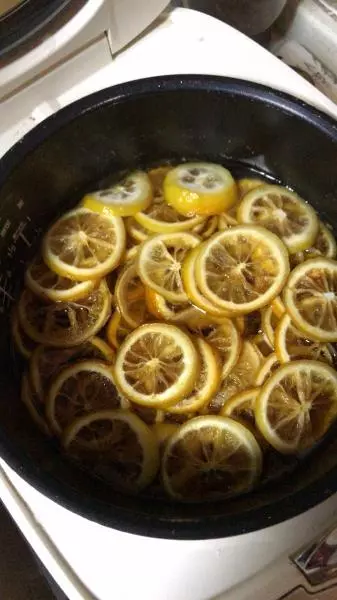
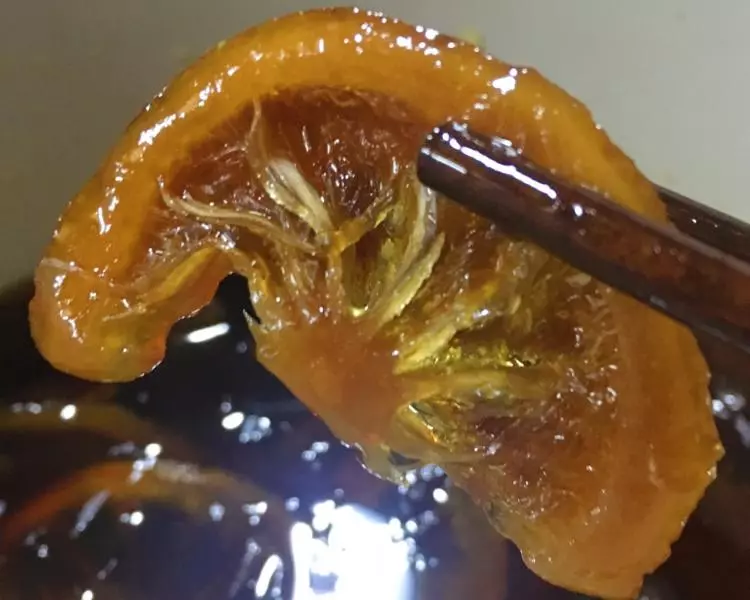
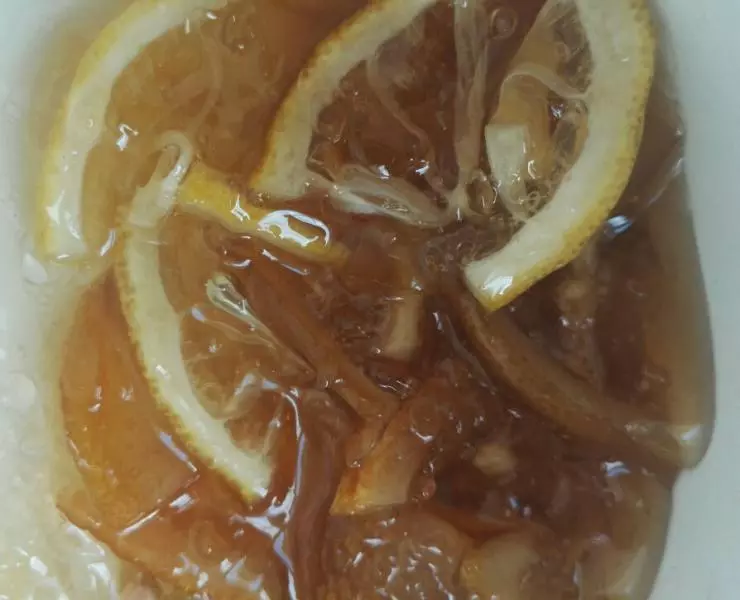
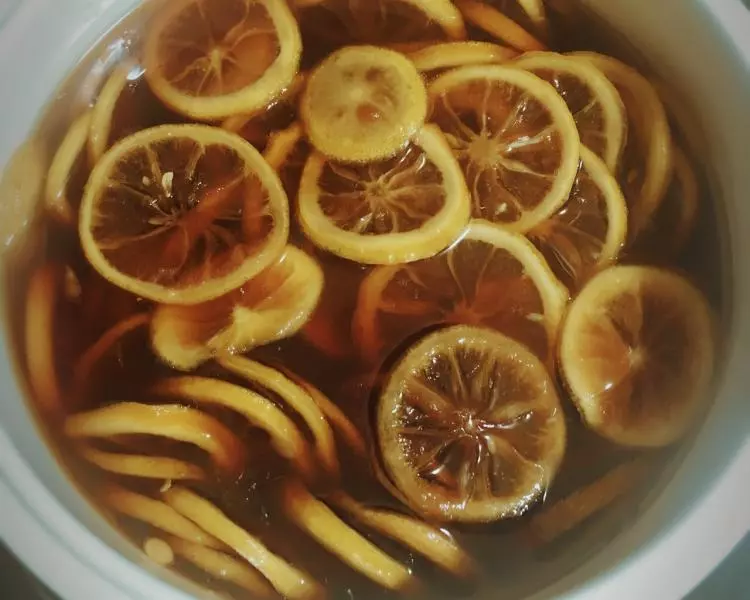
7一个半小时的样子,是不是很诱人,少量冰糖融化了,已经有汁水了!
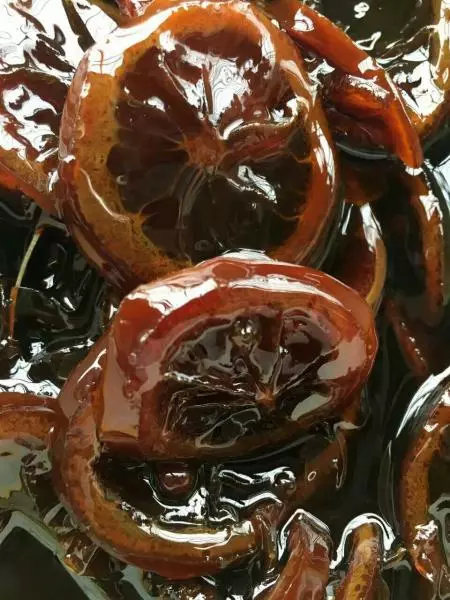
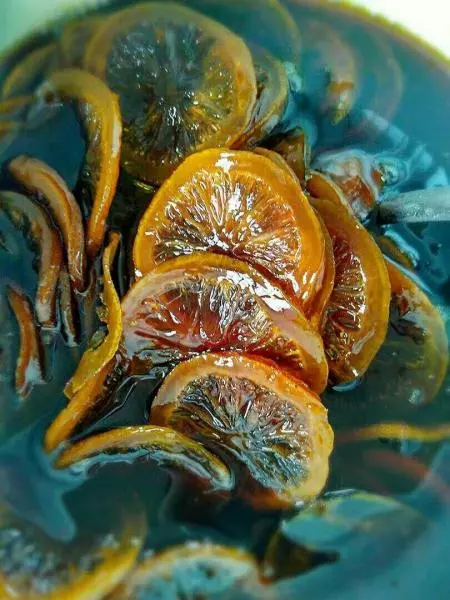
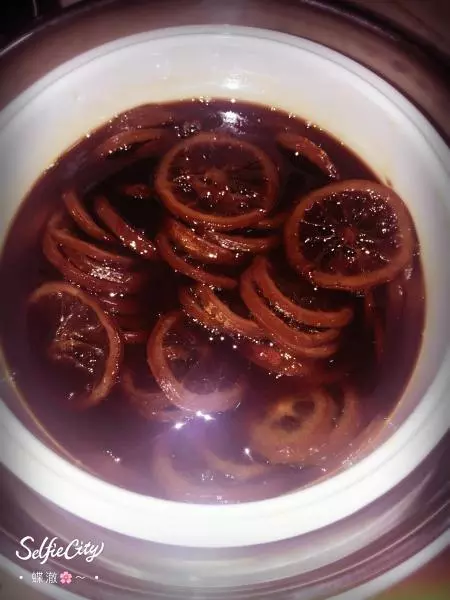
8五个小时,冰糖已经全部融化了,这时候汁水很多,但还很稀,继续炖啦。
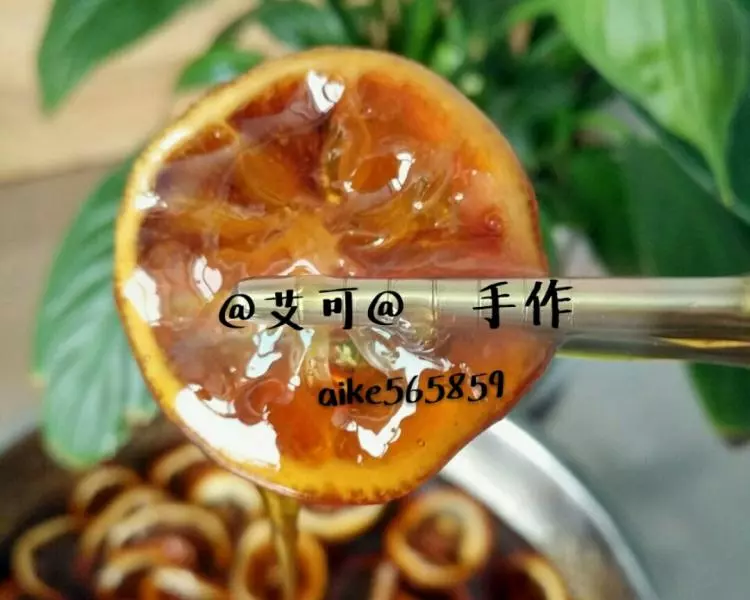
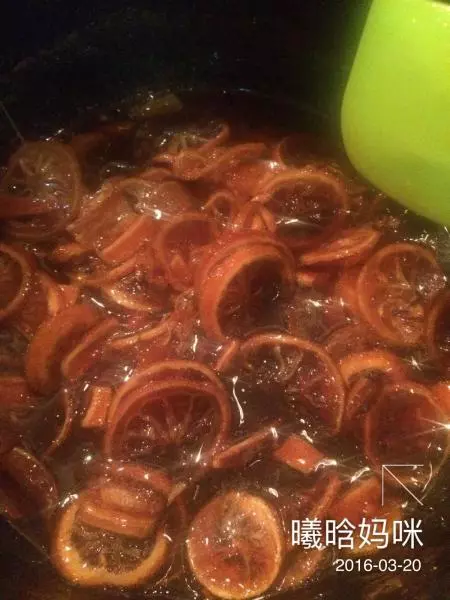
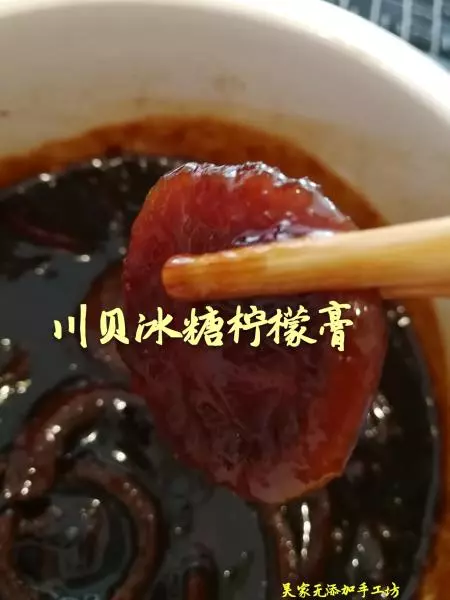
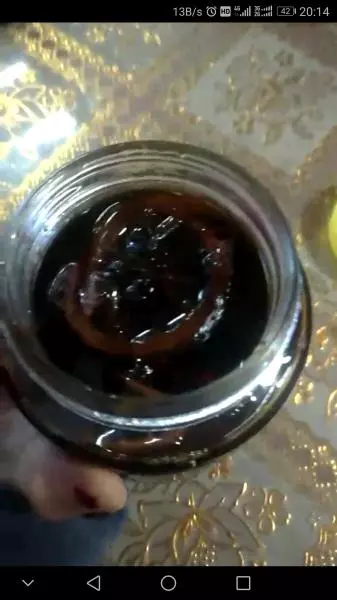
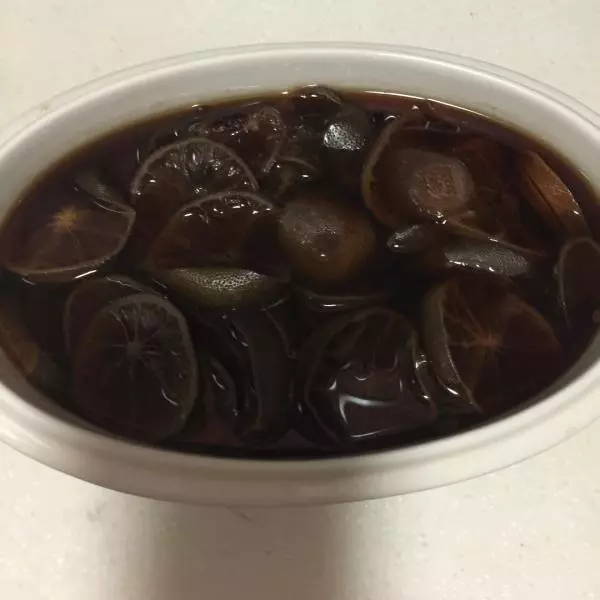
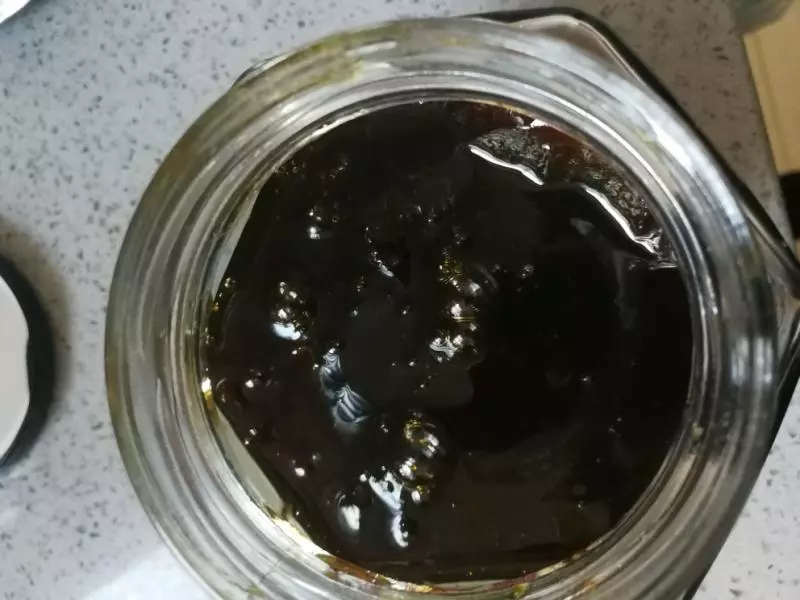
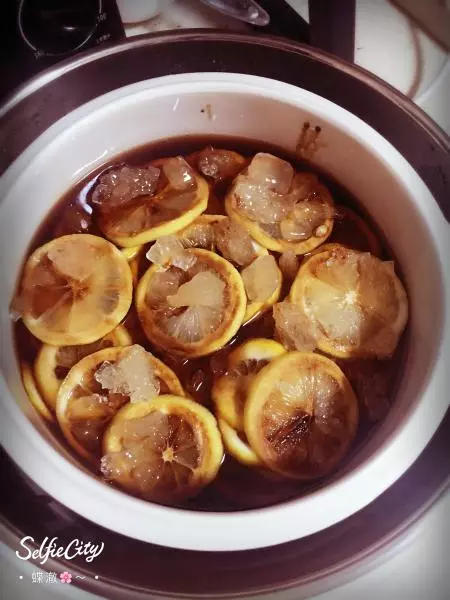
9十个小时过去了,基本完工,但汤汁仍然有些稀,还差最后一步!
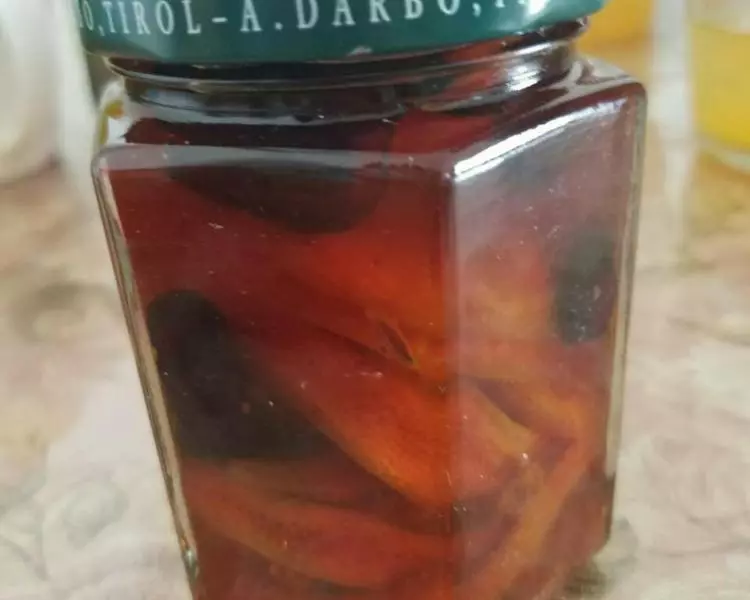
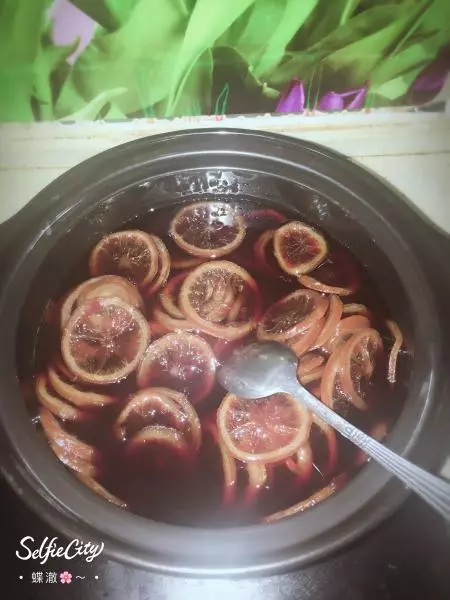
10我换了砂锅在明火上收一下汁,沸起后关火
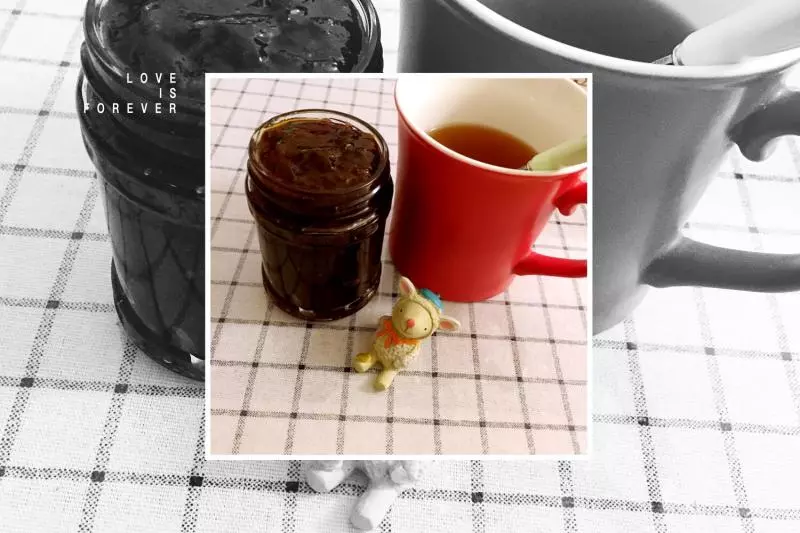
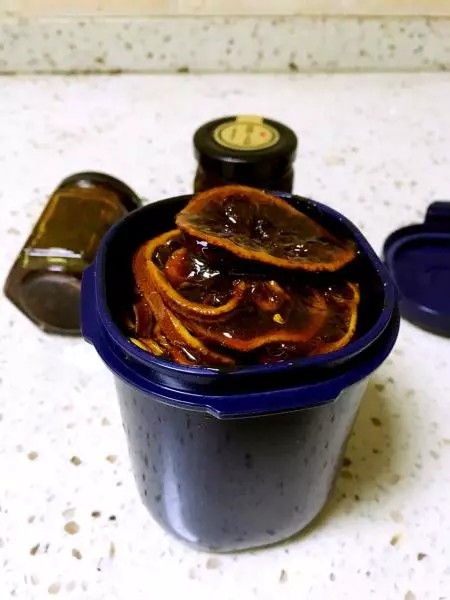
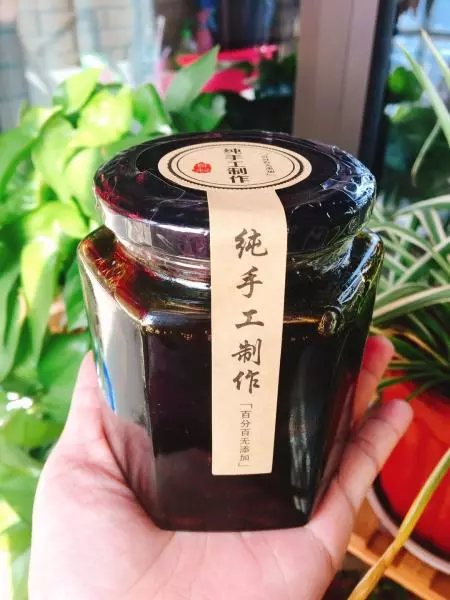
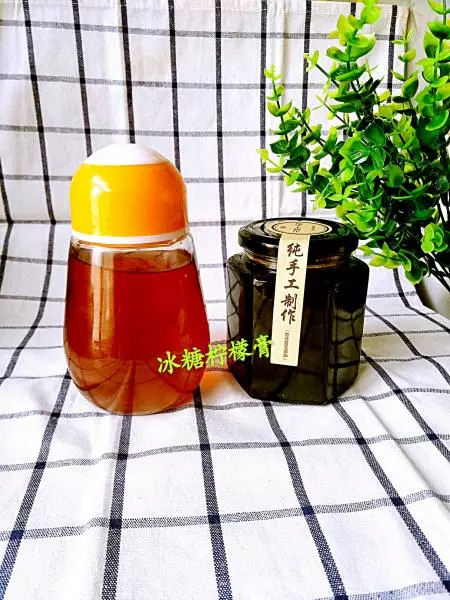
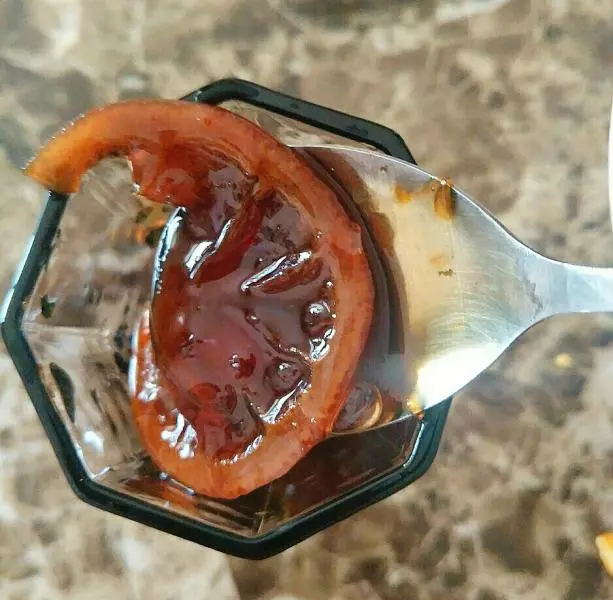
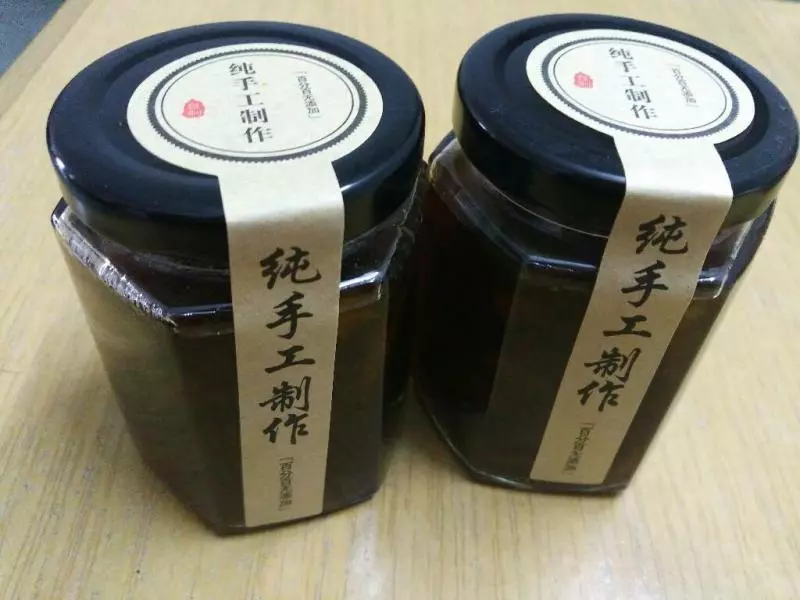
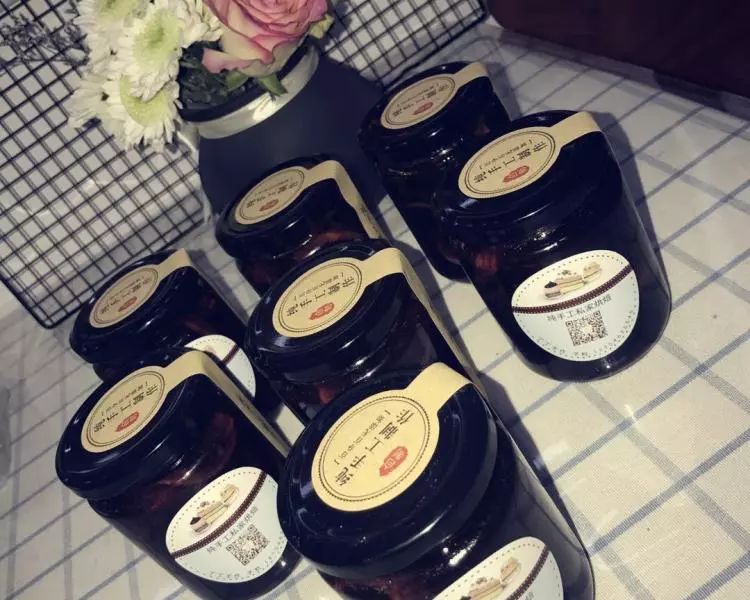
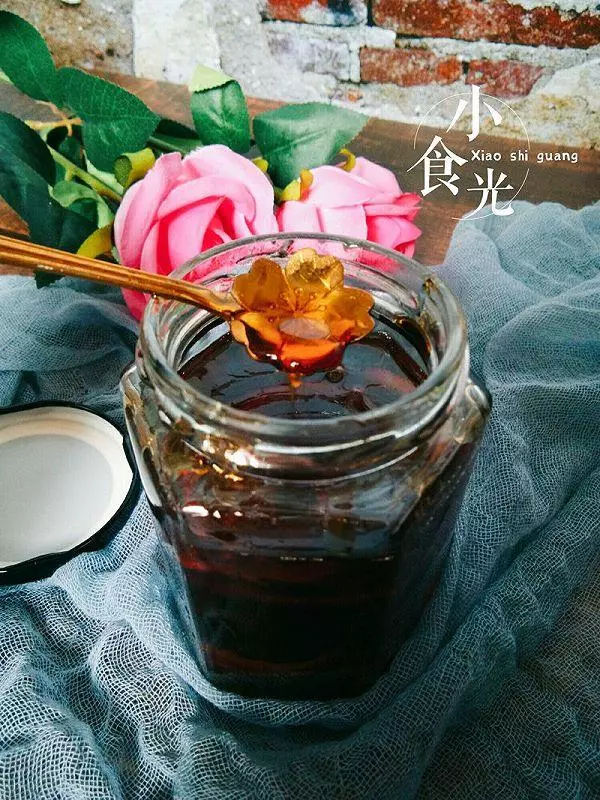
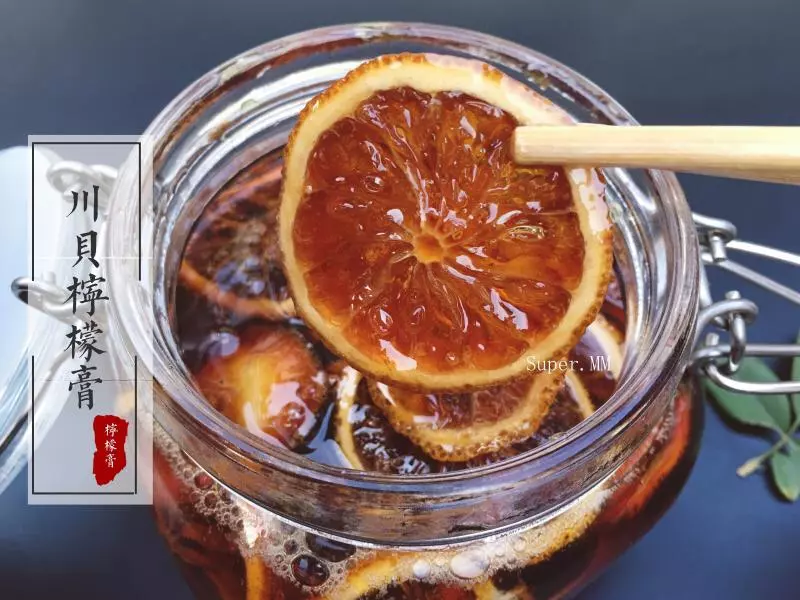
11凉后装瓶,记住瓶子也不能有水,喝的时候舀的勺子也不能有水,冷藏
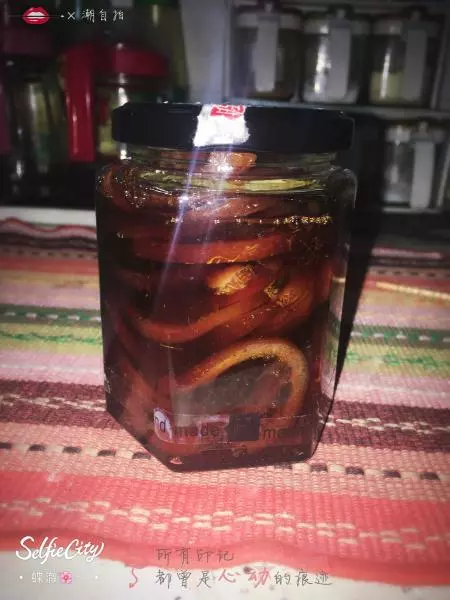
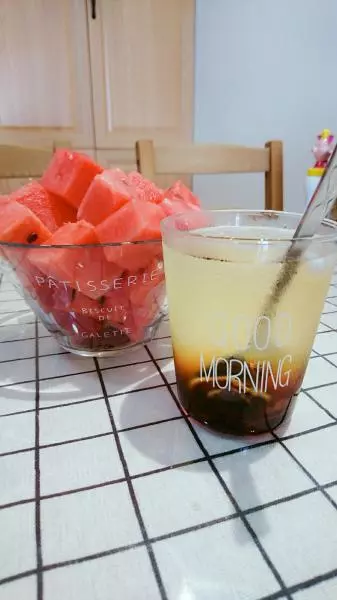
12开动了,加点蜂蜜口感更好哦?