原料
鸡蛋(6寸): 2只(6寸), 蛋白霜:: , 蛋白: 2个, 细砂糖: 30g, 白醋或柠檬汁: 几滴, 蛋黄糊糊:: , 蛋黄: 2个, 牛奶: 40g, 玉米油: 32g, 细砂糖: 12g, 低筋面粉: 48g
步骤
1用分离器分离蛋白蛋黄,分别装入两个干净干燥无油无水的盆中
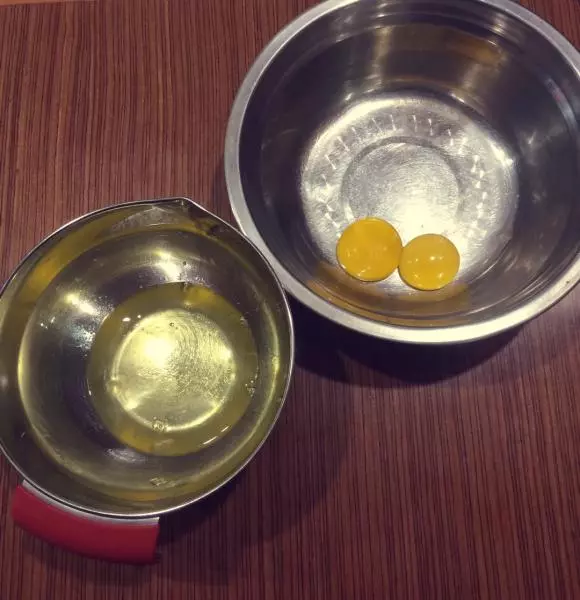
2现在蛋黄盆中加入牛奶和玉米油,防止蛋黄在空气中结皮
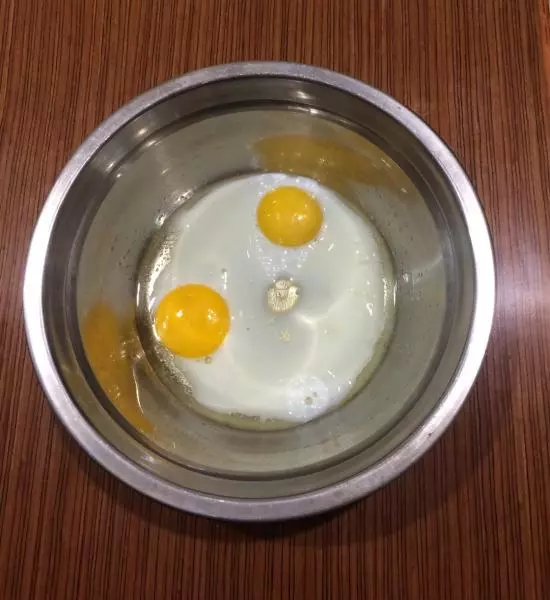
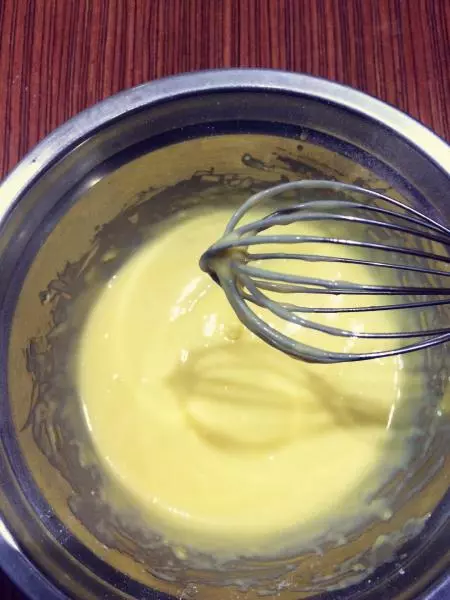
3用打蛋器轻轻搅拌均匀
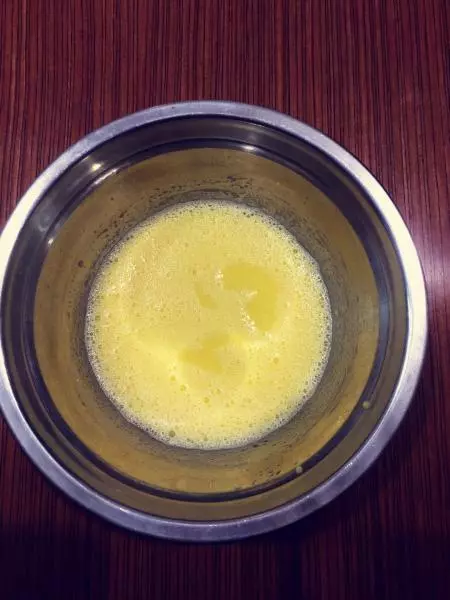
4加入白砂糖拌匀,面粉过筛加入
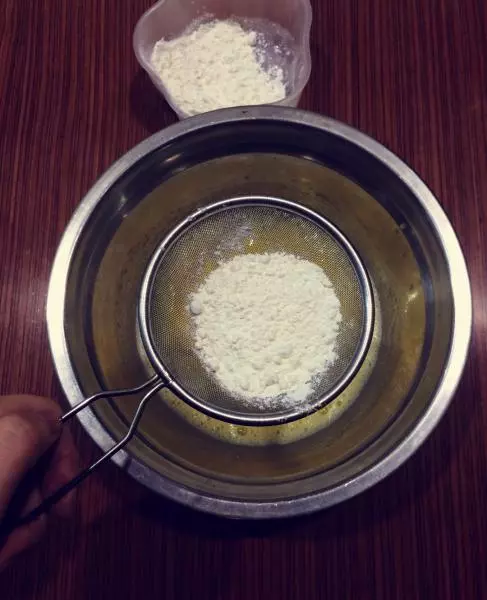
5过筛好低筋面粉,用手动打蛋器“之”字型搅拌均匀,不可画圈圈

6直到蛋黄糊顺滑,出现粘性,粘在打蛋头上不会非常快的掉落下来
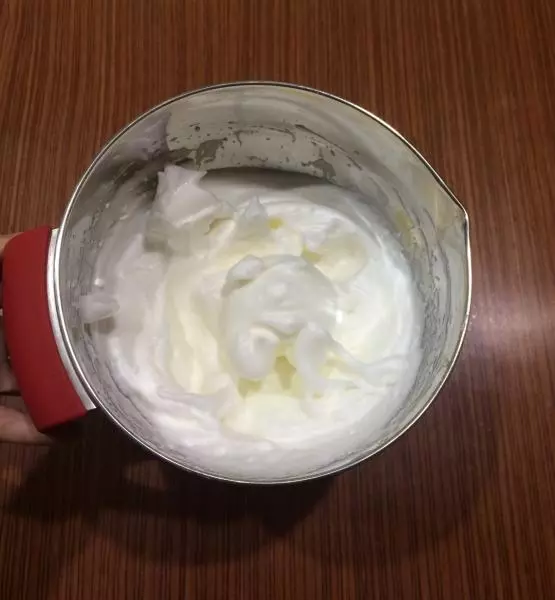
7蛋黄糊放在一边,开始打发蛋白,用电动打蛋器打至粗泡,每个位置都要打到
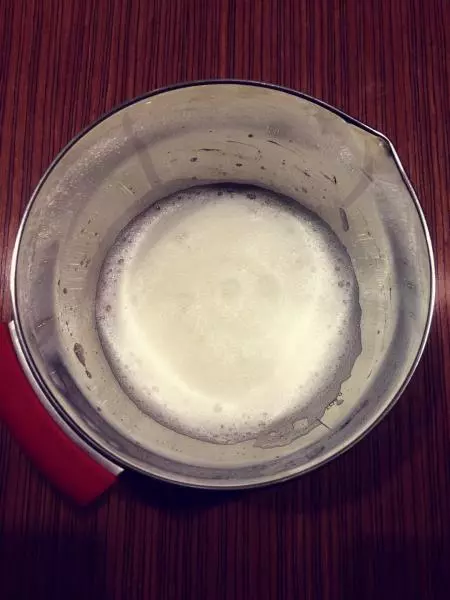
8等蛋白变成大泡泡时加入三分之一白砂糖
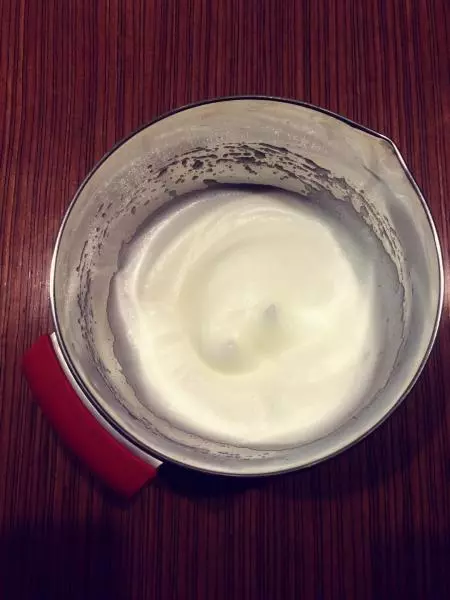
9继续打发,在大泡泡变小时加入剩下的白糖的二分之一,每处都要打到,直到出现纹路,蛋白细腻,像奶油一样
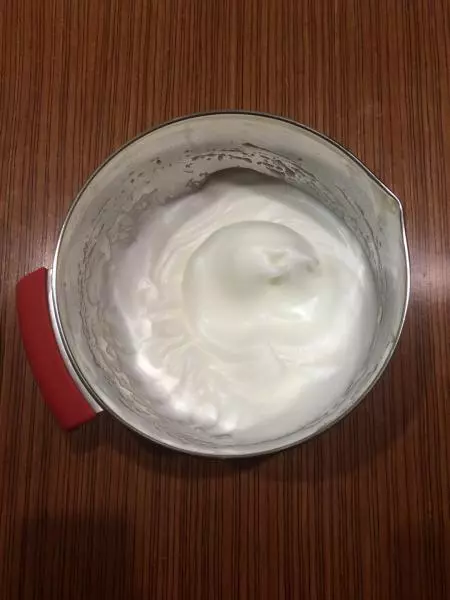
10最后加入剩下的白砂糖,打蛋器低速打发,打发到湿性发泡状态,就是拉起来有个大的弯钩,这样蛋糕卷比较不会破,接近干性发泡,如果提起来见到的是直立的两个小尖尖,就是干性发泡,打的偏硬了,容易开裂 打发好的蛋白放入冰箱冷藏几分钟
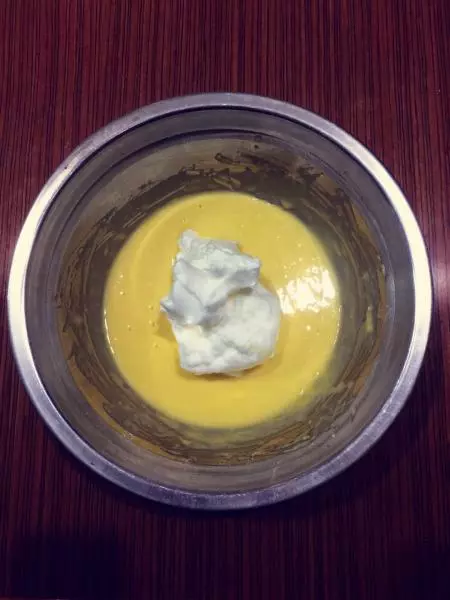
11预热烤箱160摄氏度,从冰箱取出蛋白霜,打蛋器打几下,变至顺滑的状态,取三分之一蛋白与蛋黄糊混合,采用切拌法和翻拌法:从1点钟方向竖直插入刮刀,切到7点钟位置,然后手腕翻转抄底翻起蛋糊,转动盘子30度左右转,千万不要画圈圈
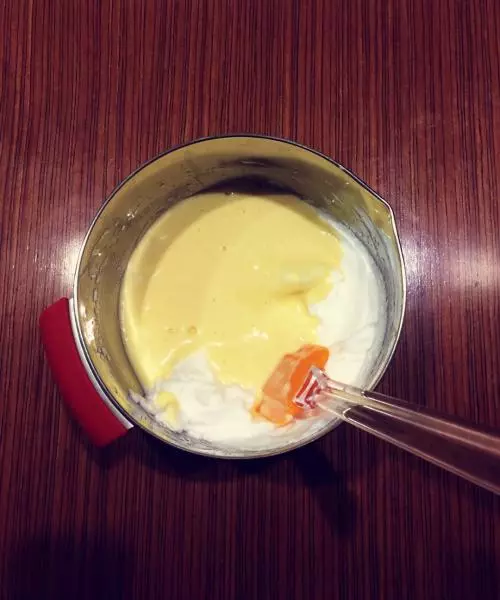
12将混合好的蛋糊全部倒入三分之二蛋白盆中,用同样的手法翻拌完成,面糊搅拌顺滑就好了,不要时间过长,会出筋
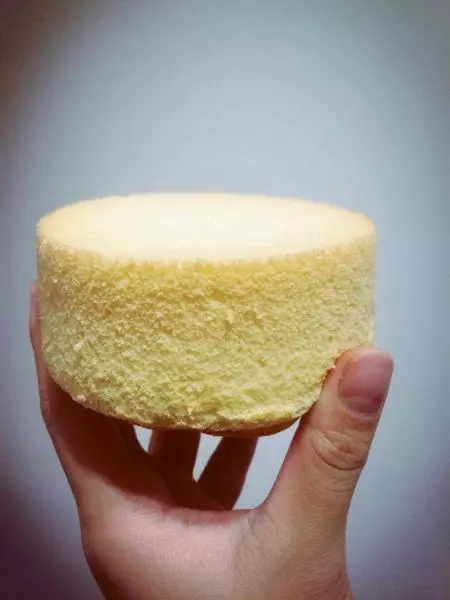
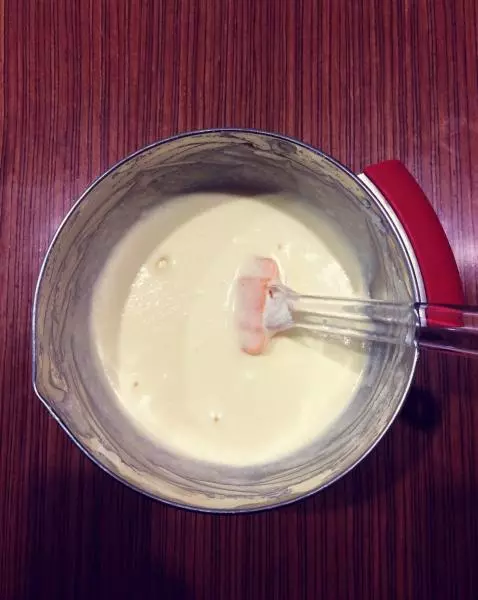
13搅拌好的面糊细腻,可以缓缓流动
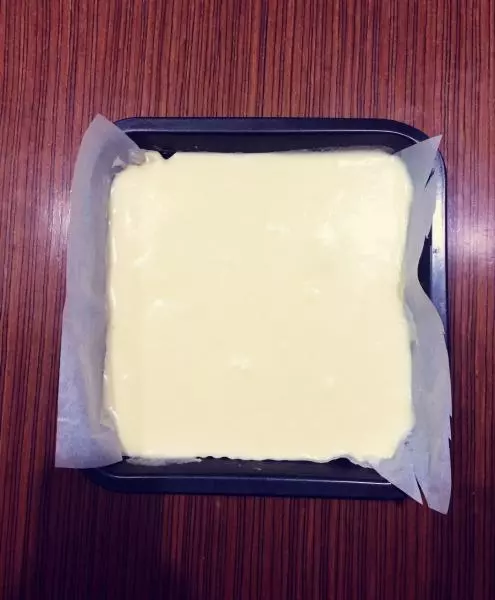
14把面糊倒入模具中(拿高点倒入),用刮刀铺平,轻轻在高处摔下,震掉里面的空气,用牙签挑破小泡泡
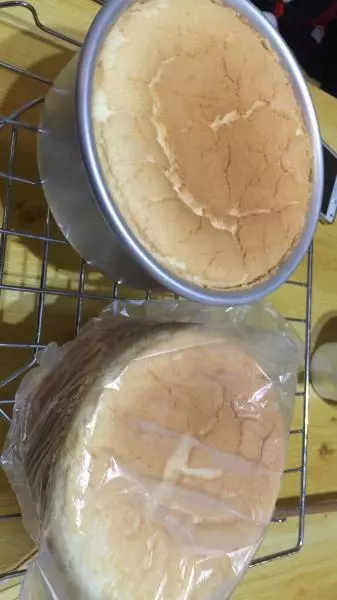
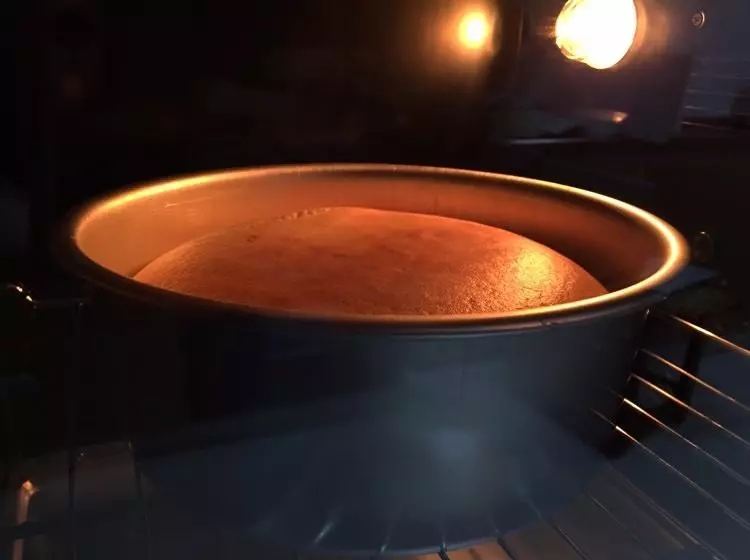
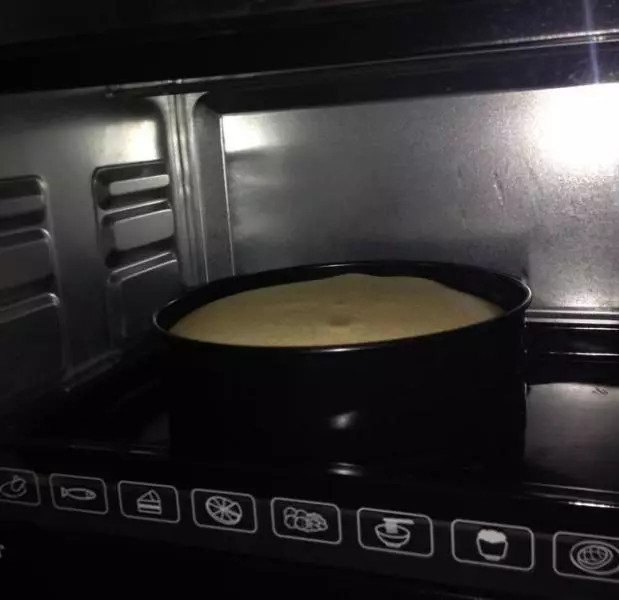
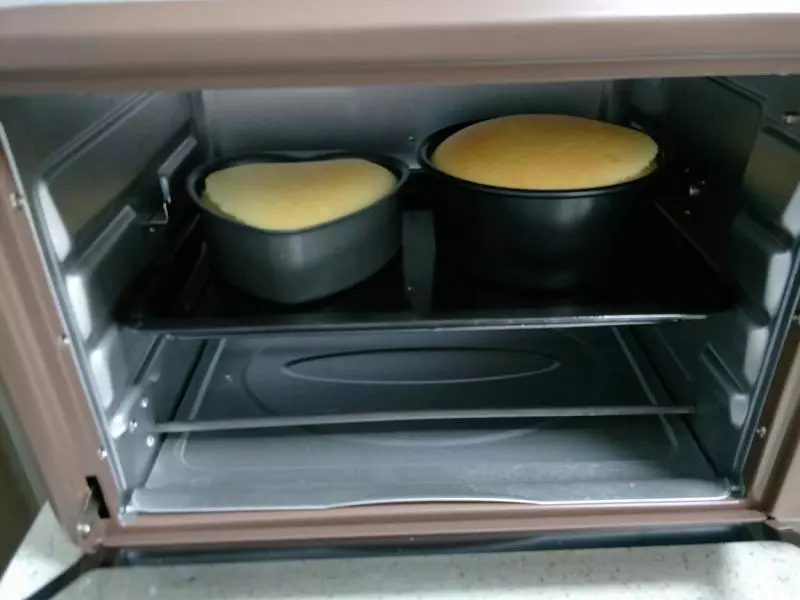
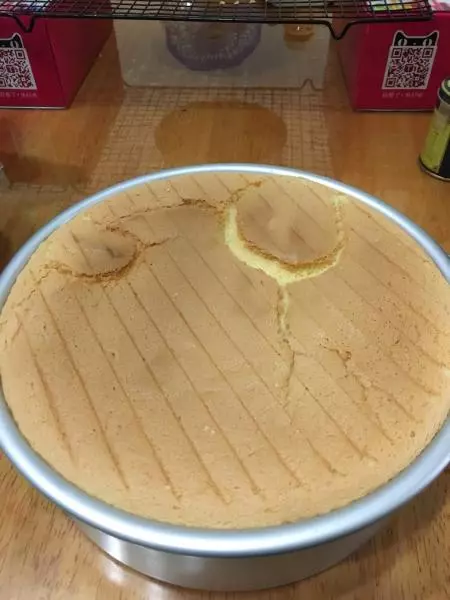
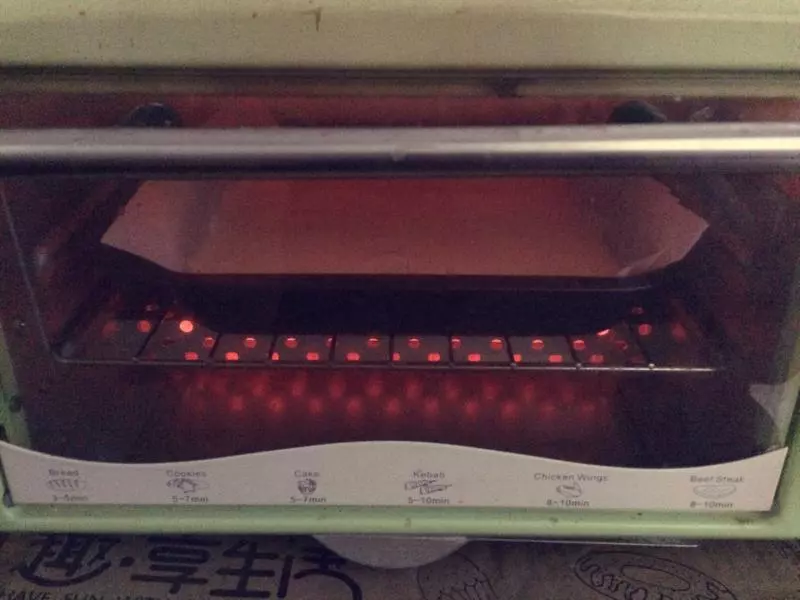
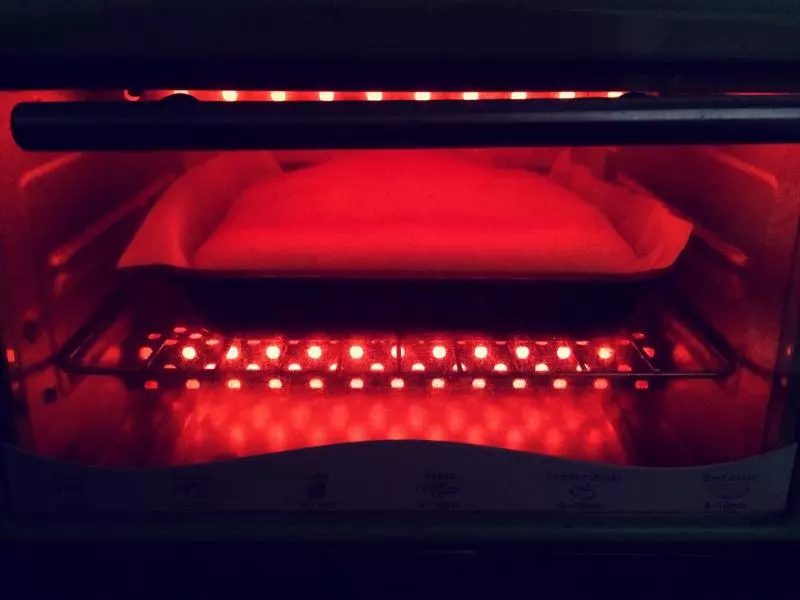
15马上入烤箱,中下层,140摄氏度约50分钟左右,每个烤箱脾气不一样,自己调节
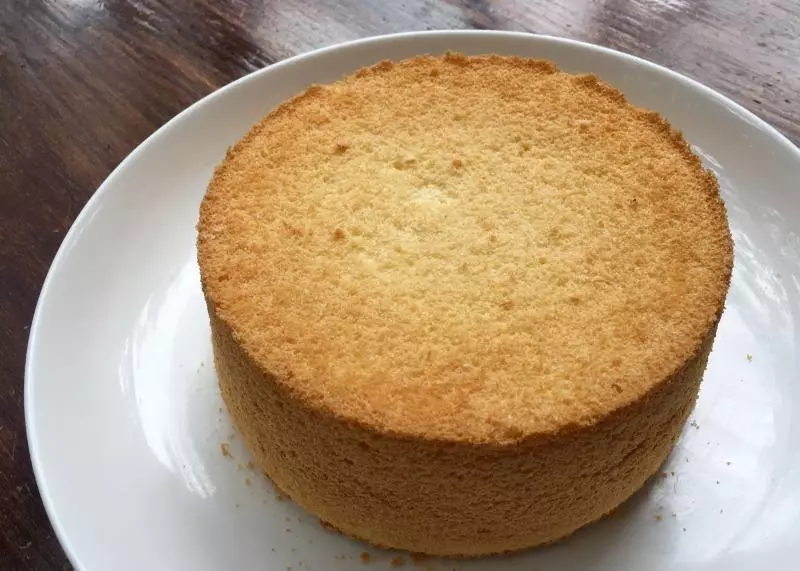
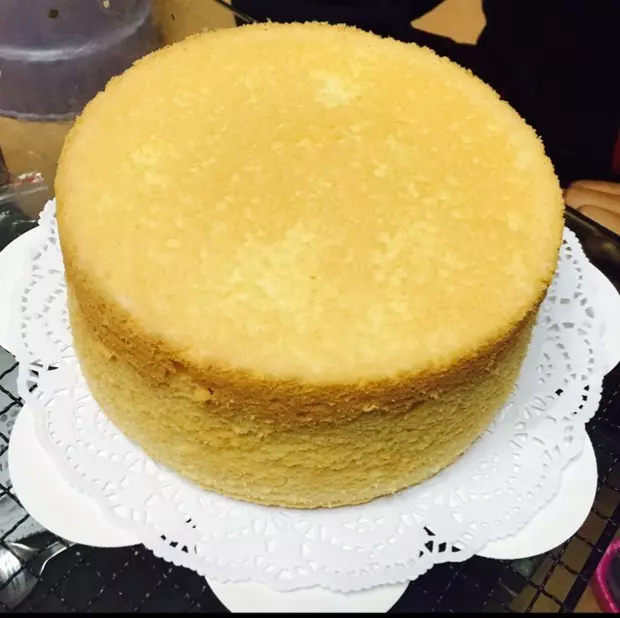
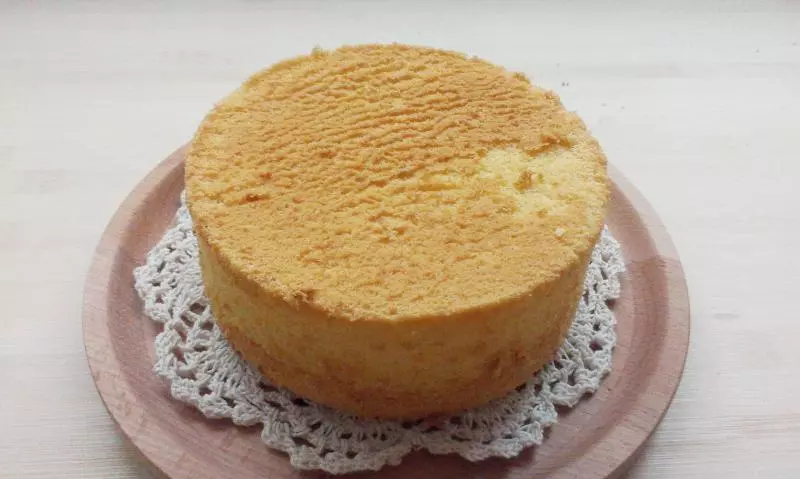
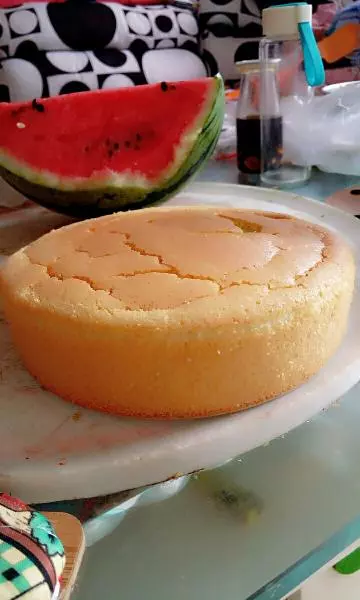
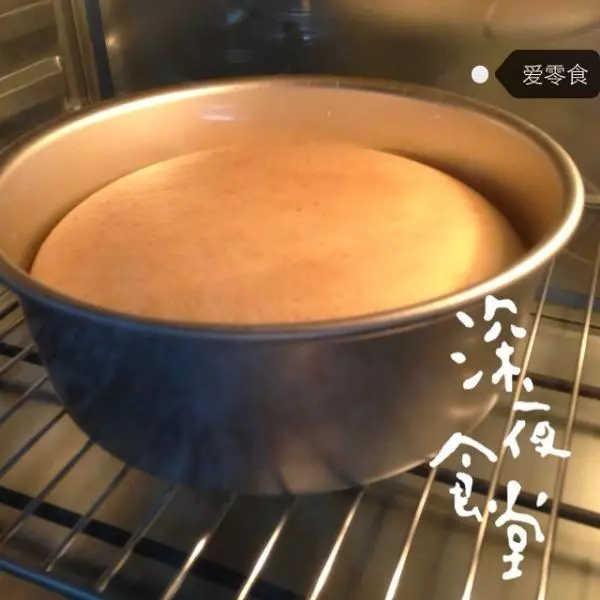
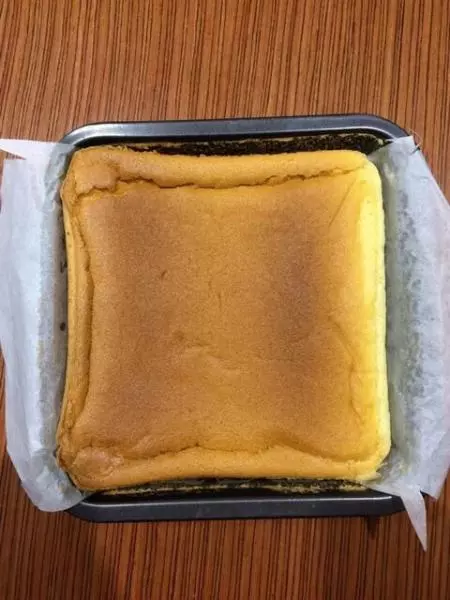
16蛋糕鼓起回落证明熟了,上色后注意观察,颜色合适就可以取出来了
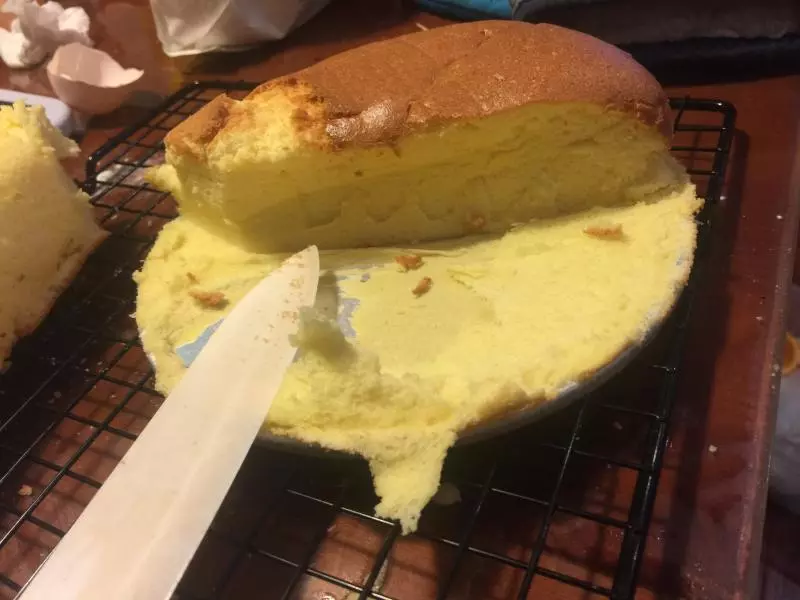
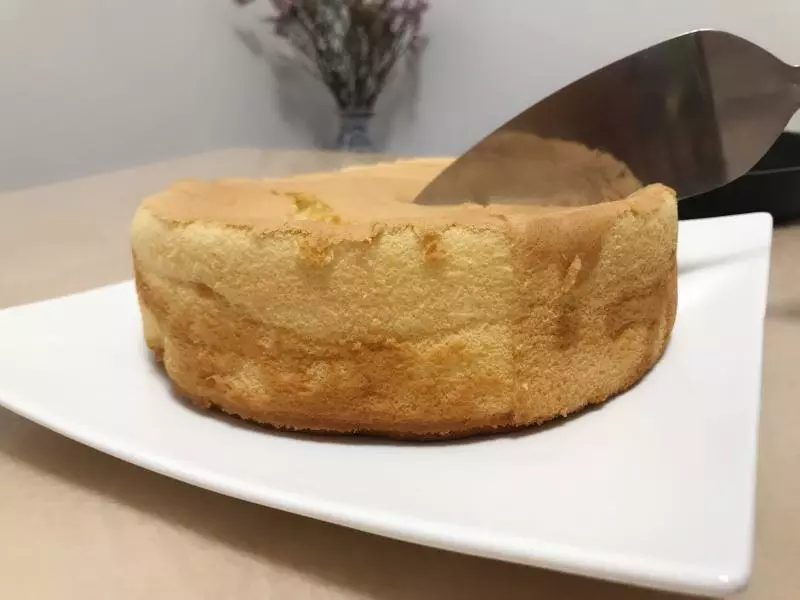
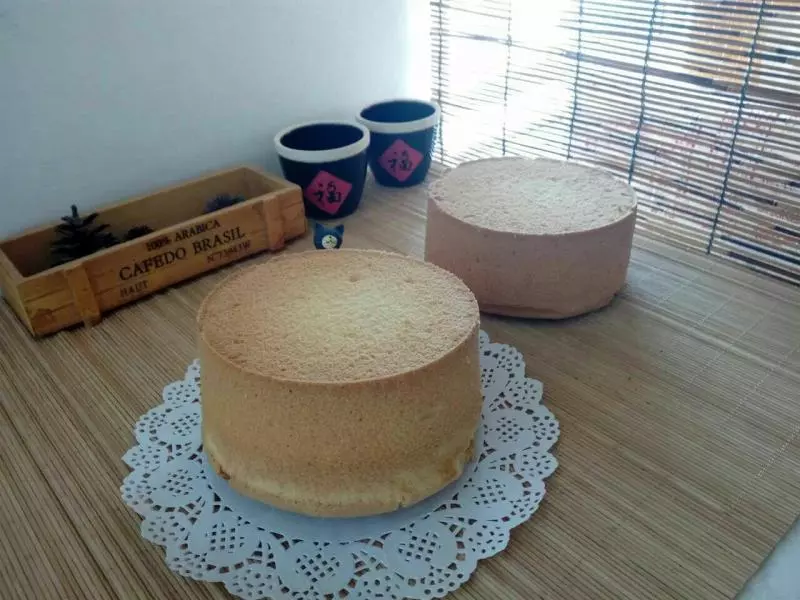
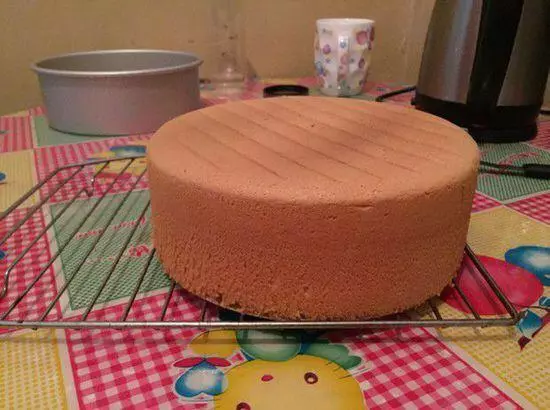
17出炉震一下,过几分钟倒扣,网架上垫一张油纸,直接倒扣在上面
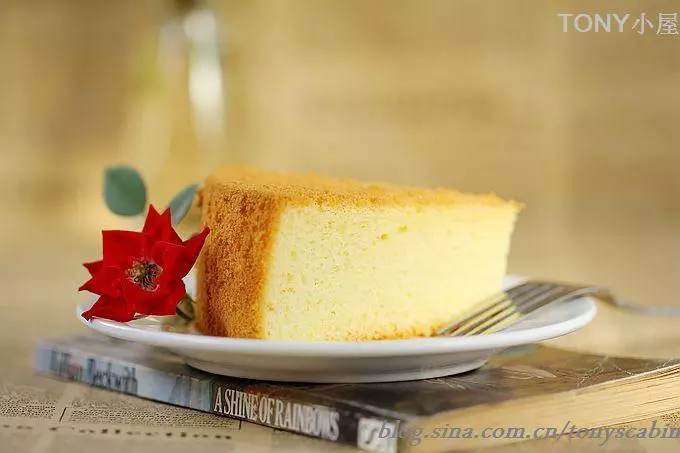
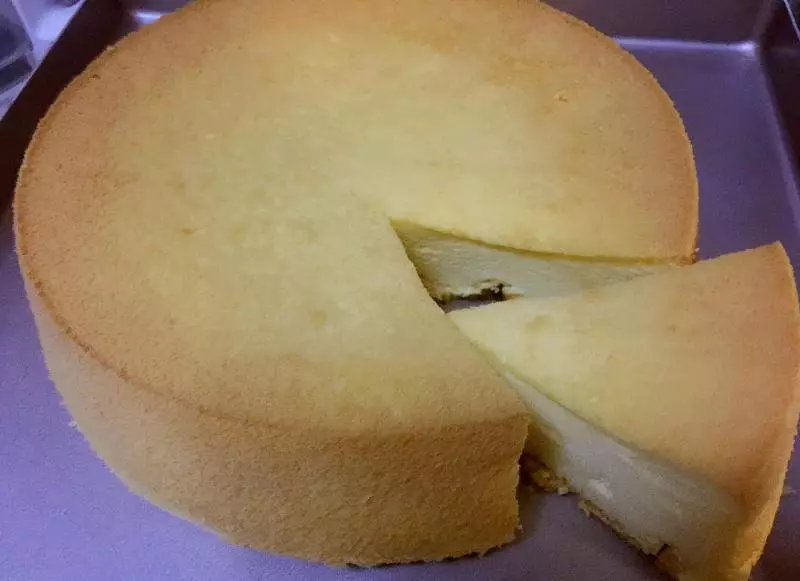
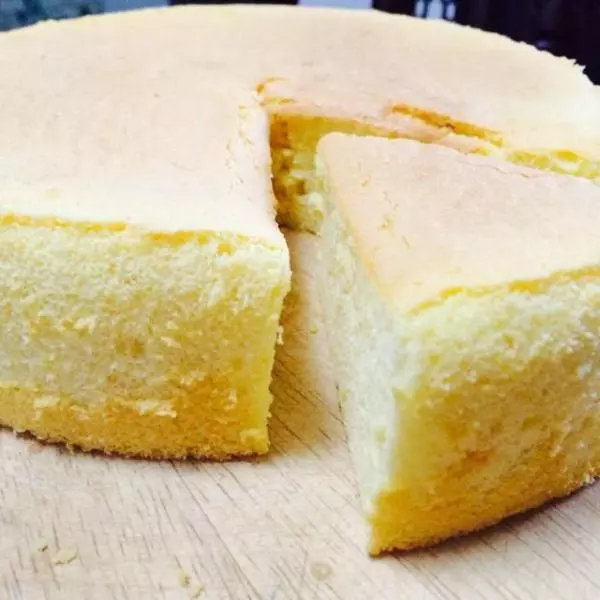
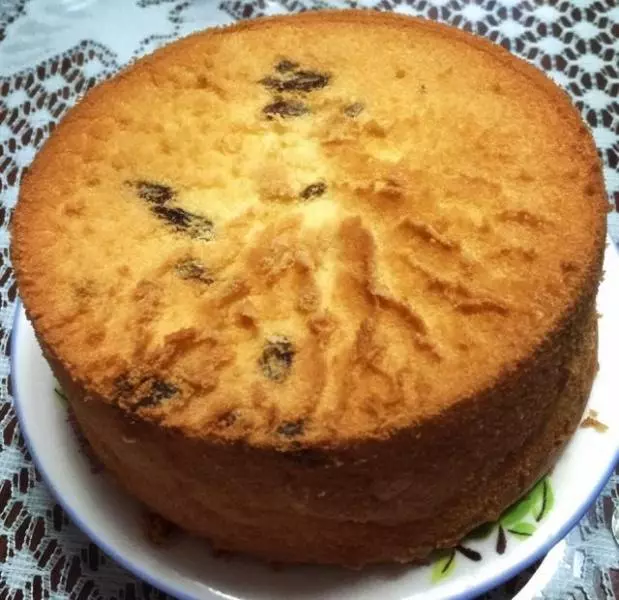
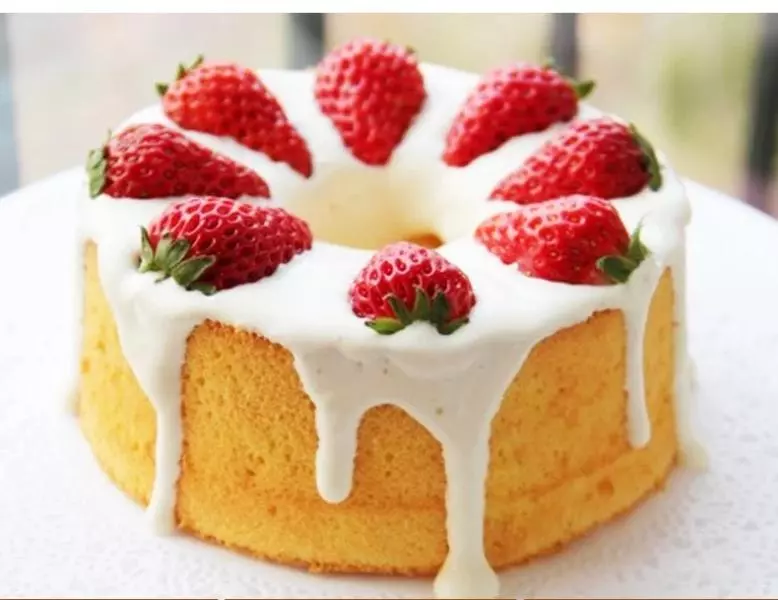
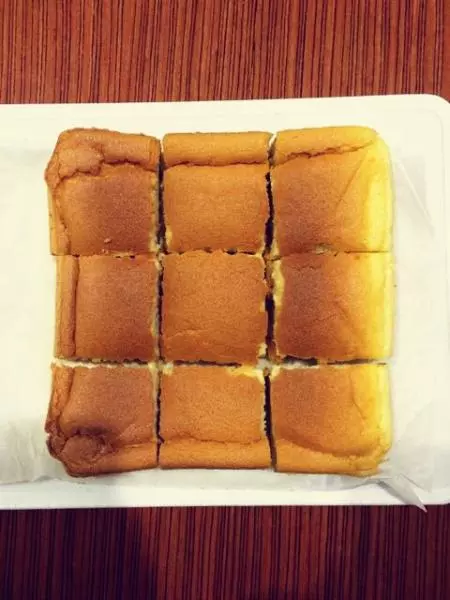
18可以打发奶油做成夹心水果蛋糕,还可以切成九宫格直接吃
小技巧
1.烤箱最好选大的,迷你烤箱太小,不好掌握温度,容易触到发电管,容易顶部烤焦 2.搅拌手法很重要,切记不要画圈圈 3.蛋白不要打发到干性状态