原料
酥皮: , 黄油: 50克, 糖粉: 63克, 低筋面粉: 63克, 红色素: 适量, 泡芙: , 水: 30克, 牛奶: 30克, 黄油: 27克, 盐: 1克, 低筋面粉: 30克, 可可粉: 6克, 鸡蛋: 70克, 淡奶油: 150克, 糖粉: 15克
步骤
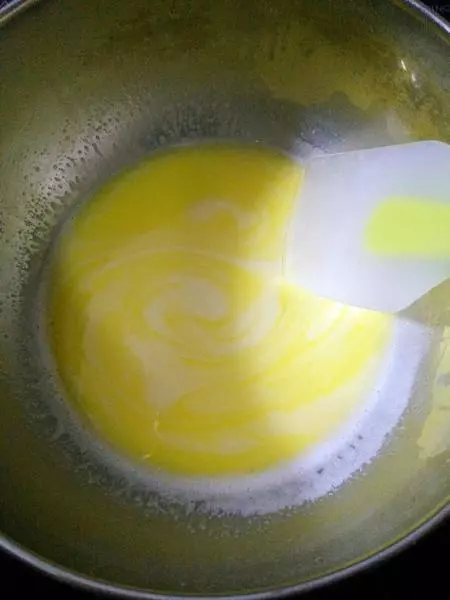
1先做酥皮部分,黄油软化加入糖粉。
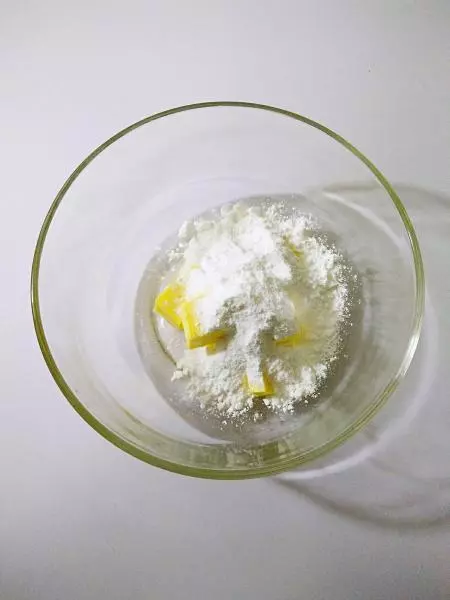
2用刮刀压拌均匀。

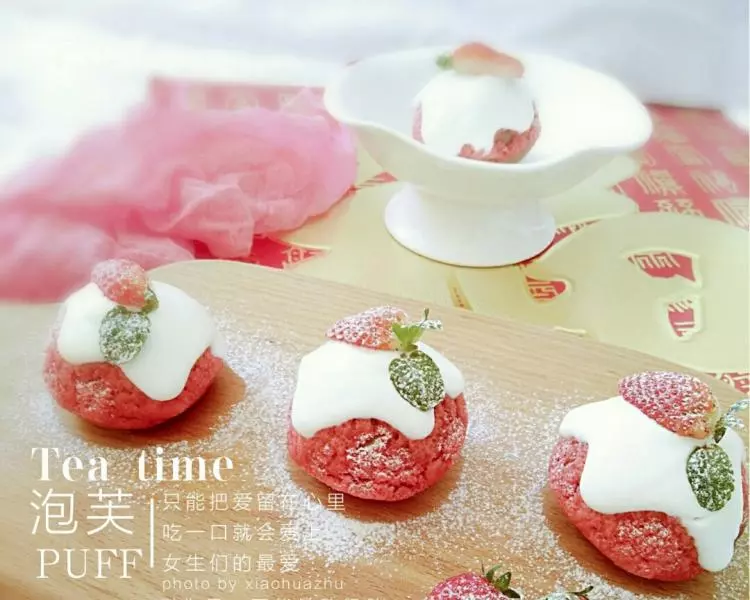
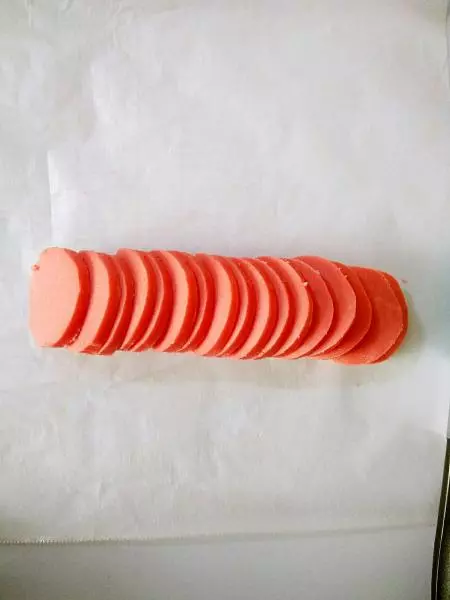
3筛入低筋面粉,用刮刀切拌混合加入红色色素或红丝绒液。
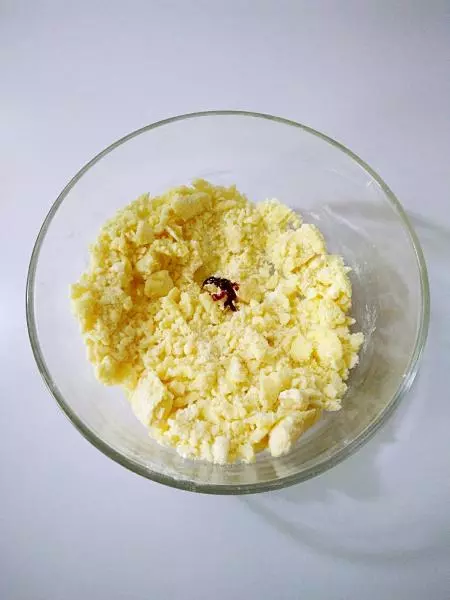
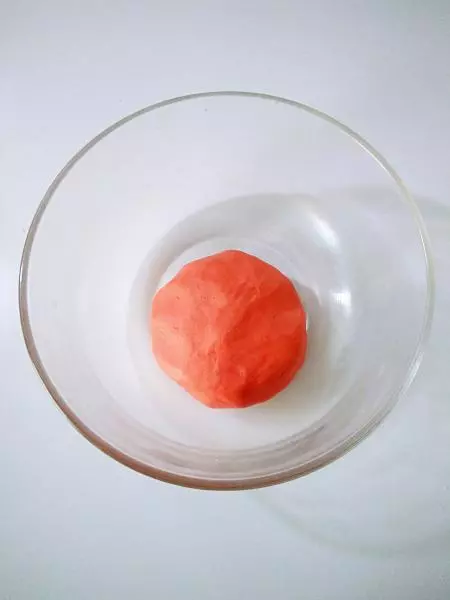
4揉成面团。
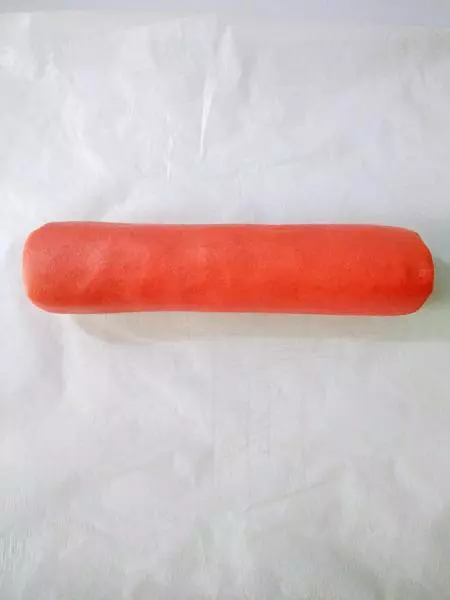
5用油纸搓成圆柱形,放冰箱冷藏(也可以冷冻以后再切,切时回温一下)。
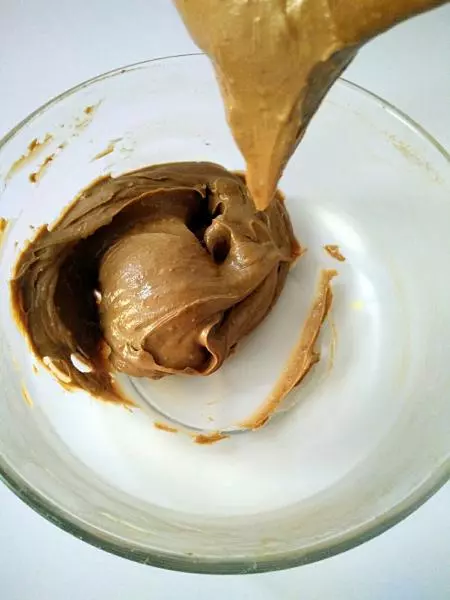
6接下来做泡芙皮,水,牛奶,黄油和盐放入奶锅。
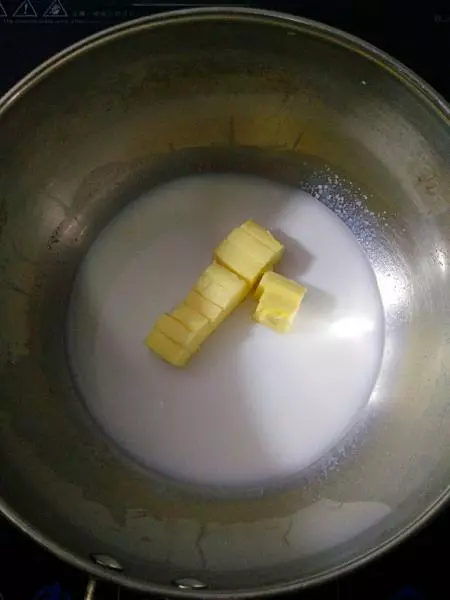
7小火加热沸腾。
8倒入提前筛好的低粉和可可粉。
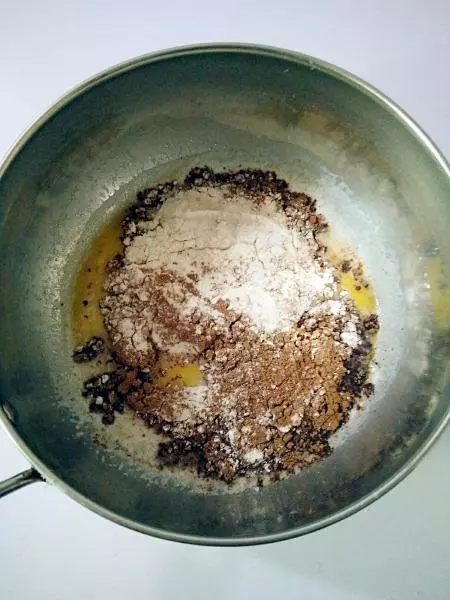
9快速搅拌避免结块,使的面粉快速蒸发水分,受热糊化,面糊产生粘性锅底一层薄膜关火。

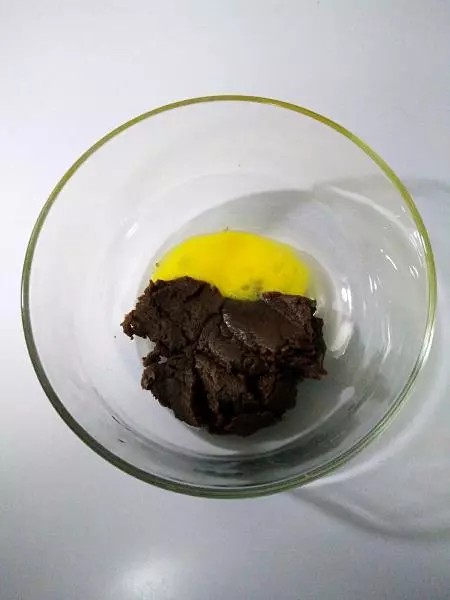
10倒入干净容器,稍微降温,分多次加入蛋液。
11用刮刀舀起面糊成倒三角状态。
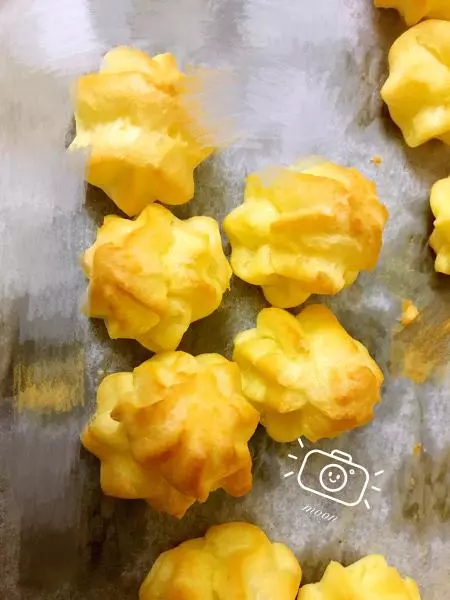
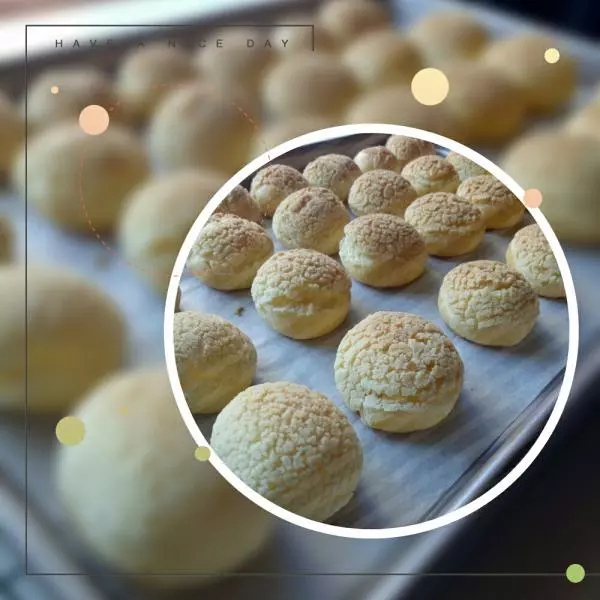
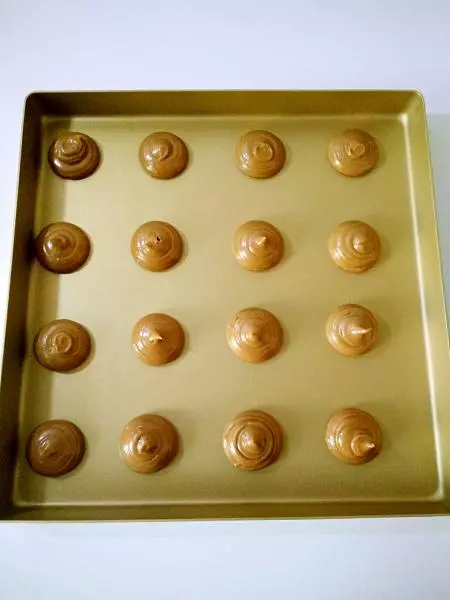
12面糊装入裱花袋,用圆口径裱花嘴,挤成大小一致的泡芙。
13取出冷藏的酥皮,切成薄片。
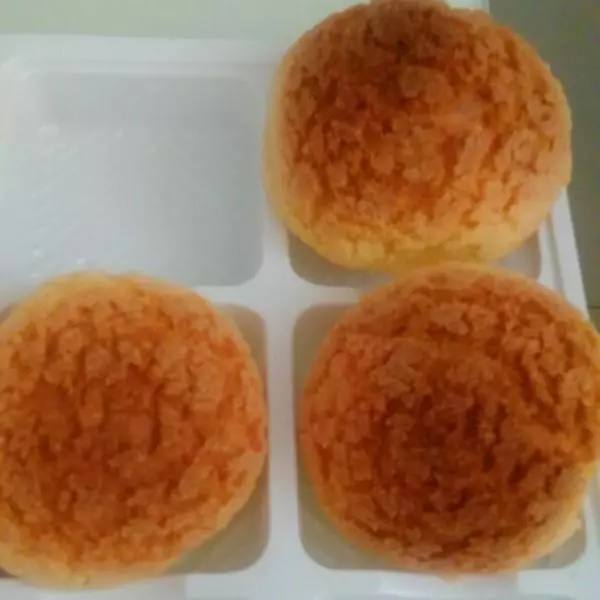
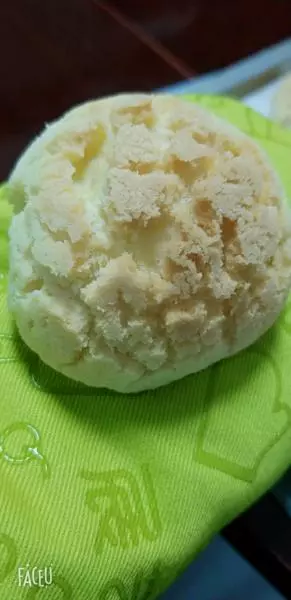
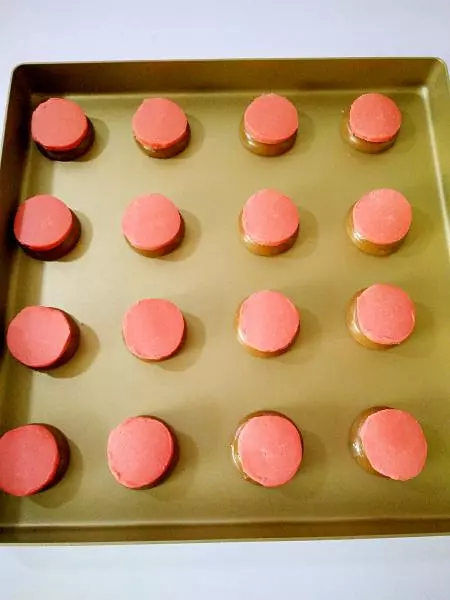
14将酥皮盖在泡芙面糊上。
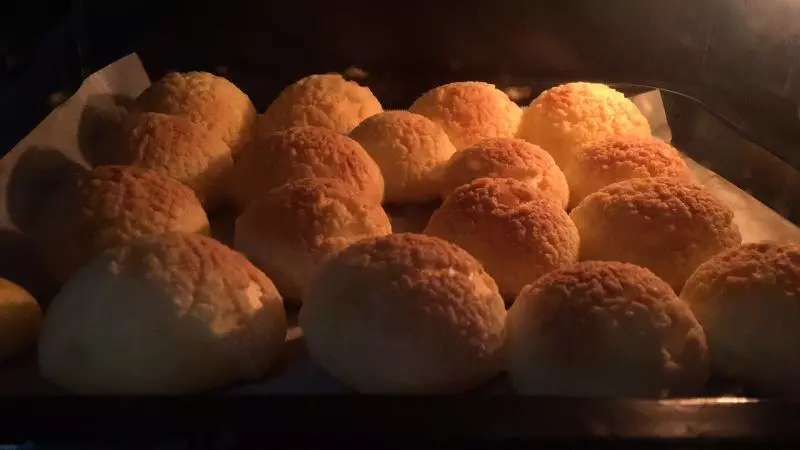
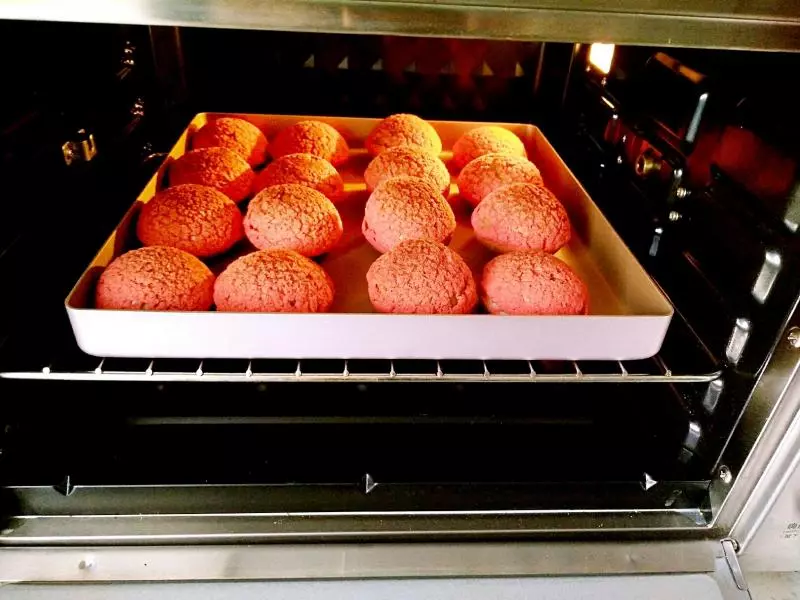
15放入预热好的烤箱上下190度烘烤15分转180度10分,烤好不要马上取出闷3-5分。
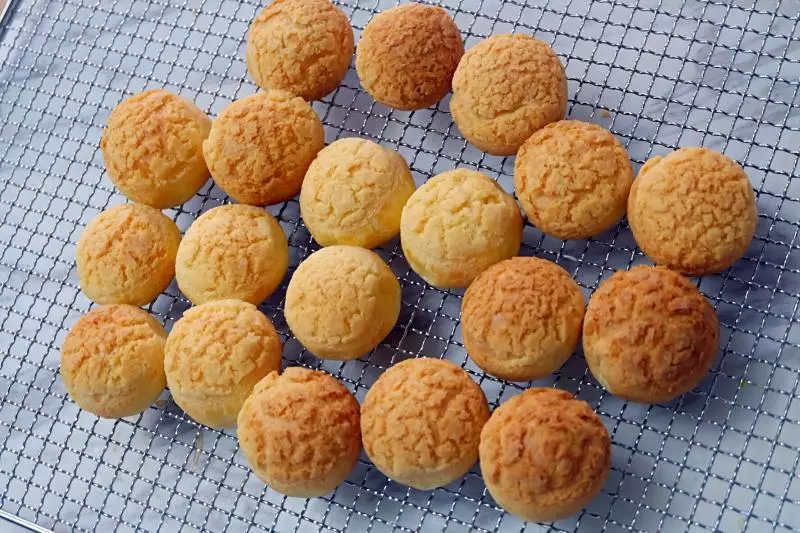
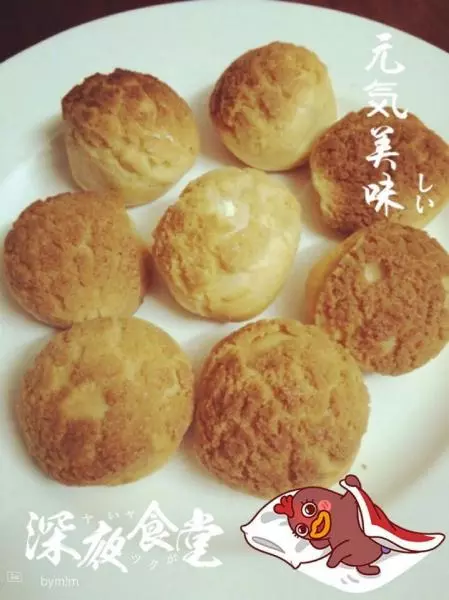
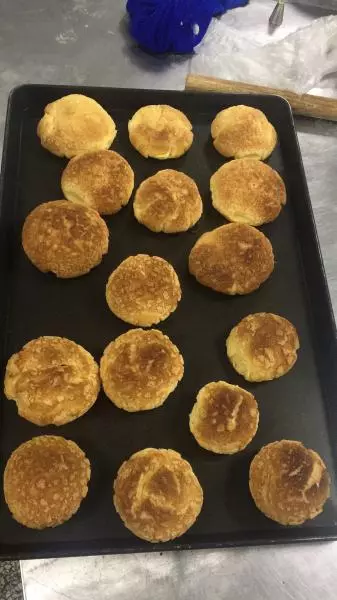
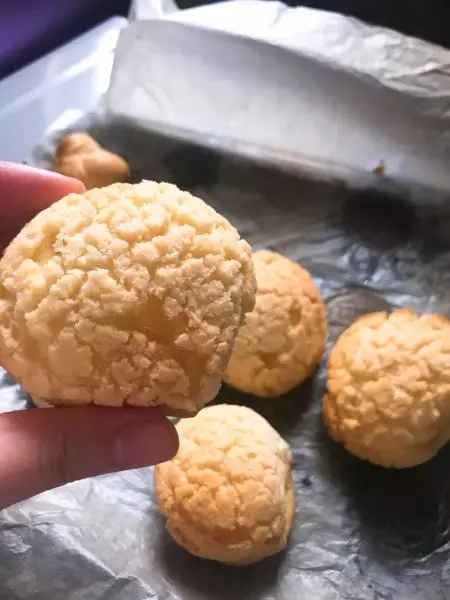
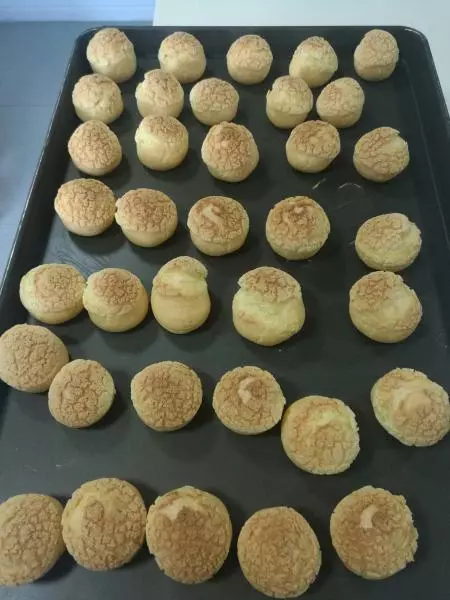
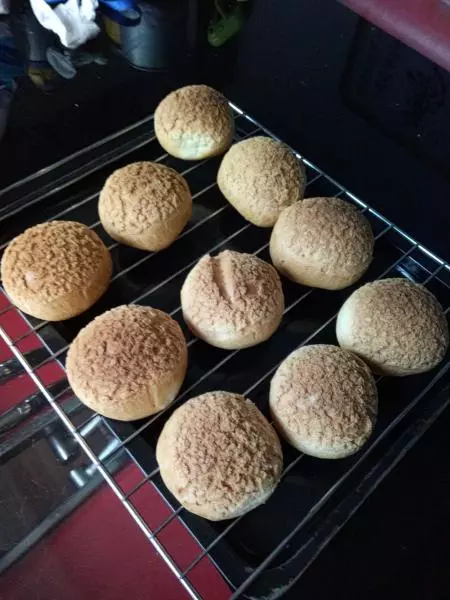
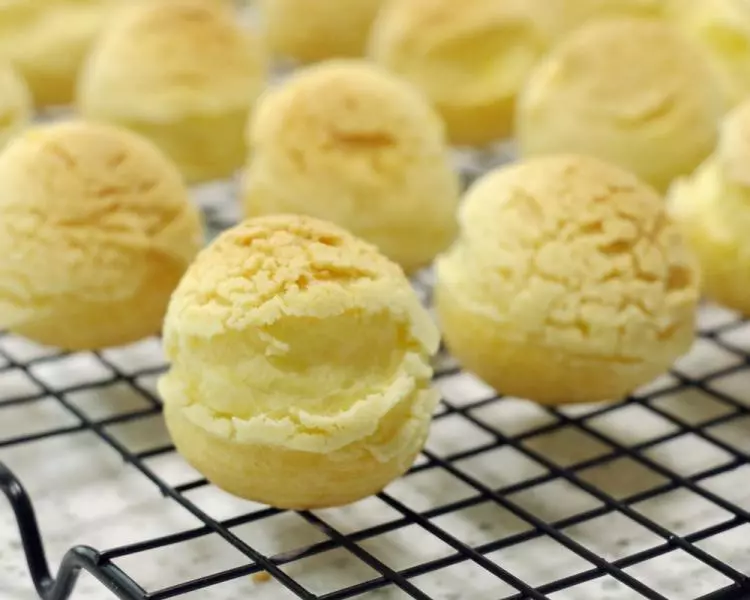
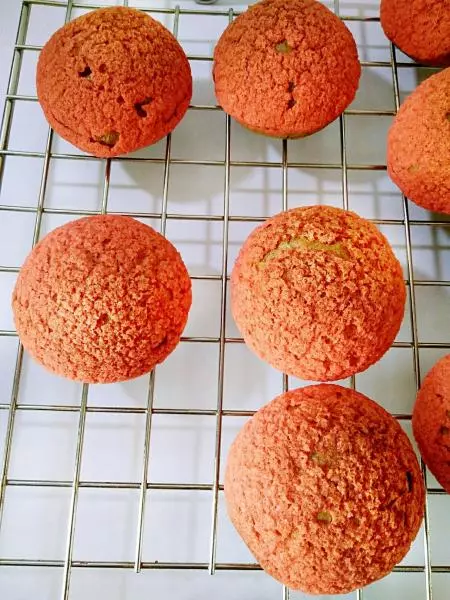
16取出放在网架上晾凉。
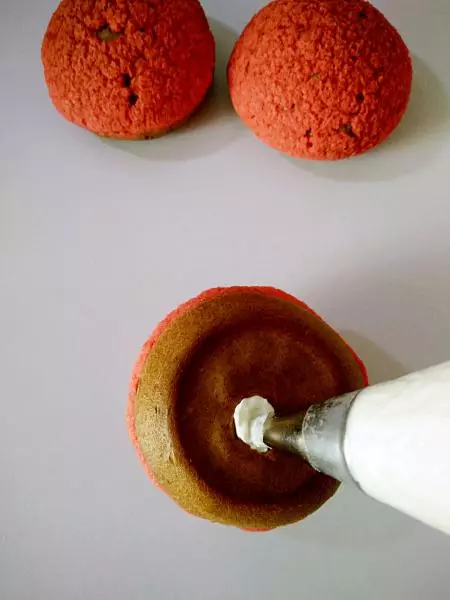
17淡奶油加糖粉打发,装入裱花袋。

18待泡芙完全冷却,从泡芙底部挤入奶油。
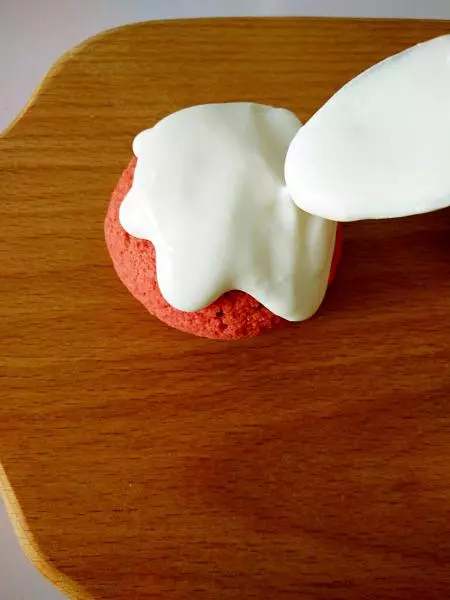
19取打发好的淡奶油加少许稀奶油搅拌,用小勺倒入泡芙顶部。
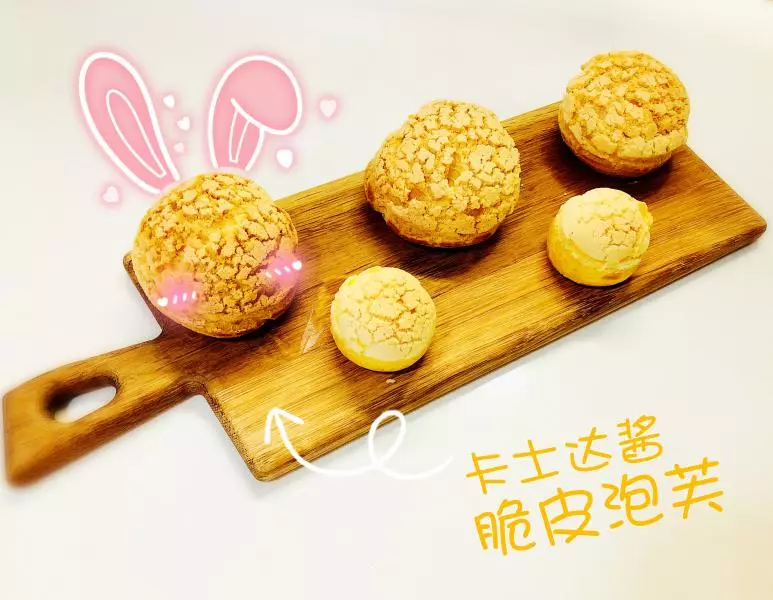
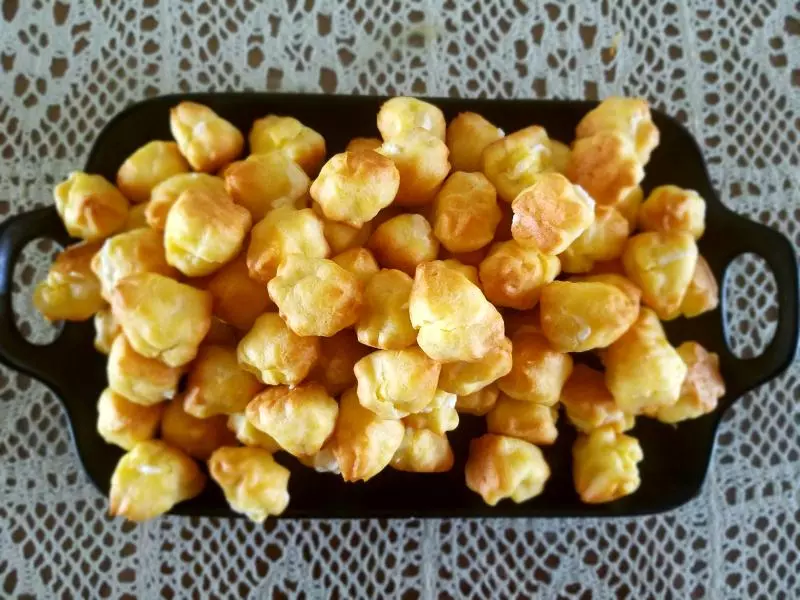
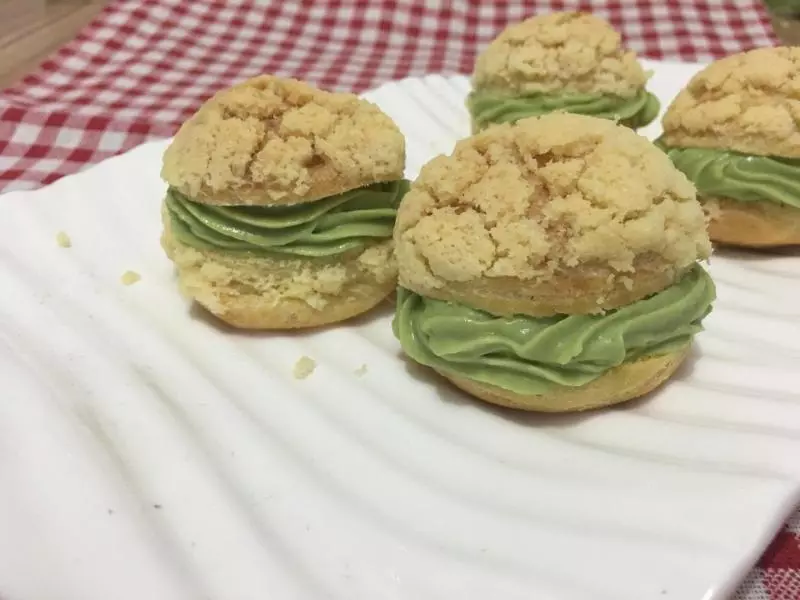
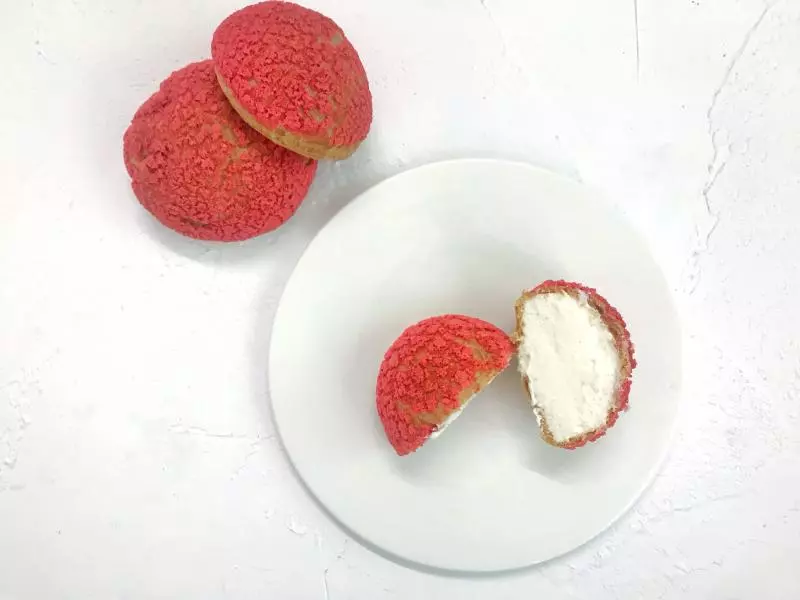
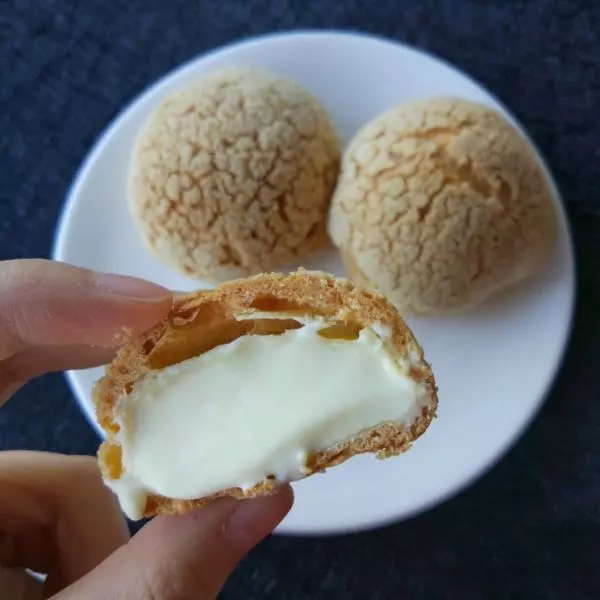
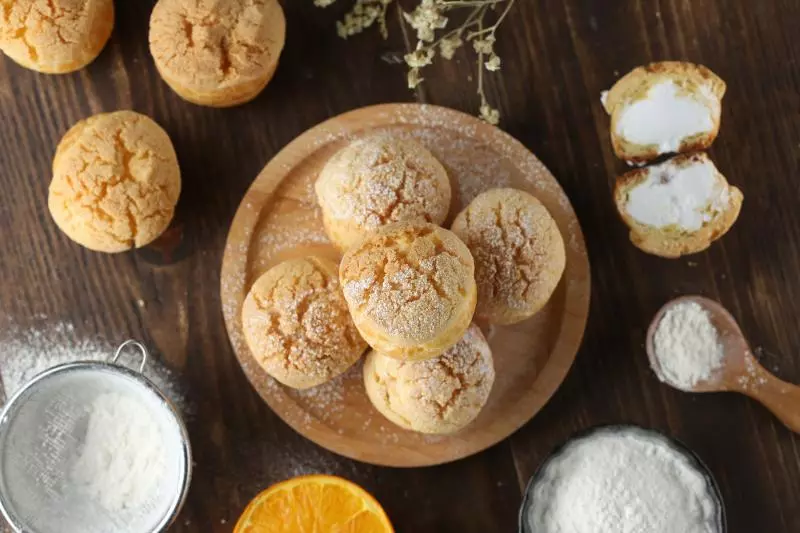
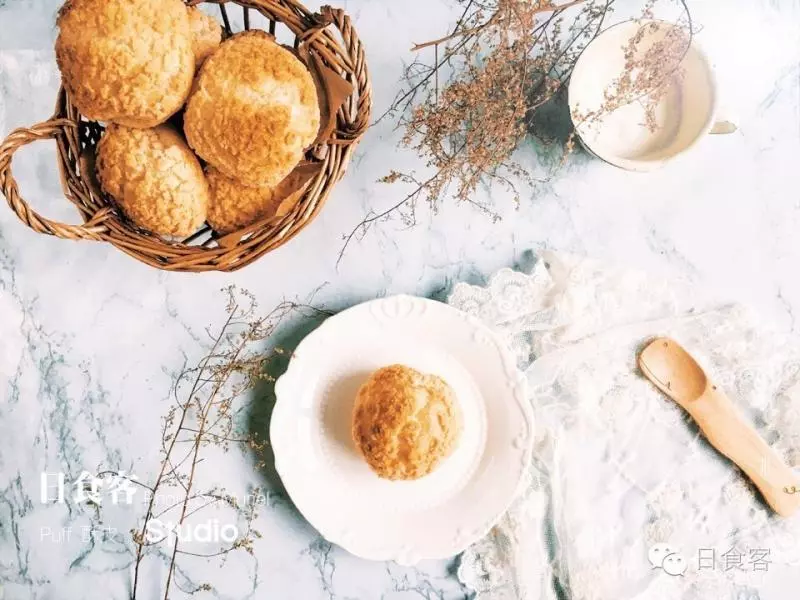
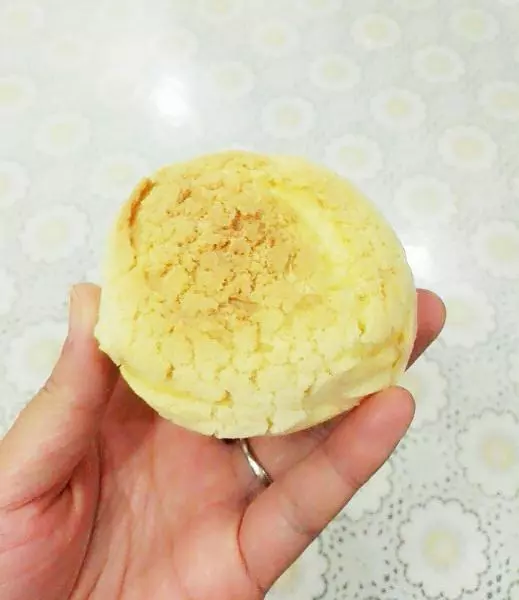
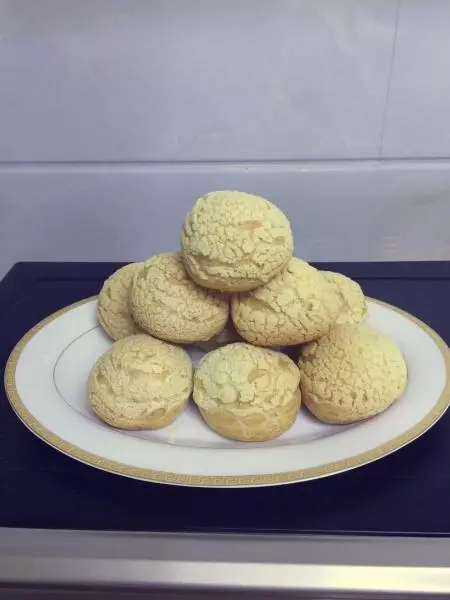
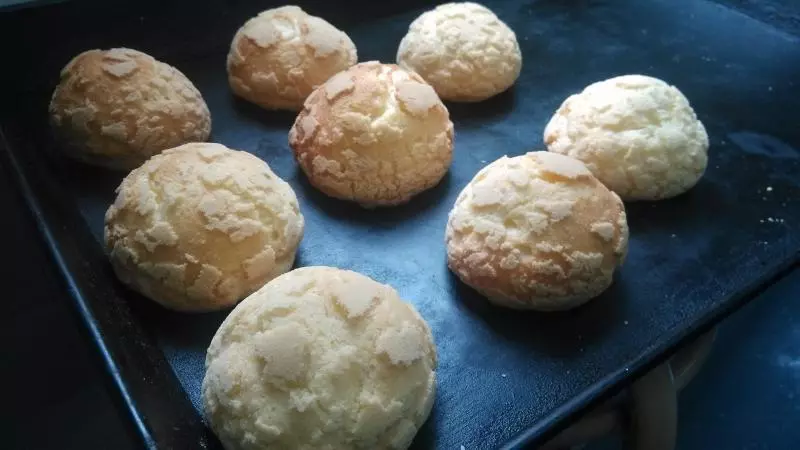
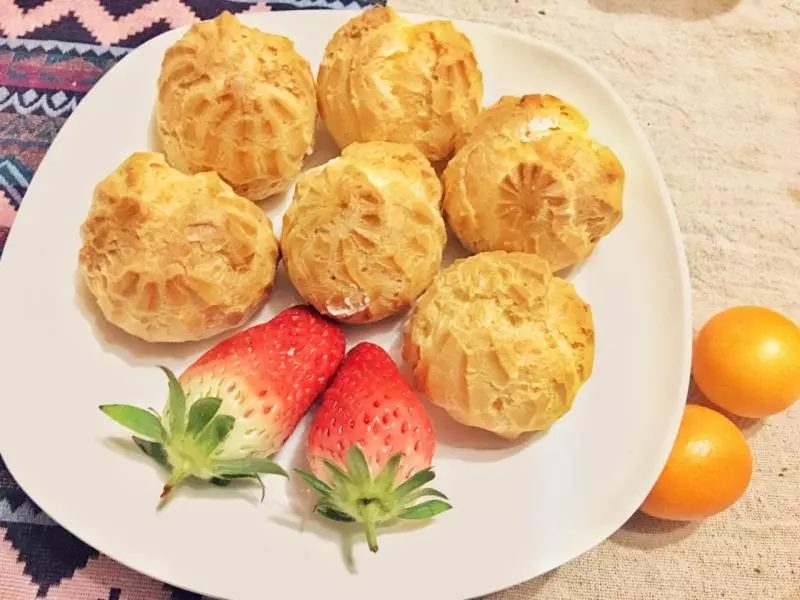
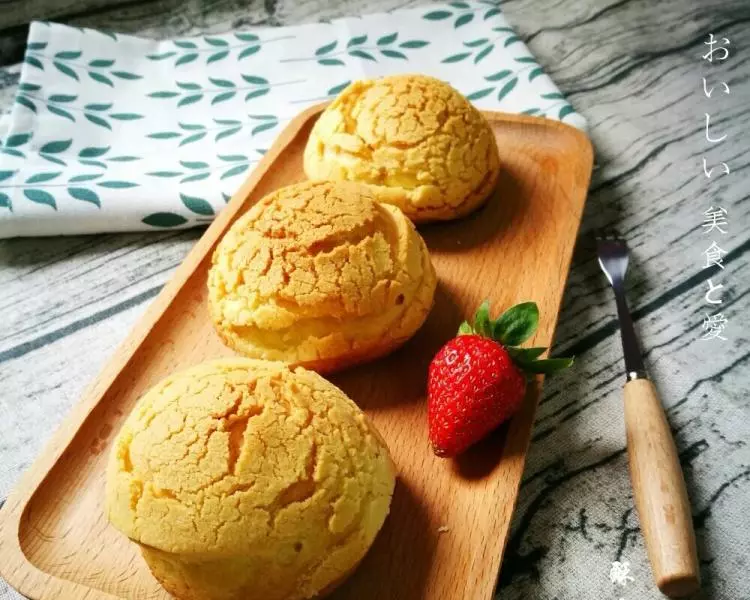
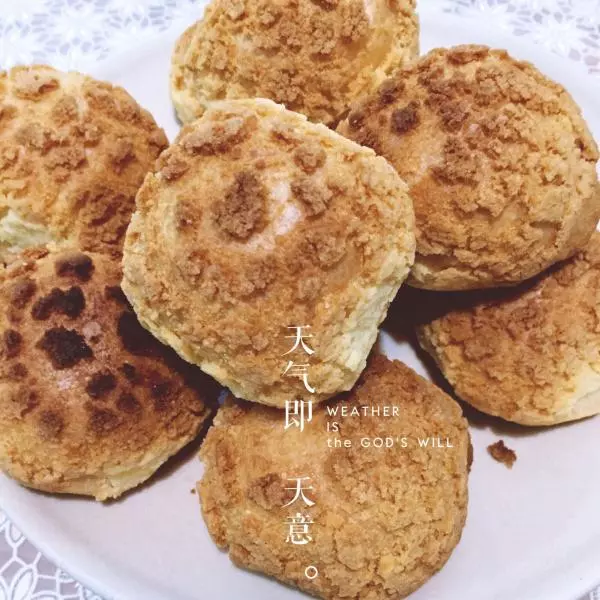
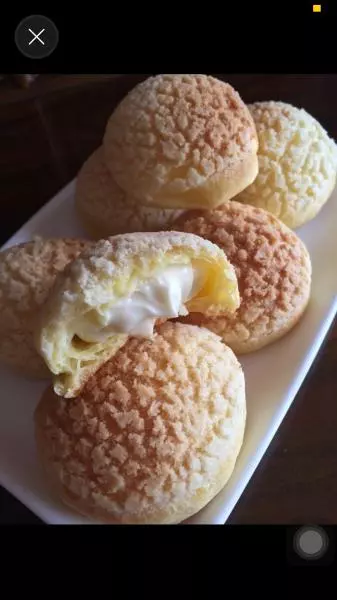
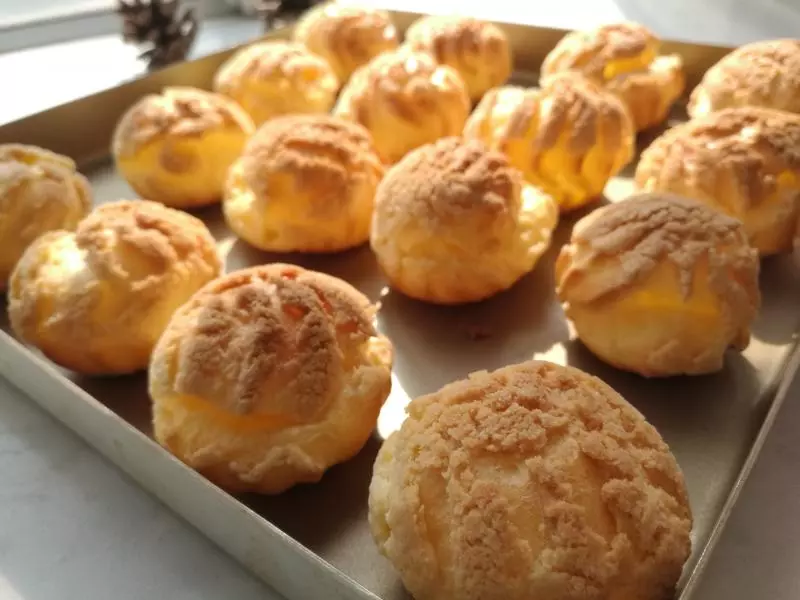
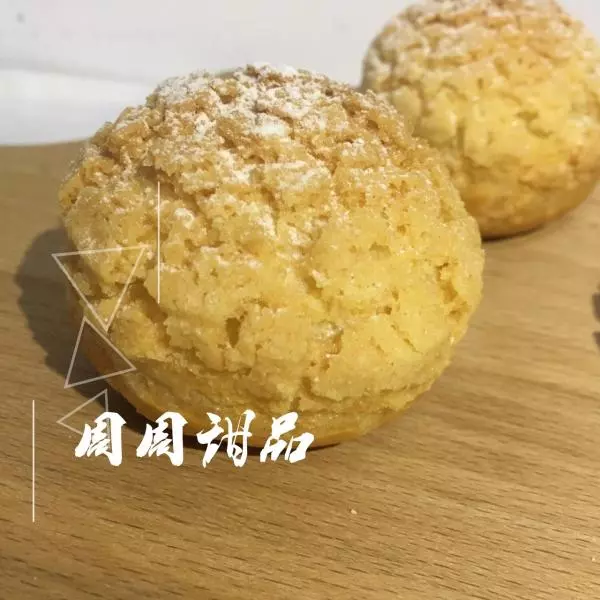
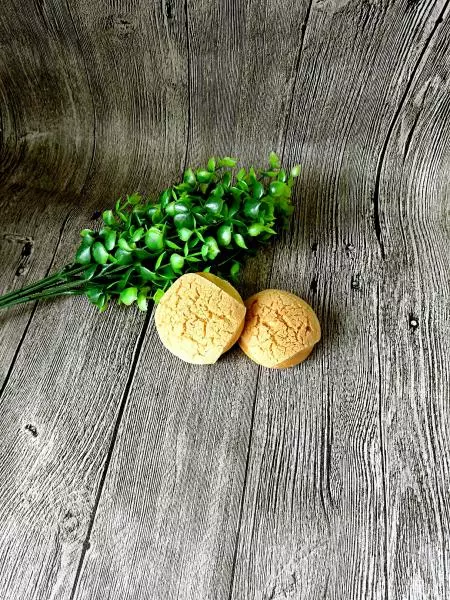
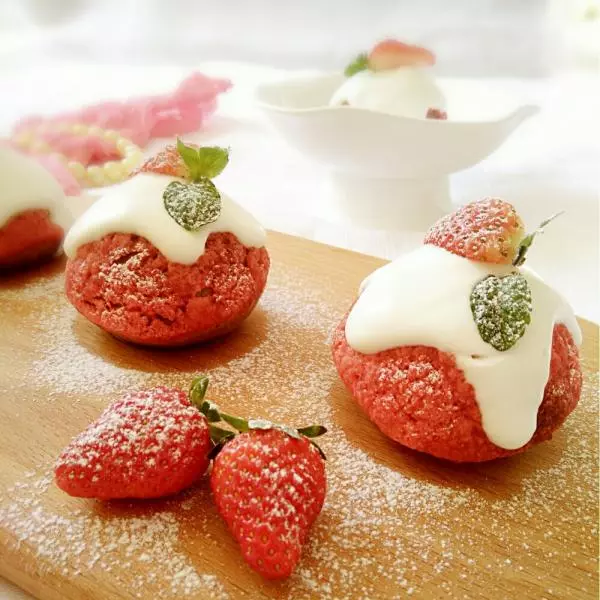
20成品
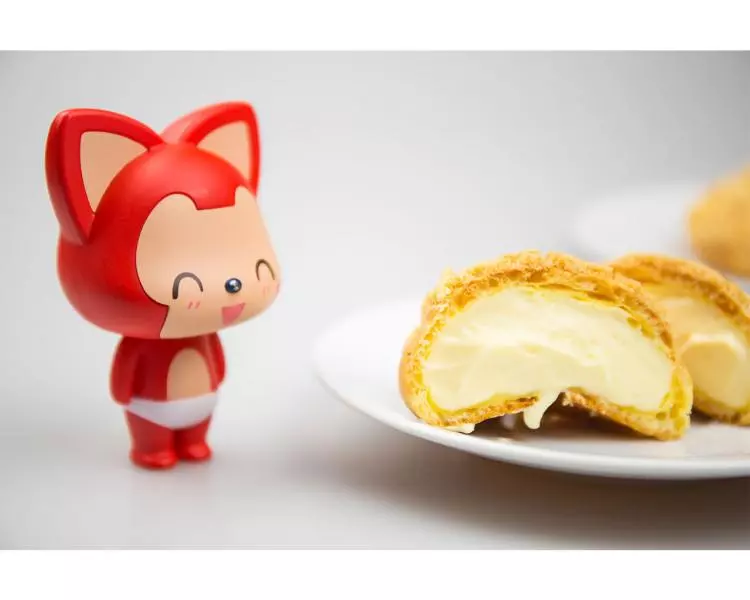
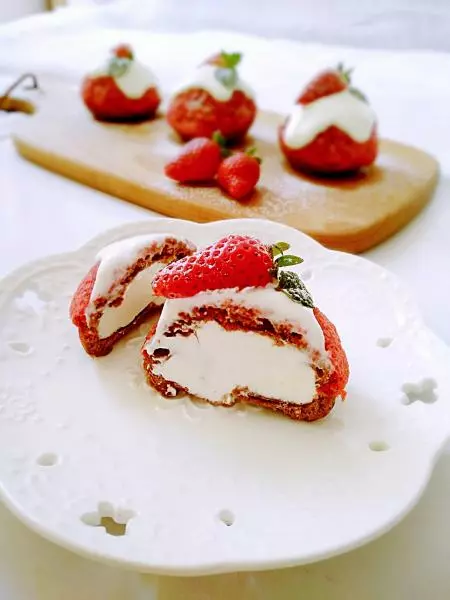
21切面
小技巧
1泡芙面糊加入的蛋液是参考量,看烫面炒至干湿度灵活加减用量,分次加入鸡蛋时,面糊必须搅拌均匀,再加下次,面糊的稠稀适当,太稀或太稠都会影响起发度。 2面粉要过筛,以免出现疙瘩,面团一定要烫透烫熟,不能出现糊底的现象。 3挤入泡芙的距离适当,防止成品粘连。 4烘烤过程中不能中间打开烤箱门,否则成品遇冷收缩。 5炉温要适当,过高会造成表面上色过深,内部不熟,过低造成制品不易起发和上色。 6烤好的泡芙,如果不立刻吃,用保鲜袋装起来,放在冰箱可以保存1个星期左右,吃之前从冰箱取出,放入烤箱用180度烤3-5分钟,重新把表皮烤至酥脆即可,如果是挤入馅料的泡芙最好一天内吃完。